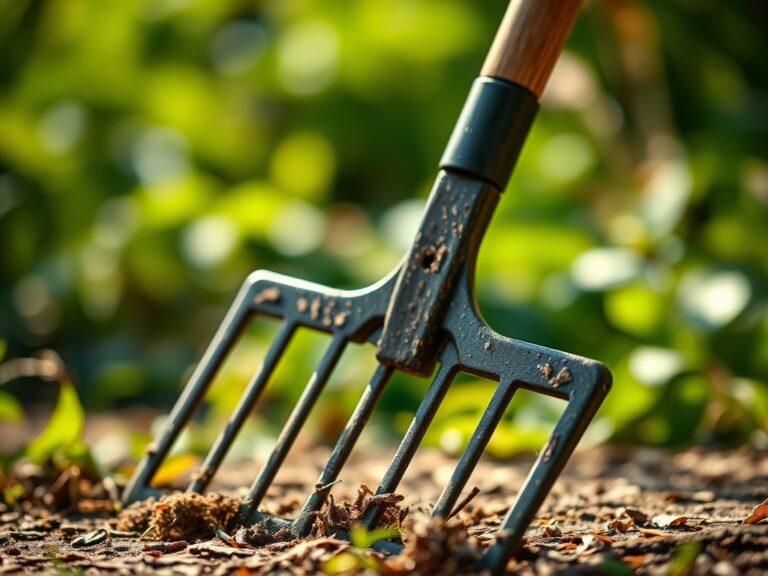
8 Simple Steps to Clean a Garden Fork After Use
Damp earth carries a sharp, metallic scent when iron tines slice through the rhizosphere. This tactile resistance indicates high soil turgor and healthy moisture levels; however, residual mud trapped against the metal accelerates oxidation and dulls the tool's leading edge. Mastering the steps for cleaning a garden fork after use ensures the integrity of the tool and prevents the mechanical transfer of soil-borne pathogens across different garden beds. Neglecting this maintenance leads to pitting and structural failure.
The interaction between steel and soil is chemical as much as it is physical. When moist clay clings to a fork, it creates an anaerobic micro-environment that fosters rust. A clean fork slides into the substrate with minimal effort; a dirty one increases physical strain and disrupts the delicate fungal networks of the soil. Precision in tool care reflects a commitment to the long-term health of the cultivation space.
Materials:
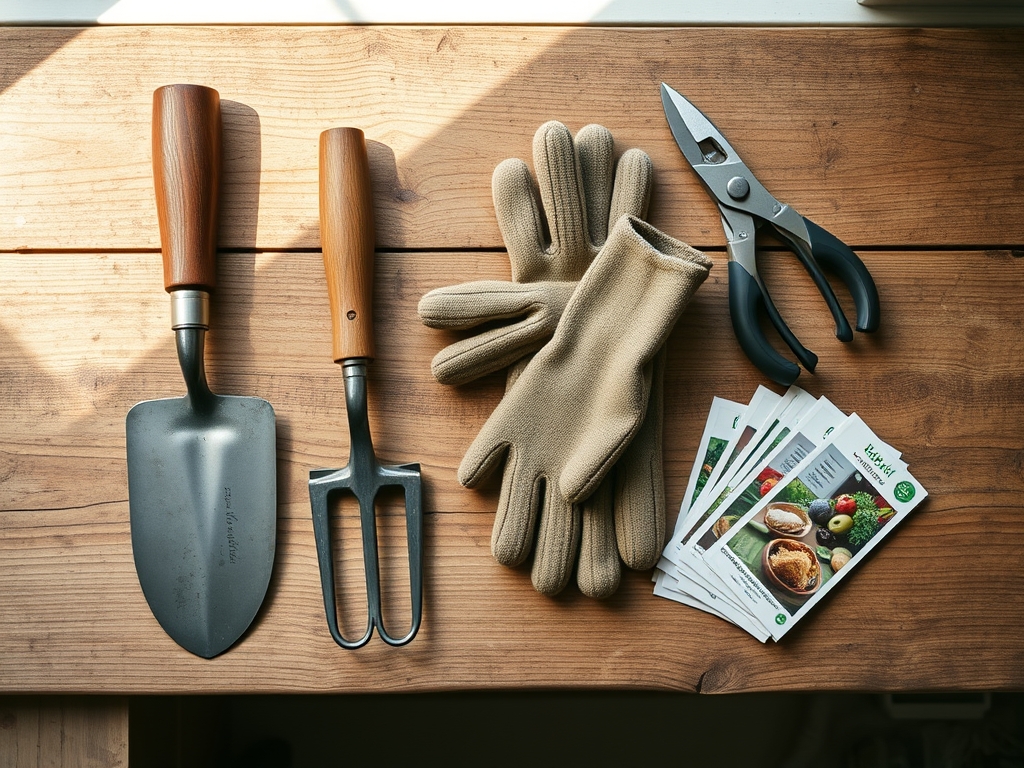
Effective maintenance requires an understanding of the medium being worked. In a **friable loam** with a **pH of 6.5**, the high organic matter content increases the Cation Exchange Capacity (CEC), which can lead to higher mineral adhesion on metal surfaces. To counteract this, gather the following:
* **Stiff-bristled nylon brush**: For removing dried particulate matter.
* **Steel wool (Grade 00)**: To strip early-stage oxidation.
* **Linseed oil or mineral oil**: To create a hydrophobic barrier.
* **70 percent Isopropyl alcohol**: For disinfecting tines.
* **Bucket of coarse sand**: Mixed with a **5:1 ratio of sand to motor oil** for abrasive cleaning.
A soil with an NPK ratio of 10-10-10 often contains salts that are corrosive to carbon steel. Understanding the chemical composition of your amendments, such as high-nitrogen blood meal or acidic peat moss, dictates the urgency of the cleaning process.
Timing:
Maintenance schedules must align with local climate data. In Hardiness Zones 5 through 7, the window between the first frost and the ground freezing is critical. As plants enter senescence and the biological clock shifts from the reproductive stage to dormancy, tool use often increases for soil aeration and bulb planting.
Cleaning must occur immediately after the work session, before the soil moisture evaporates and cements the particles to the tines. During the transition from the vegetative stage to harvest, the sap from various plants can be highly acidic. If left on the fork for more than four hours, these fluids begin to etch the metal surface. In high-humidity regions, even a 12-hour delay in cleaning can initiate the oxidation process.
Phases:
The process follows a logical progression to ensure both mechanical cleanliness and biological safety.
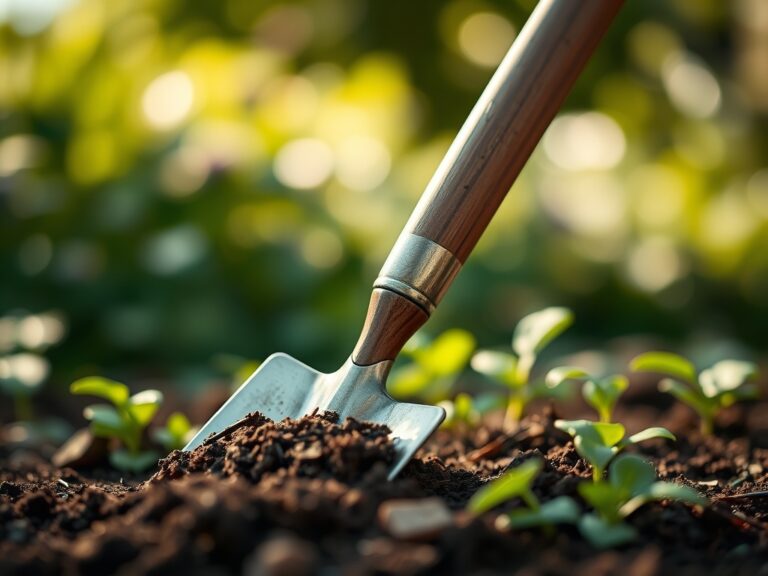
Sowing
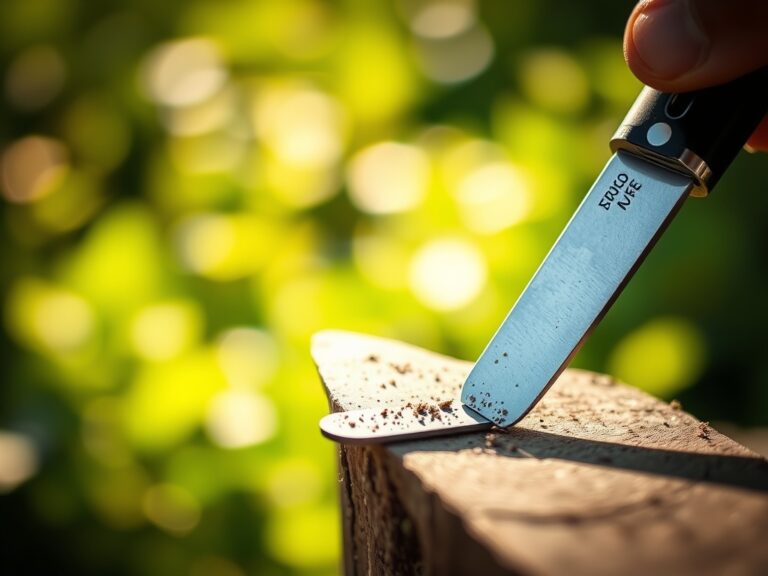
Before the first seed is placed, the fork must be sterile. Use a hori-hori knife to scrape off large clods of earth. Rinse the tines with a high-pressure hose to remove microscopic debris.
Pro-Tip: Sterilizing tools prevents the spread of Fusarium wilt. This is vital because mycorrhizal symbiosis requires a clean environment to establish a beneficial relationship between fungi and the emerging root system without competition from pathogens.
Transplanting
When moving specimens, the fork often contacts root exudates. After use, scrub the tines with a wire brush to remove sticky resins. Dry the tool with a microfiber cloth to prevent water spots.
Pro-Tip: Removing organic residue prevents the accidental transport of auxins from one plant species to another. High concentrations of these hormones can cause unintended phototropism or growth suppression in sensitive transplants.
Establishing
For long-term maintenance in established beds, the fork requires a deep clean. Dip the tines into the oil-sand bucket five times. This abrasive action sharpens the tips while applying a protective coat.
Pro-Tip: A sharp, clean fork reduces the physical crushing of soil aggregates. This maintains macropore space, which is essential for gas exchange and the maintenance of turgor pressure within the plant's vascular system.
The Clinic:
Physical tools and plants both exhibit signs of distress when neglected.
- Symptom: Orange-red flaking on tines.
- Solution: This is iron oxide. Use a wire brush followed by a vinegar soak for 30 minutes to dissolve the rust. Neutralize with baking soda and water.
- Symptom: Pitting or "pockmarks" on the metal.
- Solution: This indicates chemical corrosion from high-salt fertilizers. Sand the surface with 120-grit sandpaper until smooth and apply a heavy layer of paste wax.
- Symptom: Interveinal chlorosis (yellowing) in plants after using the fork.
- Solution: This is often a Nitrogen deficiency or a sign of root damage. Ensure the fork is sharp to minimize root tearing, which inhibits the plant's ability to uptake Nitrogen.
- Symptom: Sticky, black residue on the handle or tines.
- Solution: This is likely "honeydew" or sap. Clean with isopropyl alcohol to prevent the growth of sooty mold, which can be transferred to the next plant.
Maintenance:
A garden fork is a precision instrument. To maintain the wooden handle, apply linseed oil twice a year to prevent splintering and wood shrinkage. Check the "D-grip" for tightness; a loose handle reduces leverage and increases the risk of mechanical failure.
In the field, use a soil moisture meter to ensure you are not working in saturated conditions. Tilling or turning soil that exceeds 25 percent moisture content leads to compaction and the destruction of soil structure. For the plants themselves, ensure they receive 1.5 inches of water per week at the drip line to maintain health, making the soil easier to work with bypass pruners or forks. Store the fork hanging vertically in a low-humidity environment to prevent the wooden handle from absorbing ambient moisture.
The Yield:
When using a fork to harvest root crops like carrots or potatoes, timing is dictated by the photoperiod. Harvest in the early morning when turgor pressure is at its peak to ensure the vegetables remain crisp. Insert the fork 6 inches away from the base of the plant to avoid mechanical damage to the crop.
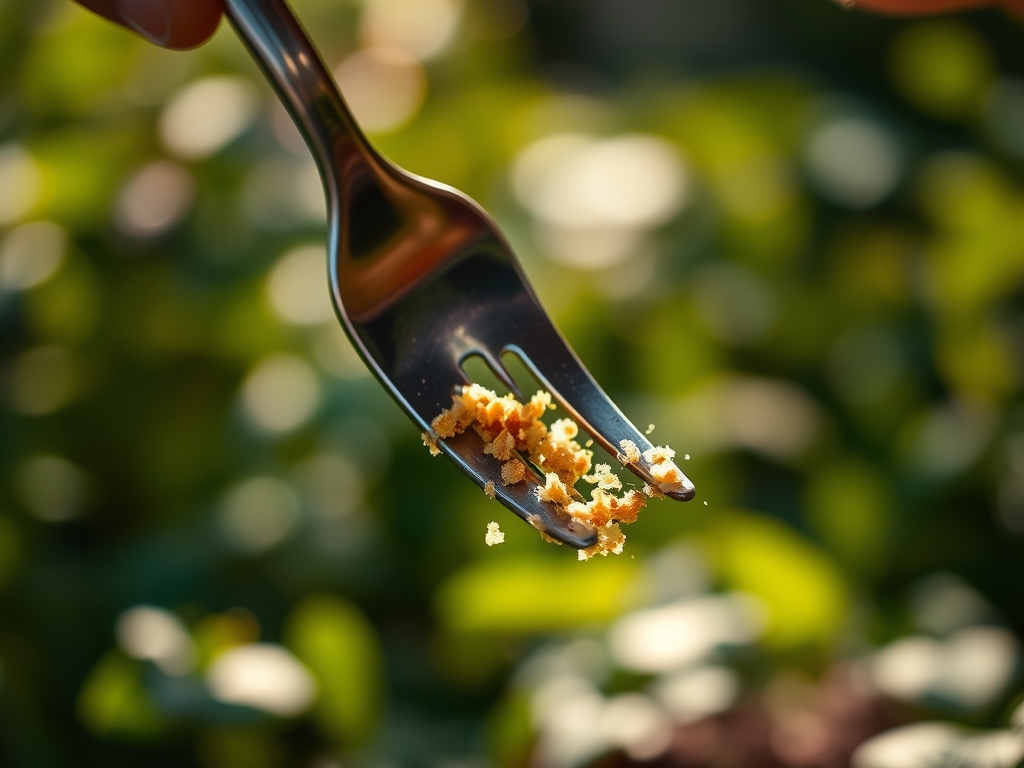
Post-harvest, the fork must be cleaned of all starch and sugars released by the bruised roots. These sugars act as a substrate for fungal growth. Wipe the tines with a disinfectant before moving to the next row. This protocol preserves the "day-one" freshness of the harvest by preventing the introduction of rot-inducing bacteria into the storage cellar.
FAQ:
How often should I oil my garden fork?
Apply a light coat of mineral or linseed oil after every third use. In high-humidity environments or during the winter storage phase, oil the tines and the wooden handle once a month to prevent oxidation and wood desiccation.
Can I use water to clean my garden fork?
Yes, but you must dry it immediately. Use a high-pressure nozzle to remove soil from the rhizosphere. Follow with a dry cloth and a light application of oil to displace any remaining moisture from the metal pores.
What is the best way to remove rust?
Use a wire brush or Grade 00 steel wool to remove surface rust. For deep corrosion, soak the tines in a mild acid like white vinegar for 15 to 30 minutes, scrub, rinse, and neutralize with a basic solution.
Why is disinfecting the fork necessary?
Disinfecting with 70 percent isopropyl alcohol kills soil-borne pathogens like Phytophthora. This prevents the cross-contamination of different garden zones, protecting the mycorrhizal networks and overall plant health from systemic infections and fungal blights.