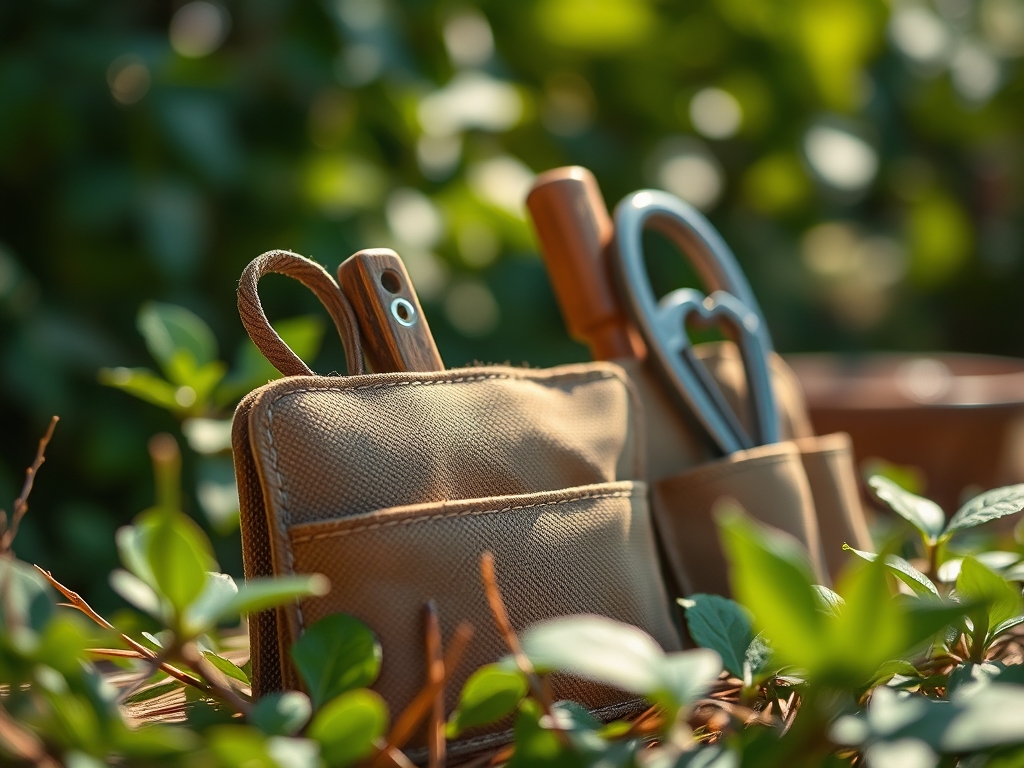
9 Best Rolling Tool Pouches for Large Storage
The scent of damp, anaerobic decomposition signals a failure in soil aeration, while the firm turgor of a healthy leaf indicates a vascular system functioning at peak efficiency. Efficient land management requires more than just biological knowledge; it demands the immediate availability of specialized equipment across vast acreage. Searching for the best tool pouches for garden storage is not merely an exercise in organization. It is a logistical necessity for the serious horticulturist who must transition from pruning woody perennials to testing soil pH without returning to a central shed. A rolling tool pouch provides a mobile command center, allowing for the transport of heavy steel implements, soil probes, and moisture meters over uneven terrain. When the soil temperature reaches a consistent 55 degrees Fahrenheit, the window for spring intervention opens. Having a high-capacity, rolling storage system ensures that every necessary amendment and sharpened blade is within reach during these critical labor hours. Precision in the field is dictated by the accessibility of your kit.
Materials:
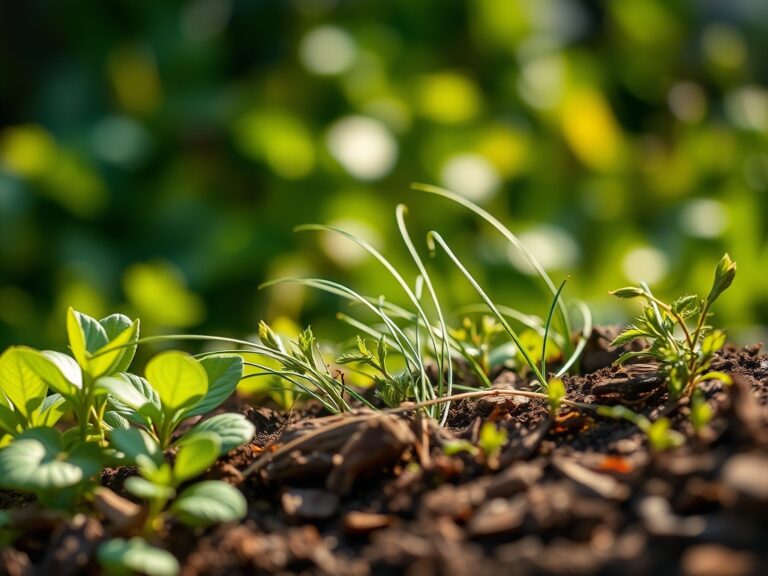
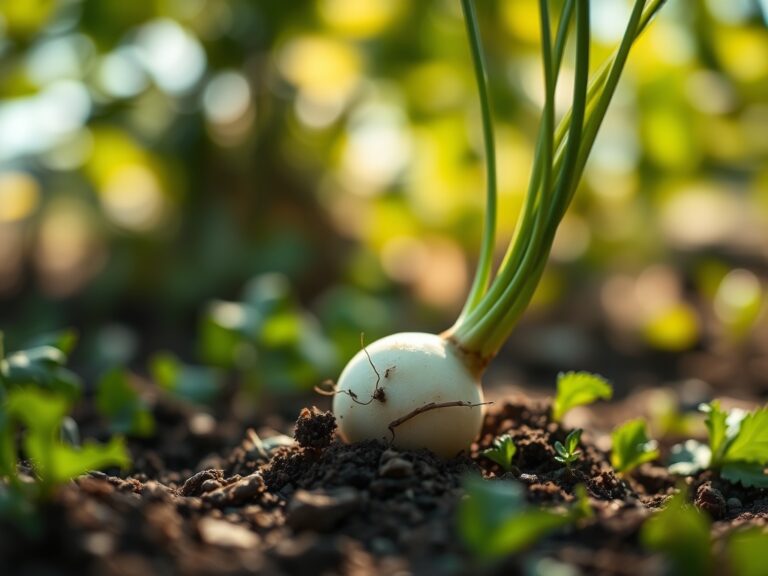
Successful cultivation begins with the substrate. A friable loam with a **sand-silt-clay ratio of 40-40-20** provides the ideal balance of drainage and nutrient retention. For most heavy-feeding cultivars, a soil pH between **6.2 and 6.8** is required to maximize the Cation Exchange Capacity (CEC). This electrical property of the soil determines how well the rhizosphere can hold onto essential positively charged ions like Calcium and Magnesium.
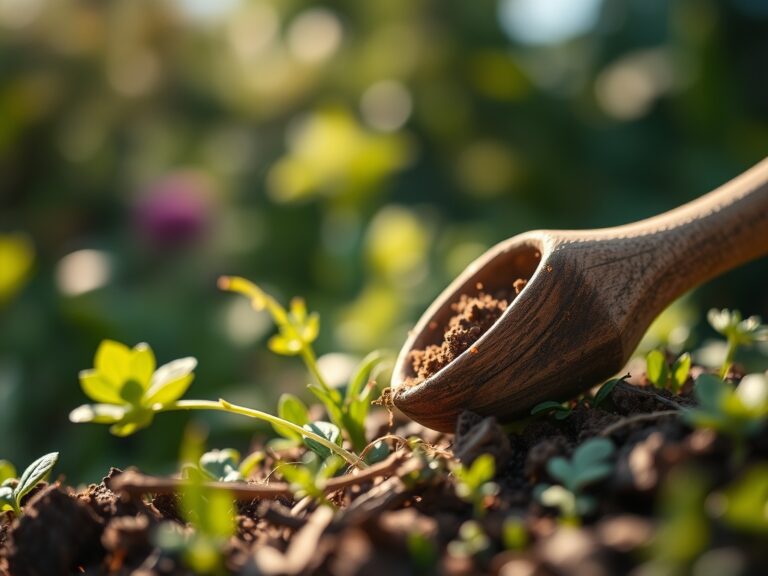
When prepping your rolling storage for the field, include specific NPK formulations based on the crop stage. Use a 10-10-10 balanced granular fertilizer for general maintenance. For heavy vegetative growth, transition to a high-nitrogen 20-10-10 blend. During the reproductive phase, switch to a 5-20-20 ratio to provide the Phosphorus and Potassium necessary for fruit set and root strength. The physical texture of your soil must remain uncompacted; rolling tool pouches should be equipped with wide, all-terrain wheels to prevent soil compression and the subsequent destruction of macro-pores essential for oxygen exchange.
Timing:
The biological clock of a garden is governed by the photoperiod and the accumulation of Growing Degree Days (GDD). In Hardiness Zones 5 through 7, the primary planting window opens after the last frost date, typically between April 15 and May 15. The transition from the vegetative stage to the reproductive stage is triggered by hormonal shifts, specifically the ratio of auxins to gibberellins within the plant tissue.
Monitoring the soil temperature is critical. Do not transplant until the soil at a 4-inch depth consistently registers above 60 degrees Fahrenheit. Early planting in cold, saturated soils leads to "damping off," a fungal condition caused by Pythium or Rhizoctonia. Use your rolling storage to keep a digital soil thermometer and a clipboard for tracking GDD. This data allows you to predict harvest windows with mathematical accuracy rather than relying on visual cues alone.
Phases:

Sowing
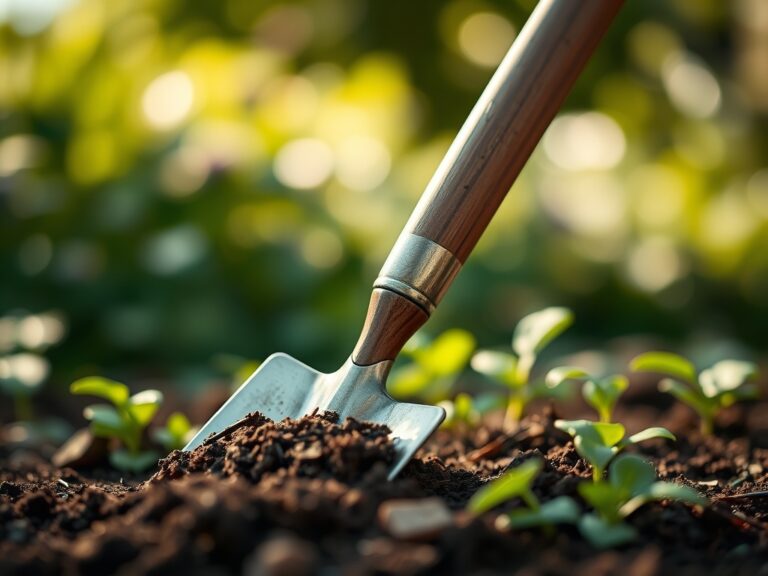
Direct seeding requires a finely raked seedbed with a particle size no larger than a pea. Ensure seed-to-soil contact by firming the earth without over-compacting.
Pro-Tip: Proper sowing depth is usually three times the diameter of the seed. This ensures the radical can emerge and establish gravitropism (downward root growth) before the seed's stored energy reserves are depleted.
Transplanting
When moving seedlings from a greenhouse to the field, the "hardening off" period is non-negotiable. Gradually expose plants to UV radiation and wind over 7 to 10 days.
Pro-Tip: Use a kelp-based solution during transplanting to reduce shock. The cytokinins in kelp stimulate cell division in the root zone, encouraging rapid establishment of the mycorrhizal symbiosis necessary for nutrient uptake.
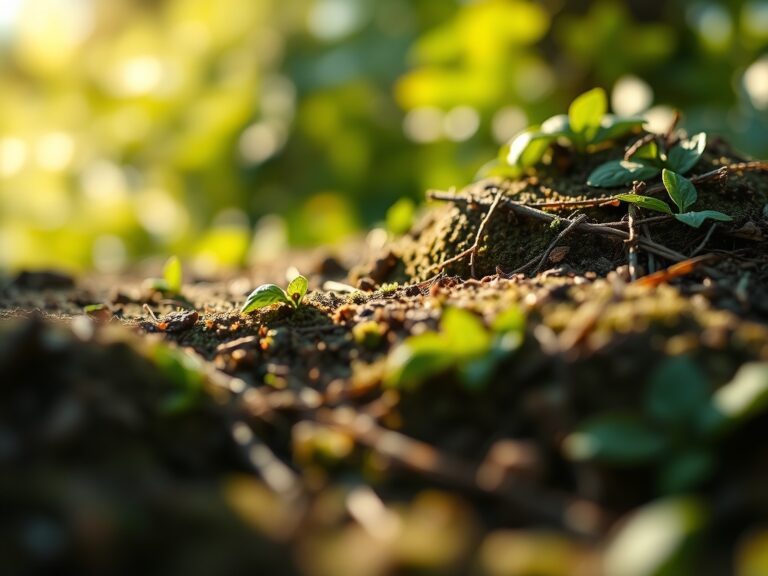
Establishing
During the first 21 days, the plant focuses on root architecture. Avoid high-nitrogen fertilizers that force top-growth at the expense of the root system.
Pro-Tip: Use a hori-hori knife to check for "j-rooting" in transplants. If roots are circling the ball, they must be teased out to prevent future girdling, which can lead to vascular strangulation as the plant matures.
The Clinic:
Physiological disorders often mimic infectious diseases. Accurate diagnosis requires a systematic approach.
- Symptom: Interveinal chlorosis on new growth (yellowing between green veins).
- Solution: This indicates Iron deficiency, often caused by a pH above 7.0. Lower the pH using elemental sulfur or apply chelated iron foliar spray.
- Symptom: Blossom end rot on fruit.
- Solution: This is a Calcium transport issue. It is rarely a lack of soil calcium and usually a result of inconsistent irrigation affecting transpiration. Maintain steady soil moisture levels.
- Symptom: Purpling of older leaves.
- Solution: Phosphorus deficiency. This is common in cold spring soils where microbial activity is low. Apply a water-soluble high-phosphorus starter fertilizer.
Fix-It: For general Nitrogen chlorosis (uniform yellowing of older leaves), apply a blood meal amendment or a liquid fish emulsion to provide an immediate nitrogen spike to the rhizosphere.
Maintenance:
Precision irrigation is the backbone of plant health. Most established garden crops require 1.5 inches of water per week delivered at the drip line to ensure deep root penetration. Shallow watering leads to weak, surface-level roots that are susceptible to drought stress.
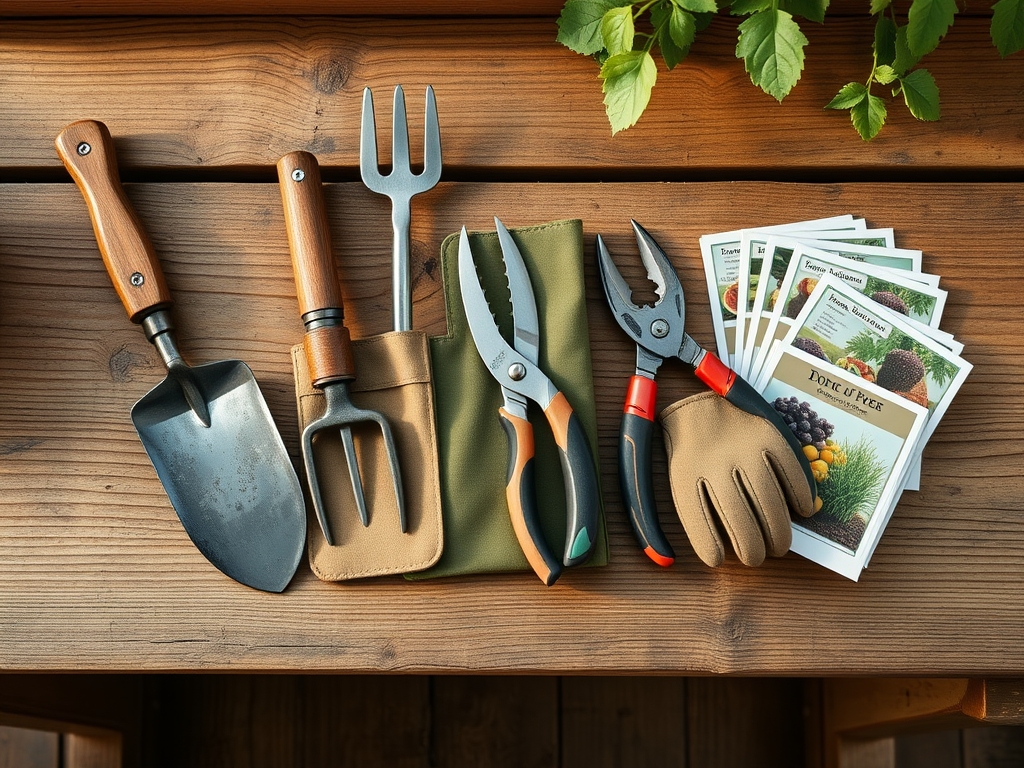
Your rolling tool pouch should contain a soil moisture meter to verify hydration at a 6-inch depth. Keep your bypass pruners sterilized with a 10 percent bleach solution or isopropyl alcohol between every cut to prevent the spread of systemic pathogens. Use a hori-hori knife for weeding and light digging; its serrated edge is essential for cutting through thick root mats without disturbing the primary crop's root system. Regular maintenance involves checking for "turgor loss" during the heat of the day, which may indicate a need for temporary shading or increased irrigation frequency.
The Yield:
Harvesting is a race against senescence. For most leafy greens, harvest before the plant reaches the "bolting" stage, which is triggered by rising temperatures and lengthening days. For fruiting crops, harvest when the "ground spot" changes from white to creamy yellow, indicating peak sugar accumulation.
Handle all produce with care to avoid bruising, which releases ethylene gas and accelerates spoilage. For "day-one" freshness, harvest in the early morning when turgor pressure is at its highest. Immediately submerge harvested greens in a cold-water bath to remove field heat; this process, known as hydro-cooling, slows the metabolic rate and preserves the crispness of the cell walls.
FAQ:
What is the best material for a rolling tool pouch?
Look for 1200D ballistic polyester or heavy-duty canvas. These materials resist punctures from sharpened steel tools and withstand UV degradation. Ensure the base is waterproof to prevent moisture wicking from wet soil into your specialized electronic meters.
How do I prevent tool rust in storage?
Keep a small container of silica gel or a light coating of mineral oil on all carbon steel blades. Wipe tools down after every use to remove sap and acidic soil particles that accelerate oxidation and pitting of the metal surfaces.
Why is wheel size important for garden storage?
Large, 8-inch to 10-inch diameter wheels are necessary for navigating soft loam and mulched paths. Small wheels will sink into the substrate, causing physical strain for the gardener and damaging the soil structure through localized compaction and pore collapse.
Can I store liquid fertilizers in my tool pouch?
Only if stored in sealed, airtight HDPE containers. Many fertilizers are corrosive to metal zippers and tool blades. Store them in a dedicated, upright compartment to prevent leaks that could contaminate your hand tools or ruin the pouch fabric.