7 Cozy Ways How to Build a Fire Pit Area
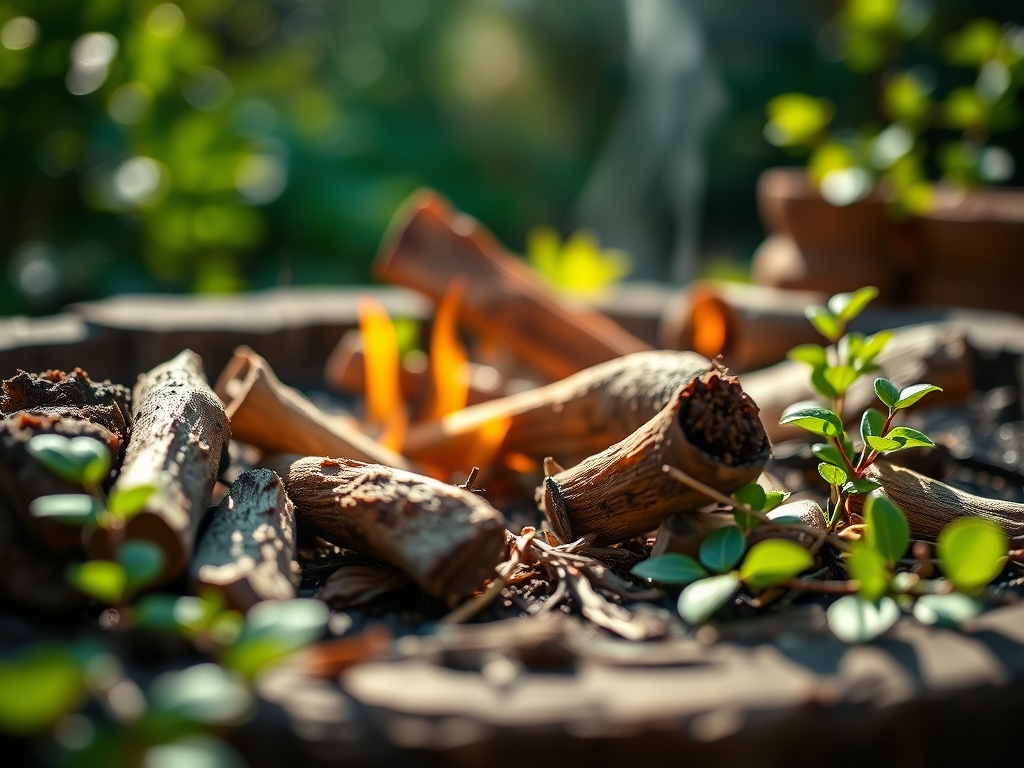
The smell of damp earth and the firm turgor of a healthy leaf define the boundary where a garden meets the hearth. Constructing a functional outdoor space requires more than aesthetic placement; it demands an understanding of soil compaction and thermal dynamics. When you learn how to build a fire pit area, you are managing a microclimate within your landscape. The heat output from a standard wood fire can exceed 1,200 degrees Fahrenheit, affecting the moisture levels of the surrounding rhizosphere and potentially scorching nearby foliage. This process begins with a site assessment that prioritizes safety and structural integrity. You must account for the subterranean life and the root systems that anchor your perimeter plants. A successful installation balances the hardscape requirements with the biological needs of the surrounding flora. By integrating thermal mass with proper drainage, you ensure that the area remains stable through freeze-thaw cycles. This guide provides the technical framework to execute a build that respects both the laws of thermodynamics and the principles of horticultural science.
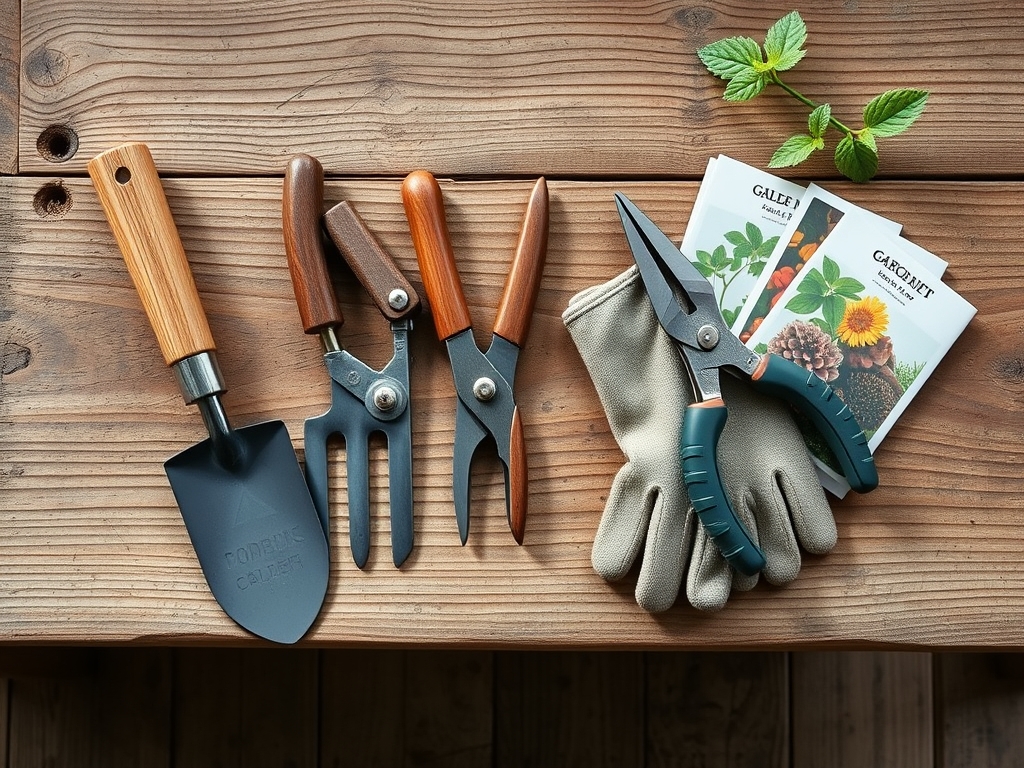
Materials:
The foundation of any fire pit area is the substrate. For the surrounding planting beds, aim for a **friable loam** with a **pH between 6.0 and 7.0**. This range ensures optimal nutrient availability through high **Cation Exchange Capacity (CEC)**. The base of the fire pit itself requires **Class 5 crushed limestone** or a similar aggregate that provides a stable, non-shifting surface. Avoid using river rocks or unsealed porous stones inside the pit; trapped moisture can lead to thermal expansion and stone fracturing.
For the perimeter vegetation, utilize a balanced NPK ratio of 10-10-10 during the initial establishment phase to support root development and cellular structure. If you are planting near the heat zone, incorporate organic matter to increase the water-holding capacity of the soil. The physical texture should allow for macropore space, permitting oxygen to reach the roots while maintaining enough density to prevent erosion. Use geotextile fabric beneath your gravel or pavers to prevent soil migration into your drainage layers.
Timing:
The ideal window for this project is during the dormant season or early spring, specifically in Hardiness Zones 4 through 8. You must complete the heavy excavation before the ground reaches its first hard frost. In terms of the biological clock, planting the surrounding greenery should coincide with the transition from the end of dormancy to the early vegetative stage. This allows the root systems to establish before the heat of summer or the intense thermal stress of regular fire use.
Monitor the photoperiod to ensure your selected plants receive the required six to eight hours of sunlight. If you are working in late autumn, ensure all transplanting is finished at least six weeks before the average first frost date. This timing allows for sufficient root respiration and carbohydrate storage before the plant enters senescence.
Phases:

Sowing the Perimeter
When establishing a grass or groundcover border, ensure the seed-to-soil contact is maximized. For cool-season grasses, a soil temperature of 55 to 65 degrees Fahrenheit is required for germination. Spread the seed at a rate of 6 to 8 pounds per 1,000 square feet.
Pro-Tip: Maintain consistent moisture to prevent the desiccation of the radicle. This is vital because mycorrhizal symbiosis begins at this stage; the fungi attach to the young roots to extend the plant's reach for water and phosphorus.
Transplanting Specimen Plants
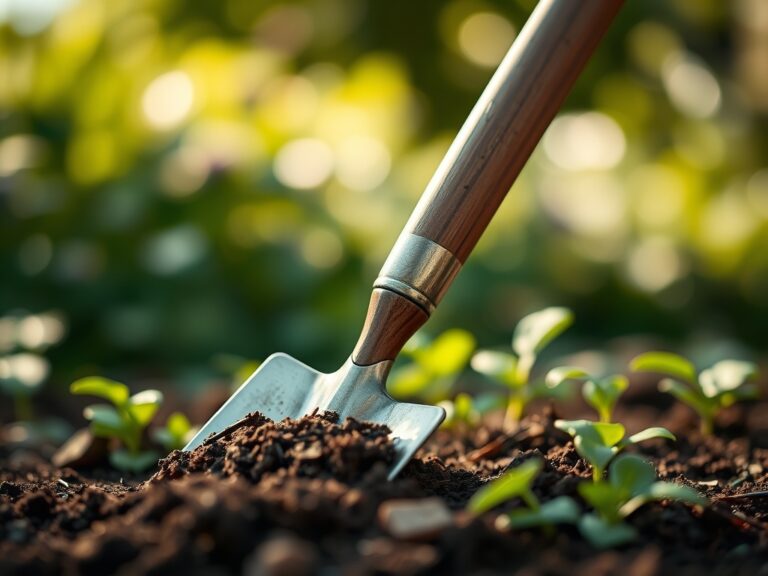
When moving shrubs or perennials into the fire pit area, dig a hole twice as wide as the root ball but no deeper. Ensure the root flare is visible at the soil surface to prevent stem rot. Backfill with native soil to maintain consistent bulk density.
Pro-Tip: Avoid heavy pruning immediately after transplanting to prevent auxin suppression. The plant needs these hormones, produced in the terminal buds, to signal the roots to grow and colonize the new soil volume.
Establishing the Hardscape
Excavate the fire pit area to a depth of 8 inches. Fill the first 4 inches with compacted gravel, followed by a 2-inch layer of leveling sand. Lay your pavers or fire-rated bricks, ensuring a level surface to prevent structural failure over time.
Pro-Tip: Use a polymeric sand in the joints. This material creates a semi-permeable bond that resists weed growth while allowing for slight thermal expansion, protecting the integrity of the pavers during high-heat events.
The Clinic:
Physiological disorders can occur when plants are subjected to the microclimate changes of a fire pit.
- Leaf Scorch: Symptoms include browning of the leaf margins. This is caused by excessive transpiration where the roots cannot supply water fast enough to replace what is lost to the heat. Solution: Increase irrigation frequency and install a heat-reflective barrier or move the plant further from the heat source.
- Nitrogen Chlorosis: Symptoms appear as a general yellowing of older leaves while veins remain green. This indicates a lack of mobile nitrogen. Fix-It: Apply a quick-release high-nitrogen fertilizer (20-0-0) to restore chlorophyll production.
- Soil Compaction: Symptoms include stunted growth and water pooling. This occurs from heavy foot traffic around the fire pit. Solution: Use a core aerator to remove soil plugs and improve gas exchange in the rhizosphere.
- Iron Deficiency: Symptoms show as interveinal chlorosis on new growth, often caused by high soil pH. Fix-It: Apply chelated iron and use elemental sulfur to lower the pH to the 6.5 range.
Maintenance:
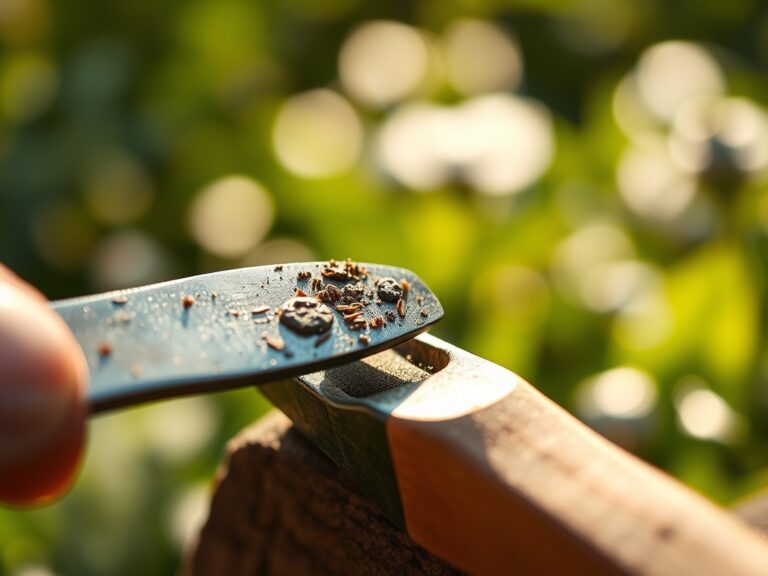
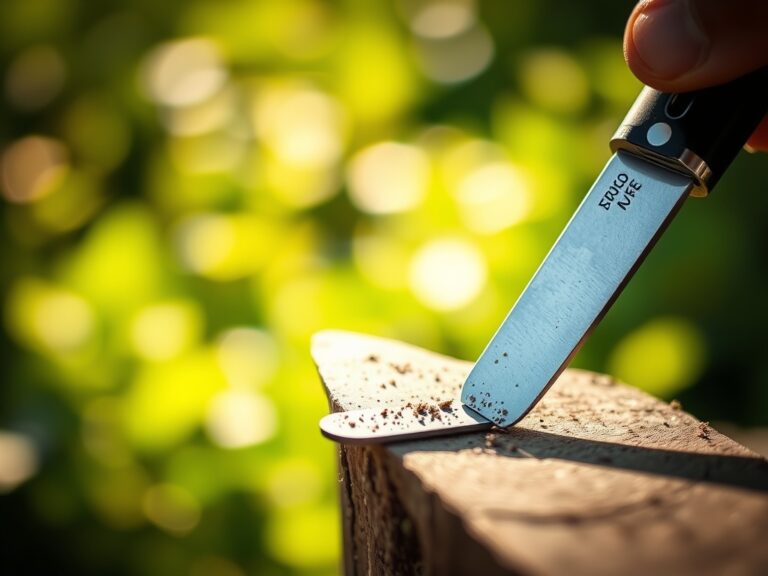
Precision is the key to longevity. Provide 1.5 inches of water per week at the drip line of all surrounding plants; use a soil moisture meter to ensure the water reaches a depth of 6 inches. During the growing season, use a hori-hori knife to remove deep-rooted weeds that compete for nutrients.
Prune any overhanging branches with bypass pruners to maintain a safety clearance of at least 10 feet above the fire pit. Check the structural integrity of the pit walls annually. If stones show signs of spalling or cracking, replace them immediately to prevent collapse.
The Yield:
If your fire pit area includes edible landscaping such as rosemary or lavender, harvest during the morning when turgor pressure is at its peak. This ensures the highest concentration of essential oils. Use sharp snips to take no more than one-third of the plant at a time. For "day-one" freshness, place the stems in a glass of water immediately or bundle them for drying in a well-ventilated area away from direct sunlight.
FAQ:
How deep should the fire pit base be?
Excavate to a total depth of 8 inches. This allows for 4 inches of compacted sub-base gravel, 2 inches of leveling sand, and the thickness of your fire-rated pavers to ensure structural stability and proper drainage.
Can I build a fire pit over tree roots?
No. Heat from the fire can cause cambium damage and root desiccation. Additionally, fire pits built over roots can ignite subterranean "root fires" or cause the tree to become unstable due to localized root death.
What is the best stone for a fire pit?
Use kiln-fired fire bricks or dense volcanic rock. Avoid porous stones like limestone or river rock, as they contain moisture pockets that can expand and explode when subjected to rapid thermal increases.
How far should plants be from the fire?
Maintain a minimum distance of 5 to 7 feet for low-growing perennials and 15 feet for overhanging tree canopies. This prevents thermal leaf scorch and reduces the risk of accidental ignition from stray embers.