7 Modern Steps to Build a Tool Organization Website
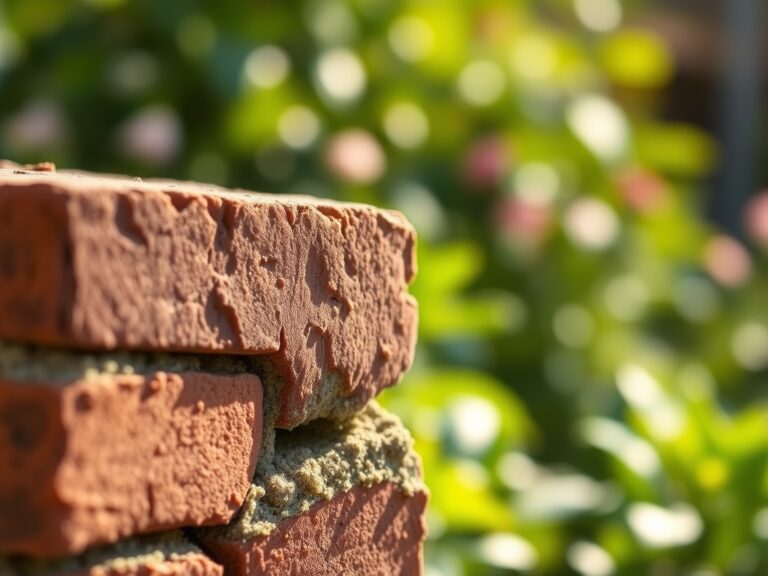
Crushed basalt grit and the sharp scent of disturbed humus signal a shift in the landscape. When the turgor pressure of your perennials remains high but the workspace remains chaotic; the efficiency of the entire operation collapses. Learning how to prepare a garden for a tool organization site requires more than just clearing a patch of dirt. It demands a rigorous assessment of soil stability and moisture management to ensure that any structure, whether a shed or a rack system, does not succumb to frost heave or fungal rot. You must treat the footprint of your tool site with the same scientific scrutiny as a seedbed. This means evaluating the Cation Exchange Capacity (CEC) of the underlying substrate to understand how it will react to compaction and drainage. A stable tool site begins with a level, well drained foundation that prevents moisture from wicking into handles and blades. By stabilizing the rhizosphere beneath your storage area, you protect the high carbon steel of your implements from the oxidative stress caused by rising ground vapors.
Materials:
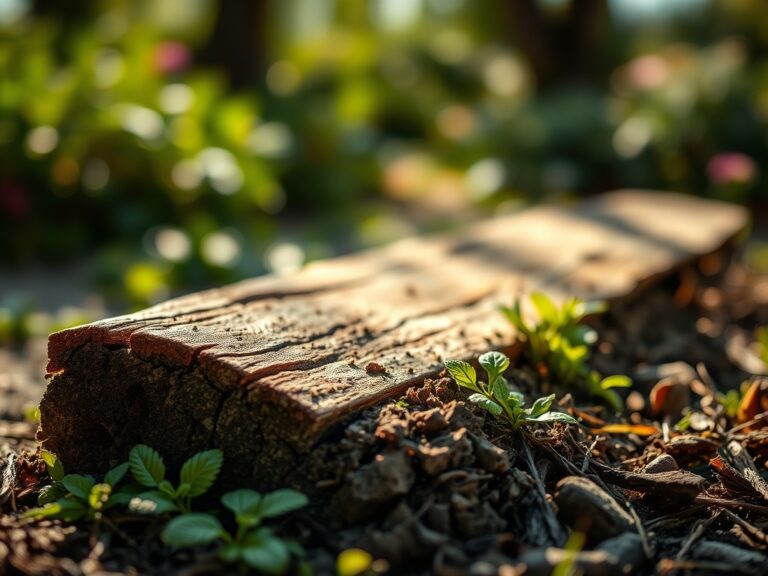
The foundation of a tool organization site requires a substrate that resists the organic decomposition typical of a planting bed. While a vegetable patch thrives in a **friable loam** with a pH of 6.5; a tool site requires a more inert, stable profile. You must clear the area down to the subsoil, typically a dense clay or silty layer with a higher mineral content.
For the base layer, utilize a crushed limestone or 3/4-inch minus gravel. This material provides excellent drainage and maintains a neutral to slightly alkaline pH, which can inhibit the growth of certain wood-rotting fungi. If you are integrating small perimeter plantings around the site, ensure the soil NPK ratio is balanced at 5-10-10. This lower nitrogen content prevents excessive vegetative growth that could encroach upon the tool access paths. The physical texture must be coarse enough to allow a percolation rate of at least 1 inch per hour. This prevents the accumulation of standing water which increases the relative humidity around your metal tools; leading to rapid oxidation.
Timing:
Timing the installation of a tool organization site depends heavily on your USDA Hardiness Zone. In Zones 4 through 6, you must complete the excavation before the first "hard freeze," which typically occurs when air temperatures drop below 28 degrees Fahrenheit for more than four consecutive hours. Attempting to level a site during the frost-heave cycle will result in an unstable foundation once the ground thaws.
The biological clock of the surrounding flora also dictates your timeline. Schedule the construction during the plant's senescence phase in late autumn or during early spring dormancy. This minimizes the risk of damaging the root systems of nearby specimen trees or shrubs. By working when the plants are not in a high-growth vegetative state, you reduce the risk of mechanical injury to the vascular cambium. If you must build during the growing season, ensure you do not disrupt the photoperiod-sensitive flowering stages of adjacent crops; as the stress of nearby soil compaction can trigger premature seed production or "bolting."
Phases:

Sowing the Perimeter
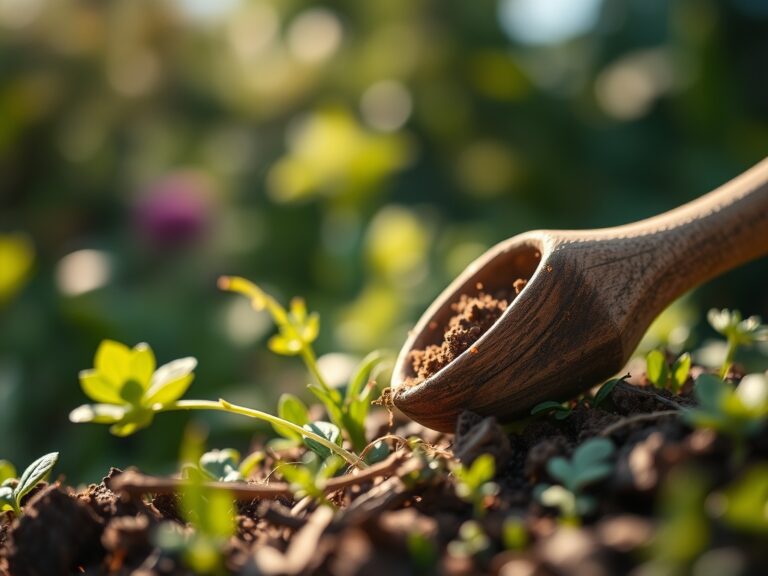
If you are using "living" ground covers to stabilize the edges of your tool site, sow seeds of low-growth species like creeping thyme or micro-clover. These species should be sown at a density of 3 to 5 pounds per 1,000 square feet. Ensure the seed-to-soil contact is firm to encourage rapid germination.
Pro-Tip: Utilize the principle of Mycorrhizal Symbiosis. Inoculate your perimeter seeds with beneficial fungi. These organisms extend the root system's reach; allowing the plants to scavenge phosphorus more efficiently and creating a biological "web" that holds the soil together against erosion near your tool racks.
Transplanting Support Flora
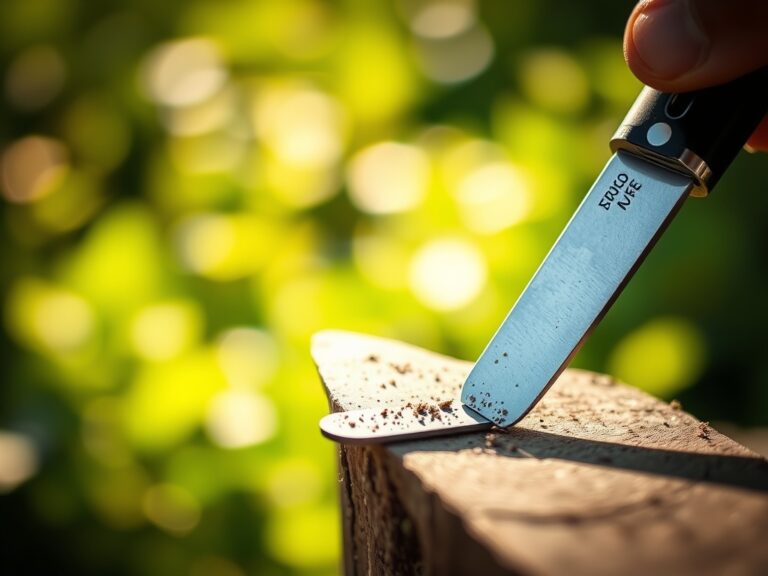
When moving established plants to make room for the tool site, maintain the integrity of the root ball. Use a hori-hori knife to cleanly sever peripheral roots rather than tearing them. Replant at the same depth as the original site to avoid stem rot.
Pro-Tip: Understand Auxin Suppression. When you prune the roots or canopy during a transplant, you disrupt the flow of auxins from the apical meristem. This temporary hormonal shift encourages the plant to focus energy on lateral root development; which is essential for stabilizing the soil around your new structure.
Establishing the Hardscape
The final phase involves the compaction of the base material. Use a plate compactor to reach a 95% Proctor density. This ensures that the weight of heavy machinery or large tool chests will not cause the ground to sink over time.
Pro-Tip: Monitor Phototropism in the surrounding canopy. As you build your tool site, ensure that the structure does not cast a permanent shadow over sun-loving plants. If the site blocks light, the nearby plants will undergo "etiolation," stretching their stems and becoming structurally weak as they seek a light source.
The Clinic:
Physiological disorders in the plants surrounding your tool site often indicate hidden soil issues.
Symptom: Interveinal chlorosis (yellowing leaves with green veins) on nearby shrubs.
Solution: This is often Iron Deficiency caused by a pH spike from the concrete or limestone used in the tool site base. Apply chelated iron and use elemental sulfur to lower the pH to a range of 6.0 to 6.5.
Symptom: Marginal leaf burn or necrosis.
Solution: This indicates Salt Accumulation or drought stress. If you used treated lumber for your tool site, chemicals may be leaching. Flush the soil with 2 inches of water to leach excess salts away from the rhizosphere.
Symptom: Stunted growth and purplish leaf undersides.
Solution: This is a classic Phosphorus Deficiency. Cold soil temperatures or high compaction near the tool site can inhibit phosphorus uptake. Aerate the soil with a broadfork and incorporate bone meal or rock phosphate.
Fix-It for Nitrogen Chlorosis: If the entire leaf turns a pale lime green, apply a high-nitrogen organic fertilizer like blood meal at a rate of 1 pound per 100 square feet. Nitrogen is highly mobile; so ensure you do not over-water and wash the nutrients past the root zone.
Maintenance:
A professional tool site requires rigorous maintenance to remain functional. Monitor the soil moisture around the foundation using a digital soil moisture meter. The goal is to maintain a "field capacity" where the soil is moist but not saturated. For perimeter plants, provide 1.5 inches of water per week delivered at the drip line via drip irrigation to avoid wetting the tool storage area.
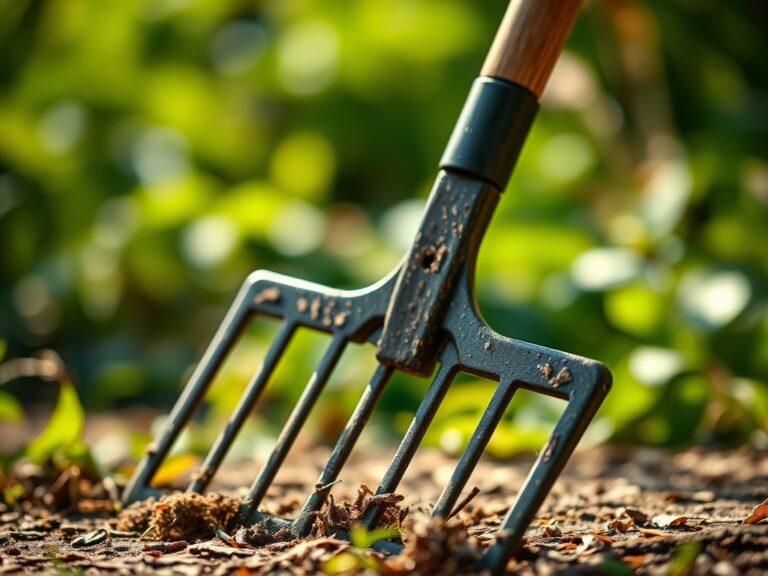
Use bypass pruners to keep the "clearance zone" around your tools free of encroaching vegetation. Any foliage touching the tool site can create a "bridge" for moisture and wood-destroying insects. Every spring, inspect the leveling of your site. If the ground has shifted by more than 0.5 inches, top-dress the area with additional crushed fines to maintain a flat surface. Apply a light coat of camellia oil to your hori-hori knife and bypass pruners after every use to prevent the high humidity of the garden environment from causing pit corrosion.
The Yield:
While a tool site does not produce a caloric yield, its "output" is measured in the longevity of your equipment. A well-prepared site prevents the senescence of wooden handles and the pitting of steel. When harvesting herbs or flowers near the site, do so in the early morning when turgor pressure is at its peak. Use sharp, sterilized snips to make clean vascular cuts. For "day-one" freshness, immediately plunge the stems into 40-degree Fahrenheit water to slow the respiration rate and preserve the volatile oils within the plant tissue.
FAQ:
How deep should I excavate for a tool site?
Excavate to a depth of 6 to 8 inches. This allows for a 4-inch compacted gravel base and a 2-inch leveling layer. Removing the organic "O" horizon prevents settling as the organic matter decomposes over time.
What is the best soil for the perimeter?
Use a sandy loam with a 40-40-20 ratio of sand, silt, and clay. This ensures adequate drainage so that water moves away from your tool organization site rather than pooling near the foundation or structural posts.
Can I build a tool site over tree roots?
Avoid building within the Drip Line of any major tree. Compacting the soil over roots causes "root asphyxiation" by reducing the pore space needed for oxygen exchange. This leads to canopy dieback within two to three seasons.
How do I prevent weeds around my tools?
Install a heavy-duty geotextile fabric (at least 4oz weight) beneath your gravel base. This creates a physical barrier that prevents weed seeds in the seed bank from reaching the surface while still allowing for essential vertical water drainage.