9 Simple Steps to Build a User-Friendly Tool Care Site
The scent of damp earth rising from a freshly turned bed signals a high concentration of geosmin; this organic compound indicates active microbial life within the rhizosphere. Maintaining high turgor pressure in plant tissues requires consistent hydration and structural integrity in the surrounding environment. When learning how to prepare a garden for a tool care site, the primary objective is to stabilize the soil profile to support heavy foot traffic and equipment weight without compromising the drainage capacity of the underlying substrate. A stable, well-drained site prevents the anaerobic conditions that lead to root rot in adjacent plantings.
Establishing a dedicated maintenance zone requires more than just clearing a flat space. You must evaluate the soil's Cation Exchange Capacity (CEC) to ensure the area can handle potential runoff while remaining structurally sound. A high CEC indicates a greater ability to hold nutrients, but for a tool care site, structural compaction resistance is more critical than fertility. You are aiming for a site that balances accessibility with the physiological needs of the surrounding flora. By integrating heavy-duty landscape fabric and a specific aggregate base, you protect the soil structure from the shearing forces of repetitive use.
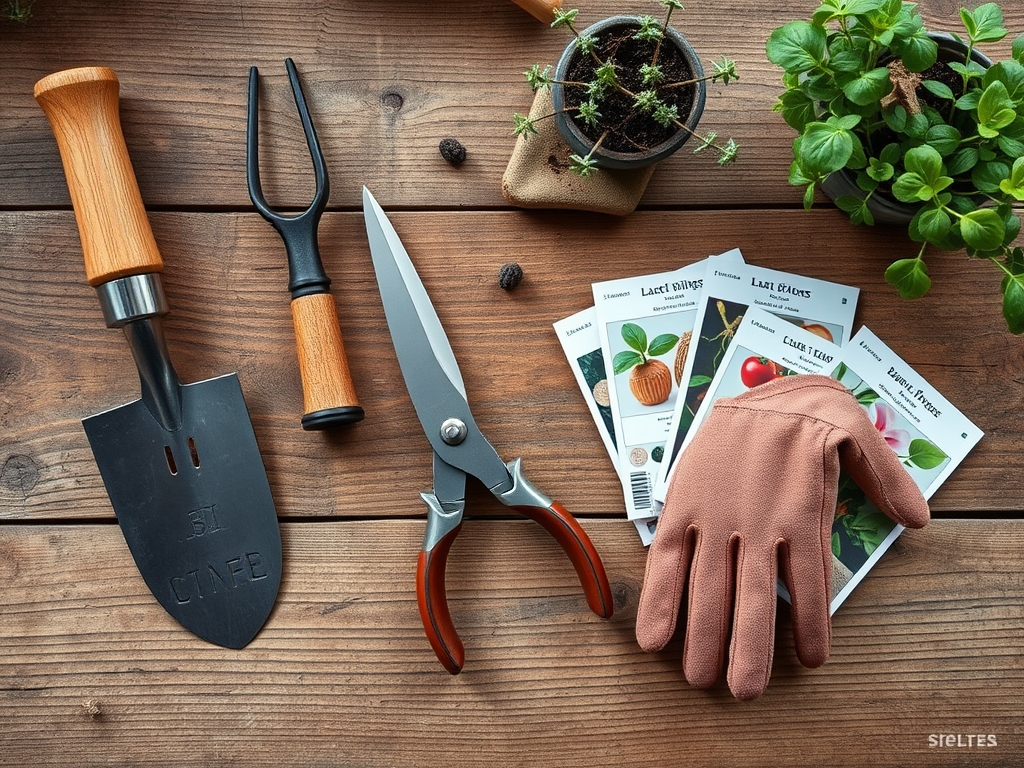
Materials:
The ideal substrate for the surrounding garden beds is a friable loam consisting of 40 percent sand, 40 percent silt, and 20 percent clay. This ratio ensures optimal pore space for oxygen diffusion. For the specific tool care site, you will need crushed limestone or pea gravel to facilitate a drainage rate of at least 2 inches per hour.
- Soil pH: Maintain a range of 6.2 to 6.8 to optimize nutrient availability.
- NPK Ratio: Apply a slow-release 5-10-5 fertilizer to the perimeter to encourage strong root development without excessive vegetative surge.
- Base Layer: 4 inches of compacted 3/4-inch minus crushed rock.
- Surface Layer: 2 inches of decorative gravel or permeable pavers.
- Edging: Steel or heavy-duty composite to prevent lateral soil migration.
Timing:
Hardiness Zones 4 through 8 should initiate site preparation during the shoulder seasons. The ideal window is 3 to 4 weeks before the first autumn frost or 2 weeks after the final spring frost when soil moisture levels allow for compaction without creating a "hardpan" layer. Soil temperature must be at least 55 degrees Fahrenheit to ensure that any peripheral plantings can recover from root disturbance.
Understanding the Biological Clock is essential. Avoid major site construction during the peak reproductive stage of nearby perennials; the transition from vegetative growth to flowering diverts energy away from root repair. Constructing the site during the early vegetative phase or late-season senescence minimizes physiological stress on the garden ecosystem.
Phases:
Sowing the Perimeter
Establish low-growing groundcovers around the tool site to prevent erosion. Seed at a rate of 5 pounds per 1,000 square feet. Ensure seed-to-soil contact by rolling the area with a water-filled drum.
Pro-Tip: Fast germination relies on photoblastism. Certain seeds require light exposure to trigger the hormonal shift from dormancy to active growth; do not bury these seeds deeper than 1/8 inch.
Transplanting Buffer Plants
Move established shrubs to create a windbreak for your tool care station. Dig holes twice as wide as the root ball but no deeper. This prevents the settling of the root flare below the soil line, which causes trunk decay.
Pro-Tip: Use a mycorrhizal inoculant during transplanting. This fosters a mycorrhizal symbiosis where fungal hyphae extend the root system's reach, increasing water absorption by up to 40 percent.
Establishing the Hardscape
Level the site using a transit or laser level. Excavate to a depth of 8 inches. Lay down a non-woven geotextile fabric to separate the subgrade from the aggregate. Compact the base material in 2-inch lifts to achieve maximum density.
Pro-Tip: When pruning back overhanging limbs to clear the site, always cut just outside the branch collar. This preserves the plant's ability to compartmentalize the wound through auxin suppression and rapid callus formation.
The Clinic:
Physiological disorders often arise from the compaction and heat radiation associated with hardscaped tool sites. Monitor the surrounding vegetation for these specific indicators.
- Symptom: Interveinal chlorosis (yellowing leaves with green veins) on new growth.
- Solution: This indicates Iron deficiency, often caused by high pH levels near concrete or limestone bases. Apply chelated iron or elemental sulfur to lower the pH to 6.5.
- Symptom: Leaf scorch or marginal necrosis.
- Solution: Heat radiation from the tool site is causing excessive transpiration. Increase irrigation frequency and install a shade cloth during temperatures exceeding 90 degrees Fahrenheit.
- Symptom: Stunted growth and purplish leaf tints.
- Solution: Phosphorus deficiency is common in cold, compacted soils. Use a soil moisture meter to ensure the ground is not waterlogged, then apply a high-phosphate starter fertilizer.
- Fix-It for Nitrogen Chlorosis: If older leaves turn uniformly pale yellow, the plant is scavenging nitrogen for new growth. Apply a quick-release ammonium sulfate at a rate of 0.5 pounds of N per 1,000 square feet.
Maintenance:
A tool care site requires rigorous upkeep to remain functional. Ensure the surrounding garden receives 1.5 inches of water per week delivered at the drip line. Use a soil moisture meter daily during the first growing season to verify that the aggregate base is not wicking moisture away from the root zones of nearby plants.
Keep your professional tools in peak condition within the site. Use a hori-hori knife to remove deep-rooted weeds that emerge at the gravel's edge. Sharpen your bypass pruners after every use to ensure clean, surgical cuts that heal quickly. If the aggregate settles, top-dress with additional gravel to maintain a level surface, preventing trip hazards and water pooling.
The Yield:
While a tool care site is a structural asset, the "yield" is the longevity of your equipment and the health of the surrounding flora. For any medicinal or edible plants used as a screen, harvest during the early morning hours when turgor pressure is at its peak. This ensures the highest concentration of essential oils and cellular moisture. Use a sharp, sterilized blade to make a clean 45-degree cut, then immediately submerge the stems in 40-degree Fahrenheit water to maintain "day-one" freshness and prevent vascular air embolisms.
FAQ:
How do I prevent weeds from growing in the gravel?
Install a heavy-duty, non-woven geotextile fabric beneath the aggregate. This barrier blocks sunlight and prevents weed seeds in the soil from germinating while allowing water to permeate the rhizosphere below.
What is the best way to level the site?
Remove the topsoil and compact the subsoil first. Use a 2×4 screed board and a carpenter's level to ensure a 1 percent slope away from nearby structures to facilitate proper drainage.
Can I use wood chips instead of gravel?
Wood chips are unsuitable for a tool care site because they decompose, shifting the soil pH and creating a spongy surface. Gravel provides the structural stability and cation exchange neutrality required for long-term use.
How do I protect nearby roots during excavation?
Avoid digging within the Critical Root Zone, which is a radius of 1 foot for every inch of trunk diameter. If roots are encountered, cut them cleanly with a sharp saw to prevent tearing.