7 Arid Benefits of Specialized Cactus Soil
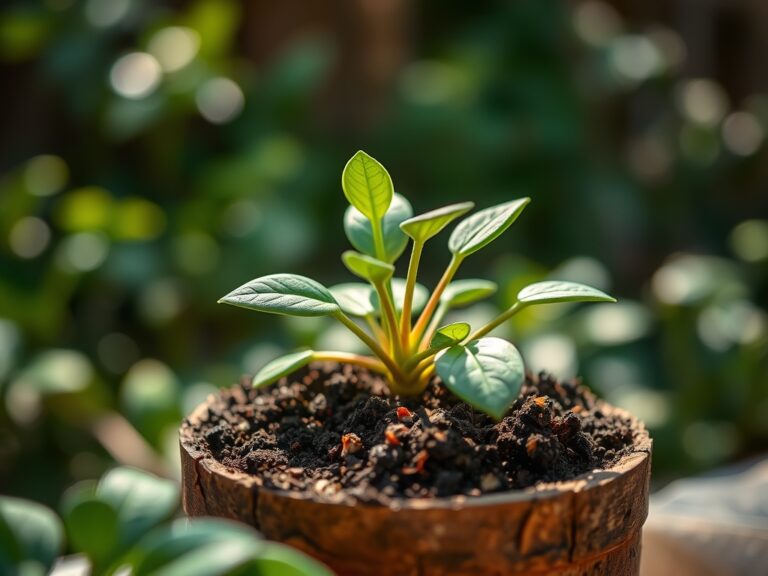
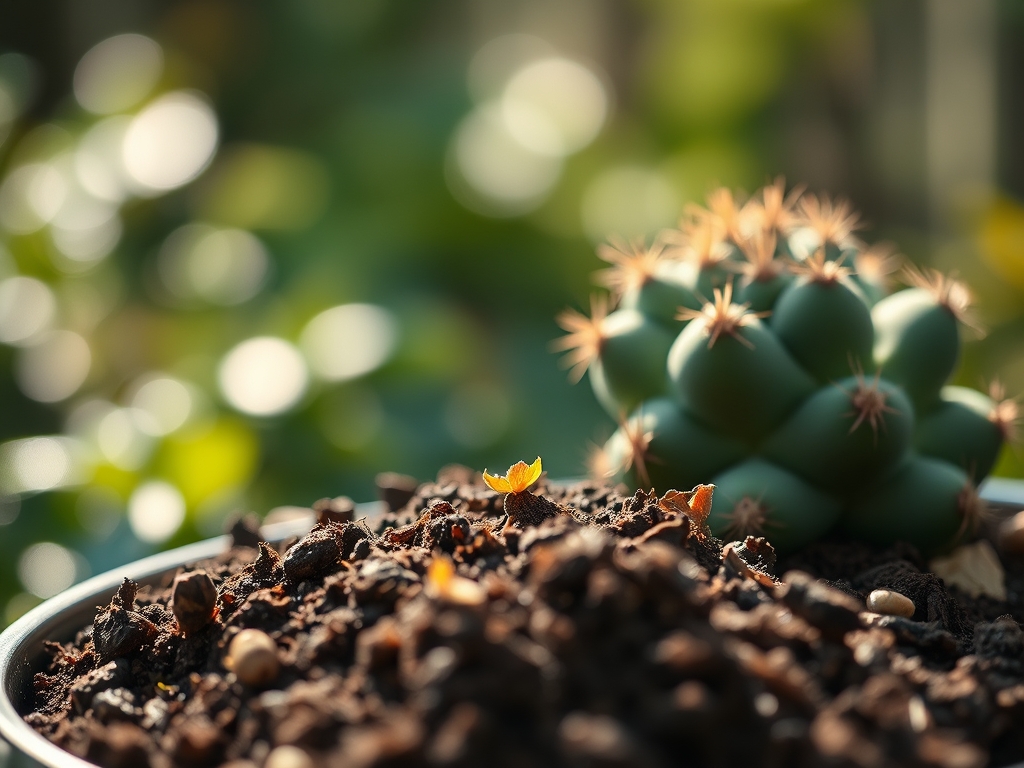
The scent of dry silica and crushed pumice defines a functional arid workspace. When you squeeze a handful of high quality substrate, it should crumble immediately upon release; this lack of cohesion indicates the structural integrity required for desert flora. Using a specialized cactus soil ensures that the rhizosphere remains aerobic even after a heavy saturation event. Proper turgor pressure in a succulent or cactus depends entirely on the osmotic potential of the medium. If the soil retains too much moisture, the cellular walls in the root cortex will succumb to hydrostatic pressure and rupture. This leads to systemic necrosis. By providing a medium with a high macroscopic pore space, you allow for rapid gas exchange. This gas exchange is vital for the metabolic processes that occur during Crassulacean Acid Metabolism (CAM) photosynthesis. In this cycle, the plant opens its stomata at night to minimize transpirational water loss. A dense, peat heavy soil will trap carbon dioxide and moisture at the root zone, leading to acidification and root decline.
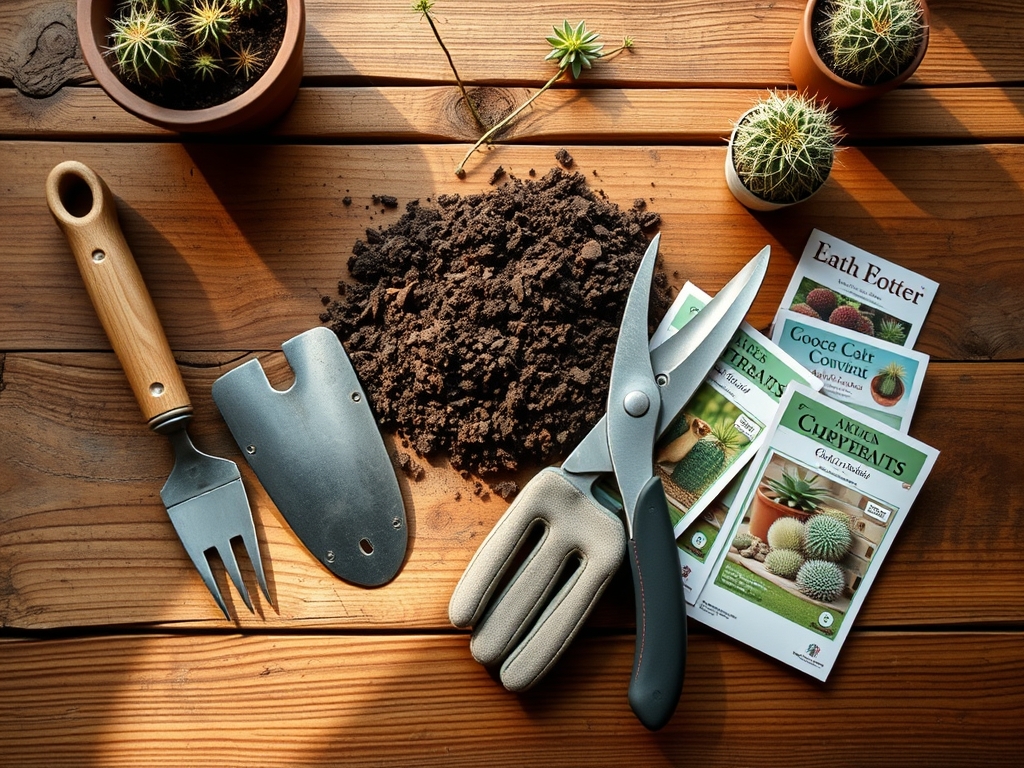
Materials:
The chemical composition of your substrate must prioritize a low Cation Exchange Capacity (CEC) to prevent nutrient toxicity. Aim for a **soil pH between 5.5 and 6.5**. Most desert species thrive in slightly acidic environments where micronutrients like iron and manganese are more bioavailable.
The ideal NPK ratio for a specialized cactus mix is 1-2-2 or 5-10-10. Low nitrogen levels are essential to prevent "etiolation," which is the weak, elongated growth caused by excessive vegetative stimulation. The physical texture should be a friable loam consisting of:
- 40% Inorganic Grit: Pumice, perlite, or decomposed granite (3mm to 6mm particle size).
- 30% Coarse Sand: Horticultural grade washed river sand.
- 30% Organic Matter: Well aged compost or coconut coir (avoid uncomposted bark which robs nitrogen).
Timing:
Cultivation schedules must align with USDA Hardiness Zones 9 through 11 for outdoor specimens; however, indoor cultivation relies on the "Biological Clock" of the specific genus. Most cacti enter a vegetative growth phase when daylight exceeds 12 hours and ambient temperatures remain consistently above 65 degrees Fahrenheit.
The transition from vegetative to reproductive stages (flowering) is often triggered by a period of winter dormancy. During this phase, which typically occurs between November and February, irrigation should be reduced by 90%. This stressor encourages the plant to shift its energy from biomass production to seed development. Failure to respect this dormancy period results in a lack of blooms and a weakened immune system.
Phases:
Sowing
When starting from seed, use a sterilized version of your specialized mix. Surface sow the seeds and apply a thin layer of fine grit to hold them in place. Maintain a constant temperature of 75 degrees Fahrenheit.
Pro-Tip: Utilize a heat mat to stimulate mycorrhizal symbiosis. These beneficial fungi colonize the emerging radicle and increase the surface area for nutrient absorption by up to 100 times.
Transplanting
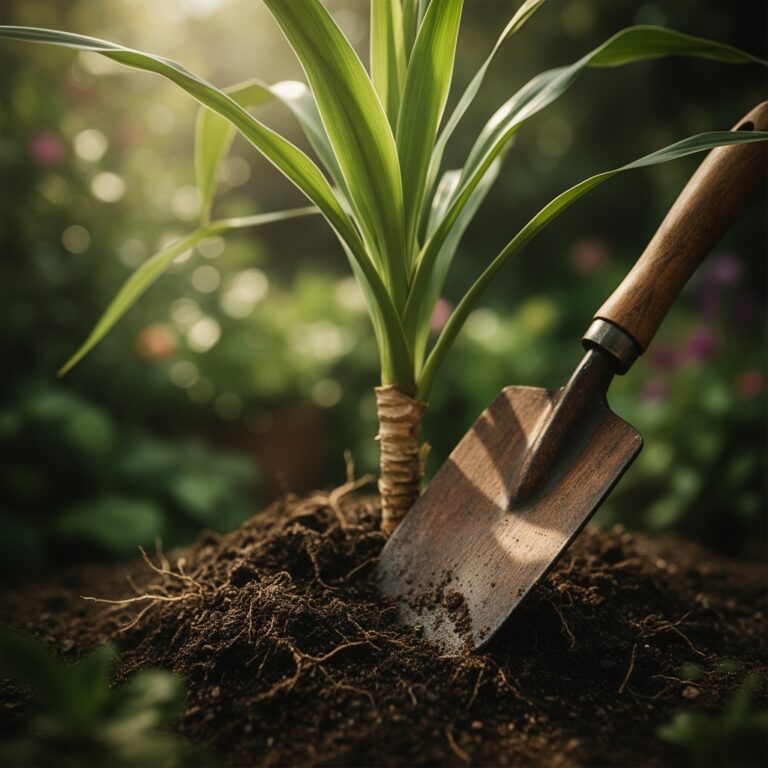
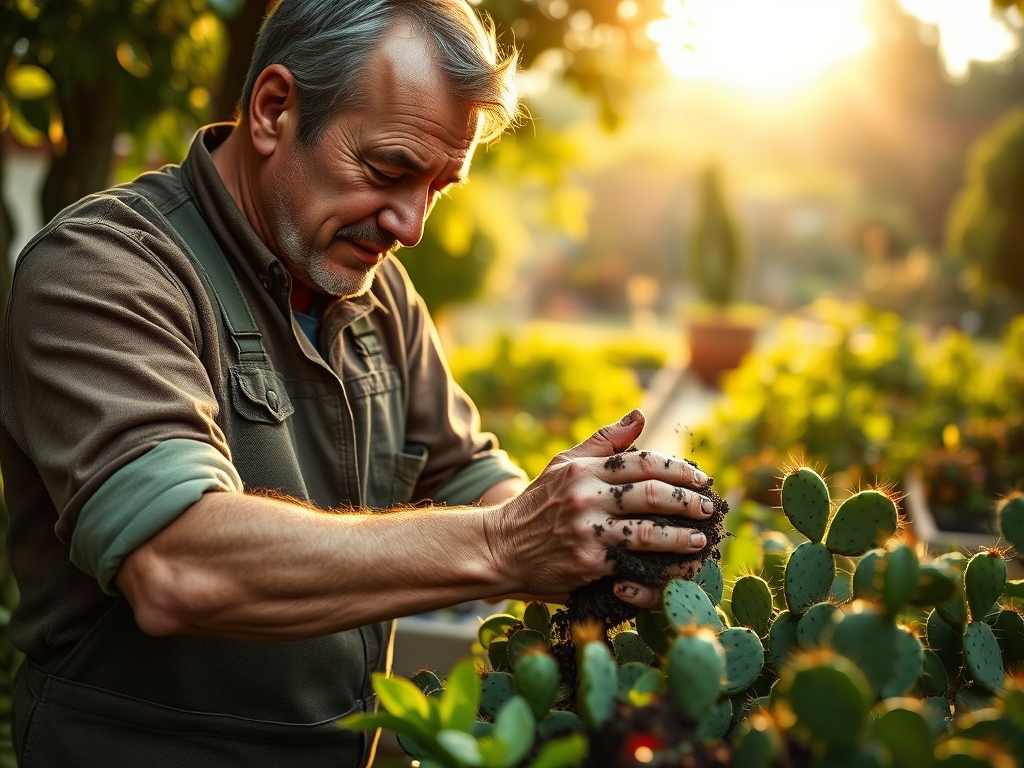
Move plants only when the roots have filled the current container. Using a specialized cactus soil during this phase is critical to prevent transplant shock. Ensure the root ball is dry before moving.
Pro-Tip: Avoid watering for 7 to 10 days after transplanting. This allows any roots damaged during the move to callous over, preventing pathogens from entering the vascular system through open wounds.
Establishing
An established plant shows new growth at the apical meristem. During this phase, light intensity should be increased gradually to avoid photoinhibition.
Pro-Tip: Maintain high light levels to manage auxin suppression. High light prevents the hormone auxin from accumulating in the tip, which keeps the plant compact and structurally sound rather than leggy.
The Clinic:
Physiological disorders in cacti are often misdiagnosed as fungal infections when they are actually environmental.
- Symptom: Edema. Small, corky blisters on the epidermis.
- Solution: Reduce humidity and increase airflow. This is caused by the plant taking up water faster than it can transpire it.
- Symptom: Etiolation. Pale, thin, stretching growth.
- Solution: Increase light exposure to at least 10,000 lux. This is a permanent structural change; you must prune the stretched growth to restore the plant's form.
- Symptom: Basal Rot. Mushy, brown tissue at the soil line.
- Solution: Immediate surgery. Use a sterilized blade to cut away necrotic tissue until only healthy green flesh remains. Replant in a 100% inorganic grit medium until new roots form.
Fix-It: Nitrogen Chlorosis
If the plant turns a pale yellow starting from the base, it lacks nitrogen. Apply a water soluble fertilizer at half strength with an NPK of 5-10-10. The yellowing should reverse within 14 days as chlorophyll production resumes.
Maintenance:
Precision is the difference between a surviving plant and a thriving one. Use a soil moisture meter to verify that the substrate is 100% dry through the entire profile before adding water. For an average 6 inch pot, apply approximately 0.5 liters of water directly to the soil surface. Avoid getting water on the plant body to prevent fungal pathogens.
Every spring, use a hori-hori knife to check for soil compaction around the edges of the pot. If the soil has become a solid mass, use the serrated edge to gently loosen the outer inch of the root ball. Use bypass pruners to remove any dead or "senescent" (dying) limbs or spent flower stalks. This directs the plant's energy toward new growth rather than maintaining failing tissue.
The Yield:
For those growing fruiting species like Opuntia (Prickly Pear) or Hylocereus (Dragon Fruit), harvest timing is determined by color density and "give." A fruit is ready when it detaches with a slight twist. To maintain "day-one" freshness, harvest in the early morning when the plant's turgor pressure is at its peak. Use a sharp knife to cut the fruit with a small portion of the stem attached; this prevents the fruit from drying out or rotting at the attachment point. Store at 50 degrees Fahrenheit to slow down the metabolic breakdown of sugars.
FAQ:
Why is my cactus turning yellow at the top?
This is likely photo-oxidation from sudden high light exposure. Move the plant to a shaded area and gradually reintroduce it to direct sun over 14 days. Ensure you are using a specialized cactus soil to provide proper micronutrients.
How often should I fertilize my desert plants?
Apply a low nitrogen, liquid fertilizer once every 4 to 6 weeks during the active growing season (March through September). Never fertilize during winter dormancy, as the plant cannot process the minerals, leading to salt buildup in the rhizosphere.
Can I use regular potting soil for my cactus?
No. Standard potting soil contains too much peat, which retains moisture for up to 20 days. This creates an anaerobic environment that suffocates cactus roots. Specialized mixes drain within minutes, mimicking the natural desert floor.
What is the white fuzzy stuff on my plant?
If it is localized in the nooks of the plant, it is likely mealybugs. If it is a uniform coating, it may be "epicuticular wax," a natural defense against UV rays. Use a cotton swab with 70% isopropyl alcohol to test; bugs will dissolve.