9 Best Stones for a Dry Creek Bed
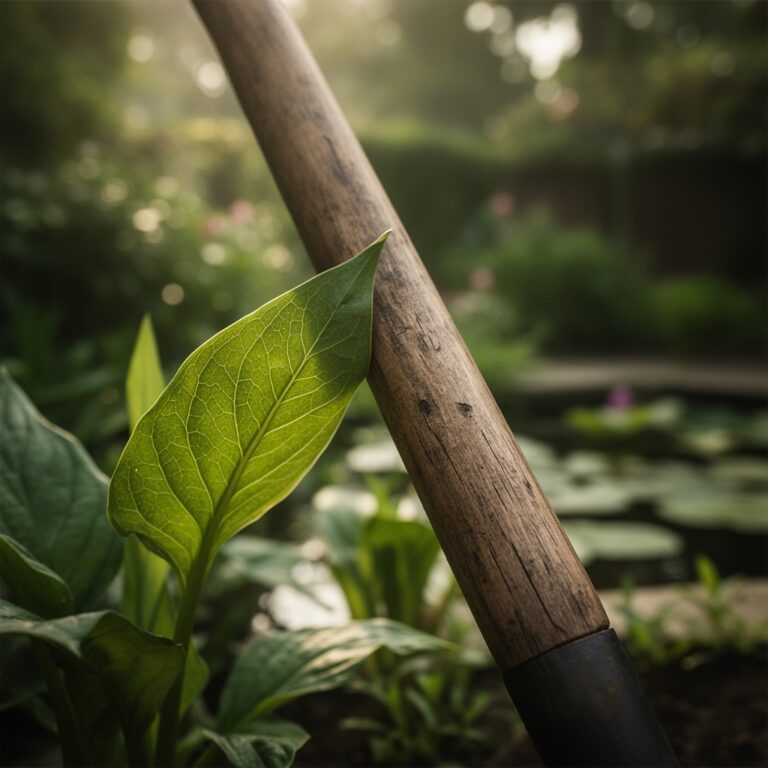
Crushed stone dust and the metallic scent of damp granite signal the start of a functional hydraulic landscape. A dry creek bed is not merely an aesthetic choice; it is a critical piece of site engineering designed to manage surface runoff and mitigate soil erosion. To achieve maximum efficiency, selecting the best stones for a dry creek bed requires an understanding of fluid dynamics and geology. The goal is to create a channel that maintains structural integrity under high-velocity water flow while preventing the saturation of the surrounding root zones. Proper stone selection ensures that water moves away from the foundation of the home and toward designated drainage areas without scouring the underlying soil profile. When installed correctly, these stones stabilize the earth and provide a transition zone for moisture-loving flora.
Materials:
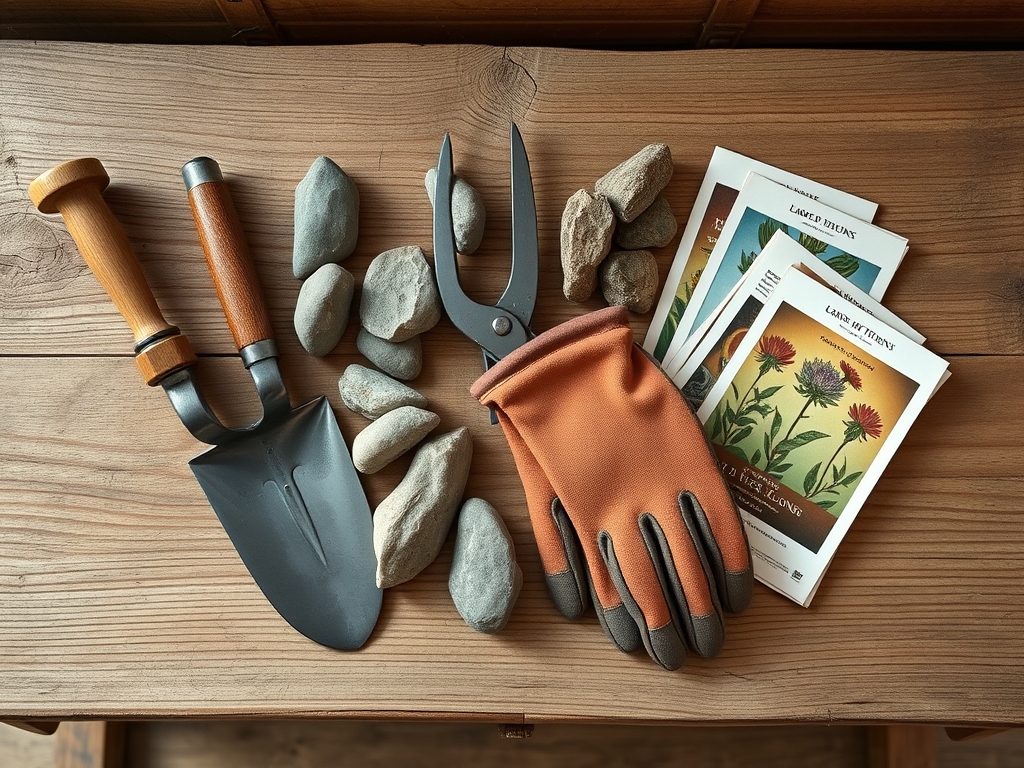
The substrate beneath and surrounding the stones must be a **friable loam** with a high **Cation Exchange Capacity (CEC)** to support peripheral plantings. Aim for a soil pH between **6.0 and 7.0** to ensure maximum nutrient bioavailability. Nitrogen (N), Phosphorus (P), and Potassium (K) levels should be balanced at a **10-10-10 ratio** during the initial site preparation to encourage root establishment in the riparian zone. The best stones for a dry creek bed include:
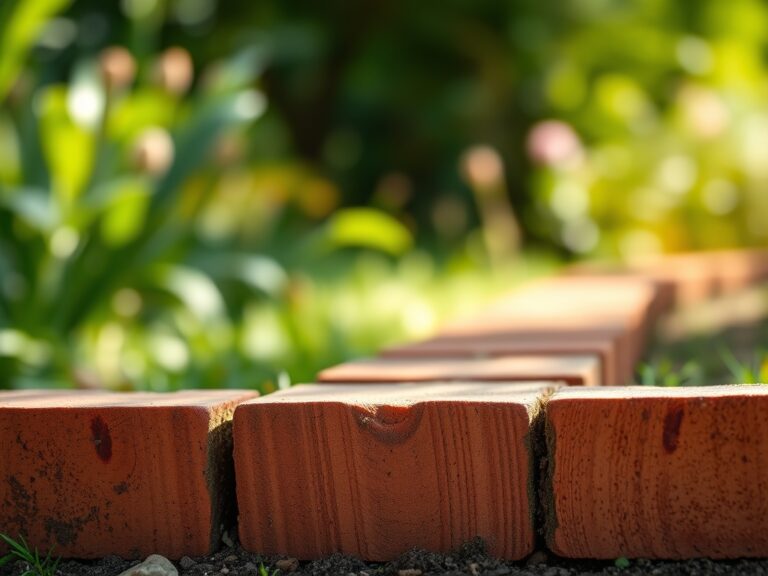
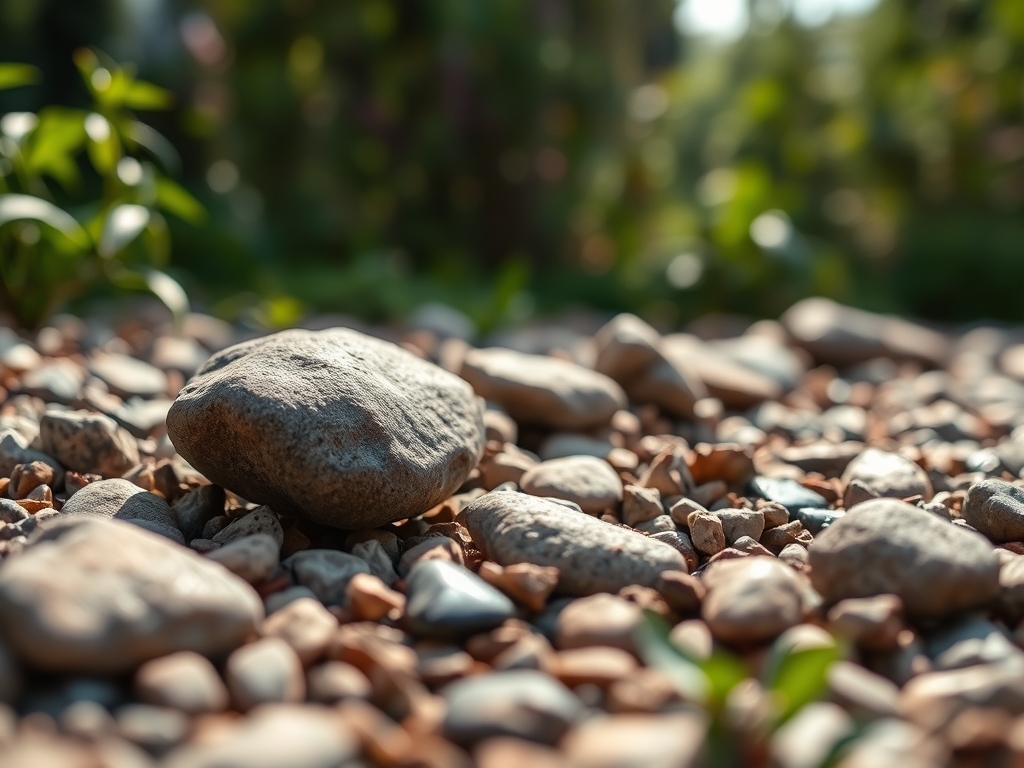
- River Rock: Smooth, rounded stones ranging from 1 to 3 inches in diameter.
- Pea Gravel: Small, 3/8-inch stones used for filling interstitial gaps.
- Fieldstone: Large, weathered boulders for anchoring the "bends" in the creek.
- Slate Chips: Flat, angular stones that lock together to prevent sliding on slopes.
- Granite Riprap: Heavy, jagged stones used for high-velocity water areas.
- Cobblestone: Medium-sized, rounded rocks that mimic a natural stream bed.
- Lava Rock: Highly porous stone that increases surface area for beneficial microbes.
- Flagstone: Large, flat pieces used to create "check dams" to slow water.
- Crushed Limestone: Used sparingly to raise pH in acidic soil environments.
Timing:
Installation should occur when the soil is workable and not saturated, typically in Hardiness Zones 4 through 8 during the late dormant season or early spring. This window allows for the stabilization of the ground before the heavy rains of the spring equinox. Monitoring the Biological Clock of surrounding vegetation is vital; construction should ideally be completed before the transition from the vegetative stage to the reproductive stage in local perennials. This timing prevents unnecessary stress on the rhizosphere of established plants. Ensure all earthwork is finished at least four weeks before the first projected frost date to allow the soil to settle and prevent frost heaving from displacing the stones.
Phases:
Sowing the Foundation
Excavate the channel to a depth of at least 12 to 18 inches. Line the trench with a heavy-duty, non-woven geotextile fabric to prevent soil migration into the stone layers. Secure the fabric with 6-inch landscape staples every 2 feet.
Pro-Tip: Use a layer of coarse sand beneath the fabric to improve drainage. This creates a capillary break that prevents anaerobic conditions in the soil, which can lead to root rot in nearby plants due to low oxygen levels.
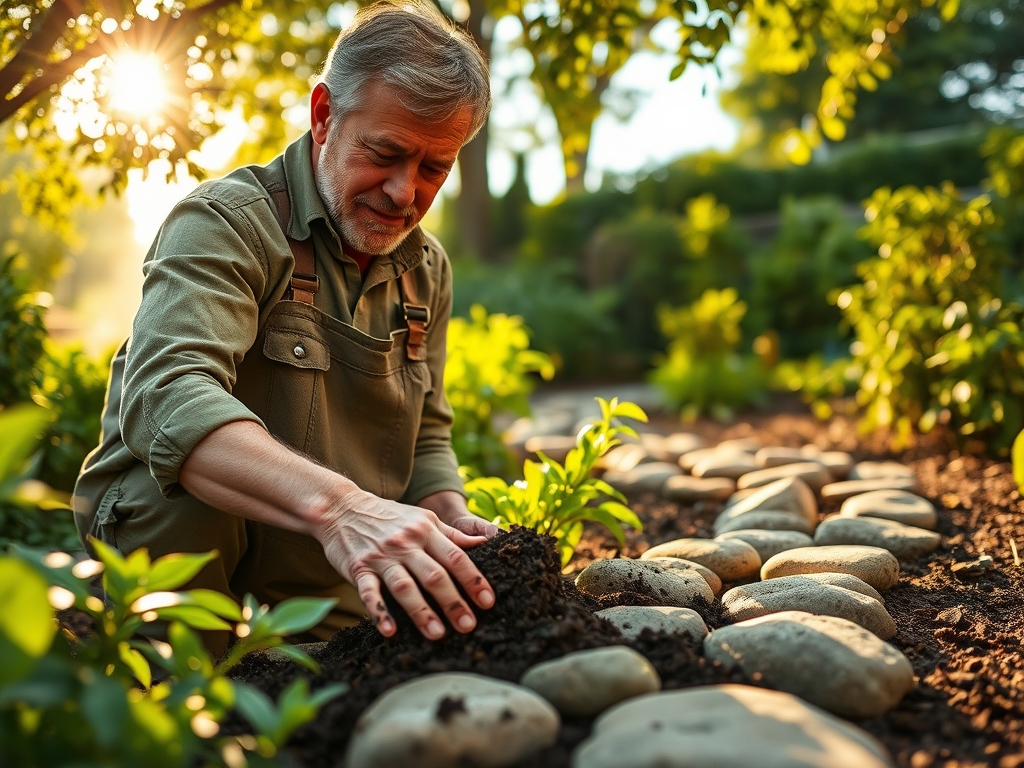
Transplanting Peripheral Flora
When placing plants along the margin, ensure the root ball is level with the surrounding grade. Space plants according to their mature width to avoid overcrowding, which can reduce airflow and increase fungal pathogens.
Pro-Tip: Apply a mycorrhizal inoculant to the root zone during transplanting. This encourages mycorrhizal symbiosis, a fungal-root relationship that increases the surface area for water and nutrient absorption by up to 1,000 percent.
Establishing the Stone Gradient
Place the largest boulders (fieldstone) at the curves and steep drops to act as energy dissipaters. Fill the center of the channel with river rock and use pea gravel to fill the voids. This creates a "nested" structure that resists movement during heavy storms.
Pro-Tip: Use the principle of auxin suppression by pruning back any overhanging tree limbs. This increases light penetration to the creek bed, preventing the growth of moss and algae that can make the stones slippery and impede water flow.
The Clinic:
Physiological disorders in the surrounding landscape often manifest through the foliage. Observe the following symptoms to diagnose issues within the creek bed ecosystem.
Symptom: Interveinal chlorosis (yellowing leaves with green veins) in marginal plants.
Solution: This indicates a high pH or iron deficiency. Apply chelated iron to the soil.
Fix-It: If the soil pH exceeds 7.5, the Cation Exchange Capacity is compromised. Add elemental sulfur at a rate of 5 pounds per 1,000 square feet to lower the pH.
Symptom: Leaf wilting despite adequate soil moisture (loss of turgor pressure).
Solution: This suggests anaerobic soil conditions or "wet feet."
Fix-It: Increase the depth of the drainage channel and replace fine sediment with larger 1-inch clean gravel to improve oxygen diffusion to the roots.
Symptom: Stunted growth and purplish leaf undersides.
Solution: Phosphorus deficiency, often caused by cold soil temperatures or poor drainage.
Fix-It: Incorporate a high-phosphorus fertilizer (NPK 5-20-10) into the rhizosphere to stimulate root development.
Maintenance:
A dry creek bed requires active management to remain functional. Use a soil moisture meter weekly to check the hydration levels of the marginal plants; they typically require 1.5 inches of water per week delivered at the drip line. Use a hori-hori knife to remove any weeds that penetrate the stone layer, ensuring you extract the entire taproot. Prune dead or senescent plant material with bypass pruners to prevent organic debris from clogging the gaps between the stones. Every three years, use a high-pressure hose to flush accumulated silt out of the pea gravel sections to maintain high infiltration rates.
The Yield:
While a dry creek bed is primarily a structural feature, the "yield" is the health of the surrounding micro-ecosystem. If you have planted moisture-loving herbs like mint or lemon balm along the edges, harvest them in the morning when turgor pressure is highest. Use sharp shears to cut just above a leaf node to encourage branching. For "day-one" freshness, immediately submerge the stems in 50-degree Fahrenheit water and store them in a cool, shaded area to slow the rate of respiration and prevent wilting.
FAQ:
Which stone is best for high-velocity water?
Granite riprap or large fieldstone boulders are superior for high-velocity areas. Their weight and angular edges allow them to lock together, resisting the force of moving water and preventing the channel from eroding during heavy rain events.
How deep should a dry creek bed be?
A functional channel should be excavated to a depth of 12 to 18 inches. This allows for a 2-inch base of sand, a geotextile liner, and several layers of graduated stone to manage water volume effectively.
Can I use limestone in my creek bed?
Use limestone with caution. It is composed of calcium carbonate, which will leach into the soil and raise the pH. This can lead to nutrient lockout in acid-loving plants like azaleas or blueberries planted nearby.
How do I prevent weeds in the stones?
Install a heavy-duty, non-woven geotextile fabric beneath the stones. This barrier prevents weed seeds in the soil from germinating while allowing water to pass through. Regular removal of organic debris prevents a new soil layer from forming on top.