10 Pro Steps to Build a Garden Arbor
The smell of damp earth and the tactile turgor of a healthy leaf define the success of a structural garden project. To integrate a vertical element effectively, you must understand the steps to build a garden arbor while respecting the soil biology beneath it. A garden arbor is more than a decorative gateway; it is a structural support system designed to manage the photoperiod requirements and vegetative weight of climbing perennials. Constructing this feature requires a precise alignment of architectural stability and horticultural necessity. You are not merely placing wood in the ground; you are establishing a permanent framework that will influence the rhizosphere of every plant nearby. This guide provides the technical data required to execute the steps to build a garden arbor with the precision of a master soil scientist. Proper installation ensures that the structure survives the lateral forces of wind and the heavy biomass of mature vines. By calculating the load-bearing capacity and understanding the soil cation exchange capacity (CEC), you create an environment where both the timber and the tracheids of your plants thrive.
Materials:
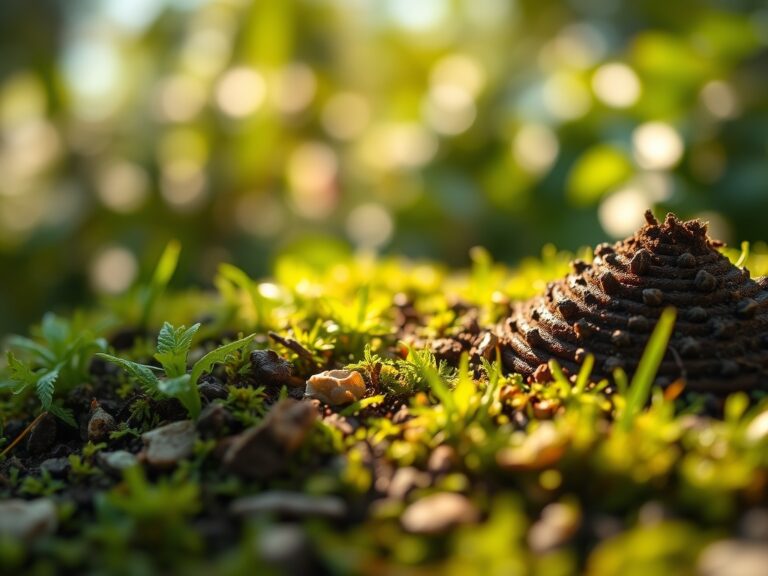
The foundation of a garden arbor begins with the substrate. You require a friable loam with a **pH between 6.0 and 7.0** to ensure nutrient availability for the climbers. Before setting posts, analyze the Soil Cation Exchange Capacity (CEC). A **CEC score of 15 to 25** indicates a high capacity for the soil to hold essential cations like calcium and magnesium. For the biological components, utilize a starter fertilizer with an **NPK ratio of 5-10-5** to prioritize root development over foliage. The physical materials must include pressure-treated **4×4 lumber** rated for ground contact, **80-pound bags of fast-setting concrete**, and galvanized **3-inch deck screws**. Avoid untreated softwoods which succumb to fungal decay in high-moisture environments. The ideal substrate texture should be crumbly; if the soil forms a hard ribbon when squeezed, it contains too much clay and will require organic amendments to improve drainage and prevent root rot in the established climbers.
Timing:
The execution of these steps must align with your specific Hardiness Zone. In Zones 5 through 7, construction should occur during the dormant season, typically between late October and early March. This timing prevents the compaction of the soil during active growth phases and ensures the structure is ready for the spring surge in auxin production. Observe the biological clock of your intended climbers. Most woody vines transition from vegetative to reproductive stages based on the photoperiod. Installing the arbor before the spring equinox allows you to transplant climbers as they break dormancy. This synchronization ensures that the root system can establish itself in the rhizosphere before the plant begins its heavy demand for water and nutrients during the peak summer heat.
Phases:
Sowing and Site Preparation
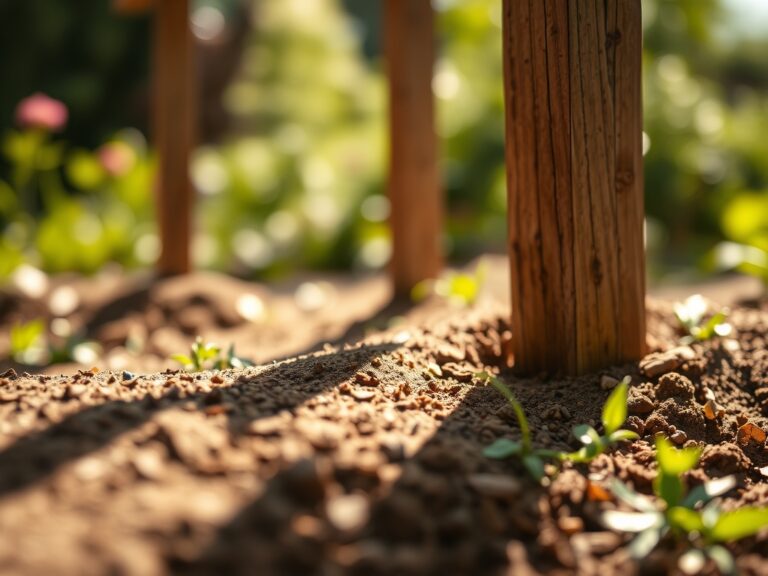
Begin by clearing a 4-foot by 6-foot area. Use a soil moisture meter to ensure the ground is not saturated; digging in wet soil destroys soil structure and leads to anaerobic conditions. Excavate four holes to a depth of 24 inches, or below the frost line in northern latitudes.
Pro-Tip: Maintaining soil porosity is vital because mycorrhizal symbiosis requires oxygen. If you compact the soil during excavation, you inhibit the beneficial fungi that assist the plant in phosphorus uptake.
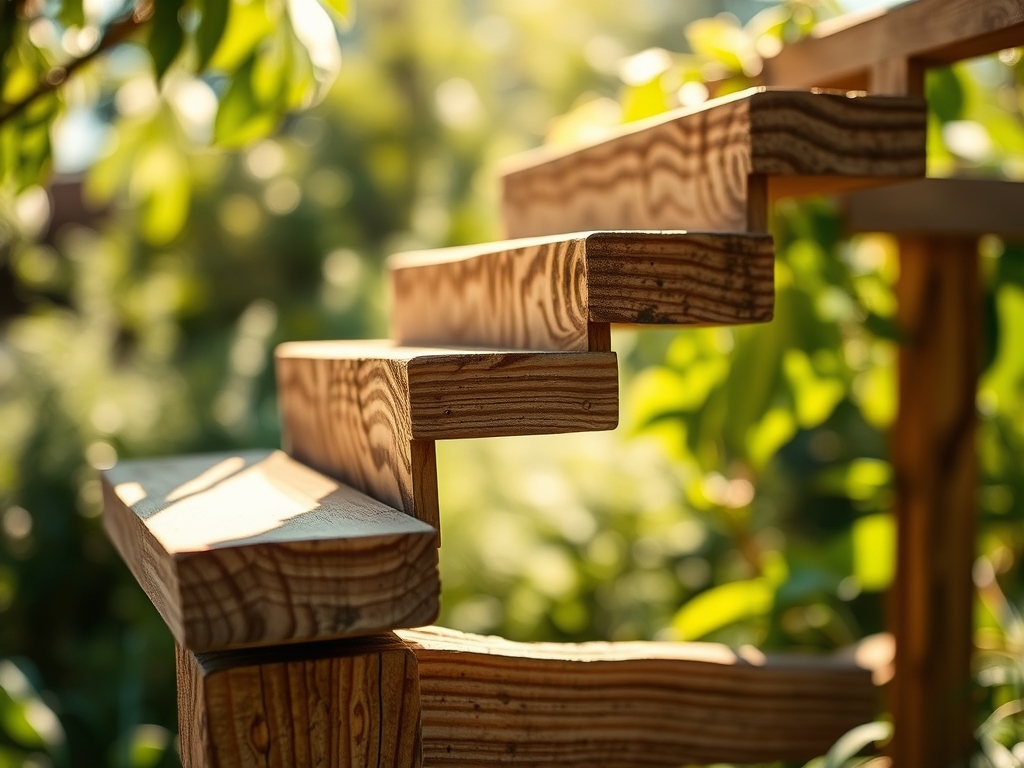
Transplanting and Structural Assembly
Set the posts and level them. Once the concrete has cured for 24 to 48 hours, attach the headers and rafters. When the structure is secure, introduce your climbing plants. Dig a hole twice the width of the root ball. Position the plant 2 inches away from the post to allow for secondary thickening of the stem over time.
Pro-Tip: When positioning the plant, consider phototropism. Ensure the primary shoots are angled toward the sun. This reduces the energy the plant spends on "searching" movements and directs it toward biomass production.
Establishing the Framework
Secure the primary canes to the arbor using soft ties. Do not cinch them tightly; the vascular cambium needs room to expand. Apply a 3-inch layer of organic mulch around the base, keeping it 4 inches away from the main stem to prevent crown rot.
Pro-Tip: Pruning the tips of the vines early in the season triggers apical dominance suppression. By removing the terminal bud, you encourage lateral branching, which results in a fuller, more robust covering of the arbor.
The Clinic:
Physiological disorders often manifest when the arbor environment is not managed correctly.
Symptom: Interveinal chlorosis (yellowing leaves with green veins).
Solution: This indicates a lack of iron or manganese, often caused by high soil pH. Apply a chelated iron drench to lower the pH and restore nutrient mobility.
Symptom: Leaf scorch or marginal necrosis.
Solution: This is frequently a sign of salt accumulation or moisture stress. Increase irrigation frequency and leach the soil with heavy watering to move salts out of the root zone.
Symptom: Stunted growth and purplish stems.
Solution: This is a classic Nitrogen or Phosphorus deficiency. Apply a water-soluble 10-10-10 NPK fertilizer to provide an immediate nutrient boost.
Fix-It for Nitrogen Chlorosis: If the older leaves are turning uniformly yellow, the plant is scavenging nitrogen for new growth. Apply blood meal or a high-nitrogen liquid feed to stabilize the nitrogen cycle in the rhizosphere.
Maintenance:
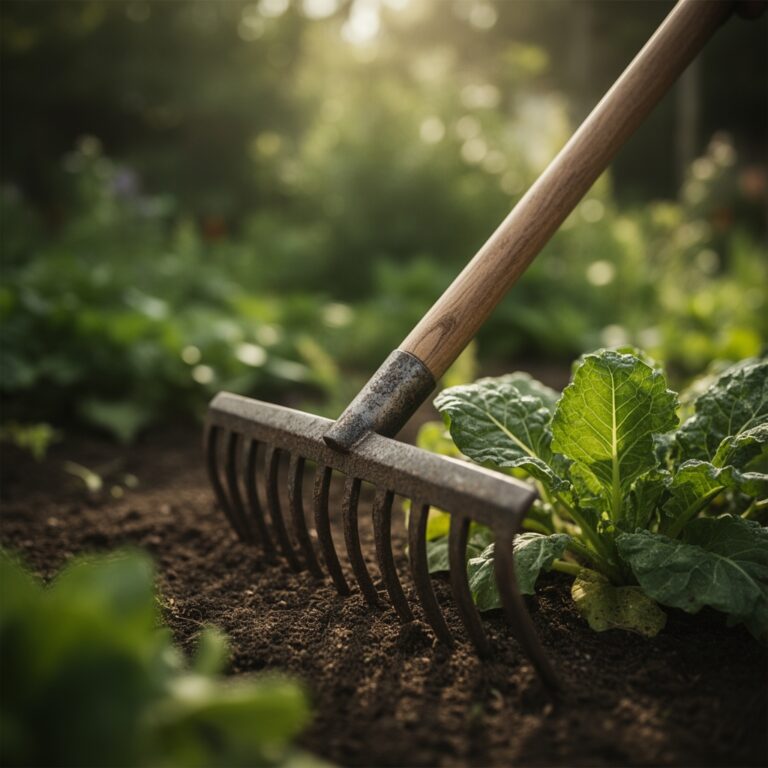
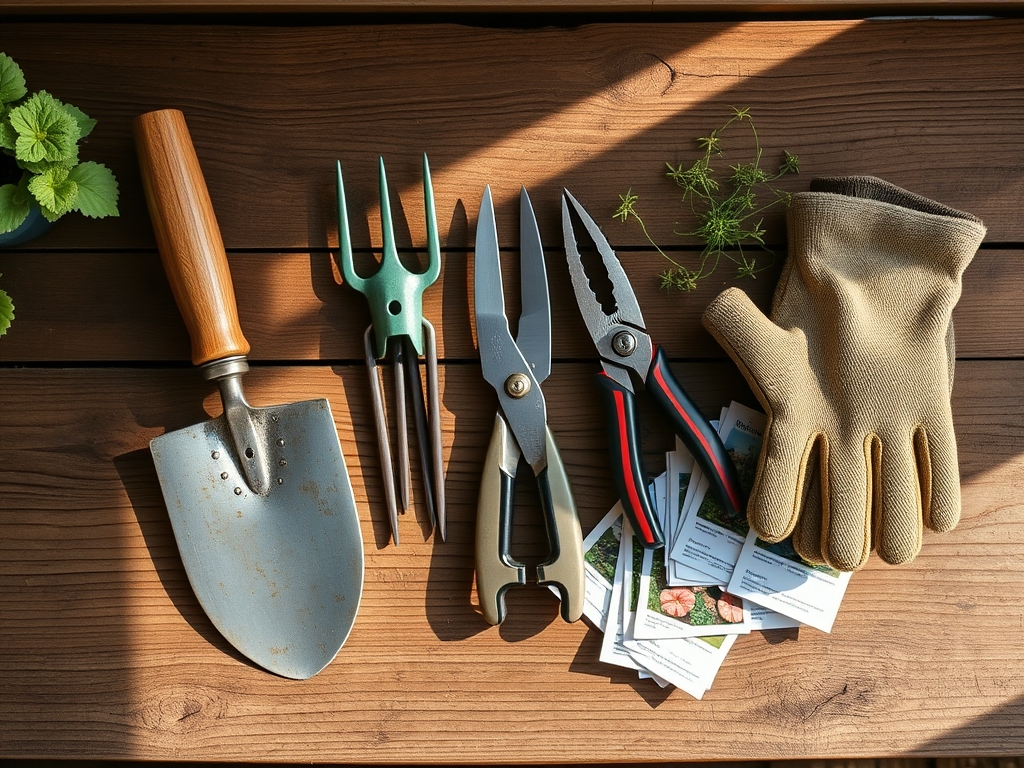
Precision maintenance is the difference between a thriving arbor and a failing one. Provide 1.5 inches of water per week at the drip line, using a soil moisture meter to verify that the moisture has reached a depth of 6 inches. Use a hori-hori knife to remove deep-rooted weeds that compete for nutrients. Every spring, inspect the structure for stability. Use bypass pruners to remove dead, damaged, or diseased wood (the "3 Ds") to prevent the spread of fungal pathogens. During the growing season, check the tension of the ties; if they are restricting the girth of the vine, they must be replaced to prevent girdling, which halts the flow of photosynthates from the leaves to the roots.
The Yield:
When harvesting flowers or fruit from your arbor, timing is dictated by the sugar content and turgor. For floral displays, harvest in the early morning when the cells are at maximum turgor pressure. Use sharp, sterilized shears to make a 45-degree cut, which increases the surface area for water uptake. For edible yields like grapes, wait for the fruit to reach the desired Brix level. Post-harvest, immediately plunge the stems into cool water to maintain "day-one" freshness. This process slows down senescence, the biological aging of the plant tissue, ensuring your harvest remains viable for longer periods.
FAQ:
How deep should arbor posts be buried?
Posts should be buried at least 24 inches deep or below the local frost line. This prevents heaving during freeze-thaw cycles and provides the necessary leverage to support the weight of mature woody vines and wind resistance.
What is the best NPK ratio for arbor vines?
Use a 10-10-10 balanced fertilizer for general maintenance. For flowering vines, switch to a high-phosphorus formula like 5-20-10 in early spring to stimulate bud set and enhance the reproductive phase of the plant's life cycle.
How do I prevent wood rot in my arbor?
Select pressure-treated lumber or naturally rot-resistant species like cedar or redwood. Ensure the concrete footing is sloped away from the post at ground level to shed water and prevent moisture from pooling against the wood grain.
When should I prune vines on an arbor?
Prune most deciduous vines in late winter while they are dormant. This minimizes sap loss and allows you to clearly see the structure. For spring-flowering species, wait until immediately after the bloom cycle to avoid cutting off next year's buds.