5 Charming Ways How to Design a Cottage Garden
The smell of damp earth after a spring rain signifies the reactivation of microbial life in the rhizosphere. You feel the turgor pressure in a thickened Delphinium stem; it is rigid and hydrated. This is the foundation of a functional landscape. Understanding how to design a cottage garden requires moving past aesthetics to master the physiological needs of a dense, multi-layered plant community. Success depends on high planting density and soil structural integrity.
To build this ecosystem, you must balance competition for light and nutrients. A cottage garden is not a random collection of plants. It is a managed succession of perennials, annuals, and biennials that utilize every vertical inch of the growing space. You are managing a high-biomass environment where plant health is dictated by the chemical composition of the substrate and the timing of the seasonal cycle. Precision in soil preparation and species selection ensures the garden remains a productive biological system rather than a chaotic overgrowth.
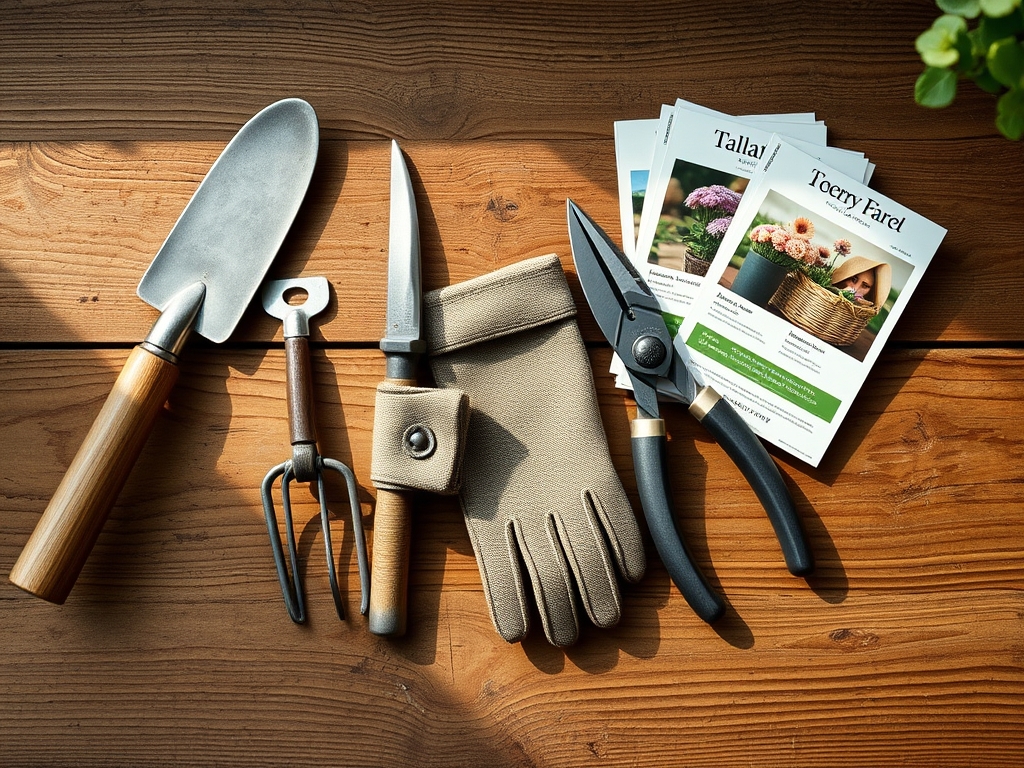
Materials:
The ideal substrate for a cottage garden is a friable loam with a Cation Exchange Capacity (CEC) above 15. This ensures the soil can retain and exchange essential positively charged ions like calcium, magnesium, and potassium. You must target a soil pH between 6.2 and 6.8 to maximize nutrient bioavailability.
For the initial bed preparation, incorporate organic matter to achieve a 5 percent to 8 percent organic carbon content. Specific NPK requirements vary by growth stage, but the baseline establishment requires a balanced 10-10-10 slow-release granular fertilizer. For heavy feeders like roses or peonies, a secondary application of 5-10-10 encourages root development and floral induction without triggering excessive vegetative growth. Ensure the soil texture allows for rapid drainage; water should move through the top six inches at a rate of one to two inches per hour to prevent anaerobic conditions that lead to root rot.
Timing:
Timing is dictated by your specific USDA Hardiness Zone. In Zones 5 through 7, the primary planting window opens when soil temperatures consistently reach 55 degrees Fahrenheit. This temperature threshold triggers the "Biological Clock," transitioning seeds from dormancy to germination and established perennials from winter senescence to active vegetative growth.
Monitor the photoperiod as the season progresses. Many cottage favorites, such as Digitalis (Foxglove), are biennials that require a period of vernalization; exposure to cold temperatures between 32 and 45 degrees Fahrenheit; to trigger the reproductive stage in their second year. Transitioning from the vegetative to the reproductive stage is a hormonal shift driven by the accumulation of "chill hours" and increasing day length. Plan your transplanting to occur at least four weeks before the first autumn frost to allow for root establishment before the plant enters dormancy.
Phases:
Sowing
Direct sow annuals like Nigella or Papaver rhoeas when the soil is workable. These species require a fine-textured seedbed. Lightly rake the seeds into the top 0.25 inches of soil to ensure adequate seed-to-soil contact. Maintain consistent moisture levels to prevent the delicate radicles from desiccating during the initial emergence phase.
Pro-Tip: Use the concept of photomorphogenesis by ensuring light-sensitive seeds are not buried too deep. Some species require specific wavelengths of light to trigger the degradation of abscisic acid, the hormone that maintains seed dormancy.
Transplanting
When moving nursery stock into the garden, dig a hole twice as wide as the root ball but no deeper. This prevents the settling of the crown, which can lead to stem rot. Use a hori-hori knife to tease out any circling roots, ensuring they can grow outward into the surrounding soil matrix.
Pro-Tip: Inoculate the planting hole with endomycorrhizal fungi. This establishes a symbiotic relationship where the fungi extend the root system's reach, increasing the uptake of phosphorus and water in exchange for plant-derived sugars.
Establishing
During the first 21 to 30 days, the focus is on root architecture rather than top-growth. Pinching back the terminal buds of young plants can be beneficial. This removes the source of auxin, a hormone produced in the apical meristem that suppresses the growth of lateral buds.
Pro-Tip: Suppressing apical dominance through strategic pruning forces the plant to become bushier and more structurally sound. This increases the number of flowering sites and improves the overall density of the cottage garden layout.
The Clinic:
Physiological disorders often mimic disease but are usually rooted in environmental stress or nutrient imbalances.
- Symptom: Interveinal Chlorosis. Yellowing between the veins of young leaves while the veins remain green.
- Solution: This indicates an Iron (Fe) deficiency, often caused by a pH above 7.0. Lower the pH using elemental sulfur or apply chelated iron foliar spray.
- Symptom: Blossom End Rot. Dark, sunken leathery spots on the base of fruits or flower buds.
- Solution: This is caused by a Calcium (Ca) deficiency or inconsistent moisture. Maintain a steady watering schedule to ensure the transpiration stream can move calcium to the distal ends of the plant.
- Symptom: Leaf Scorch. Browning and curling of the leaf margins.
- Solution: This is often a sign of Potassium (K) deficiency or high salt accumulation in the soil. Flush the soil with clear water and apply a high-potassium fertilizer.
- Symptom: Stunted Growth with Purple Foliage.
- Fix-It: This indicates Phosphorus (P) deficiency, common in cold, wet soils where P becomes immobile. Use a water-soluble high-phosphorus starter fertilizer to bypass soil binding.
Maintenance:
Precision maintenance is the difference between a thriving garden and a failing one. Deliver 1.5 inches of water per week directly at the drip line using a soaker hose or drip irrigation system to minimize leaf wetness. Use a soil moisture meter to verify that moisture has penetrated six to eight inches deep.
Pruning requires sharp bypass pruners to ensure clean cuts that heal quickly. Deadhead spent blooms by cutting back to the first set of true leaves; this prevents the plant from diverting energy into seed production and encourages a second flush of flowers. Use a hori-hori knife for deep-rooted weed extraction, ensuring the entire taproot is removed to prevent regeneration from root fragments.
The Yield:
For a cottage garden focused on cut flowers, harvest timing is critical for longevity. Harvest flowers in the early morning when turgor pressure is at its peak and temperatures are lowest. Use sharp shears to cut stems at a 45-degree angle, which increases the surface area for water uptake.
Immediately plunge the stems into a bucket of cool water containing a floral preservative. This solution should include a carbohydrate source (sugar), a pH adjuster (citric acid), and a biocontrol agent (bleach) to prevent vascular plugging by bacteria. For woody stems, a vertical slit at the base can further enhance hydration. Keep harvested flowers in a cool, shaded area to slow the rate of senescence and ethylene production.
FAQ:
How do I choose the right plants for a cottage garden?
Select species based on your USDA Hardiness Zone and light availability. Prioritize a mix of perennials, biennials, and annuals to ensure continuous blooming. Focus on plants with varying heights to create a dense, vertical structure.
What is the best soil for a cottage garden?
A friable loam with a pH of 6.2 to 6.8 is ideal. The soil must have high organic matter content (5-8 percent) and a Cation Exchange Capacity (CEC) above 15 to support heavy nutrient demands.
How often should I water my cottage garden?
Provide 1.5 inches of water per week at the drip line. Use a soil moisture meter to ensure the water reaches a depth of six to eight inches. Avoid overhead watering to prevent fungal pathogens.
How do I prevent my cottage garden from looking messy?
Maintain structural integrity through auxin suppression (pinching) and regular deadheading. Use a hori-hori knife for precise weeding and bypass pruners for clean cuts. Strategic layering of plants by height prevents a cluttered appearance.