7 Precise Steps to Sharpen a Pruning Knife
The smell of damp earth and the high turgor pressure of a healthy leaf signify a garden in peak physiological health. When a blade is dull, it crushes the vascular tissue of the plant; this creates a jagged wound that invites fungal pathogens and slows the healing process of the cambium layer. Precision in the orchard or the vegetable patch requires a tool that shears through cellulose with minimal resistance. Mastering the steps for sharpening a garden knife with a file ensures that every cut is surgical and clean. A sharp edge preserves the structural integrity of the xylem and phloem. This prevents unnecessary moisture loss and maintains the plant's internal hydraulic pressure. Efficient maintenance of your steel prevents the spread of disease and ensures the longevity of your most essential horticultural implements.
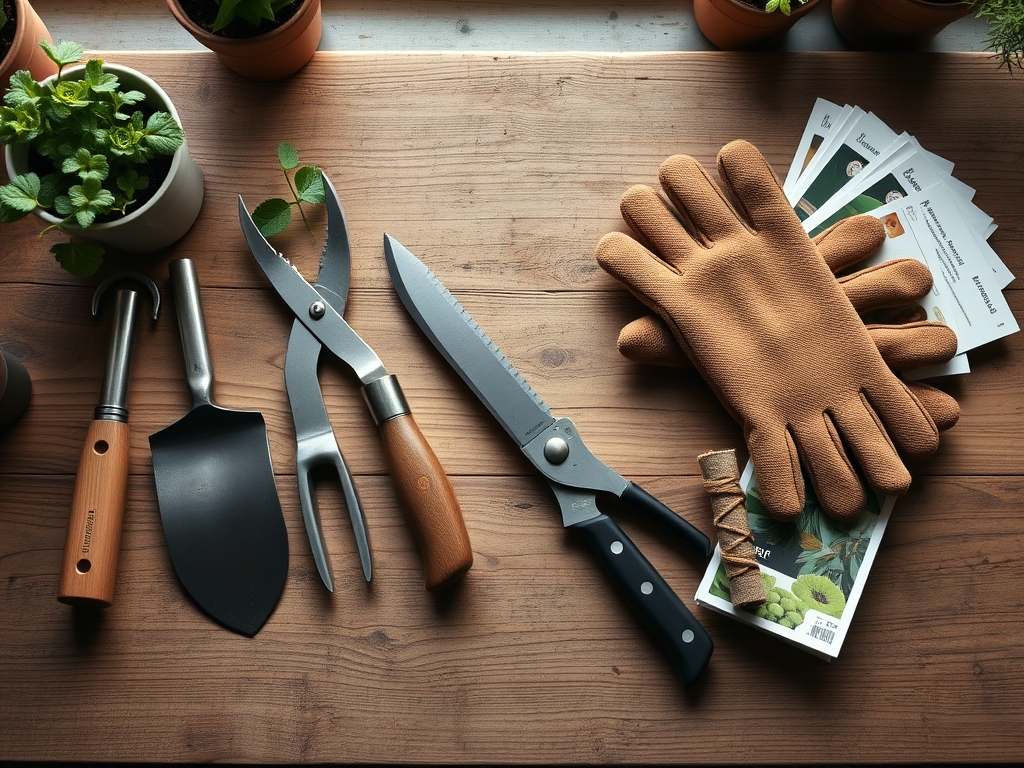
Materials:
A successful garden starts with the substrate. The ideal environment is a **friable loam** with a **pH between 6.2 and 6.8**. This range optimizes the availability of macronutrients. For heavy feeders, maintain an **NPK ratio of 10-10-10** to support balanced vegetative growth. If you are focusing on root development, shift to a **5-10-10 ratio** to increase phosphorus levels. The soil must have a high **Cation Exchange Capacity (CEC)**, typically above **15 meq/100g**, to hold onto essential ions like calcium and magnesium. Physical texture should allow for rapid drainage while retaining enough moisture to prevent wilting during peak photoperiods.
Timing:
Timing is dictated by your Hardiness Zone and the local frost-date window. In Zones 5 through 7, the transition from vegetative to reproductive stages usually occurs as the photoperiod shifts in late June. You must align your pruning and maintenance with the plant's biological clock. Pruning should occur during dormancy or immediately after the first flush of growth to avoid interrupting the flow of auxins. Sharpening your tools must happen before the first bud break of spring. This ensures that when the sap begins to rise and turgor pressure increases, your equipment is ready to make clean, non-bruising cuts that seal quickly before the heat of summer.
Phases:
Sowing
Begin with seeds placed at a depth exactly two times their diameter. Maintain a consistent soil temperature of 65 to 75 degrees Fahrenheit for optimal germination. Ensure the medium is sterile to prevent "damping off" caused by soil-borne fungi.
Pro-Tip: Proper sowing depth prevents skotomorphogenesis, the physiological state of a seedling growing in darkness. Correct depth ensures the hypocotyl reaches the surface before energy reserves in the endosperm are depleted.
Transplanting
Move seedlings when they have developed at least two sets of true leaves. Dig a hole twice the width of the root ball to encourage lateral root expansion into the surrounding rhizosphere. Water immediately with a diluted seaweed extract to reduce transplant shock.
Pro-Tip: Minimizing root exposure prevents the loss of mycorrhizal symbiosis. These beneficial fungi extend the root system's reach, increasing the surface area for water and phosphorus absorption by up to 1,000 percent.
Establishing
During the first 21 days, focus on deep irrigation to encourage downward root growth. Avoid high-nitrogen fertilizers during this phase to prevent excessive top-growth that the immature root system cannot support. Monitor for signs of wilting during the hottest part of the day.
Pro-Tip: Suppressing auxin production in the apical meristem by pinching back the primary lead will encourage lateral branching. This creates a sturdier, bushier plant architecture that can support a heavier fruit load.
The Clinic:
Physiological disorders often mimic disease but result from environmental stress.
- Blossom End Rot: A localized calcium deficiency often caused by inconsistent watering. Solution: Maintain even soil moisture and ensure a soil pH above 6.0 to facilitate calcium uptake.
- Interveinal Chlorosis: Yellowing between leaf veins while veins remain green. This indicates an iron or magnesium deficiency. Fix-It: Apply a chelated iron foliar spray or Epsom salts (magnesium sulfate) if the soil pH is too high.
- Nitrogen Chlorosis: General yellowing of older, lower leaves. Fix-It: Apply a high-nitrogen fertilizer with a 20-10-10 NPK ratio to restore chlorophyll production.
- Leaf Scorch: Brown, necrotic edges on leaves. This is often caused by high salinity or wind desiccation. Solution: Flush the soil with 3 inches of water to leach excess salts and provide windbreaks.
Maintenance:
Precision maintenance requires a soil moisture meter to ensure the root zone stays within the "Green Zone" of 40 to 60 percent saturation. Provide 1.5 inches of water per week applied directly at the drip line to avoid wetting the foliage. Use a hori-hori knife for weeding to ensure you remove the entire taproot without disturbing the primary root system of your crops. For woody perennials, use bypass pruners rather than anvil types to ensure the cut is sharp and the bark is not crushed. Regularly sanitize blades with 70 percent isopropyl alcohol to prevent the mechanical transmission of viral pathogens between plants.
The Yield:
Harvesting is a race against senescence, the biological aging process. For leafy greens, harvest in the early morning when turgor pressure is at its highest. Use a sharpened garden knife to make a clean diagonal cut. For fruiting crops, harvest when the fruit reaches its "mature green" or fully ripe stage depending on the species. Post-harvest, immediately submerge the produce in 40-degree Fahrenheit water to remove field heat. This process, known as hydro-cooling, slows down the respiration rate and preserves "day-one" freshness by maintaining the sugar-to-starch ratio within the plant tissues.
FAQ:
How often should I sharpen my garden knife?
Sharpen your blade every 10 to 15 hours of heavy use. If you notice the knife is tearing the plant tissue rather than slicing it, the edge has lost its alignment and requires a file.
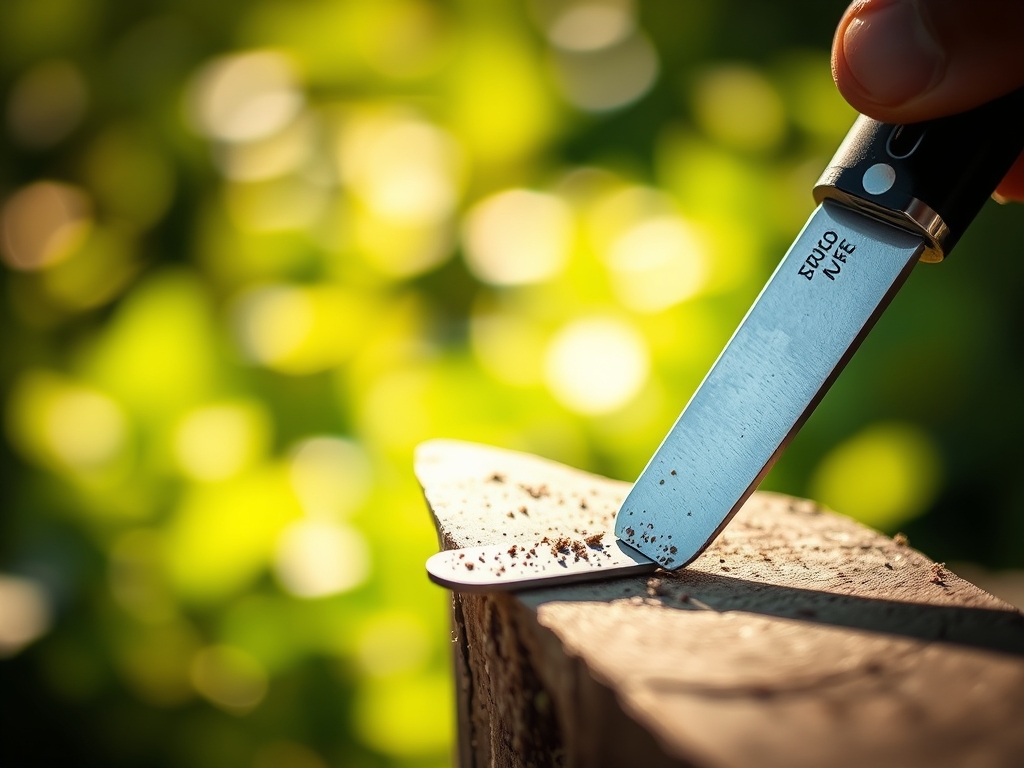
What angle should I use with the file?
Maintain a consistent 20 to 25 degree angle. This provides the optimal balance between a razor-sharp edge and a durable bevel that can withstand contact with woody stems and soil particles without chipping.
Can I use a file on a serrated blade?
No. Standard flat or half-round files are for straight blades. Serrated edges require a specialized tapered diamond rod to sharpen each individual gullet. Using a flat file will destroy the serration pattern.
Why is my knife rusting after sharpening?
Sharpening exposes fresh, unoxidized carbon steel. To prevent oxidation, wipe the blade with mineral oil or a silicone-based lubricant immediately after sharpening. This creates a barrier against moisture and acidic plant saps.