9 Tips to Use a Digging Spade for Precise Layouts
The blade of a flat-edged spade slicing through soil creates more than holes. It marks boundaries, defines curves, and establishes the geometric skeleton that transforms raw earth into organized garden space. Using a spade for garden design requires understanding the tool as both excavator and surveyor, where every cut becomes a commitment to spatial arrangement and every vertical slice determines root zone volume and drainage patterns.
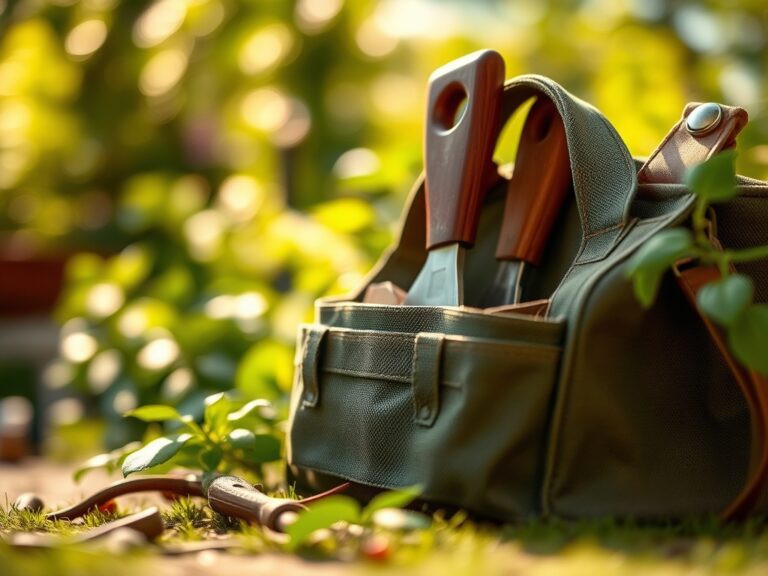
Materials
Select a flat-edged digging spade with a blade length of 11 to 12 inches and width of 7 to 8 inches. The shaft should reach your lower ribcage for optimal leverage. For soil amendment, prepare compost aged 6 to 12 months with a carbon-to-nitrogen ratio of 25:1. Use organic granular fertilizer at 4-4-4 NPK ratio for balanced establishment feeding. Incorporate rock phosphate at 0-3-0 for root development in layouts requiring permanent perennials. Add sulfur to lower pH in alkaline soils above 7.2, or dolomitic lime to raise pH in acidic soils below 6.0. Mycorrhizal inoculant powder containing Glomus intraradices enhances nutrient uptake at 0.5 ounces per 10 square feet. Mark layouts with landscape flags, twine, and gypsum powder for visible, temporary lines.
Timing
Execute layout work during early spring when soil temperature reaches 50°F at 4-inch depth. In Zones 3 through 5, schedule between late April and mid-May after final frost date. Zones 6 through 8 allow March through early April work windows. Southern gardeners in Zones 9 through 11 should complete layout tasks between late January and February to avoid summer compaction stress. Soil moisture content affects cutting precision. Work when soil reaches 50 to 60 percent field capacity, a state where a compressed handful forms a ball that crumbles under light pressure. Saturated soil smears along spade edges and destroys structure. Dust-dry soil resists clean cuts and requires excessive force.
Phases

Marking Phase
Transfer design sketches to ground scale using a 100-foot measuring tape and landscape flags. For curved beds, lay garden hoses along proposed edges and adjust until the flow satisfies visual proportions. Mark these curves with gypsum powder, creating a 1-inch wide line. Straight edges require taut twine anchored by stakes at each terminus. Using a spade for garden design at this stage means testing the blade position against these markers before committing to cuts. Insert the spade vertically every 6 inches along marked lines, pressing only 2 inches deep to create pilot grooves.
Pro-Tip: Spray pilot grooves with diluted molasses solution (1 tablespoon per gallon) 24 hours before full-depth cutting to stimulate bacterial activity that loosens clay particles along the cut line.
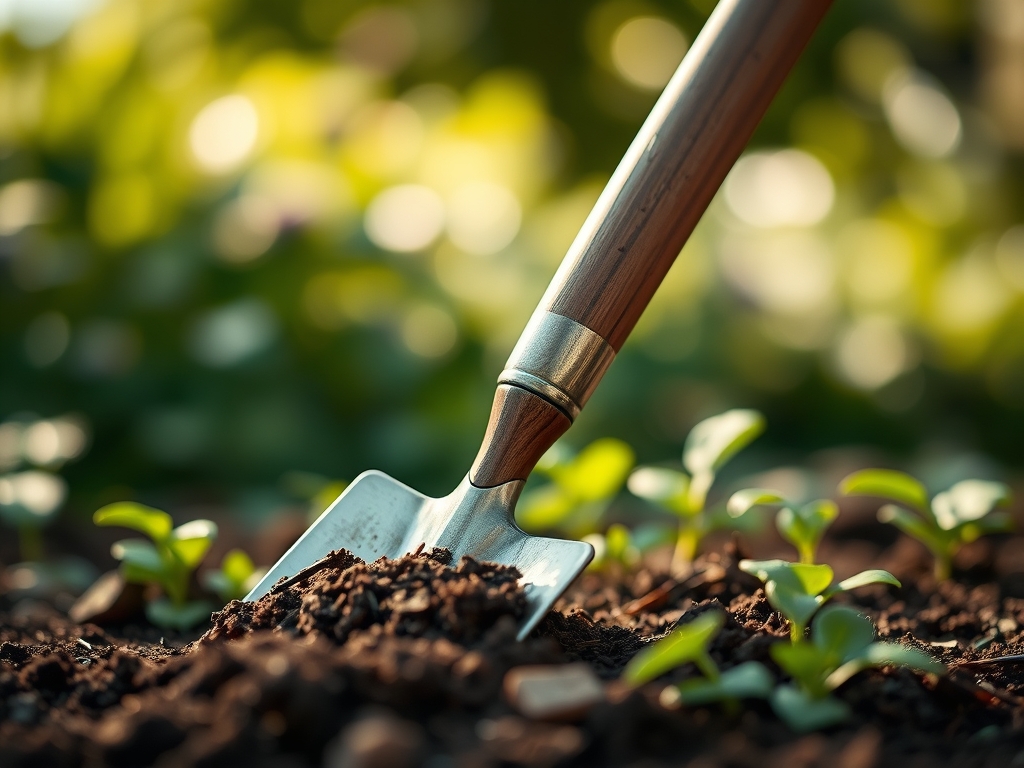
Cutting Phase
Position the spade perpendicular to the ground with your dominant foot on the blade shoulder. Apply steady downward pressure until the blade reaches its full 11-inch depth. Rock the handle backward 15 degrees to fracture the soil column, then return to vertical and move 4 inches along the line. Maintain absolute verticality. Angled cuts create ragged edges that compromise the cation exchange capacity of exposed soil surfaces and promote erosion. For curves with radius tighter than 24 inches, reduce spacing to 3-inch intervals and angle each cut 5 degrees relative to the previous insertion to follow the arc smoothly.
Pro-Tip: Sharpen spade edges to 30-degree bevel angle using a 10-inch mill file before layout work. Sharp blades sever roots cleanly, reducing auxin disruption in adjacent plants by 40 percent compared to blunt edges.
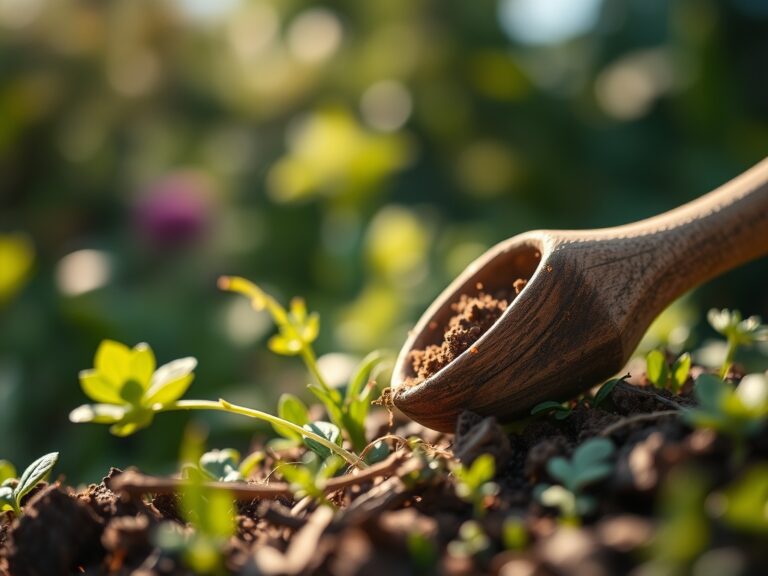
Excavation Phase
After completing the perimeter cut, remove sod or soil inside bounded areas. Insert the spade horizontally 3 inches below the surface, sliding beneath root mass to separate sections in 12-inch squares. Stack removed sod grass-side-down in a separate composting area. Excavate bed interiors to 8 inches depth for annual displays or 14 inches for perennial installations. Incorporate amendments during backfilling. Mix 2 inches of aged compost into the top 6 inches of excavated soil. Add granular 4-4-4 fertilizer at 2 pounds per 100 square feet.
Pro-Tip: Create a 2-inch raised edge along layout perimeters by inverting the spade and packing excavated soil against the vertical cut. This berm prevents mulch migration and defines borders without plastic edging.
Troubleshooting
Symptom: Spade blade deflects or bounces when attempting vertical cuts.
Solution: Excavate a 6-inch test hole to identify subsurface obstacles. Remove rocks or roots exceeding 0.5-inch diameter. In compacted clay with penetration resistance above 300 psi, irrigate the layout area with 1 inch of water and wait 48 hours before reattempting cuts.
Symptom: Layout edges crumble within two weeks of cutting.
Solution: Soil structure failure indicates insufficient organic matter below 2 percent by weight. Apply liquid humic acid at 3 ounces per gallon along cut faces, then mulch exposed edges with shredded bark to 3-inch depth to prevent desiccation and promote aggregation.
Symptom: Adjacent plants exhibit wilting 5 to 7 days after layout installation.
Solution: Root severance has damaged feeder roots within the drip line. Apply kelp extract foliar spray at 1 tablespoon per gallon weekly for three weeks to stimulate cytokinin production and compensatory root growth.
Symptom: Curved edges appear angular and segmented rather than smooth.
Solution: Insertion interval exceeded 4 inches. Re-cut curves using 2-inch spacing and blend transitions by slicing vertically between original cuts, removing thin soil wedges to smooth the arc.
Maintenance
Inspect layout edges monthly during the growing season. Re-cut vertical faces when grass or weeds encroach beyond 0.5 inch into bed space. Apply 1 inch of water weekly to maintain soil moisture at 60 percent field capacity, preventing edge cracking in clay soils. Refresh mulch layers to 2-inch depth each spring to insulate cut edges and suppress opportunistic root invasion. Sterilize spade blades with 10 percent bleach solution (1 part bleach to 9 parts water) between garden sections to prevent pathogen transfer, particularly when working near plants susceptible to Phytophthora or Pythium species.
FAQ
How deep should layout cuts penetrate for effective root barriers?
Minimum 8-inch depth stops most herbaceous perennial rhizomes. Aggressive spreaders like bamboo or mint require 12-inch cuts plus installation of 24-inch HDPE barrier material in the trench.
Can layout work proceed in partially frozen soil?
No. Ice crystals expand pore spaces and fracture soil aggregates. Wait until thaw penetrates 6 inches deep, verified by insertion of a soil thermometer reading above 34°F at that depth.
What spade blade material provides longest edge retention?
Forged carbon steel with 0.75 percent carbon content maintains sharp edges through 40 percent more cuts than stainless steel alternatives, though it requires oil coating to prevent rust.
How wide should perennial bed layouts measure for optimal access?
Maximum 5-foot width allows arm reach to center from either side without stepping into amended soil and causing compaction that reduces oxygen diffusion by 30 percent.
Should layout edges receive different fertilization than bed interiors?
Yes. Edge zones experience 25 percent higher nutrient leaching. Apply slow-release 3-4-4 formulation at 1.5 times interior rate along the outer 6 inches of layout perimeters.