7 Steps to Install a Custom Climbing Plant Arbor
The soil beneath your palms cools as you dig the first post hole, 18 inches deep and 8 inches wide, exposing the stratified layers of clay and loam where your arbor will anchor for the next two decades. Steps for installing a garden arbor demand precision in measurements and an understanding of load-bearing capacity, especially when training vigorous climbers like wisteria or climbing roses. The structure you build today will guide auxin distribution in stems, direct phototropic response, and create microclimates that either encourage fungal disease or promote robust lignification.
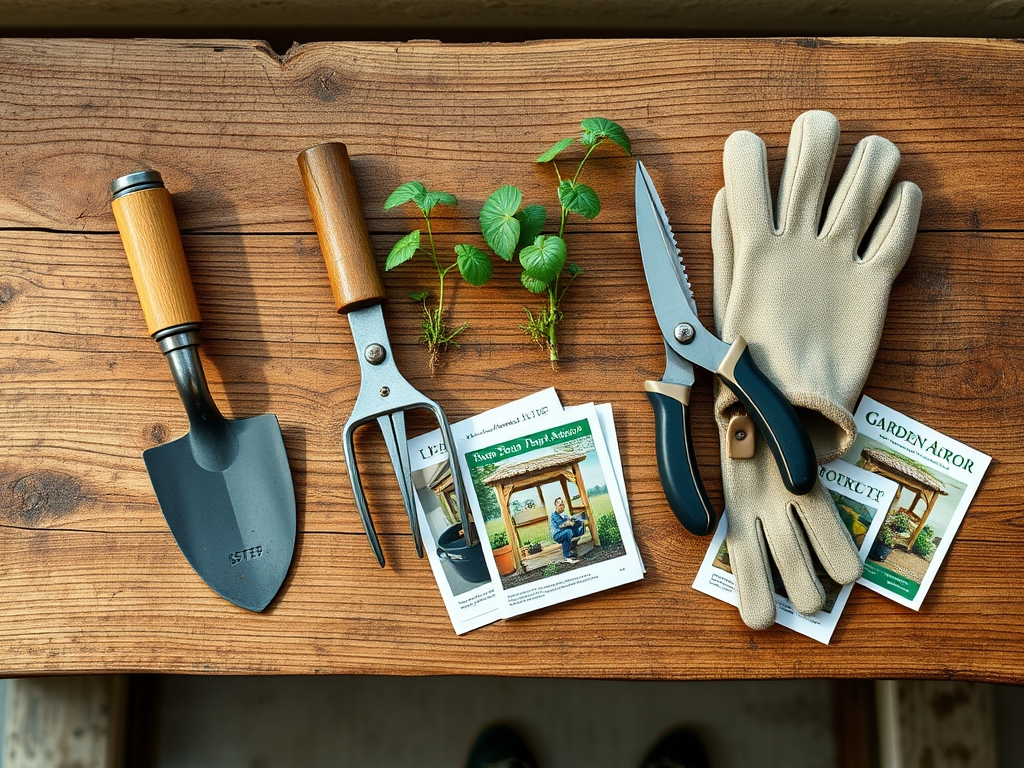
Materials
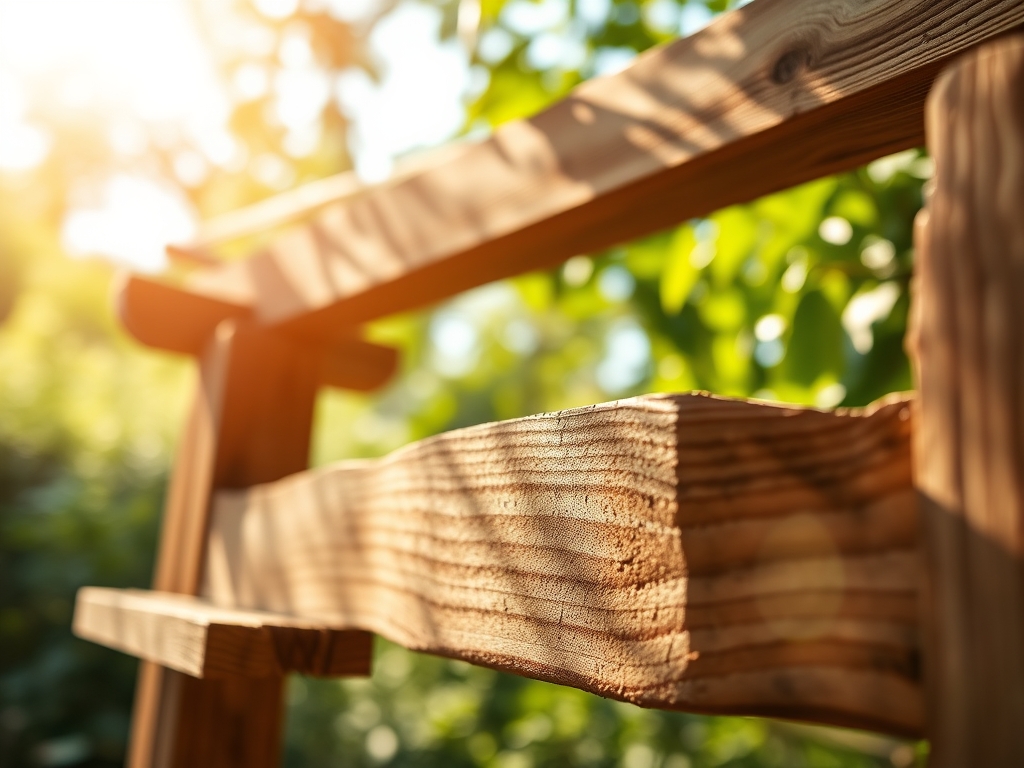
Foundation posts require pressure-treated lumber rated for ground contact, minimum 4×4 inches, cut to 8 feet for a finished height of 6.5 feet after burial. Cedar or black locust offer rot resistance without chemical treatment. Galvanized carriage bolts (3/8 inch diameter, 4 inches long) secure crossbeams to posts. Concrete mix (one 50-pound bag per post) provides lateral stability in Zones 3-8.
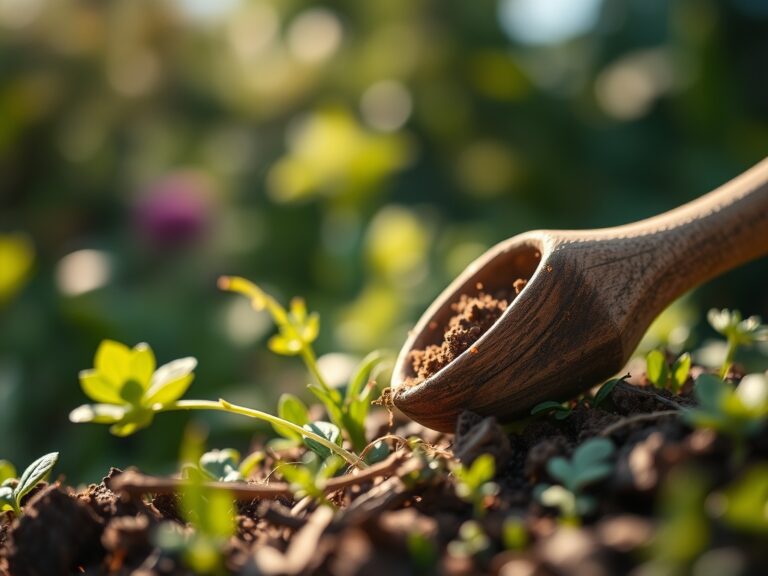
For soil amendment at planting time, blend 2 cubic feet of aged compost (pH 6.5-7.0) with 1 cup bone meal (0-10-0 NPK) per post hole. This phosphorus concentration encourages root establishment in transplanted climbers. Add mycorrhizal fungi inoculant (Glomus intraradices species) at 1 tablespoon per gallon of backfill. The symbiotic relationship increases phosphorus uptake by 40 percent in the first growing season. Cation exchange capacity improves when you incorporate 1/2 cup greensand per hole, releasing potassium slowly over 24 months.
For climbers, select specimens in 1-gallon containers with 3-5 basal canes. Match species to your structure: clematis for light frameworks, trumpet vine for heavy-duty installations. Organic fertilizer at 4-4-4 formulation supports balanced vegetative and reproductive growth without excessive nitrogen that produces weak, disease-prone stems.
Timing
Install arbor structures in early spring, 2-4 weeks before the last expected frost date. Soil temperature above 50°F allows concrete to cure properly. In Zone 5, this window opens mid-April. Zone 7 gardeners can begin in late March. Zone 3 installations wait until early May.
Plant climbers after all danger of frost has passed and soil reaches 55-60°F at root depth (6 inches). This temperature threshold activates root hair development and allows transplants to establish before summer heat stress. In Zone 6, May 15-30 offers optimal conditions. Zones 8-9 benefit from fall planting (October-November) when monsoon patterns provide natural irrigation and cooler air temperatures reduce transplant shock.
Phases

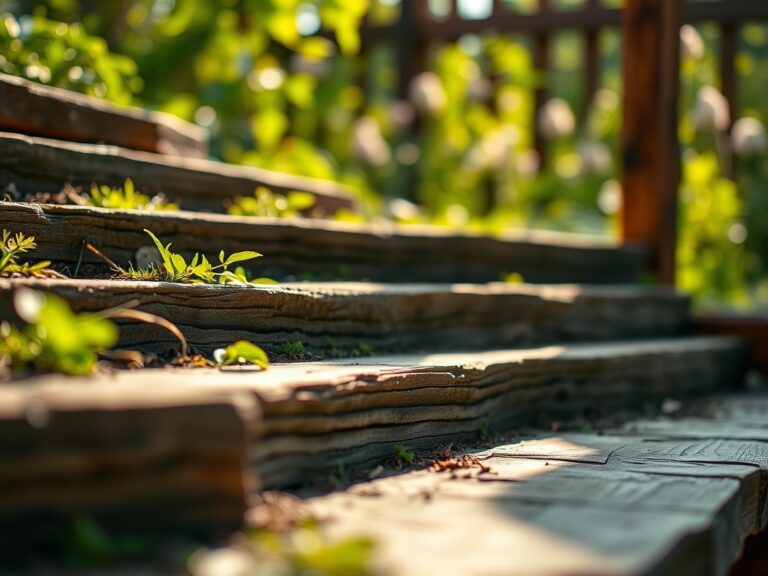
Foundation Setting
Mark post locations with stakes and string, measuring exact 90-degree angles with the 3-4-5 triangle method. Dig holes 18 inches deep, 6 inches below the frost line for Zones 5-6. Place 3 inches of gravel at hole bottom for drainage. Set posts vertically using a 4-foot level on two adjacent faces. Pour concrete mix, tamping every 3 inches to eliminate air pockets. Allow 72 hours to cure before attaching crossbeams.
Pro-Tip: Embed J-bolts in wet concrete 2 inches from post tops. These anchor points accept removable trellis panels for winter maintenance access.
Crossbeam Installation
Cut 2×6 lumber to span between posts with 3-inch overhang on each end. Pre-drill holes 1/2 inch from beam ends to prevent splitting. Position beams 6.5 feet above grade. Secure with carriage bolts, washers, and nuts torqued to 25 foot-pounds. Install lateral bracing (2×4 boards) at 45-degree angles from post tops to crossbeams, creating triangulation that resists wind loads up to 40 mph.
Add horizontal wire runs (12-gauge galvanized) at 12-inch intervals between posts. Tension to 20 pounds of force using turnbuckles. These guides train flexible climbers and distribute weight uniformly.
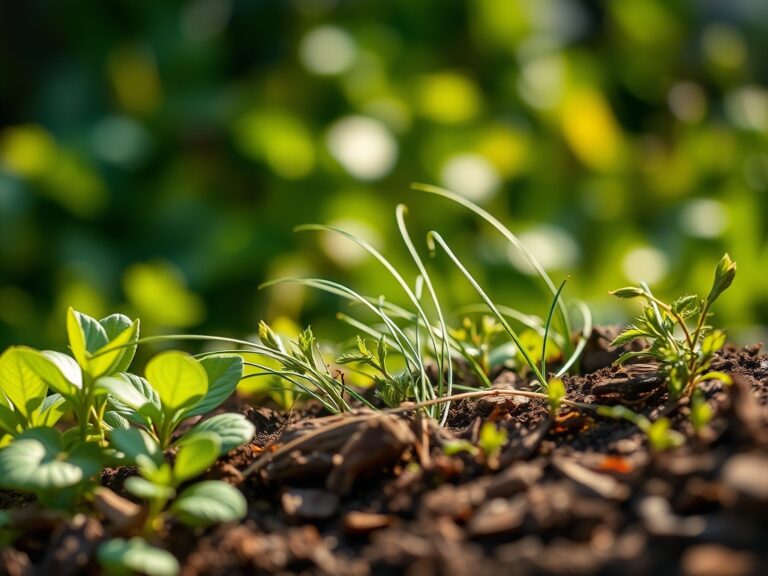
Climber Establishment
Excavate planting holes 18 inches wide and 16 inches deep, 8 inches from post bases. Mix native soil 50/50 with aged compost. Remove container-grown climbers by inverting and tapping, preserving the root ball intact. Position crown at grade level. Backfill, eliminating air pockets by watering incrementally. Apply 3-inch mulch layer (shredded hardwood bark) in a 24-inch diameter, keeping material 4 inches from stems to prevent crown rot.
Guide initial canes to arbor structure using soft twine in figure-eight loops. Space attachment points 8 inches apart vertically. This interval matches internode length in most clematis and honeysuckle species, reducing stem kinking.
Pro-Tip: Prune transplants to 12 inches above grade at planting time. This severe reduction redirects energy to root development and stimulates basal bud break, producing 3-4 new canes within 6 weeks.
Troubleshooting
Symptom: Posts lean 5-10 degrees off vertical after first winter.
Solution: Frost heaving indicates inadequate hole depth. Excavate and reset posts 24 inches deep in Zone 5 or colder.
Symptom: Clematis wilt (Ascochyta clematidina) causes sudden shoot collapse in late spring.
Solution: Prune infected stems 6 inches below visible damage. Drench soil with copper fungicide (1 tablespoon per gallon) around crown. Maintain soil pH at 6.8-7.2 to suppress pathogen.
Symptom: Japanese beetles skeletonize foliage on climbing roses in July.
Solution: Apply Bacillus thuringiensis var. galleriae (Btg) spray at 1 teaspoon per quart. Hand-pick adults into soapy water at dawn when insects are sluggish. Avoid broad-spectrum insecticides that eliminate parasitic wasps.
Symptom: Chlorosis (interveinal yellowing) appears on new growth.
Solution: Iron deficiency in alkaline soils (pH above 7.5). Chelated iron foliar spray at 1 tablespoon per gallon corrects symptoms within 10 days. Amend soil with sulfur (1 cup per 10 square feet) to lower pH long-term.
Symptom: Sparse flowering despite vigorous vegetative growth.
Solution: Excess nitrogen creates leaf production at the expense of buds. Switch to 2-6-4 bloom-booster fertilizer. Reduce watering frequency by 25 percent to stress plants into reproductive mode.
Maintenance
Irrigate established climbers with 1 inch of water weekly during active growth (May-August). Deliver water at the root zone using drip emitters rated at 1 gallon per hour. Avoid overhead watering that promotes foliar diseases.
Fertilize in early April with granular 4-4-4 organic blend at 1/2 cup per plant, scratched into soil surface. Repeat application in mid-June. Cease nitrogen inputs after August 1 to allow stems to harden before frost.
Prune clematis Group 2 cultivars (large-flowered hybrids) in late February. Remove dead wood and weak stems. Cut remaining canes to 3 feet, making cuts 1/4 inch above outward-facing buds. This technique concentrates energy into fewer, more productive shoots.
Inspect wire supports monthly during growing season. Re-tension any lines sagging beyond 1 inch. Replace rusted wire every 5 years.
FAQ
How deep should arbor posts be buried?
Bury posts 18 inches deep in Zones 7-8, 24 inches in Zones 3-6. Add 3 inches of gravel beneath each post for drainage.
What spacing prevents overcrowding between climbers?
Plant clematis 36 inches apart, climbing roses 48 inches apart. Wisteria requires 72-inch spacing due to aggressive root systems.
Can I install an arbor over existing lawn?
Remove sod in a 4-foot diameter around each post location. Grass roots compete for water and harbor grubs that damage climber roots.
When do I prune spring-blooming climbers?
Prune within 2 weeks after flowering ends. Later pruning removes next year's flower buds that form on current-season wood.
How much weight can a 4×4 post arbor support?
A properly installed 4×4 pressure-treated structure supports 200 pounds distributed load. Mature wisteria in full leaf weighs 150-180 pounds.