6 Expert Tips for Sharpening All Garden Blades
The scent of damp earth and the crisp snap of high turgor pressure in a healthy leaf define the success of a horticultural season. When a blade is dull, it crushes the vascular tissue of the plant; this creates jagged entry points for pathogens and disrupts the xylem's ability to transport water. Precision is not an aesthetic choice but a physiological necessity for plant health. Using a sharpening manual for garden tools ensures that every cut is a surgical strike that promotes rapid wound sealing. Clean cuts allow the plant to focus energy on cellular repair rather than fighting off opportunistic fungi. A master horticulturist understands that the interface between steel and stem is the most critical point of contact in the garden. By maintaining a 20 degree bevel on your bypass pruners, you minimize the physical trauma to the cambium layer. This technical discipline prevents the necrosis of distal tissues and maintains the structural integrity of the specimen. Proper maintenance begins with understanding the physics of the edge and the biology of the plant.
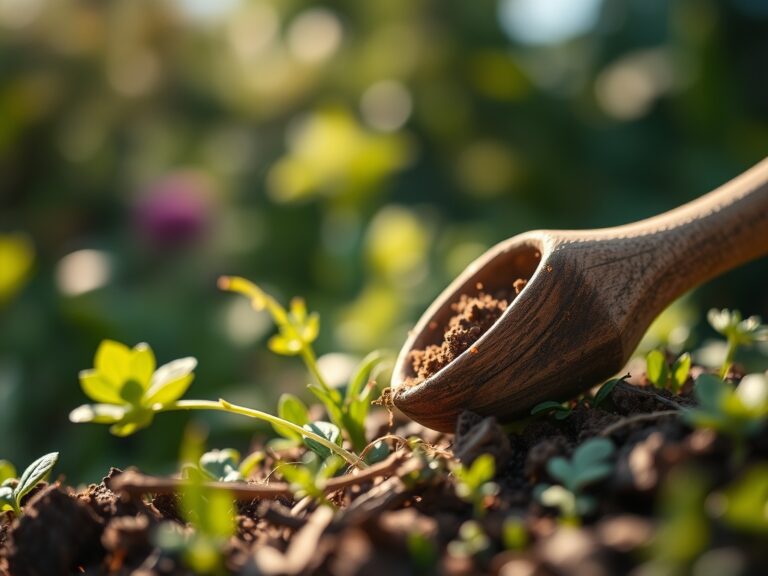
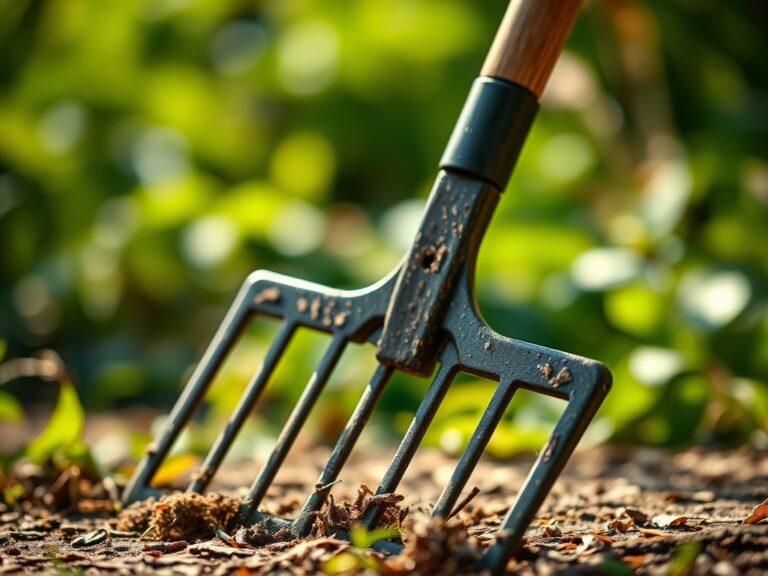
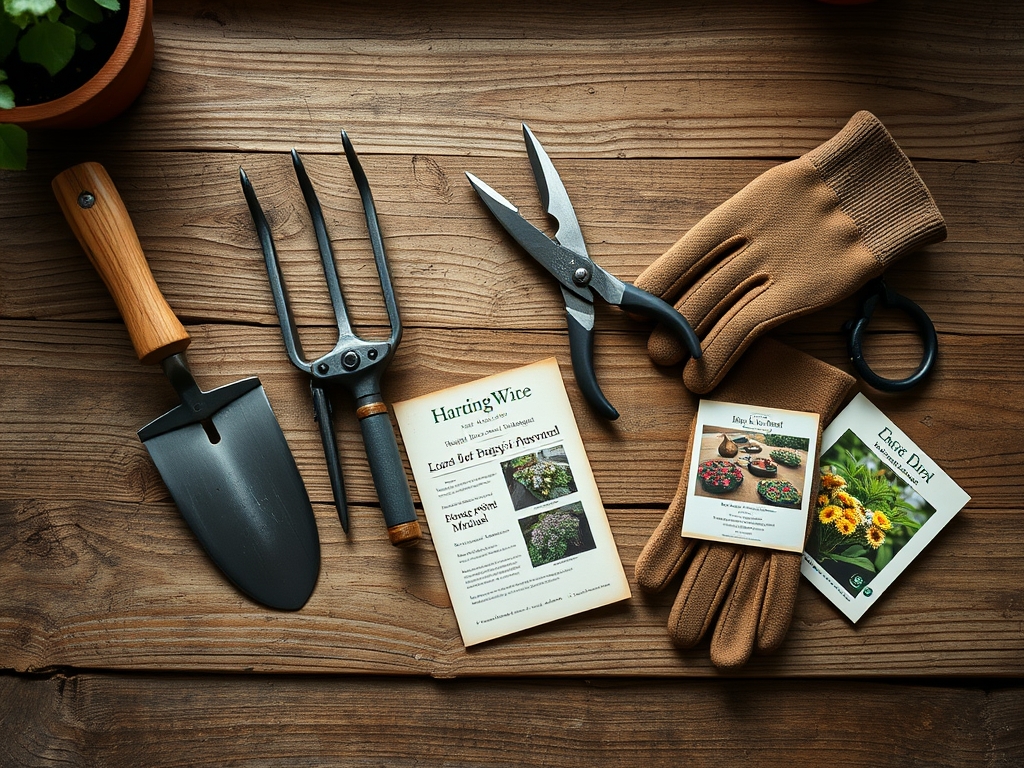
Materials:
The environment where you maintain your tools should be as controlled as your potting bench. Ideal sharpening occurs in a low humidity space to prevent flash oxidation of exposed carbon steel. While sharpening is a mechanical task, your garden beds require a **friable loam** with a **pH between 6.0 and 7.0** to support the plants you are pruning. For heavy feeders, maintain an **NPK ratio of 10-10-10** in the early season, transitioning to a **5-10-15** ratio during reproductive phases to support root and fruit development. The soil must have a high **Cation Exchange Capacity (CEC)**, typically above **15 meq/100g**, to ensure that nutrients like potassium and magnesium remain available at the rhizosphere. When tools are sharp, they glide through stems without compacting the surrounding soil or damaging the delicate mycorrhizal networks that facilitate nutrient uptake.
Timing:
In Hardiness Zones 5 through 8, the primary sharpening window occurs during the dormant season, typically between the first hard frost and the spring thaw. This prevents the spread of active pathogens during the pruning process. As plants transition from the vegetative stage to the reproductive stage, their internal Biological Clock shifts hormonal production. Pruning during the late dormant phase, just before the "bud swell," utilizes the plant's natural surge of auxins to stimulate growth in specific directions. For woody perennials, aim for a window when nighttime temperatures consistently stay above 25 degrees Fahrenheit to avoid frost cracking at the site of the fresh cut. Sharpening your equipment in February ensures you are prepared for the high demand of the spring growth flush.
Phases:
Sowing
Before the first seed hits the soil, prepare your hori-hori knife by honing the serrated edge. This tool is essential for precise seed depth placement and furrowing. In a 72 cell starting tray, maintaining a consistent soil temperature of 70 degrees Fahrenheit is critical for germination.
Pro-Tip: Proper tool maintenance prevents the introduction of "damping off" fungi. The Biological Why is rooted in sterilization; a smooth, polished blade has fewer microscopic pits where spores can hide, protecting the vulnerable hypocotyl of the seedling.
Transplanting
When seedlings reach their second set of true leaves, they are ready for the field. Use a sharpened spade to create a hole twice the width of the root ball. This reduces mechanical resistance and prevents "J-rooting," where roots encircle the hole rather than penetrating the native soil.
Pro-Tip: A sharp edge reduces root shear. The Biological Why involves mycorrhizal symbiosis; clean cuts on peripheral roots allow for faster colonization by beneficial fungi, which increases the surface area for water absorption by up to 100 times.
Establishing
As the plant matures, use bypass pruners to remove lower foliage and improve airflow. This reduces the humidity in the microclimate around the stem, lowering the risk of foliar diseases. Ensure the blade is sharp enough to cut a single sheet of paper without tearing.
Pro-Tip: Always cut at a 45 degree angle away from the bud. The Biological Why is auxin suppression; by removing the apical meristem with a clean cut, you redirect growth hormones to lateral buds, creating a bushier and more productive plant.
The Clinic:
Physiological disorders often mimic sharpening failures. Observe the plant tissue for specific indicators of stress or poor tool performance.
- Symptom: Ragged, brown edges on pruned stems. Solution: Immediately sharpen blades using a medium-grit diamond file. This indicates the blade is crushing the cell walls rather than slicing through them.
- Symptom: Interveinal chlorosis (yellowing between green veins). Solution: This is often a Magnesium deficiency. Apply Epsom salts at a rate of 1 tablespoon per gallon of water to restore chlorophyll production.
- Symptom: Stunted growth and pale green older leaves. Solution: This indicates Nitrogen chlorosis. Supplement with a high nitrogen fertilizer like blood meal to boost vegetative vigor.
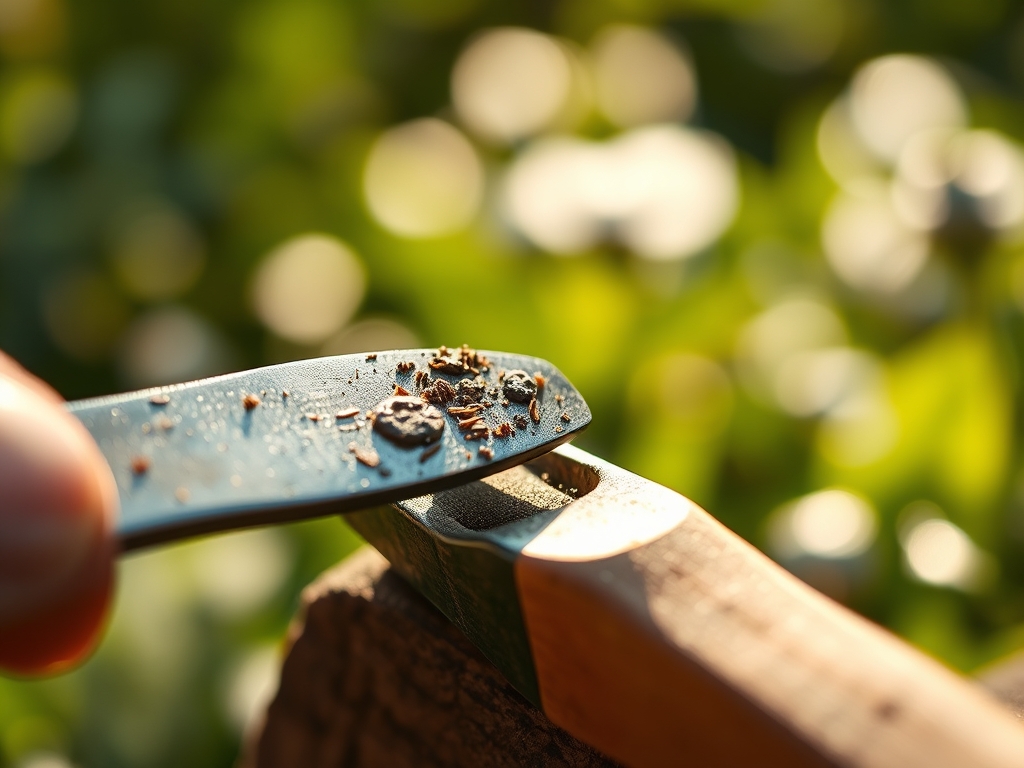
- Fix-It: For rust on blades, soak in a 5% acetic acid solution for 12 hours, then scrub with steel wool and coat with mineral oil to prevent further oxidation.
Maintenance:
Precision gardening requires consistent monitoring. Provide 1.5 inches of water per week at the drip line, ensuring the moisture penetrates at least 6 inches deep. Use a soil moisture meter to verify that the root zone is not anaerobic. Your bypass pruners should be disassembled, cleaned with isopropyl alcohol, and oiled after every use in a high disease pressure environment. When Using a sharpening manual for garden tools, follow the specific angle guides for each tool type; a shovel requires a 45 degree bevel, while a grafting knife needs a razor-sharp 10 to 15 degree angle. Store tools in a bucket of sand mixed with motor oil to maintain the edge and prevent corrosion during the humid summer months.
The Yield:
Harvesting is the culmination of the season. For leafy greens, harvest in the early morning when turgor pressure is at its peak. This ensures the cell walls are fully hydrated, providing a crisp texture. Use a sharpened hori-hori knife to cut the base of the plant, avoiding any tearing of the crown. For fruiting crops like tomatoes, harvest when the fruit reaches 90% color saturation to allow for final ripening off the vine without losing sugars. Post-harvest, immediately submerge stems in 40 degree Fahrenheit water to remove field heat and slow the rate of senescence. This process preserves the nutritional density and flavor profile of the harvest.
FAQ:
How often should I sharpen my bypass pruners?
Sharpen every 10 hours of active use or whenever you notice resistance during a cut. A dull blade requires more force, which increases user fatigue and damages the plant's vascular system.
What is the best tool for sharpening a shovel?
Use a 10 inch mill bastard file. Work at a 45 degree angle on the inside edge of the blade, pushing the file away from your body in long, steady strokes to remove burrs.
Can I use a power grinder to sharpen garden tools?
Avoid power grinders as they generate excessive heat, which can temper the steel and make it brittle. Use hand files or whetstones to maintain the structural integrity and hardness of the metal.
Why is a clean cut important for plant health?
A clean cut minimizes the surface area of the wound and allows the plant to form a callus layer quickly. This seals the vascular system against pathogens and prevents the loss of internal moisture.