7 Fast Steps to Lay a Brick Border
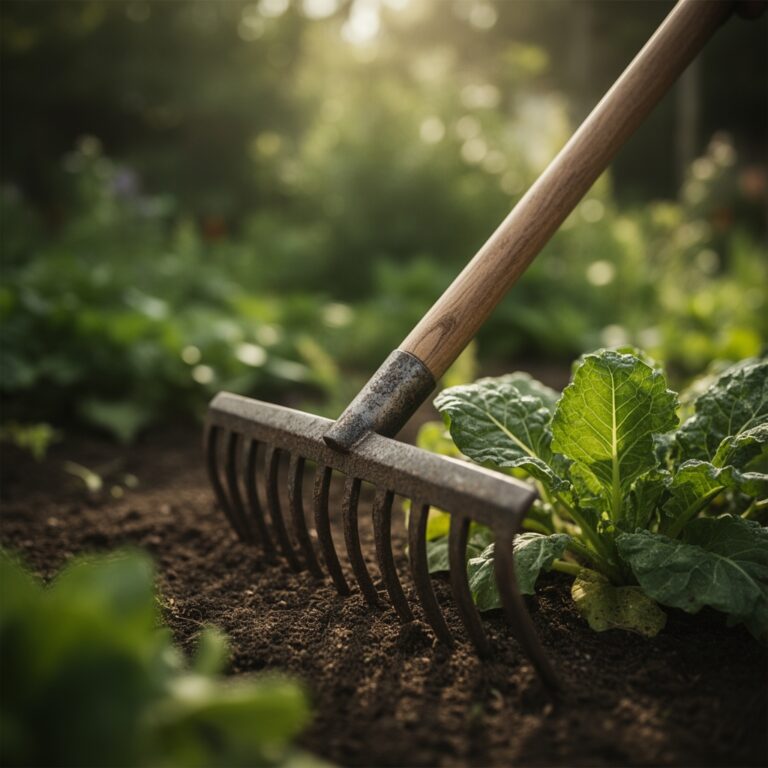
The smell of damp earth and the gritty texture of pulverized clay signify the start of a structural garden intervention. A brick border is not merely decorative; it serves as a physical barrier to prevent invasive rhizomes from encroaching on your primary planting beds. When executing the steps to lay a brick border, you are managing the transition between the manicured turf and the high-performance rhizosphere. Proper installation ensures that soil moisture remains consistent and that the turgor pressure within your specimen plants is not compromised by competition from aggressive grass species. A well-set border provides a clean mechanical edge for mowing and stabilizes the soil profile against erosion during heavy precipitation events. Precision in the initial excavation prevents future settling and ensures the structural integrity of the bed for multiple growing seasons.
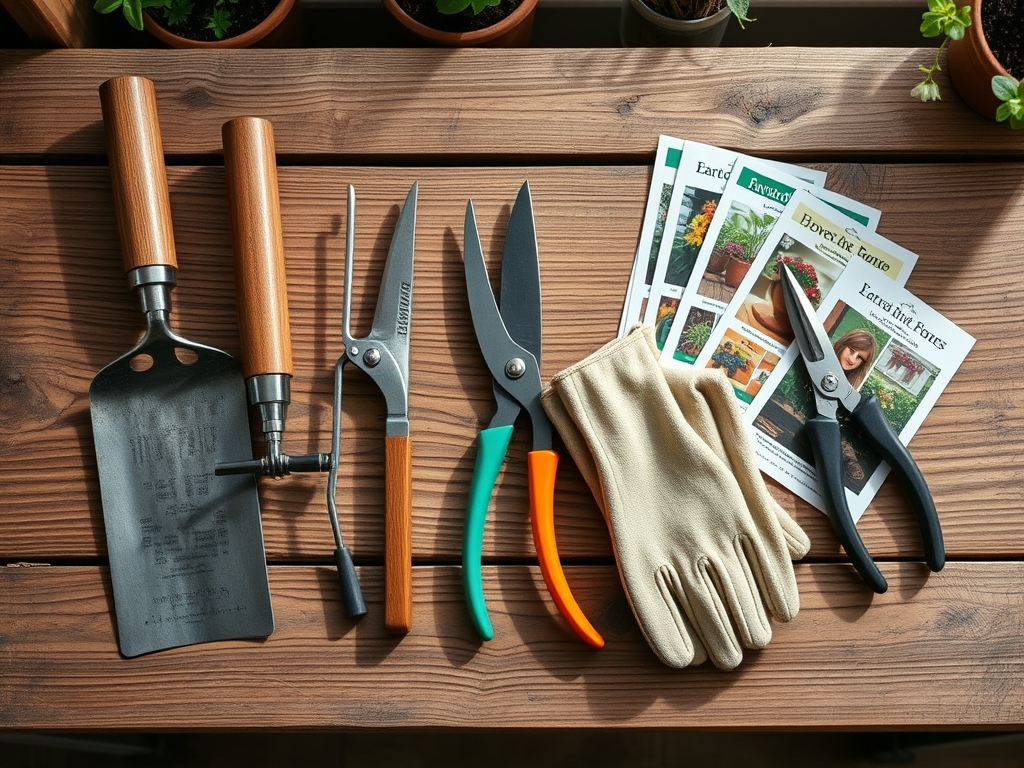
Materials:
The foundation of a lasting border begins with the substrate. You require a **friable loam** for the surrounding planting area to ensure optimal root penetration. The ideal soil pH for a general mixed border should sit between **6.2 and 6.8**. Before laying bricks, test your soil for its Cation Exchange Capacity (CEC); a higher CEC indicates a better ability to hold onto essential nutrients like Potassium and Magnesium. For the base material, utilize a **paver base consisting of crushed limestone** or coarse sand with a grain size of **0.5mm to 2.0mm**. If you are amending the soil adjacent to the border, incorporate a balanced organic fertilizer with an **NPK ratio of 5-10-5** to support root establishment without triggering excessive vegetative growth. Avoid heavy clays that trap water, as hydrostatic pressure can shift the bricks during freeze-thaw cycles.
Timing:
Timing is dictated by the thermal properties of your specific Hardiness Zone. In Zones 4 through 6, the optimal window for installation is post-thaw but prior to the spring equinox. You must complete the steps to lay a brick border before the soil temperature reaches a consistent 55 degrees Fahrenheit, which typically triggers the "Biological Clock" for weed seed germination and the transition from dormancy to the vegetative stage in perennials. Installing the border during the dormant season minimizes compaction of the soil structure and prevents damage to the delicate mycorrhizal networks that are active during the peak growing season. Monitor the frost-date windows in your region; laying bricks in frozen ground will lead to significant heaving and misalignment as the ice crystals within the soil pores melt and the ground settles.
Phases:

Sowing the Foundation
Excavate a trench 6 inches deep and 8 inches wide. Remove all organic matter, including roots and debris, to prevent uneven decomposition under the bricks. Tamp the subsoil until it reaches a compaction rate of approximately 95 percent.
Pro-Tip: Compaction is essential because it limits the oxygen availability in the immediate sub-base, which suppresses the germination of buried weed seeds through a process of induced dormancy.
Transplanting the Hardscape
Lay a 2-inch layer of leveled sand into the trench. Place your bricks firmly, ensuring they are flush with one another. Use a rubber mallet to set each unit. The bricks should sit approximately 0.5 inches above the soil line to account for natural settling.
Pro-Tip: Maintaining a level surface prevents the pooling of water, which can lead to localized anaerobic conditions. Anaerobic soil lacks the oxygen necessary for root respiration, causing the death of beneficial aerobic bacteria.
Establishing the Edge
Fill the gaps between bricks with polymeric sand or fine stone dust. Sweep the material into the joints and lightly mist with water to activate the binding agents. This creates a solid barrier that prevents the migration of stolons from nearby turfgrass.
Pro-Tip: A solid border inhibits the lateral movement of auxins in grass runners. By physically blocking the path of the stolon, you force the plant to redirect its energy upward rather than outward into your garden beds.
The Clinic:
Physiological disorders in the garden often manifest near the border where soil compaction is highest.
- Symptom: Interveinal chlorosis (yellowing leaves with green veins).
- Solution: This is often a sign of Manganese or Iron deficiency caused by high pH levels. Apply a chelated iron supplement to lower the pH to 6.5.
- Symptom: Marginal necrosis (browning leaf edges).
- Solution: This indicates Potassium deficiency or salt buildup. Flush the area with 2 inches of water to leach excess salts and apply a 0-0-50 sulfate of potash.
- Symptom: Stunted growth and purplish stems.
- Solution: Phosphorus deficiency. This often occurs in cold soils where the NPK ratio is imbalanced. Apply bone meal or a high-phosphorus starter fertilizer at a rate of 2 pounds per 100 square feet.
Fix-It: For Nitrogen chlorosis (general paling of the entire leaf), apply a quick-release nitrate-based fertilizer to boost chlorophyll production and restore the plant's photosynthetic capacity.
Maintenance:
A brick border requires consistent monitoring to ensure it does not interfere with the hydration of the rhizosphere. Use a soil moisture meter to verify that the soil 2 inches behind the border maintains a moisture level of 25 to 30 percent. Plants typically require 1.5 inches of water per week delivered at the drip line. Use a hori-hori knife to slice through any grass roots that attempt to leap over the brick barrier. Every autumn, inspect the bricks for shifting. If heaving occurs, lift the affected units and re-level the sand base. Use bypass pruners to remove any senescing foliage that falls onto the bricks; decaying organic matter can stain the masonry and provide a habitat for unwanted gastropods.
The Yield:
When harvesting flowers or herbs grown along your new border, timing is critical for "day-one" freshness. Harvest in the early morning when turgor pressure is at its peak and the plants are fully hydrated. Use sharp, sterilized shears to make a clean cut at a 45-degree angle above a node. This encourages the plant to divert its energy to lateral buds rather than focusing on wound repair. Immediately submerge the cut stems in water maintained at 40 degrees Fahrenheit to slow the rate of respiration and delay senescence. For woody perennials, ensure the cut is clean to prevent the entry of pathogens into the vascular system.
FAQ:
How deep should I dig for a brick border?
Excavate a trench exactly 6 inches deep. This allows for a 3-inch base of compacted gravel and sand plus the height of a standard brick. Deep excavation ensures the border remains stable during soil expansion and contraction cycles.
Can I lay bricks directly on the soil?
No. Placing bricks on raw soil leads to rapid sinking and misalignment. You must use a 2-inch layer of leveling sand over a compacted base to provide drainage and a stable foundation for the masonry units.
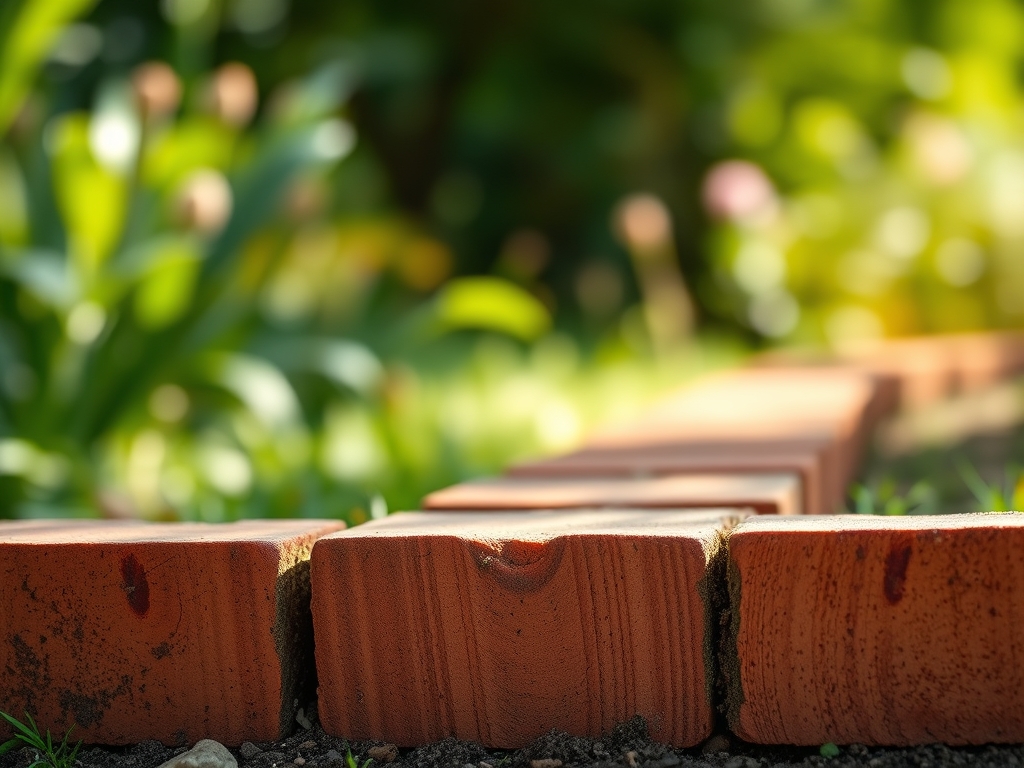
What is the best brick for a garden border?
Use SW (Severe Weather) grade bricks. These are engineered to withstand high moisture levels and repeated freeze-thaw cycles without spalling or cracking. Standard interior bricks will disintegrate within two seasons when exposed to soil moisture.
How do I stop weeds from growing between bricks?
Use polymeric sand to fill the joints. Once misted with water, the polymers harden to create a flexible but impenetrable seal. This prevents weed seeds from germinating in the gaps and blocks the passage of invasive root systems.
When is the best time to install a border?
Install the border when soil temperatures are between 40 and 50 degrees Fahrenheit. This prevents working with frozen ground while ensuring the project is complete before the spring surge of vegetative growth and root expansion begins.