8 Seasonal Steps to Prepare a Flowering Variety Plant Shelf
Crushing a handful of well-aged compost releases the sharp, metallic scent of geosmin; this is the smell of a functioning ecosystem. When a leaf maintains high turgor pressure, it feels rigid and cool to the touch, signaling that the xylem is efficiently transporting water from the substrate to the stomata. Success in indoor or patio floriculture requires more than aesthetic placement. Learning how to prepare a plant shelf for flowers involves mastering the microclimate of a vertical space. You must account for the specific gravity of saturated pots and the precise light requirements of angiosperms. A shelf is a controlled laboratory where you manage the rhizosphere to induce heavy blooming. Failure to calibrate light intensity or soil porosity leads to leggy stems and premature senescence. Professional results demand a rigorous adherence to schedule and a deep understanding of plant physiology. By treating your shelving unit as a high-performance engine, you ensure that every calorie of light energy converts into floral pigmentation and structural integrity.
Materials:
The foundation of a productive flower shelf is the substrate. Avoid generic “potting soil” which often lacks the necessary Cation Exchange Capacity (CEC) to hold nutrients. You require a **friable loam** consisting of 40 percent peat moss or coconut coir, 30 percent perlite for aeration, and 30 percent high-quality compost. This mixture should maintain a **pH level between 6.0 and 6.8** for most flowering varieties like Geraniums or Begonias.
For the vegetative stage, utilize a fertilizer with an NPK ratio of 10-10-10. Once the plant enters the reproductive phase, transition to a 5-10-10 or 10-30-20 formula. The higher phosphorus content is critical for ATP production, which fuels the energy-intensive process of bud formation. Ensure your shelf can support 50 pounds per square foot to account for the weight of water-saturated terracotta. Use waterproof liners to prevent runoff from compromising the structural integrity of the shelving material.
Timing:
Timing is dictated by the USDA Hardiness Zones if the shelf is outdoors, or by the photoperiod if indoors. For Zone 7 and 8, start your shelf preparation in late February to capitalize on the increasing day length. Flowering plants typically follow a biological clock triggered by phytochrome pigments that sense light duration. Most "long-day" flowers require 14 to 16 hours of light to transition from the vegetative stage to the reproductive stage.
Monitor the "frost-date window" religiously. Do not move sensitive annuals to an outdoor shelf until the overnight low consistently exceeds 55 degrees Fahrenheit. Cold shock causes a sudden drop in turgor pressure and can lead to permanent vascular damage. If growing indoors, use a digital timer to simulate the natural progression of spring, increasing light exposure by 15 minutes per week to mimic the seasonal shift.
Phases:
Sowing
Begin by disinfecting your seed trays with a 10 percent bleach solution. Sow seeds at a depth exactly two times their diameter. Maintain a consistent soil temperature of 70 to 75 degrees Fahrenheit using a waterproof heat mat.
Pro-Tip: Maintaining consistent moisture during germination is vital because of imbibition. This is the physical process where the seed coat absorbs water, activating enzymes that break down stored starches into energy for the embryo.
Transplanting
Move seedlings to the shelf once they develop their second set of true leaves. Ensure the new containers have adequate drainage holes. Gently tease the roots if they have begun to circle the starter pot to encourage outward growth into the new rhizosphere.
Pro-Tip: Mycorrhizal fungi should be added to the transplant hole. This creates a mycorrhizal symbiosis where the fungi extend the root system's reach, increasing the uptake of phosphorus and micronutrients by up to 10 times.
Establishing
During the establishment phase, focus on structural strength. Position LED grow lights 6 to 12 inches above the canopy. If the plants lean toward the light, rotate the pots 90 degrees every three days.
Pro-Tip: Strategic pinching of the terminal bud suppresses auxin production at the apex. This neutralizes apical dominance and forces the plant to redirect energy to lateral buds, resulting in a bushier form with more flowering sites.
The Clinic:
Physiological disorders often mimic infectious diseases but are usually the result of environmental stress or nutrient imbalances.
- Symptom: Interveinal chlorosis (yellowing between green veins) on new leaves.
- Solution: This indicates an Iron (Fe) deficiency. Check the pH levels; if the substrate is above 7.0, the iron becomes chemically locked and unavailable to the plant. Lower the pH using sulfur or iron chelates.
- Symptom: Tip burn on new growth or distorted flower buds.
- Solution: This is a Calcium (Ca) deficiency. Unlike nitrogen, calcium is non-mobile and moves only through the transpiration stream. Increase airflow with a fan to boost transpiration rates.
- Symptom: Lower leaves turning completely yellow and dropping.
- Solution: Nitrogen chlorosis. The plant is scavenging nitrogen from old growth to support new leaves. Apply a water-soluble 10-10-10 fertilizer immediately.
- Symptom: Soft, brown mushy patches at the base of the stem.
- Solution: Damping off or root rot caused by anaerobic conditions. Reduce watering frequency and ensure the pot is not sitting in standing water.
Maintenance:
Precision maintenance separates the amateur from the scientist. Use a soil moisture meter to ensure the substrate is never saturated to the point of hypoxia. Most flowering species require the top 1 inch of soil to dry out between waterings. When irrigating, apply water until it drains freely from the bottom of the pot; this flushes out accumulated mineral salts that can cause root burn.
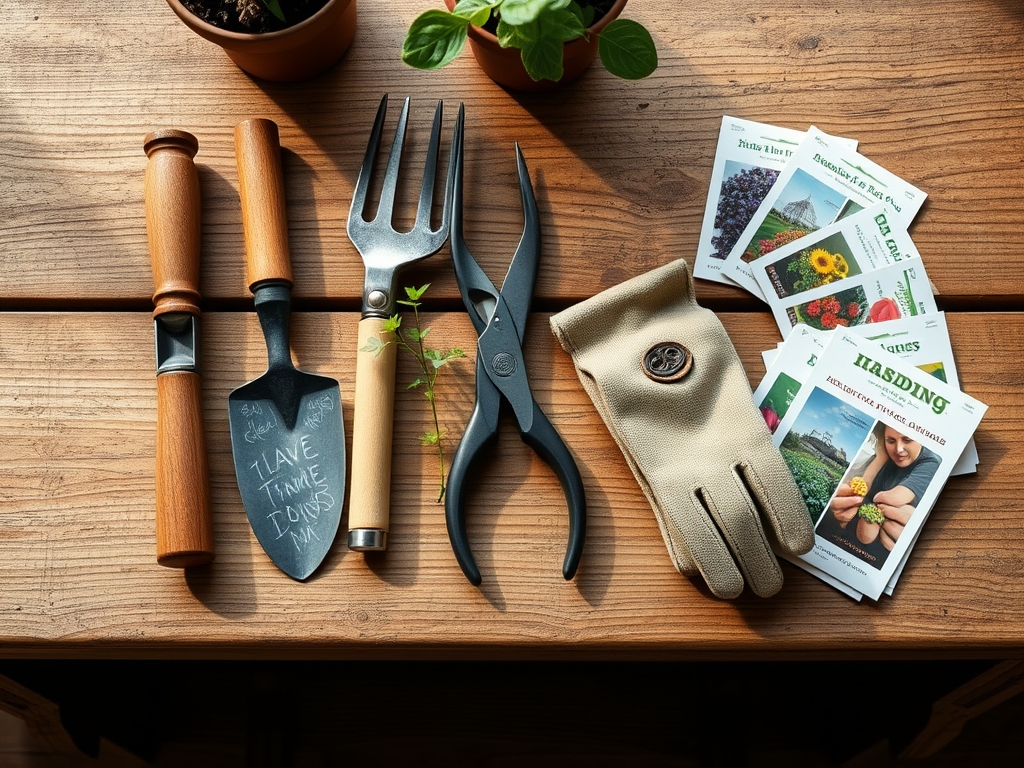
Use a hori-hori knife for any necessary soil aeration or deep-pot weeding. For pruning, utilize sharp bypass pruners to make clean cuts at a 45-degree angle just above a node. This angle prevents water from pooling on the wound, which reduces the risk of fungal infection. Sterilize your tools with isopropyl alcohol between every plant to prevent the cross-contamination of pathogens. Monitor the "drip line" of the foliage; water should be applied directly to the soil, not the leaves, to prevent powdery mildew.
The Yield:
Harvesting flowers requires timing based on the "stage of opening." For maximum vase life, harvest roses when the outer petals are just beginning to unfurl; for composite flowers like zinnias, wait until the bloom is fully open. Use the "wiggle test" on the stem; if the stem is stiff and does not flop, the flower is ready.
Cut the stems early in the morning, between 6:00 AM and 9:00 AM, when the plant is at maximum turgidity. Immediately submerge the cut ends in 100-degree Fahrenheit water to remove air bubbles from the xylem. Add a solution of sugar (for energy) and a drop of bleach (to inhibit bacterial growth) to the water. This "day-one" freshness technique ensures the vascular system remains open and functional for the duration of the display.
FAQ:
How much light do shelf flowers need?
Most flowering plants require 12 to 16 hours of high-intensity light daily. Use full-spectrum LED grow lights positioned 6 to 12 inches above the canopy to ensure enough photons reach the lower leaves for photosynthesis.
What is the best NPK for blooming?
Switch to a 10-30-20 or 5-10-10 ratio once buds appear. High phosphorus levels are essential for flower development, while lower nitrogen prevents excessive leaf growth at the expense of blossoms.
How often should I water my plant shelf?
Check the substrate daily using a soil moisture meter. Water when the top 1 inch of soil feels dry. Most containers require approximately 1.5 inches of water per week, depending on ambient humidity and temperature.
Why are my flower buds falling off?
Bud blast is usually caused by environmental stress, such as rapid temperature fluctuations, low humidity, or inconsistent watering. Ensure the shelf is away from air conditioning vents and maintain a consistent 65 to 75 degree environment.