9 General Care Steps to Prepare a Houseplant Plant Shelf
The scent of damp peat moss and the crisp turgor of a hydrated leaf indicate a healthy indoor ecosystem. Success is not found in aesthetic choice but in the precise calibration of light, humidity, and substrate chemistry. Understanding how to prepare a plant shelf for houseplants requires a shift from decoration to laboratory management. You must calculate the structural load of saturated terracotta and the specific micromoles of light reaching the lower tiers to ensure long term cellular health.
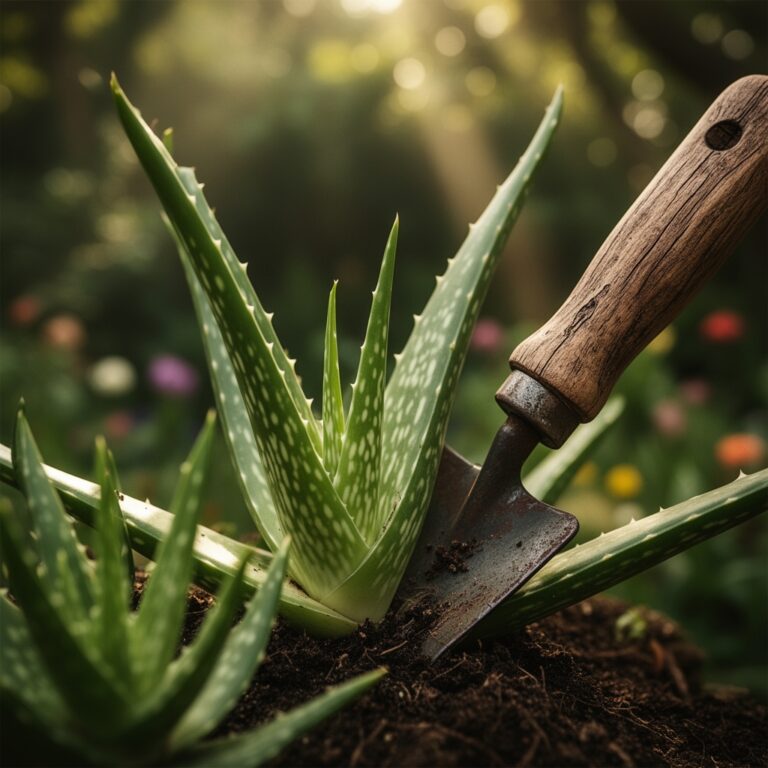
Materials:
Substrate selection dictates the **Cation Exchange Capacity (CEC)** of your shelf collection. For most tropical aroids, a **pH range of 5.5 to 6.5** is optimal to ensure nutrient availability. Use a friable loam composed of 40 percent orchid bark, 30 percent perlite, and 30 percent coco coir. This mixture prevents anaerobic conditions in the **rhizosphere**.
Regarding nutrition, maintain a strict NPK ratio of 3-1-2 for vegetative growth. Nitrogen (N) at 3 percent supports chlorophyll production; Phosphorus (P) at 1 percent encourages root architecture; Potassium (K) at 2 percent regulates stomatal opening and water retention. Ensure your shelf can support 50 pounds per square foot to account for heavy watering cycles.
Timing:
While indoor environments are buffered, plants still respond to the photoperiod changes of their external Hardiness Zone. In Zones 5 through 7, prepare your shelf in late March as the biological clock shifts from dormancy to the vegetative stage. Increase light intensity as the sun's angle changes to prevent etiolation, which is the weak, leggy growth caused by insufficient photons.
The transition from the vegetative stage to the reproductive or "active" stage usually occurs when ambient temperatures remain consistently above 68 degrees Fahrenheit. Monitor the internal clock of your plants; once new leaf primordia appear, increase your fertilization frequency to once every fourteen days.
Phases:

Sowing and Propagation
Start seeds or cuttings in a sterile medium with a pH of 6.0. Maintain a constant soil temperature of 75 degrees Fahrenheit using a heat mat. This thermal energy accelerates cellular division in the meristematic tissue.
Pro-Tip: Utilize a humidity dome to maintain 80 percent relative humidity. This prevents excessive transpiration while the specimen lacks a mature root system to replace lost moisture.
Transplanting
Move specimens when roots begin to circle the nursery pot. Use a hori-hori knife to gently loosen the root ball. Ensure the new container is only 2 inches wider than the previous one to prevent "pot-bound" stress or soil souring from excess moisture retention.
Pro-Tip: Dust roots with mycorrhizal fungi during transplanting. This symbiotic relationship increases the effective root surface area, allowing for enhanced phosphorus uptake through fungal hyphae.
Establishing
Once placed on the shelf, do not move the plant for 21 days. This allows the plant to orient its chloroplasts toward the primary light source. Observe the leaf angle to ensure the plant is maximizing its Photosynthetic Photon Flux Density (PPFD).
Pro-Tip: Rotate the pot 90 degrees weekly. This manages phototropism, the biological growth response to light, ensuring a balanced canopy rather than a leaned, asymmetrical form.
The Clinic:
Physiological disorders often mimic infectious diseases. Accurate diagnosis requires looking at the chemical and physical data.
- Symptom: Interveinal Chlorosis. The leaf veins remain green while the tissue turns yellow.
- Solution: This indicates a Magnesium deficiency. Apply a solution of 1 tablespoon of Epsom salts per gallon of water to restore magnesium ions to the soil.
- Symptom: Leaf Tip Burn. Brown, crispy edges on new and old growth.
- Solution: This is typically caused by fluoride toxicity or high salt accumulation. Flush the substrate with distilled water until the runoff electrical conductivity (EC) drops.
- Symptom: Edema. Small bumps or blisters on the underside of leaves.
- Solution: This results from high root pressure and low transpiration. Increase airflow with a mechanical fan and reduce watering frequency.
Fix-It for Nitrogen Chlorosis: If the oldest leaves are turning a uniform pale yellow, the plant is scavenging nitrogen for new growth. Apply a high-nitrogen liquid fertilizer with a 5-1-1 ratio to immediately boost amino acid production.
Maintenance:
Consistency is the foundation of horticulture. Use a soil moisture meter daily; do not water until the probe reads "Level 3" at a depth of 4 inches. Most tropical houseplants require approximately 1 inch of water per week, delivered evenly across the soil surface to reach the entire root zone.
Prune dead or senescent tissue using bypass pruners sterilized with 70 percent isopropyl alcohol. This prevents the spread of pathogens. Clean the leaves with a damp microfiber cloth every 14 days. Dust buildup can reduce photosynthetic efficiency by up to 30 percent by blocking light from the stomata.
The Yield:
For those growing herbs or flowering houseplants on their shelf, timing the harvest is critical for chemical potency. Harvest herbs just before the photoperiod ends for the day, as essential oil concentration is highest after a full day of photosynthesis. Use sharp snips to cut just above a node to encourage lateral branching.
For flowers, cut when the bud is in the "tight" stage but showing color. Immediately submerge the stems in 110 degree Fahrenheit water to break air bubbles in the xylem, ensuring maximum water uptake and "day-one" freshness for the display.
FAQ:
How do I calculate light needs for a plant shelf?
Measure the distance from the light source to the foliage. Most houseplants require 100 to 400 micromoles of light. Use a PAR meter to ensure the intensity matches the specific species requirements for optimal carbon fixation.
What is the best way to prevent salt buildup?
Leach the soil every three months by pouring distilled water through the pot until it drains freely for several minutes. This removes accumulated fertilizer salts that can cause root desiccation and interfere with cation exchange.
Can I use tap water on my plant shelf?
Tap water often contains chlorine and heavy metals. If your soil pH rises above 7.0, nutrients like iron become insoluble. Use filtered or rainwater to maintain a stable, acidic environment within the rhizosphere.
How do I increase humidity on a wooden shelf?
Place a waterproof liner or tray filled with pebbles and water beneath the pots. As the water evaporates, it creates a localized microclimate of 60 percent humidity, which maintains leaf turgor without damaging the structural integrity of the shelf.
What is the ideal temperature for an indoor plant shelf?
Maintain a daytime temperature between 70 and 80 degrees Fahrenheit. A nighttime drop to 65 degrees is beneficial, as it mimics natural cycles and reduces the rate of respiration, allowing the plant to conserve metabolic energy.