7 Best Accurate Plant Moisture Meters for Soil Testing
The smell of damp earth signals more than just recent precipitation; it indicates the active gas exchange within the rhizosphere where oxygen and water compete for pore space. When the balance is correct, a plant maintains high turgor pressure, keeping cell walls rigid and leaves upright. Without precision, you risk root senescence or fungal pathogens. Utilizing the best plant moisture meters allows a grower to quantify the volumetric water content of the substrate rather than relying on tactile guesswork. This data driven approach prevents the physiological wilt associated with both drought stress and anaerobic soil conditions. Accurate readings ensure that the vascular system, specifically the xylem, continues to transport dissolved minerals from the soil to the upper canopy without interruption. Maintaining a consistent moisture profile is the difference between a crop that merely survives and one that achieves its full genetic potential. Professionals use these tools to monitor the tension at which water is held by soil particles, ensuring that the energy expended by the plant for water uptake remains minimal.
Materials:
The ideal substrate for most temperate species is a **friable loam** consisting of roughly 40 percent sand, 40 percent silt, and 20 percent clay. This composition optimizes the Cation Exchange Capacity (CEC), which is the soil’s ability to hold and release essential nutrients like potassium and magnesium. For vegetative growth, a standard **NPK ratio of 10-10-10** is often sufficient, though heavy feeders may require a **20-10-10** blend to support rapid leaf expansion. The soil pH must be maintained between **6.0 and 7.0** to ensure nutrient bioavailability; once the pH drops below 5.5, aluminum toxicity becomes a significant risk. When testing with the **best plant moisture meters**, the physical texture of the soil affects the electrical conductivity and the resulting readout. High organic matter content increases the water holding capacity but can also lead to compaction if not managed with perlite or coarse sand.
Timing:
Successful cultivation requires strict adherence to USDA Hardiness Zones, which dictate the minimum winter temperatures a plant can withstand. In Zones 5 through 7, the window for outdoor transplanting typically opens after the last frost date, which usually falls between mid April and late May. Monitoring the biological clock is essential as the plant transitions from the vegetative stage to the reproductive stage. This shift is often triggered by the photoperiod, where the ratio of light to darkness dictates the production of florigen. For short day plants, this occurs as nights lengthen. If moisture levels are inconsistent during this transition, the plant may experience "bolting" or premature flowering, which diverts energy away from root and leaf development. Tracking soil temperature is equally vital; most temperate seeds require a consistent 65 degrees Fahrenheit for optimal germination rates.
Phases:

Sowing
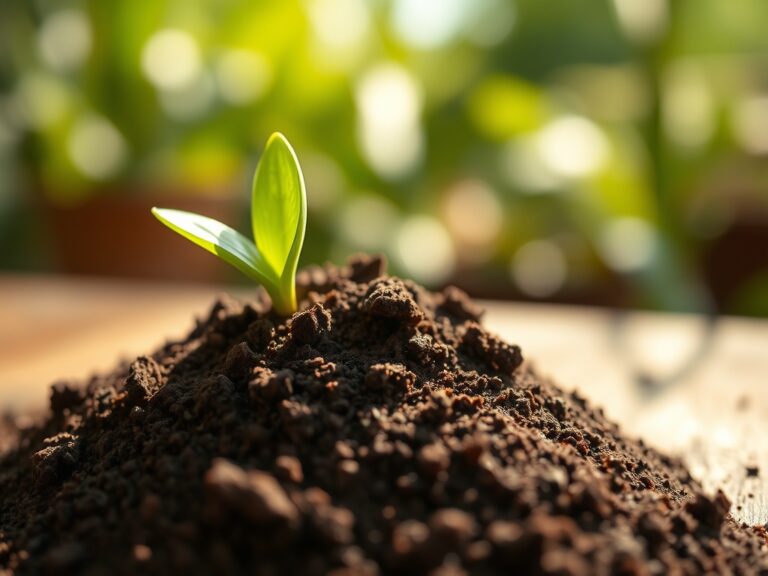
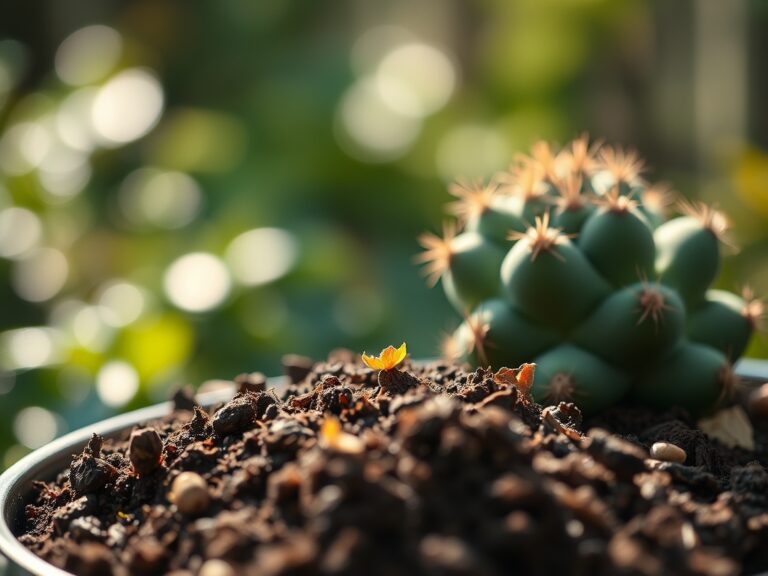
Seeds should be placed at a depth approximately two to three times their diameter. Maintaining a constant moisture level of 70 percent in the germination media is critical for the imbibition process, where the seed absorbs water to activate metabolic enzymes.
Pro-Tip: Keep the medium moist but not saturated to prevent "damping off," a condition caused by soil borne fungi. The biological why involves aerotropic responses, where roots grow toward oxygen rich zones; oversaturation creates an anaerobic environment that suffocates the emerging radicle.
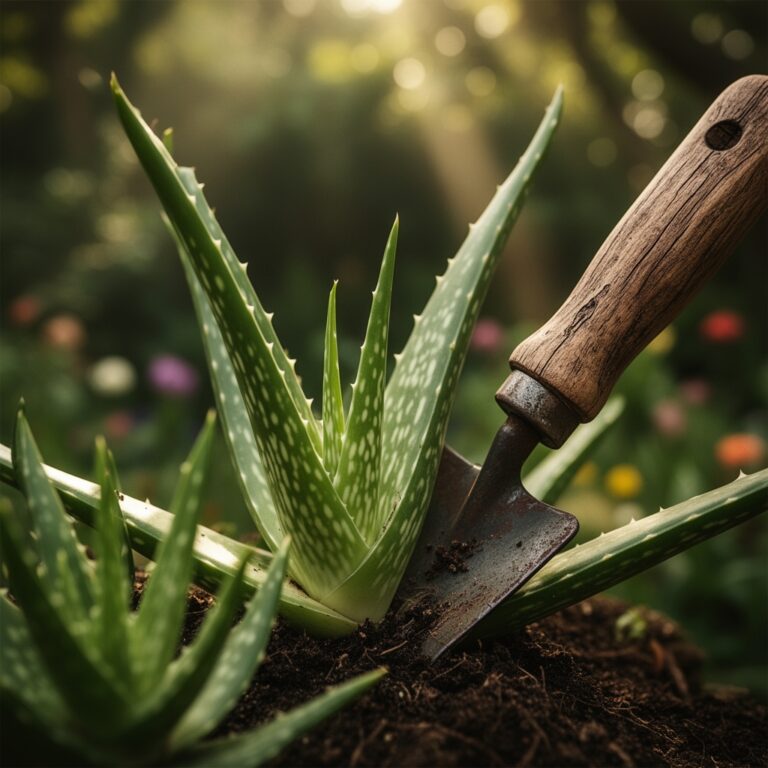
Transplanting
When moving seedlings, ensure the root ball remains intact to protect the delicate root hairs responsible for the majority of water absorption. The new hole should be twice as wide as the root mass but no deeper.
Pro-Tip: Water the plant immediately after transplanting to eliminate air pockets. The biological why is centered on mycorrhizal symbiosis; establishing immediate contact between the roots and the soil allows beneficial fungi to begin colonizing the root system, which significantly increases the surface area for nutrient uptake.
Establishing
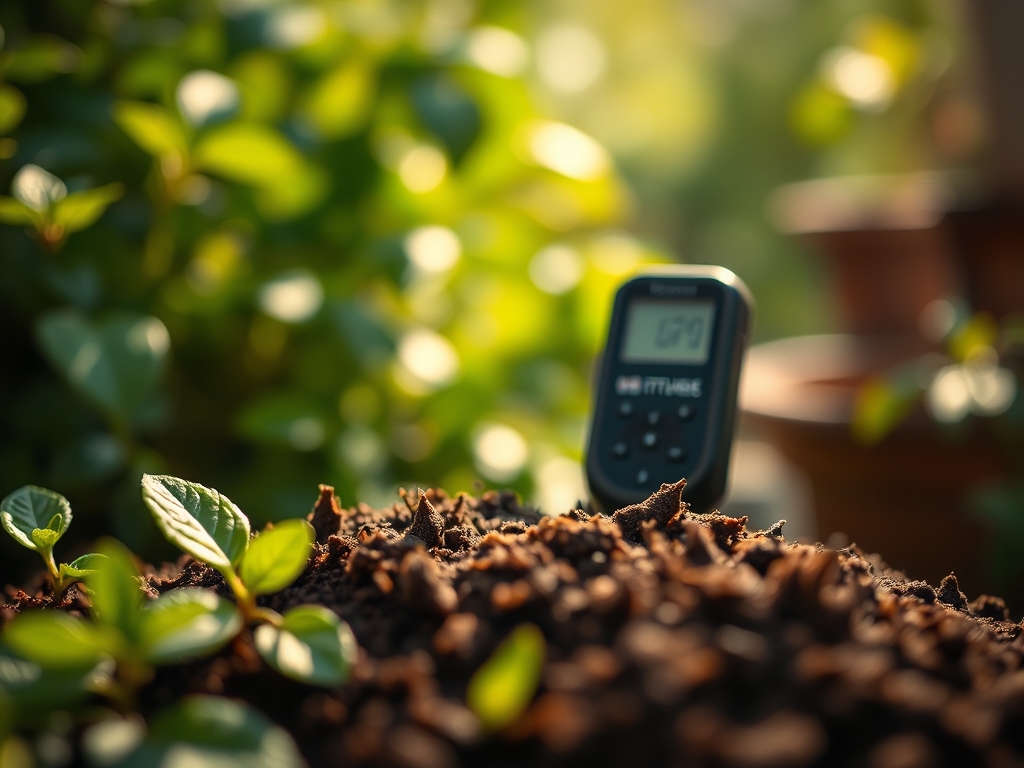
During the first 14 to 21 days, the plant focuses on root expansion. Irrigation should be deep and infrequent to encourage the roots to seek moisture lower in the soil profile.
Pro-Tip: Use a soil moisture meter to check the depth of water penetration. The biological why involves auxin suppression; when the primary taproot senses moisture deeper in the earth, it suppresses lateral root growth near the surface, leading to a more drought resistant and structurally sound plant.
The Clinic:
Physiological disorders often mimic nutrient deficiencies, making accurate diagnosis vital.
- Symptom: Interveinal chlorosis on young leaves. Solution: This indicates an Iron deficiency, often caused by a soil pH above 7.5. Apply chelated iron and adjust pH downward using elemental sulfur.
- Symptom: Blossom end rot in fruiting crops. Solution: This is a Calcium transport issue caused by inconsistent watering. Maintain steady moisture levels to ensure the plant can move calcium through the xylem to the fruit.
- Symptom: Leaf tip burn or marginal necrosis. Solution: Often a sign of salt accumulation from over fertilization. Flush the soil with three times the container volume of fresh water to leach out excess salts.
Fix-It Section: Nitrogen chlorosis appears as a general yellowing of older, lower leaves. Because Nitrogen is a mobile nutrient, the plant translocates it to new growth when soil levels are low. Apply a high Nitrogen fertilizer with a ratio of 3-1-2 to quickly restore chlorophyll production and photosynthetic efficiency.
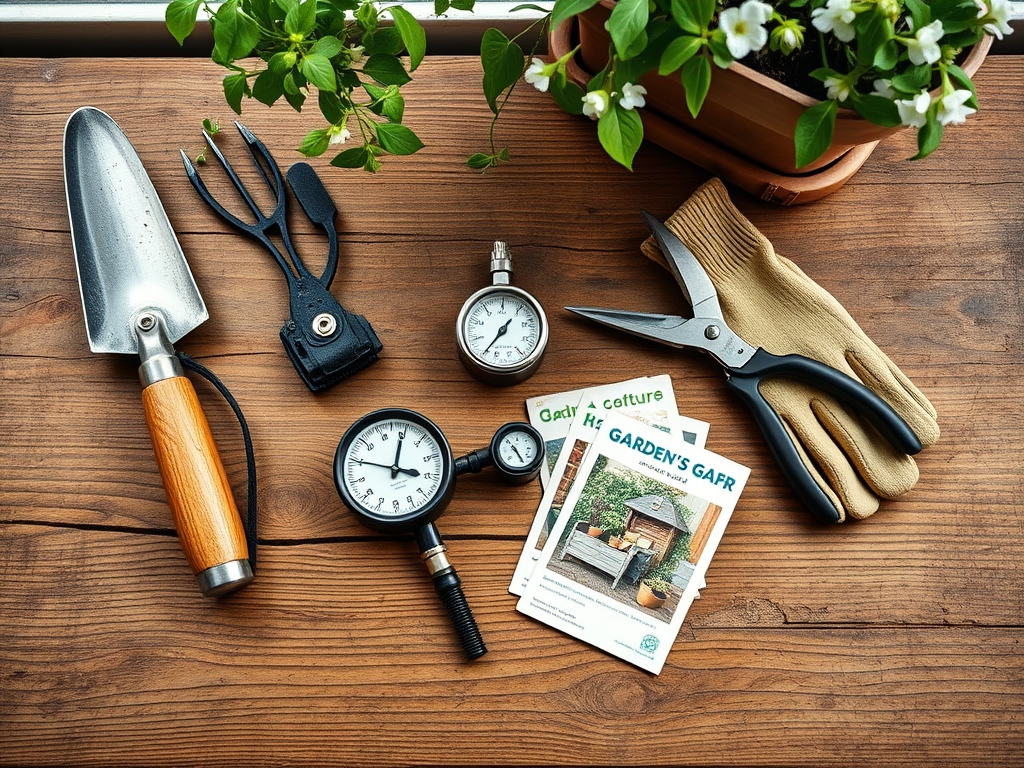
Maintenance:
Precision irrigation is the cornerstone of professional horticulture. Most established landscape plants require 1.5 inches of water per week delivered at the drip line, which is the outermost circumference of the canopy where the most active feeder roots reside. Use a hori-hori knife to check for soil compaction and to remove deep rooted weeds that compete for resources. When pruning, always use bypass pruners to make clean cuts at a 45 degree angle just above a lateral bud; this encourages rapid healing and prevents the entry of pathogens. Regularly calibrate your soil moisture meter by testing it in a saturated sample and a completely dry sample to ensure the sensors remain accurate. Consistent monitoring prevents the "yo-yo" effect of extreme dry and wet cycles, which can cause fruit cracking and root dieback.
The Yield:
Harvesting should occur during the "cool of the day," typically just after dew has evaporated but before the sun reaches its zenith. This timing ensures maximum turgor pressure within the plant tissues, resulting in a crisper product with a longer shelf life. For leafy greens, use a sharp blade to harvest, leaving the crown intact for "cut and come again" production. For fruiting bodies, harvest when the fruit reaches its botanical maturity, which is often indicated by a color change or the drying of the surrounding tendril. Post harvest, immediately move the produce to a shaded, cool environment to reduce the rate of respiration and senescence. Rapid cooling preserves the sugars and volatile compounds that contribute to flavor and nutritional density.
FAQ:
How deep should I insert a moisture meter?
Insert the probe 4 to 6 inches deep for most garden plants. For large shrubs or trees, go 8 to 12 inches deep. Always measure at the drip line to reach the active root zone where water uptake occurs.
Why does my meter show "dry" in wet soil?
This usually occurs in soils with very low mineral content or high organic matter. Clean the probe with a fine abrasive pad to remove oxidation. Ensure the soil is firmly packed around the probe to maintain electrical contact.
Can I leave the moisture meter in the soil?
No. Most consumer grade meters use galvanic probes that will corrode if left in the substrate. Permanent contact leads to electrode degradation and inaccurate readings. Remove the device and wipe it dry after every single use.
What is the best time to check soil moisture?
Check in the early morning before the sun increases transpiration rates. This provides an accurate baseline of the plant's water reserves after a night of recovery. Avoid testing immediately after heavy rain as surface saturation may skew results.