5 Easy Secrets How to Grow Brussels Sprouts
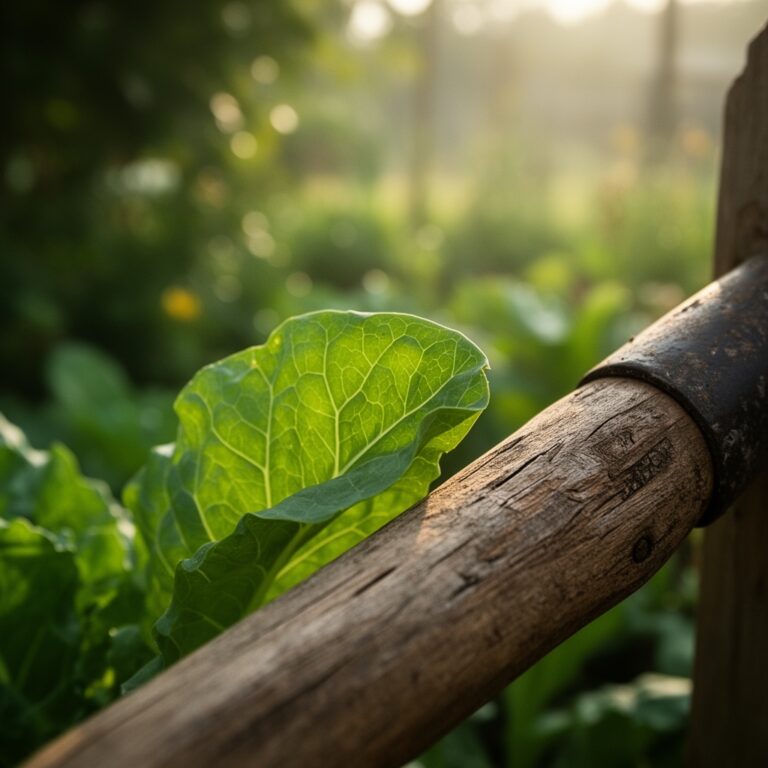
Crushing a handful of cold, damp earth reveals the structural integrity of a high-performing loam; it should crumble under pressure while retaining enough moisture to stain the skin. This tactile feedback is the first step in mastering how to grow brussels sprouts, a crop that demands high turgor pressure and specific thermal windows. Success depends on the physiological transition from vegetative growth to the development of axillary buds along a thick, fibrous stalk.
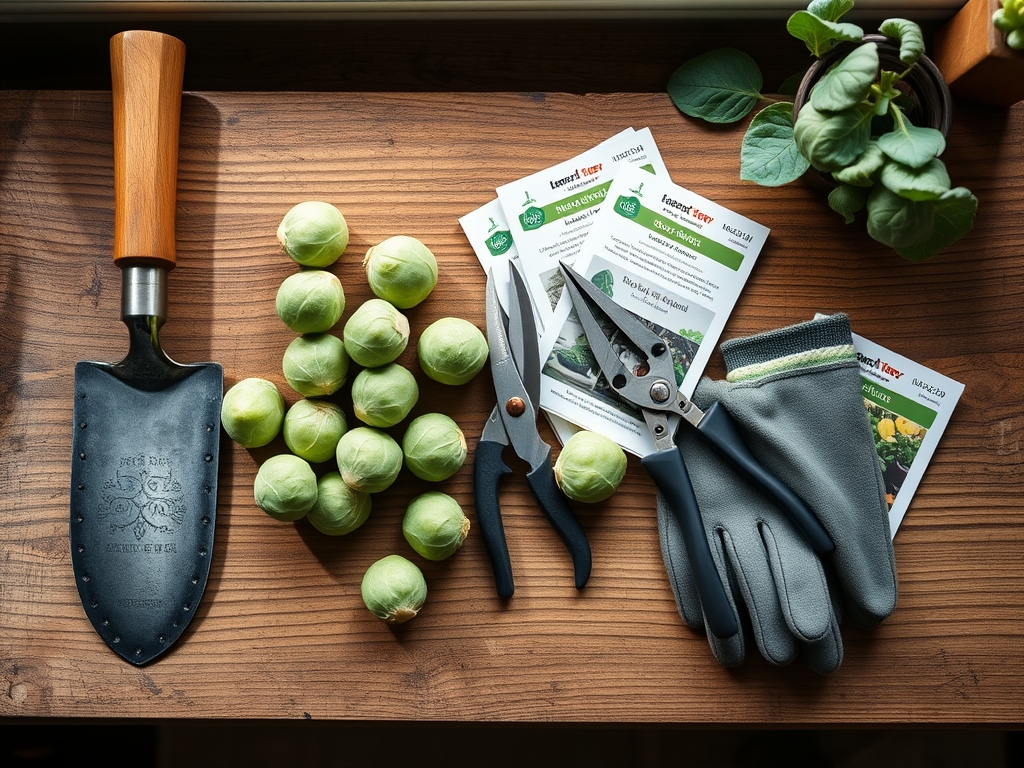
Materials:
The ideal substrate for Brassica oleracea is a friable loam with a high Cation Exchange Capacity (CEC), allowing the plant to access a steady supply of essential ions. Soil pH must be maintained between 6.5 and 6.8 to prevent the development of Plasmodiophora brassicae, a soil-borne pathogen that thrives in acidic conditions.
Fertilization requires a staged approach based on NPK ratios. During the initial vegetative stage, a 10-10-10 balanced fertilizer provides the nitrogen necessary for leaf canopy development. As the plant matures and begins bud initiation, shift to a lower nitrogen, higher potassium formula such as 5-10-15. Potassium is critical for regulating stomatal conductance and increasing the osmotic potential within the developing sprouts. Incorporate organic matter to ensure a steady release of micronutrients, specifically boron and molybdenum, which are vital for preventing hollow stems and leaf necrosis.
Timing:
Brussels sprouts are a long-season biennial grown as an annual, requiring 80 to 110 days to reach maturity. They are most successful in Hardiness Zones 2 through 9, provided the planting window accounts for their biological clock. The plant must experience a period of cold temperatures, ideally between 32 and 45 degrees Fahrenheit, to trigger the conversion of starches into sugars, which improves the flavor profile of the sprouts.
In northern latitudes, sow seeds indoors 16 weeks before the first expected autumn frost. In southern regions, time the planting so the crop matures during the coolest months of winter. The vegetative stage requires consistent daylight, but the reproductive stage, where the axillary buds swell into firm sprouts, is most efficient when daytime temperatures remain below 70 degrees Fahrenheit.
Phases:
Sowing
Start seeds in sterile potting media at a depth of 0.5 inches. Maintain a soil temperature of 65 to 75 degrees Fahrenheit for optimal germination. Once the first true leaves emerge, provide high-intensity light for 14 to 16 hours daily to prevent leggy growth.
Pro-Tip: Monitor for phototropism early. Rotate seed trays 180 degrees daily to ensure straight hypocotyl development, which prevents structural weakness in the mature stalk.
Transplanting
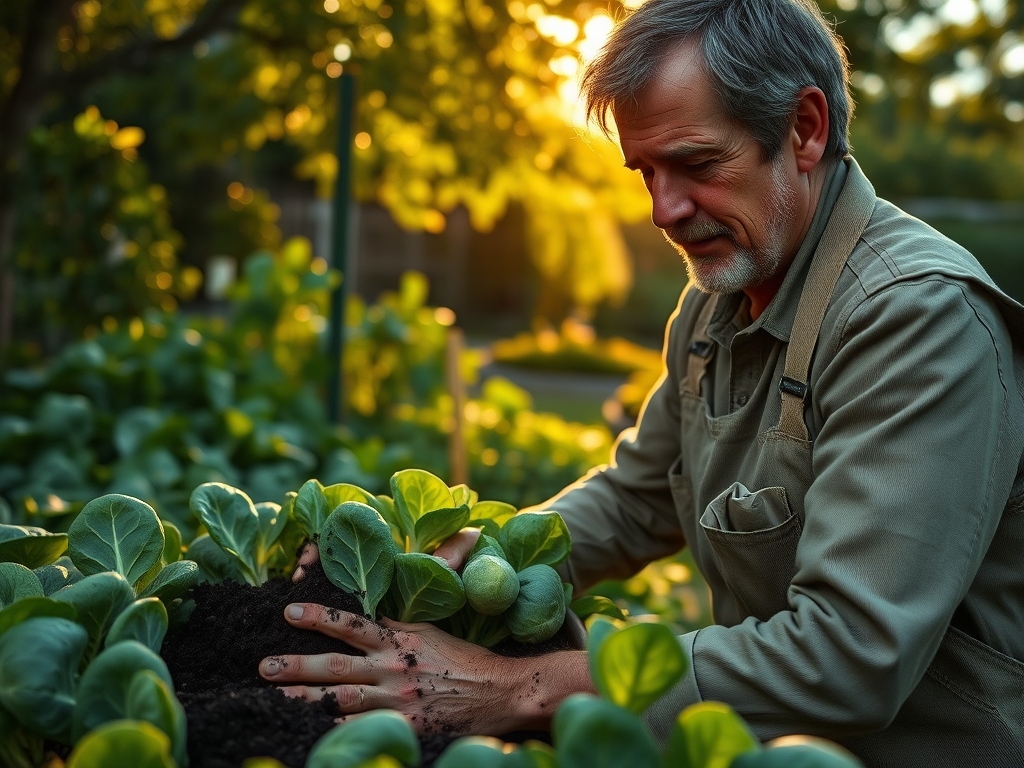
Move seedlings to the field when they reach 6 inches in height and have at least four true leaves. Space plants 18 to 24 inches apart in rows spaced 30 inches apart. This density allows for adequate airflow, reducing the risk of fungal pathogens in the lower canopy.
Pro-Tip: Inoculate the rhizosphere with mycorrhizal fungi during transplanting. This symbiotic relationship increases the root surface area, enhancing the uptake of phosphorus and water during periods of heat stress.
Establishing
As the plant grows, the central leader will thicken. Apply a layer of organic mulch to regulate soil temperature and suppress weed competition. Brussels sprouts have a relatively shallow root system; any mechanical cultivation should be superficial to avoid root pruning.
Pro-Tip: Practice auxin suppression by "topping" the plant. Remove the apical meristem (the growing tip) about 4 weeks before the final harvest. This redirects the plant's energy from vertical growth to the expansion of the axillary buds.
The Clinic:
Physiological disorders often stem from environmental stressors or nutrient imbalances.
- Symptom: Tipburn on inner sprout leaves. Solution: This is a calcium deficiency, often caused by inconsistent moisture levels rather than a lack of calcium in the soil. Maintain a steady irrigation schedule to ensure calcium ions move through the xylem to the leaf margins.
- Symptom: Hollow stems (Pith necrosis). Solution: This indicates a boron deficiency or excessive nitrogen application. Reduce nitrogen and apply a foliar spray of solubor at a rate of 1 tablespoon per gallon of water.
- Symptom: Loose, leafy sprouts (Bolting). Solution: This occurs when temperatures exceed 80 degrees Fahrenheit during the bud-forming stage. Use shade cloths to lower the ambient temperature by 5 to 10 degrees.
Fix-It: For Nitrogen chlorosis, characterized by the yellowing of older, lower leaves, side-dress with blood meal or a high-nitrogen liquid fertilizer. This restores chlorophyll production and maintains the photosynthetic capacity of the plant.
Maintenance:
Precision irrigation is the cornerstone of a heavy yield. Deliver 1.5 inches of water per week at the drip line. Avoid overhead irrigation, which increases the leaf wetness period and invites downy mildew. Use a soil moisture meter to verify that the root zone remains consistently moist but not saturated.
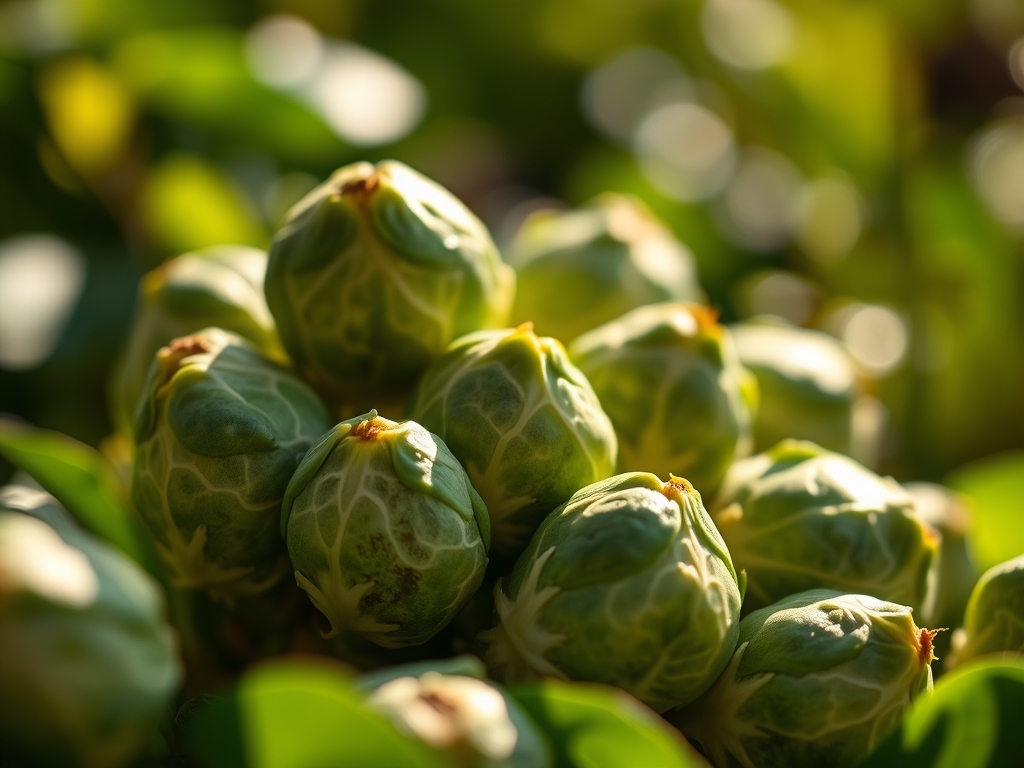
Use a hori-hori knife to remove lower leaves as they begin to yellow. This process, known as senescence, is natural. Removing these leaves improves air circulation around the developing sprouts. When the sprouts at the base of the stalk reach 0.5 inches in diameter, use bypass pruners to clip the leaves directly adjacent to them. This allows the sprouts more physical space to expand without being compressed by the leaf petioles.
The Yield:
Harvesting begins from the bottom of the stalk upward. Sprouts are ready when they reach 1 to 1.5 inches in diameter and are firm to the touch. Use a sharp knife to cut the sprout away from the main stalk, leaving a small portion of the heel attached to prevent the leaves from unraveling.
For "day-one" freshness, harvest in the early morning when the plant is at maximum turgidity. Immediately submerge the sprouts in an ice-water bath for 20 minutes to remove field heat. This process slows the metabolic rate and preserves the sugar content. Store the sprouts in a perforated bag at 32 to 34 degrees Fahrenheit with high humidity to maintain their crisp texture for up to three weeks.
FAQ:
Why are my brussels sprouts bitter?
Bitterness is caused by high temperatures or water stress. Glucosinolates increase when the plant is stressed. To fix this, ensure the crop matures during frosty weather, which converts starches into sugars through a natural chemical defense mechanism.
How do I get larger sprouts?
Remove the top of the plant (the apical meristem) in late summer or early fall. This stops vertical growth and forces the plant to channel all nutrients and carbohydrates into the development of the existing axillary buds.
Do brussels sprouts need full sun?
Yes, they require a minimum of 6 to 8 hours of direct sunlight daily. Insufficient light leads to elongated, weak stalks and small, loose sprouts that lack the density required for a high-quality harvest.
How much fertilizer do they need?
Apply a balanced fertilizer at planting, then side-dress with a high-nitrogen source 4 weeks later. A final application of potassium-rich fertilizer during bud initiation supports the structural development of the sprouts and improves overall plant health.