6 Aeration Benefits of Specialized Orchid Soil
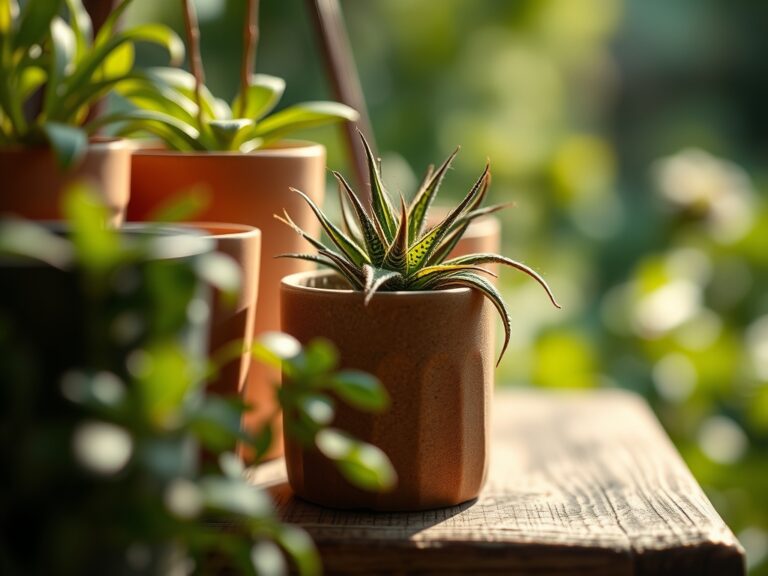
The sharp snap of a firm orchid root indicates high turgor pressure; it is the primary indicator of a plant successfully navigating its gaseous environment. When you press your thumb against a healthy Phalaenopsis leaf, it should resist with a rigid, leather-like density. This structural integrity depends entirely on the gas exchange occurring within the rhizosphere. Using a specialized orchid soil ensures that the delicate velamen layer surrounding the roots is never starved of oxygen or drowned in stagnant moisture. Standard potting mixes collapse under their own weight, creating anaerobic pockets that trigger rapid cellular death. By contrast, a professional substrate maintains structural voids that facilitate the constant movement of carbon dioxide out of the root zone and oxygen into it. This atmospheric balance is not a luxury but a physiological requirement for epiphytic species. Without the macro-pores provided by coarse bark, charcoal, and perlite, the plant cannot maintain the osmotic gradient necessary to pull nutrients from the substrate into the vascular system.
Materials:
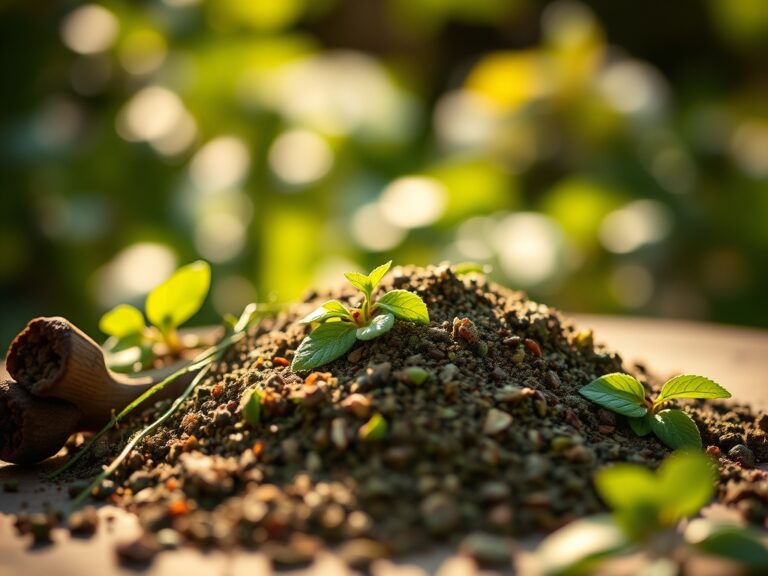
The chemical composition of your substrate must remain within a **pH range of 5.5 to 6.5** to ensure maximum bioavailability of micronutrients. Most specialized orchid mixes utilize a base of high-fired clay (LECA), Douglas fir bark, or coconut husk chunks. These materials possess a low Cation Exchange Capacity (CEC), meaning they do not hold onto salts that could desiccate sensitive root tissues. For the vegetative growth phase, integrate a water-soluble fertilizer with an **NPK ratio of 20-20-20** at quarter strength. During the transition to the reproductive phase, shift to a **10-30-20 ratio** to provide the phosphorus necessary for spike development. The physical texture must be highly porous and non-friable; unlike garden loam, orchid media must resist decomposition for at least **24 months** to prevent the compaction that leads to root rot.
Timing:
Orchids are primarily grown in controlled indoor environments or within USDA Hardiness Zones 10 through 12. The biological clock of the plant is governed by the photoperiod and temperature fluctuations. Most species require a 10 to 15 degree Fahrenheit drop in nocturnal temperatures for a period of 4 to 6 weeks to trigger the transition from the vegetative stage to the reproductive stage. In temperate zones, this typically aligns with the window between late October and early December. Repotting should only occur during the commencement of the active growth phase, usually in early spring when new root tips are visible. Avoid disturbing the plant during the dormant winter months, as the metabolic rate is too low to facilitate rapid tissue repair.
Phases:
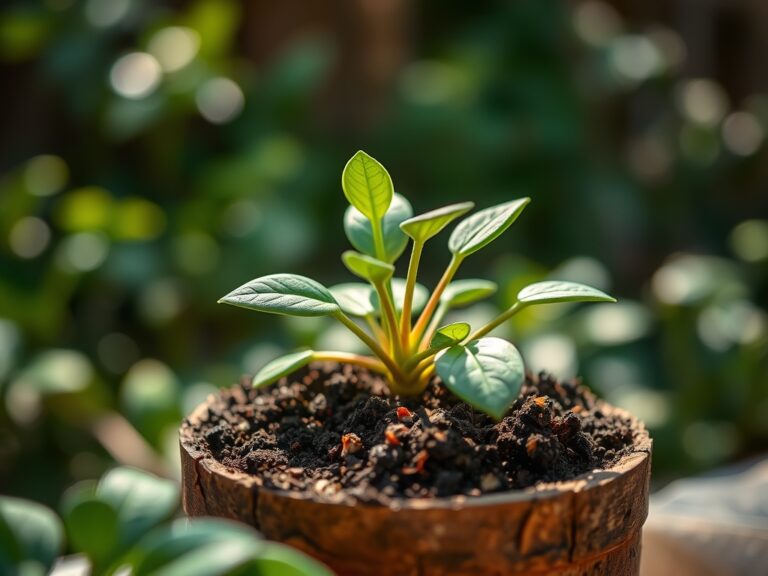
Sowing and Seedling Development
Orchid seeds lack an endosperm and require a symbiotic relationship with mycorrhizal fungi to germinate in the wild. In a domestic setting, this is bypassed through agar-based flasking. Once seedlings reach a height of 2 inches, they are transitioned into a fine-grade specialized mix. This stage requires a constant humidity level of 70 percent to prevent the desiccation of juvenile tissues.
Pro-Tip: Seedlings exhibit high levels of auxin production at the apical meristem. Maintaining consistent light levels prevents leggy growth caused by phototropism, ensuring the plant allocates energy toward a robust root system rather than elongated, weak stems.
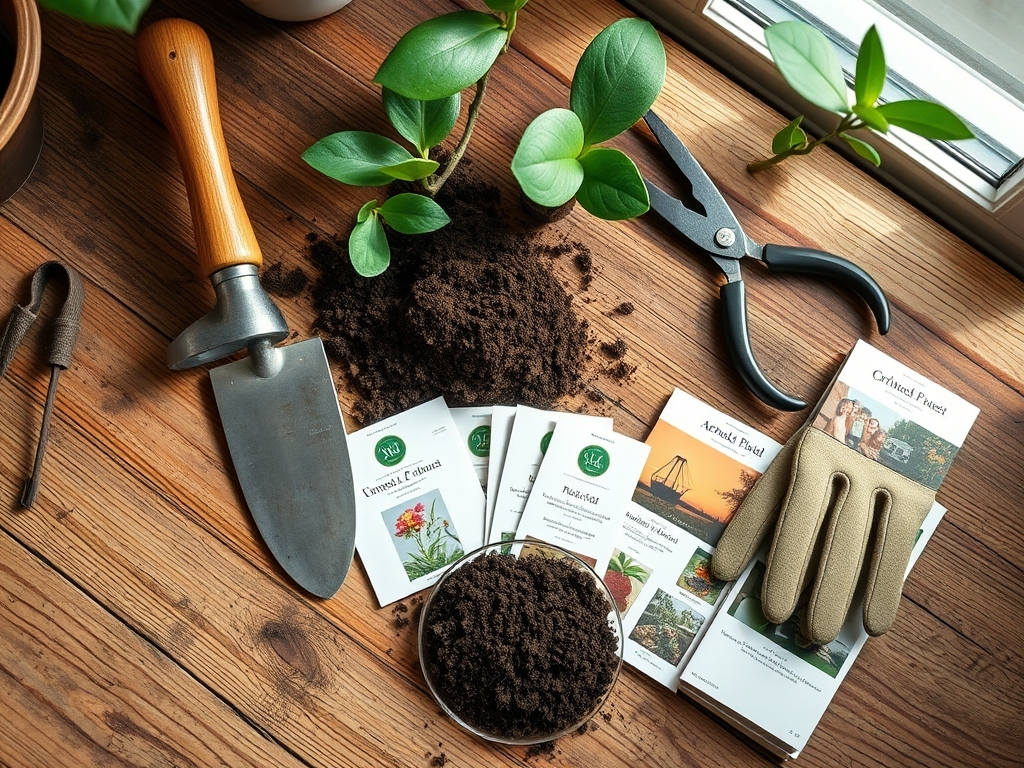
Transplanting and Root Integration
When moving a plant to a larger vessel, remove all old media using a sterilized hori-hori knife or sharp shears. Using a specialized orchid soil at this stage provides the necessary air gaps (macropores) that prevent transplant shock. Ensure the rhizome is positioned at the surface of the media, never buried, to allow for lateral expansion.
Pro-Tip: Mycorrhizal symbiosis is critical during transplanting. Introducing a beneficial fungal inoculant to the new substrate enhances nutrient uptake by increasing the effective surface area of the root system through hyphal networks.
Establishing and Maturation
An established orchid will anchor itself to the large particles of the substrate. During this phase, the plant develops its pseudobulbs, which serve as water and nutrient storage organs. Monitor the turgor of these structures; shriveling indicates a failure in the moisture-oxygen balance within the pot.
Pro-Tip: Orchids utilize Crassulacean Acid Metabolism (CAM) to conserve water. They open their stomata at night to take in CO2, meaning the aeration provided by the specialized soil is most critical during the dark cycle when gas exchange is at its peak.
The Clinic:
Physiological disorders in orchids often manifest through foliar signals. Observe the root structure in the step-by-step photos to differentiate between healthy and necrotic tissue.
-
Symptom: Soft, black, or mushy roots with a foul odor.
Solution: This is root rot caused by anaerobic conditions. Remove the plant, excise dead tissue with sterilized bypass pruners, and repot into a fresh, coarse specialized orchid soil to restore oxygen flow. -
Symptom: Yellowing of lower leaves (Nitrogen chlorosis).
Fix-It: Increase the frequency of a high-nitrogen fertilizer (30-10-10) but ensure the substrate is flushed with pure water every fourth feeding to prevent salt accumulation. -
Symptom: Pleated or "accordion" growth on new leaves.
Solution: This indicates inconsistent humidity or moisture levels. Increase the ambient humidity to 60 percent and ensure the specialized media is not drying out too rapidly between waterings. -
Symptom: Tip burn on leaves.
Fix-It: This is typically a sign of high salt toxicity or boron deficiency. Flush the media with deionized water for three consecutive cycles to reset the substrate's electrical conductivity (EC) levels.
Maintenance:
Precision is the hallmark of orchid care. Use a soil moisture meter to verify that the core of the pot is dry before adding water; usually, this occurs every 5 to 7 days depending on ambient evaporation rates. When watering, apply enough volume to saturate the media until water flows freely from the drainage holes, effectively "flushing" the rhizosphere. Every six months, use a hori-hori knife to gently probe the substrate for signs of breakdown. If the bark has become soft or silty, it must be replaced to maintain the 20 percent air porosity required for epiphytic health. Prune spent flower spikes using bypass pruners sterilized with 70 percent isopropyl alcohol to prevent the transmission of viral pathogens.
The Yield:
While most orchids are grown for their ornamental longevity, the "yield" is measured in the duration and frequency of the bloom cycle. A healthy Phalaenopsis or Cattleya should maintain its flowers for 6 to 10 weeks. To maximize "day-one" freshness for cut flowers, sever the spike at the base when the second-to-last bud has opened. Immediately plunge the stem into 90 degree Fahrenheit water to prevent air embolisms in the xylem. Store the cut flowers in a cool location away from ripening fruit, as orchids are highly sensitive to ethylene gas, which triggers rapid senescence and petal drop.
FAQ:
Why does my orchid soil have large chunks of charcoal?
Charcoal maintains a neutral pH and adsorbs toxic impurities and excess salts. This prevents chemical burning of the roots while keeping the substrate's structure open for essential gas exchange and oxygenation within the rhizosphere.
How often should I replace specialized orchid soil?
Replace the substrate every 18 to 24 months. Over time, organic components like fir bark break down and compact. This loss of structure eliminates air pockets, leading to anaerobic conditions and subsequent root necrosis.
Can I use regular potting soil for my orchid?
No. Regular potting soil is designed to retain moisture and has a high peat content. This density will suffocate orchid roots, which are adapted for air exposure, causing rapid systemic collapse and plant death within weeks.
What is the best NPK ratio for blooming orchids?
Use a "bloom booster" formula with a ratio such as 10-30-20. The higher phosphorus content supports the metabolic demands of flower production and spike strength, while lower nitrogen prevents excessive leaf growth during the reproductive phase.