6 Creative Steps to Build a Visual Tool Storage Site
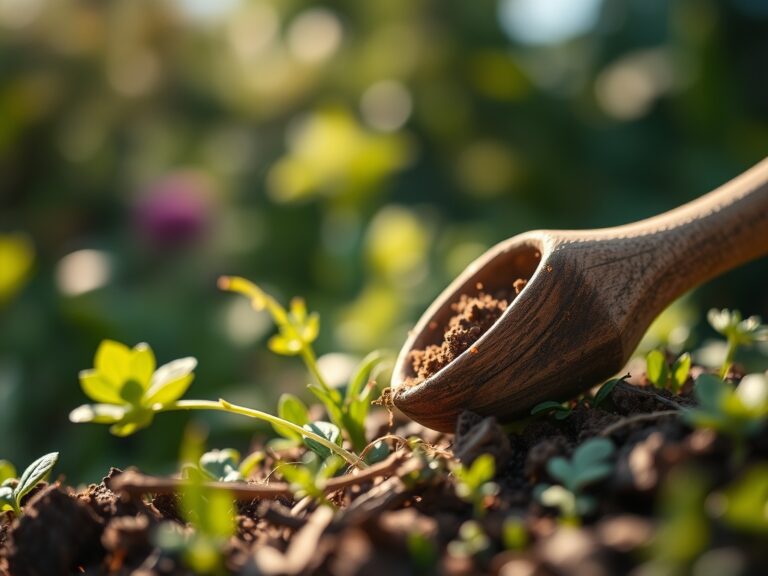
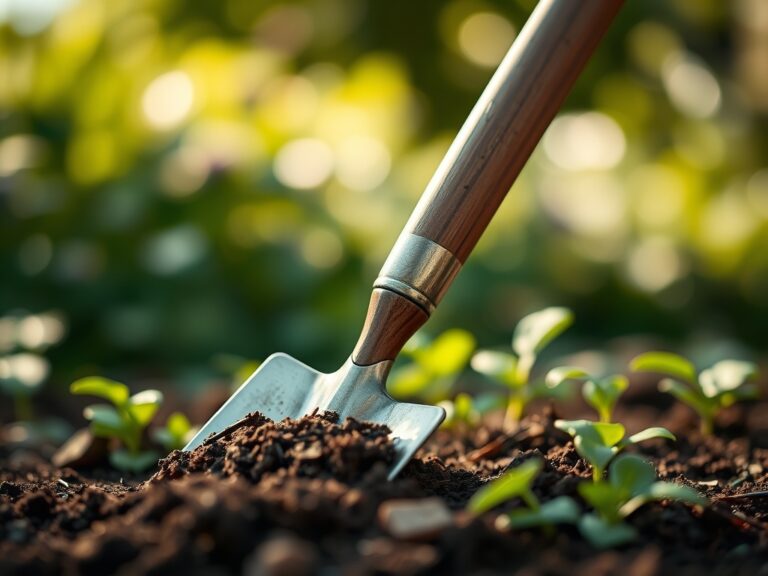
Crushed basalt grit and the sharp, metallic scent of oxidized carbon steel define the workspace of a professional grower. When the turgor pressure of your perennials remains high and the rhizosphere is teeming with microbial activity, the last thing you need is a disorganized workflow. Understanding how to prepare a garden for a tool storage site requires a shift from soft landscaping to structural soil stabilization. You must assess the compaction levels and drainage capacity of the intended footprint to prevent localized anaerobic conditions or structural subsidence. A stable foundation ensures that heavy equipment does not compress the surrounding soil, preserving the pore space necessary for gas exchange in nearby root systems.
Materials:
The foundation for a visual tool storage site begins with the substrate. You are looking for a **friable loam** with a **pH between 6.2 and 6.8** to minimize the corrosive potential of the soil on metal components. If the site is adjacent to active plantings, ensure the soil contains an **NPK ratio of 5-10-10** to promote root strength rather than excessive foliar growth, which can crowd the storage area.
Use a Cation Exchange Capacity (CEC) rating of 15 to 25 to ensure the ground remains chemically stable. Materials required include:
- Grade 2 crushed limestone for the base layer to provide structural drainage.
- Geotextile fabric with a flow rate of 90 gallons per minute per square foot to prevent soil migration.
- Pressure-treated timber rated for ground contact (UC4A standard).
- Coarse builder's sand to create a level, high-friction surface for tool racks.
Timing:
The ideal window for site preparation is during the dormant season, specifically between Hardiness Zones 4 and 8 when the ground is workable but the biological clock of the garden has slowed. Aim for the period between the first hard frost and the spring thaw. This timing prevents the disruption of the vegetative growth phase and avoids compacting wet, spring-thaw soils which destroys soil structure.
Monitor the photoperiod; shorter days signal the plant to move carbohydrates to the root system, entering senescence. Working during this phase ensures that any accidental root pruning near the storage site will not result in significant sap loss or immediate fungal infection.
Phases:

Sowing the Perimeter
Before installing the structure, establish low-growth ground cover like Trifolium repens to stabilize the surrounding soil. Ensure the seeds are sown at a depth of 0.25 inches and kept at a consistent moisture level.
Pro-Tip: Utilize mycorrhizal symbiosis by inoculating the perimeter seeds with Glomus intraradices. This fungus extends the root reach, improving water uptake and soil aggregation through the production of glomalin, which prevents the soil near your tool site from eroding.
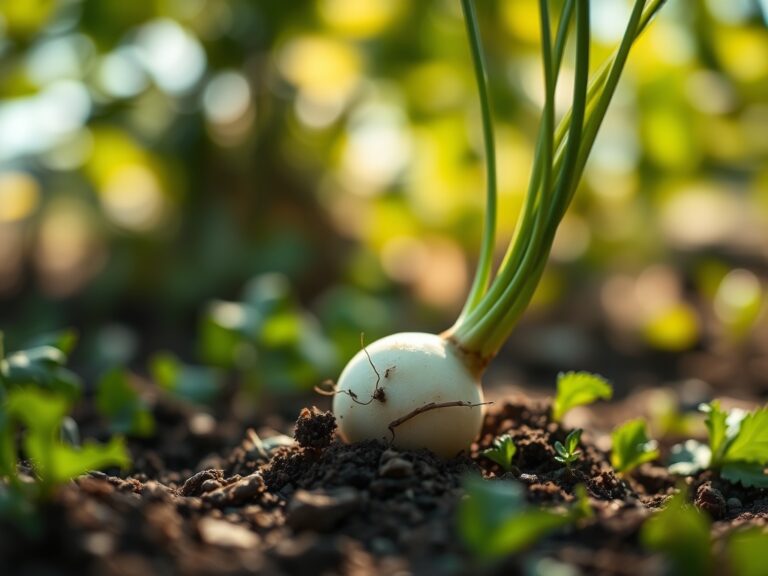
Transplanting and Clearing
If the site overlaps existing perennials, use a hori-hori knife to cut a clean circle around the root ball, preserving the taproot and lateral feeders. Move plants to a temporary nursery bed with a 10-10-10 NPK starter fertilizer.
Pro-Tip: When moving woody shrubs, maintain the original orientation to the sun to prevent phototropic stress. Plants have a "memory" of light direction; rotating them 180 degrees can cause auxin suppression in the shaded side, leading to uneven growth or dieback.
Establishing the Base
Excavate to a depth of 8 inches. Level the subsoil and compact it to a 95 percent Proctor density. Lay the geotextile fabric followed by 4 inches of compacted gravel. This prevents capillary action from drawing moisture into your tool handles.
Pro-Tip: Slope the site at a 2 percent grade away from the center. This utilizes gravity to prevent water pooling, which reduces the risk of Phytophthora root rot in adjacent ornamental beds by ensuring the area remains aerobic.
The Clinic:
Observe the surrounding vegetation for signs of physiological distress caused by the construction of the storage site.
- Symptom: Interveinal chlorosis on new growth.
Solution: This indicates Iron deficiency caused by high pH from the limestone base. Apply chelated iron to lower the localized pH to 6.5. - Symptom: Marginal leaf scorch and wilting despite irrigation.
Solution: Soil compaction has caused Oxygen deprivation in the rhizosphere. Use a broadfork to aerate the soil 12 inches deep around the site perimeter. - Symptom: Stunted growth and purple tinting on the underside of leaves.
Solution: Phosphorus deficiency often occurs in cold, compacted soils. Incorporate bone meal or a 0-20-0 superphosphate into the top 4 inches of the soil.
Fix-It: For general Nitrogen chlorosis (yellowing of older leaves), apply a liquid seaweed extract or a high-nitrogen urea fertilizer at a rate of 1 pound of actual nitrogen per 1,000 square feet.
Maintenance:
A professional tool site requires rigorous upkeep to remain functional. Monitor the soil moisture around the perimeter using a soil moisture meter; levels should stay between 20% and 40% for optimal plant health without causing mud. Provide 1.5 inches of water per week at the drip line of any overhanging trees to compensate for the impermeable surface of the tool site.
Every six months, inspect the wooden supports for fungal decay. Use bypass pruners to remove any encroaching vegetation that limits airflow. Increased airflow reduces the humidity around the tools, preventing rust and the spread of powdery mildew (Podosphaera xanthii) on nearby foliage.
The Yield:
While a tool site does not produce a crop, the "yield" is the longevity of your equipment and the health of the surrounding landscape. If you have planted herbs like Lavandula around the site to mask the smell of oils, harvest them when the essential oil concentration is highest, typically just before the flowers fully open in the early morning.
Cut the stems with a sharp blade to avoid crushing the xylem vessels. Hang them in a dark, well-ventilated area with a humidity level below 50 percent to ensure "day-one" freshness and potency for use in tool-cleaning sachets.
FAQ:
How deep should the foundation be for a tool site?
Excavate to a minimum of 8 inches. Fill with 4 inches of compacted aggregate and 2 inches of leveling sand. This depth ensures stability and prevents frost heave in Zones 3 through 7.
Can I build a storage site near a large tree?
Stay outside the Critical Root Zone (CRZ). Calculate the CRZ by measuring the tree diameter at breast height (DBH); for every inch of DBH, allow 1.5 feet of radius from the trunk to protect the root system.
What is the best soil pH for a tool area?
Aim for a neutral pH of 6.5 to 7.0. Acidic soils (below 6.0) increase the rate of oxidation and corrosion on metal tools, while highly alkaline soils can cause nutrient lockout in surrounding perimeter plants.
How do I prevent weeds from growing in the gravel base?
Install a professional-grade woven geotextile fabric beneath the gravel. This creates a physical barrier that prevents weed seeds in the subsoil from germinating while allowing vertical drainage to maintain an aerobic environment.
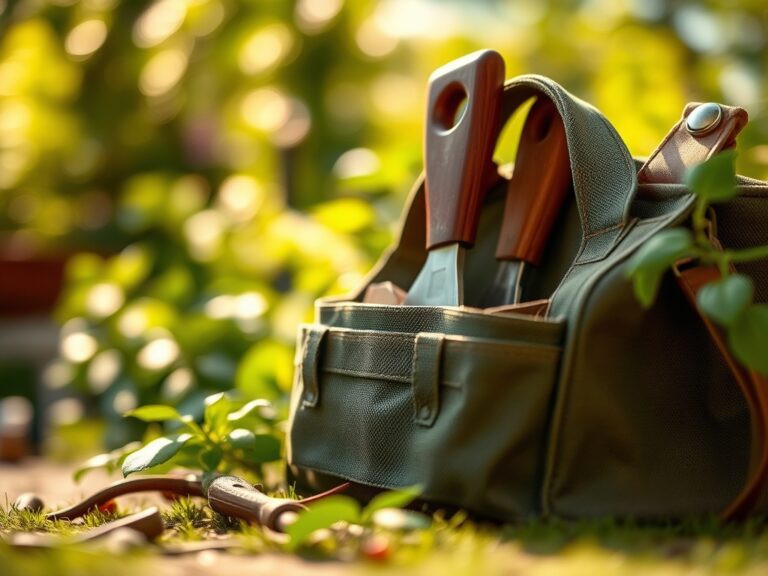
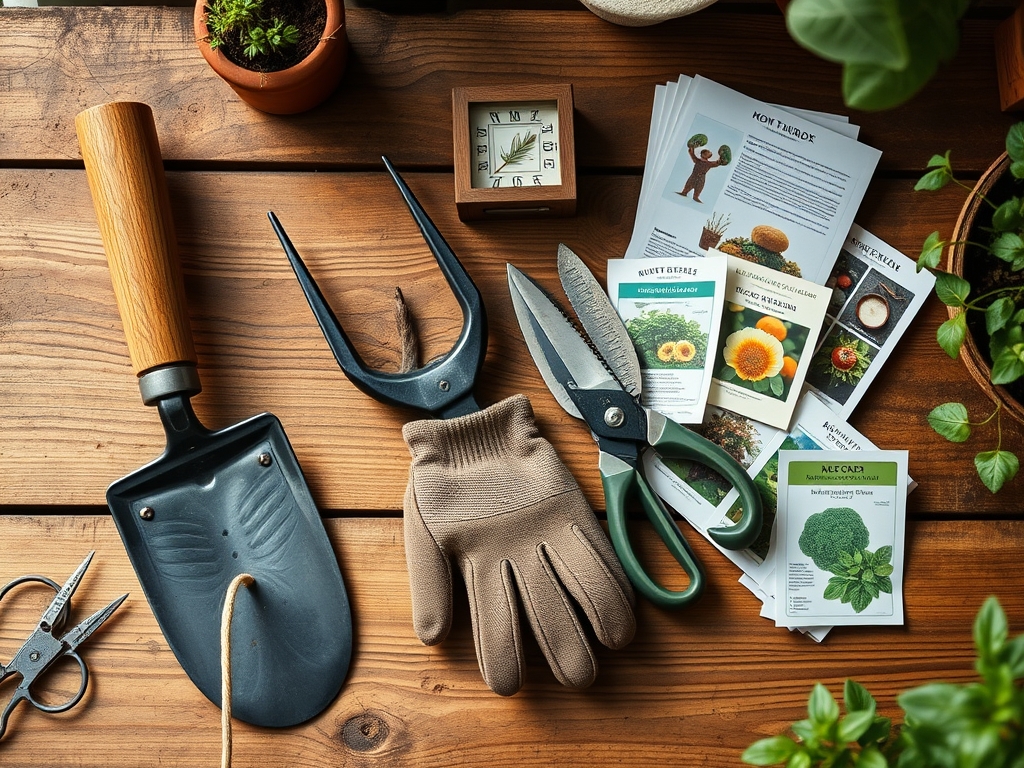
What tools are essential for preparing the site?
You need a square-point shovel for clean excavation, a tamper for soil compaction, a laser level for drainage grading, and a soil moisture meter to monitor the impact on the surrounding rhizosphere.