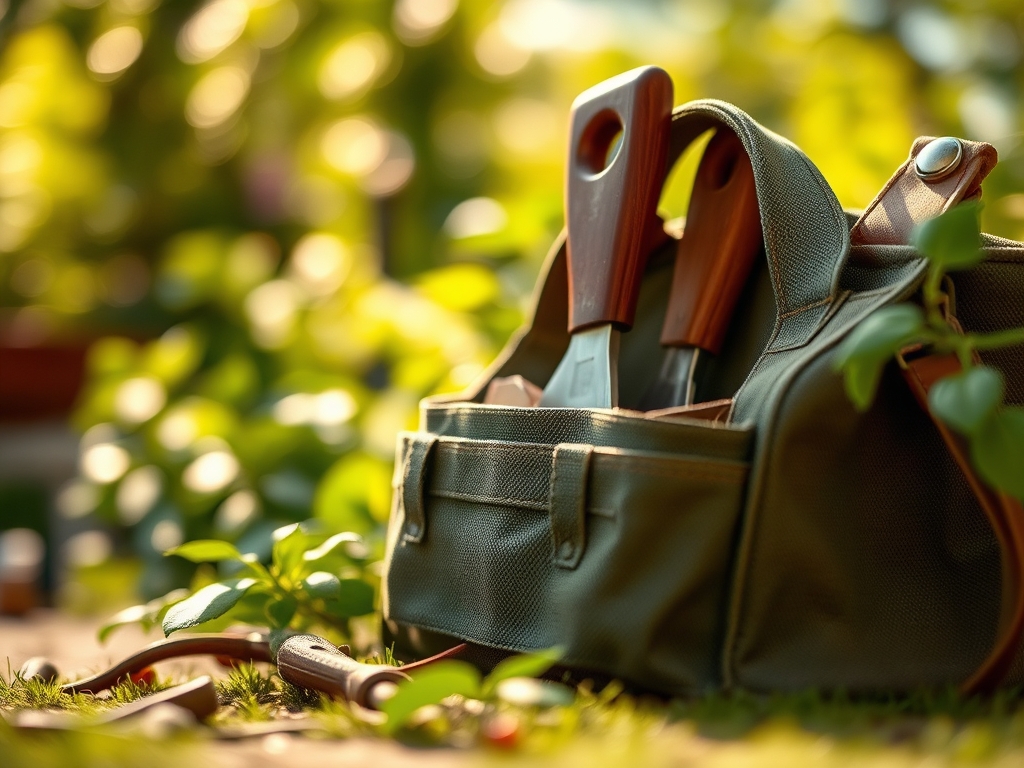
8 Best Hard-Shell Tool Bags for Professional Storage
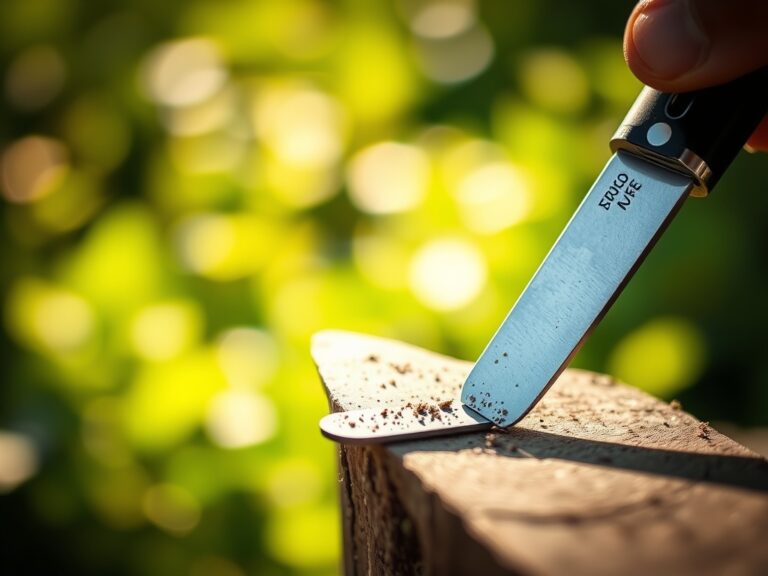
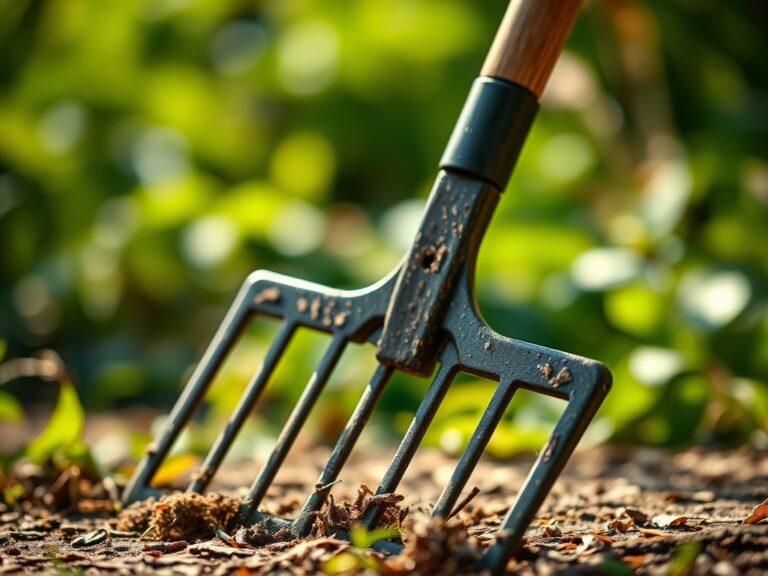
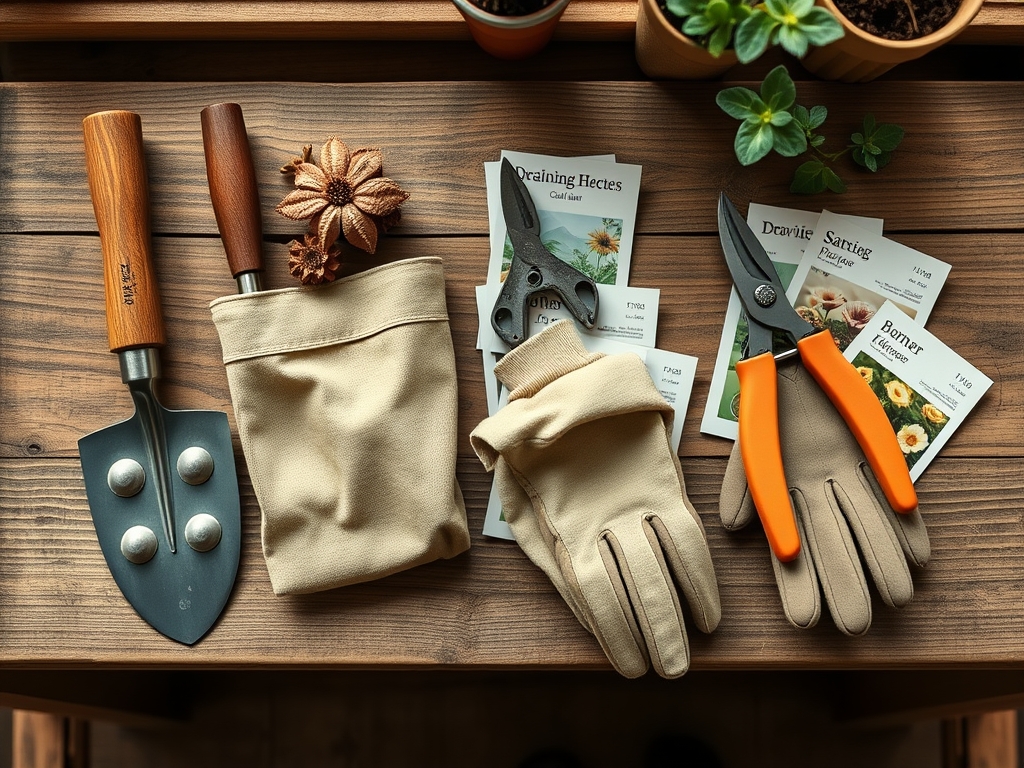
The scent of damp humus and the sharp tang of bruised xylem tissue define the professional landscape. When a leaf maintains maximum turgor pressure; the internal fluid pressure against the cell wall; it signifies a root system functioning at peak efficiency within the rhizosphere. Maintaining this efficiency requires precision instruments that must remain free from moisture and oxidation. Finding the best tool bags for garden storage is not merely about organization; it is about protecting the high carbon steel of a hori-hori knife from the corrosive effects of high humidity and acidic soil residue. A hard-shell base provides a structural barrier against saturated ground, preventing capillary action from drawing moisture into the fabric and compromising the integrity of your bypass pruners. Professional horticulture demands a kit that withstands the grit of stone dust and the caustic nature of concentrated fertilizers while keeping technical tools calibrated and dry.
Materials:
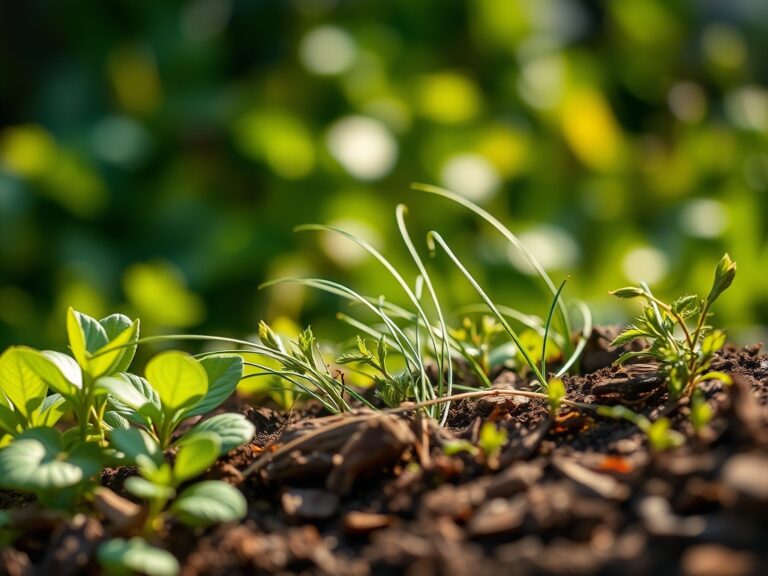
Successful cultivation begins with a friable loam, characterized by a balanced mixture of sand, silt, and clay that facilitates optimal Cation Exchange Capacity (CEC). For most high-value perennials and woody ornamentals, the target soil pH is 6.5. This slightly acidic environment ensures the bioavailability of macronutrients. When preparing your containers or beds, integrate a slow-release fertilizer with a 10-10-10 NPK ratio to provide a baseline of nitrogen, phosphorus, and potassium. If you are targeting vegetative growth in nitrogen-hungry species like Brassica, shift to a 20-10-10 ratio. The physical texture of the substrate must allow for 25 percent air porosity to prevent root asphyxiation. Use your soil moisture meter to ensure the substrate remains between 40 and 60 percent of field capacity before introducing plant material.
Timing:
Agricultural success is dictated by the USDA Hardiness Zones and the precise calculation of the first and last frost dates. In Zone 7, the transition from the vegetative stage to the reproductive stage often triggers when the photoperiod drops below 12 hours of light. This biological clock is governed by phytochrome pigments within the leaves that sense light quality and duration. Sowing must occur when the soil temperature consistently reaches 60 degrees Fahrenheit for warm-season crops. Monitoring the Growing Degree Days (GDD) allows a technician to predict harvest windows with mathematical accuracy. If the soil temperature remains below 50 degrees Fahrenheit, seed germination will stall, increasing the risk of fungal pathogens like Pythium or Rhizoctonia taking hold in the dormant embryo.
Phases:

Sowing
Seeds require a consistent thermal environment and moisture level to break dormancy. Place seeds at a depth exactly twice their diameter to ensure adequate darkness while minimizing the energy required for the hypocotyl to reach the surface.
Pro-Tip: Maintain consistent moisture to prevent the seed coat from hardening. This supports the biological process of imbibition, where the seed absorbs water to activate metabolic enzymes.
Transplanting
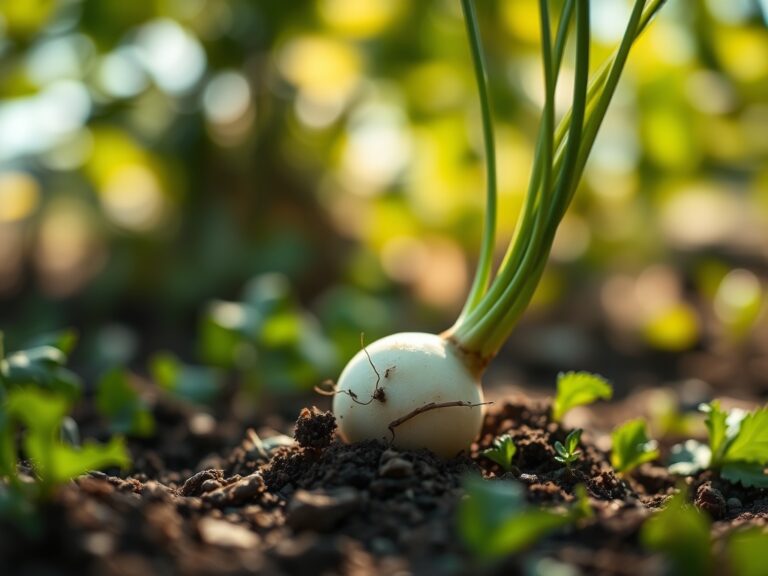
When moving a specimen from a nursery pot to the field, minimize root disturbance to prevent transplant shock. Ensure the root ball is saturated before placement to maintain cellular turgor.
Pro-Tip: Dust the root zone with mycorrhizal fungi. This symbiotic relationship expands the root surface area, significantly increasing the plant's ability to uptake phosphorus and water through hyphal networks.
Establishing
The first 21 days are critical for root expansion into the surrounding native soil. Avoid high-nitrogen fertilizers during this phase to prevent excessive top-growth that the immature root system cannot support.
Pro-Tip: Use a sharp bypass pruner to remove early flower buds. This forces the plant to redirect energy from reproduction to root development through the suppression of apical dominance and the redistribution of auxins.
The Clinic:
Physiological disorders often mimic infectious diseases but result from environmental or nutritional imbalances.
Symptom: Interveinal chlorosis on young leaves.
Solution: This typically indicates an Iron (Fe) deficiency, often caused by a soil pH above 7.0 which locks the nutrient. Apply chelated iron or lower the pH with elemental sulfur.
Symptom: Blossom end rot in Solanaceae species.
Solution: This is a Calcium (Ca) transport issue, not necessarily a soil deficiency. Ensure consistent irrigation to allow for the steady transpiration-led movement of calcium to the fruit.
Symptom: Purpling of older foliage.
Solution: This signifies Phosphorus (P) deficiency. It often occurs in cold soils where microbial activity is low. Apply a water-soluble 0-20-0 fertilizer for immediate uptake.
Fix-It for Nitrogen Chlorosis: If older leaves turn a uniform pale yellow, the plant is scavenging nitrogen for new growth. Apply a high-nitrogen liquid feed (30-0-0) to restore chlorophyll production and photosynthetic capacity.
Maintenance:
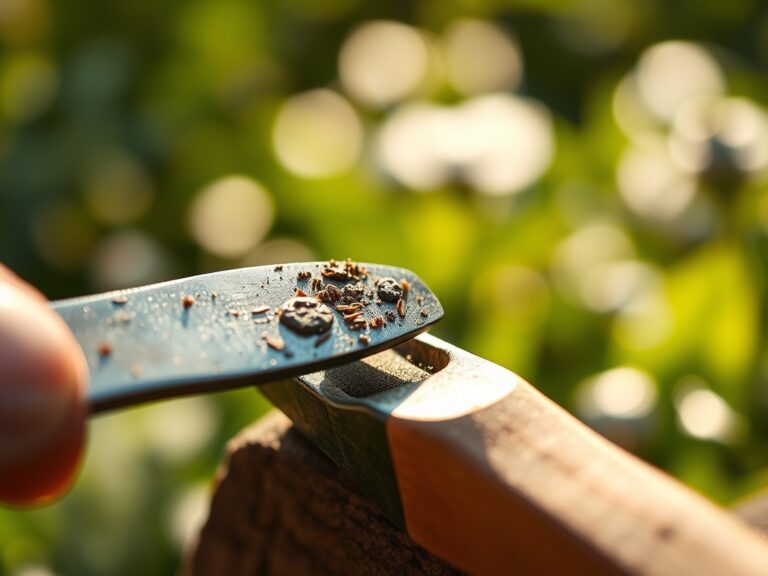
Precision irrigation is the cornerstone of plant health. Apply 1.5 inches of water per week at the drip line, which is the outermost circumference of the plant canopy where the feeder roots are most active. Use a soil moisture meter to verify that the water is penetrating at least 6 inches deep. For woody plants, use a hori-hori knife to check for girdling roots that may be restricting vascular flow. Sterilize your bypass pruners with 70 percent isopropyl alcohol between every cut to prevent the mechanical transmission of pathogens. Mulch with 2 inches of organic matter to regulate soil temperature and reduce evaporative loss, but keep the mulch 3 inches away from the main stem to prevent crown rot.
The Yield:
Harvesting is a race against senescence. For leafy greens, harvest at dawn when the plant is at maximum turgor and temperatures are lowest. This preserves the structural integrity of the cell walls. For fruiting bodies, use the "Brix scale" to measure sugar content if possible. When removing fruit, use a clean snip rather than pulling to avoid tearing the epidermis of the parent plant. Post-harvest, immediately move produce to a shaded, cool environment to remove "field heat." This slows the respiration rate, extending the shelf life and preserving the nutrient density of the harvest. For flowers, sear the stems or place them immediately in 110-degree Fahrenheit water to break air bubbles in the xylem and ensure continuous hydration.
FAQ:
How do I clean a hard-shell tool bag?
Use a stiff brush to remove dry soil. For stubborn resins, apply a mild detergent and water solution. Ensure the bag is 100 percent dry before storing high-carbon steel tools to prevent oxidation and pitting.
What is the best way to prevent tool rust?
Wipe metal surfaces with a thin layer of mineral oil after each use. Store tools in a bag with a molded waterproof base to prevent ground moisture from wicking into the storage compartments.
Why does soil pH matter for tool storage?
Acidic soils with a pH below 5.5 are highly corrosive to metal. If your tool bag rests on acidic mud, the residue can degrade the protective coatings on your pruners and trowels over time.
Can I store liquid fertilizers in my tool bag?
Only if stored in airtight, upright containers. Concentrated salts in fertilizers can accelerate the corrosion of metal tools and weaken the synthetic fibers of the bag if a leak occurs.