10 Expert Ways How to Grow Rutabaga Garden
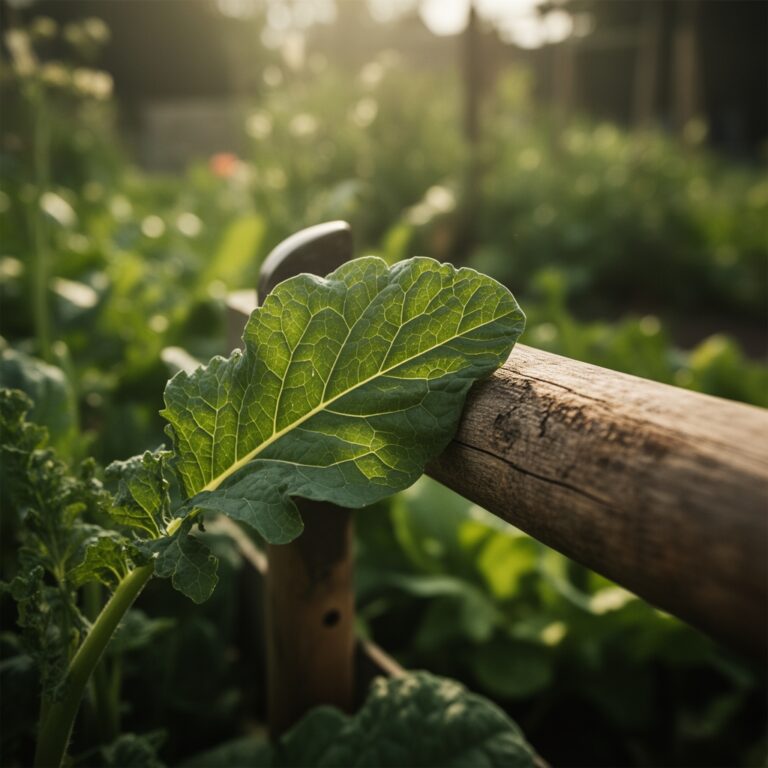
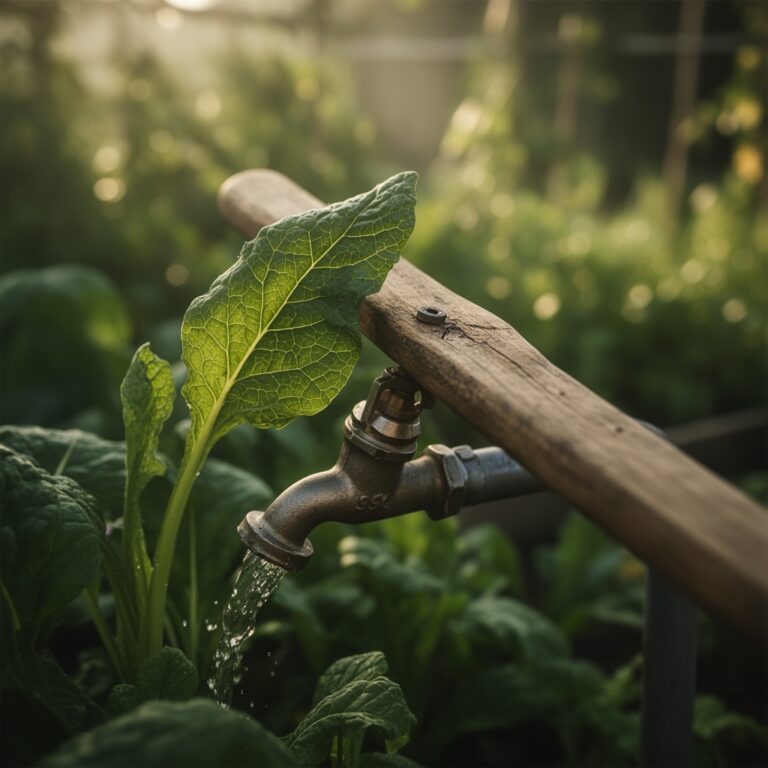
The smell of damp, cooling earth in late summer signals the start of the brassica cycle. A healthy rutabaga leaf exhibits high turgor pressure; it is stiff to the touch and snaps cleanly when bent. Understanding how to grow rutabaga garden requires a shift in perspective from quick-turnaround radishes to the slow, steady accumulation of starches. This root crop, a genetic cross between a wild cabbage and a turnip, demands a specific environmental window where soil temperatures remain below 75 degrees Fahrenheit. Success is measured by the density of the globe and the absence of woody lignification in the vascular tissues. You are not just planting a seed; you are managing a subterranean energy storage system that relies on precise moisture levels and specific mineral availability.
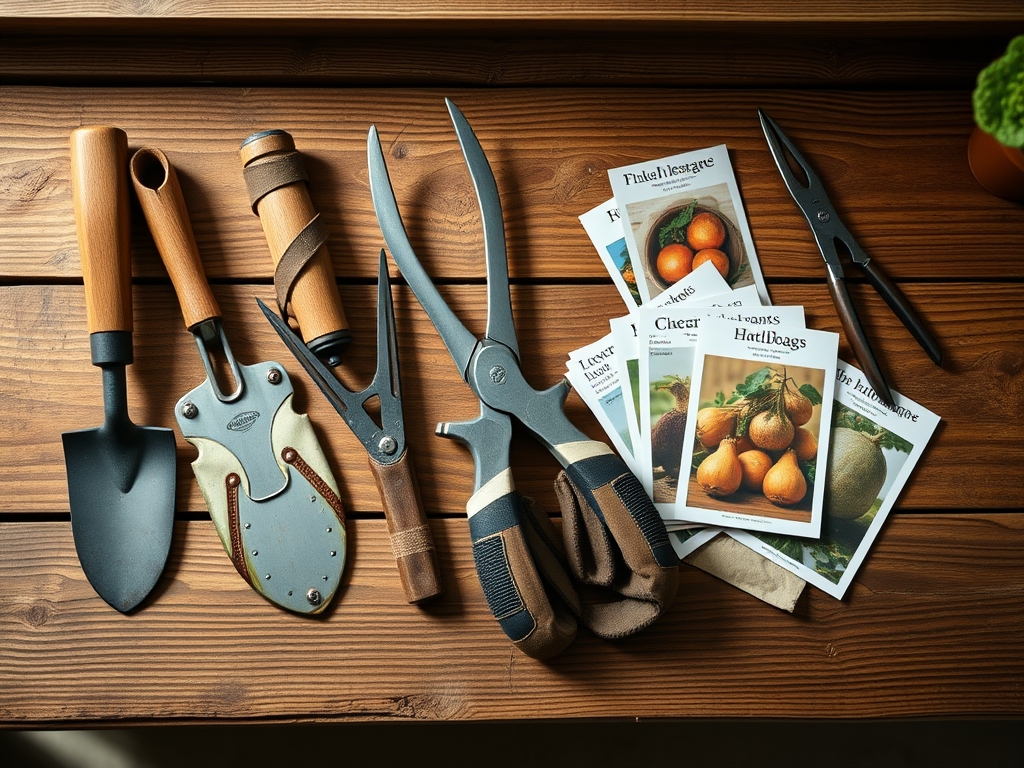
Materials:
The substrate must be a **friable loam** with a high **Cation Exchange Capacity (CEC)** to ensure nutrient mobility. Rutabagas are heavy feeders that require a soil pH between **6.2 and 6.8**. If the pH drops below 6.0, the availability of phosphorus and magnesium decreases, leading to stunted root development.
Prepare the bed with a base NPK ratio of 5-10-10. High nitrogen levels (the first number) must be avoided; excessive nitrogen triggers rapid foliage expansion at the expense of the root, often resulting in a hollow heart or split crowns. Boron is a critical micronutrient for this species. A deficiency in boron causes "brown heart," a physiological disorder where the internal flesh becomes water-soaked and discolored. Apply 0.5 ounces of borax per 100 square feet if a soil test indicates low levels. The physical texture should be devoid of stones or heavy clay clumps to prevent root bifurcation.
Timing:
Rutabagas are optimized for Hardiness Zones 3 through 9, though they perform best in northern latitudes where autumn nights are consistently cool. The biological clock of Brassica napobrassica is governed by thermoperiodism. The plant requires 90 to 110 days to reach maturity. To hit the "sweet spot" of flavor, the harvest must occur after the first or second light frost.
In most regions, this means sowing seeds 12 to 14 weeks before the first expected autumn frost. During the transition from the vegetative stage to the storage stage, the plant converts starches into sugars as a biological antifreeze mechanism. If planted too early in the heat of summer, the plant undergoes heat stress, leading to a bitter, fibrous texture and increased susceptibility to secondary metabolic failures.
Phases:
Sowing
Direct sow seeds 1/2 inch deep with a spacing of 4 to 6 inches between plants. Rows should be set 18 inches apart to allow for adequate airflow and cultivation access.
Pro-Tip: Maintain consistent soil moisture during the first 7 days to ensure uniform germination. Biological Why: Rapid imbibition of water triggers the release of gibberellins within the seed coat, which activates the enzymes necessary to break down stored starches for the emerging radical.
Transplanting
While direct sowing is preferred to avoid taproot disturbance, transplants can be used if they are started in biodegradable peat or paper pots. Move them to the field when they have two sets of true leaves.
Pro-Tip: Never let transplants become root-bound. Biological Why: Auxin suppression occurs when the primary taproot hits a physical barrier; this hormonal shift can permanently stunt the downward expansion of the root, leading to a shallow, woody harvest.
Establishing
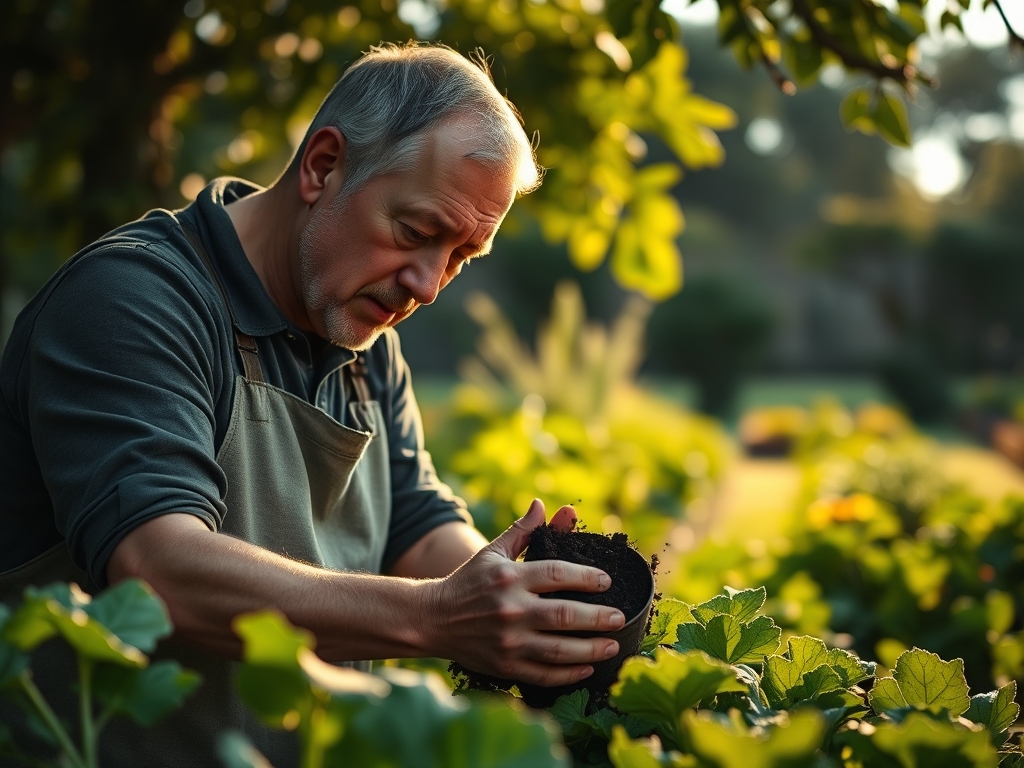
Once the seedlings reach 3 inches in height, thin them aggressively. Use a hori-hori knife to slice through the stems of unwanted plants at the soil line rather than pulling them.
Pro-Tip: Mulch the area with clean straw or shredded leaves once the plants are 6 inches tall. Biological Why: Mycorrhizal symbiosis is enhanced when soil temperatures are stabilized. Mulching prevents the "baking" of the rhizosphere, keeping the fungal networks active and improving the plant's uptake of phosphorus.
The Clinic:
Physiological disorders often mimic disease but are usually rooted in environmental stress.
- Symptom: Clubroot (Swollen, distorted roots).
- Solution: This is a soil-borne fungal pathogen. Raise the soil pH to 7.2 using hydrated lime to inhibit spore germination. Practice a 4-year crop rotation excluding all brassicas.
- Symptom: Hollow Heart (Cavity in the center of the root).
- Solution: This is caused by erratic growth spurts. Ensure consistent irrigation and avoid high-nitrogen fertilizers after the first month of growth.
- Symptom: Bacterial Soft Rot (Mushy, foul-smelling tissue).
- Solution: Improve drainage and avoid overhead watering. Use bypass pruners to remove infected foliage only when the plant is dry to prevent the spread of pathogens.
Fix-It: Nitrogen Chlorosis
If older leaves turn pale yellow while veins remain green, the plant is experiencing nitrogen deficiency. Apply a side-dressing of compost tea or a low-analysis organic fertilizer (3-4-4) to restore chlorophyll production without over-stimulating leaf growth.
Maintenance:
Precision irrigation is the backbone of a high-quality rutabaga harvest. The crop requires 1.5 inches of water per week, delivered at the drip line. Use a soil moisture meter to verify that the moisture has penetrated 6 inches deep. Surface-level watering encourages shallow root systems that cannot withstand temperature fluctuations.
Weed competition must be eliminated early. Use a scuffle hoe to disturb the top half-inch of soil, breaking the "thread-stage" weeds before they establish. Be careful not to cultivate deeply near the base of the rutabaga, as the lateral feeding roots are sensitive to mechanical damage. If you notice any yellowing or senescence of the lower leaves, remove them to improve air circulation and reduce the habitat for localized pathogens.
The Yield:
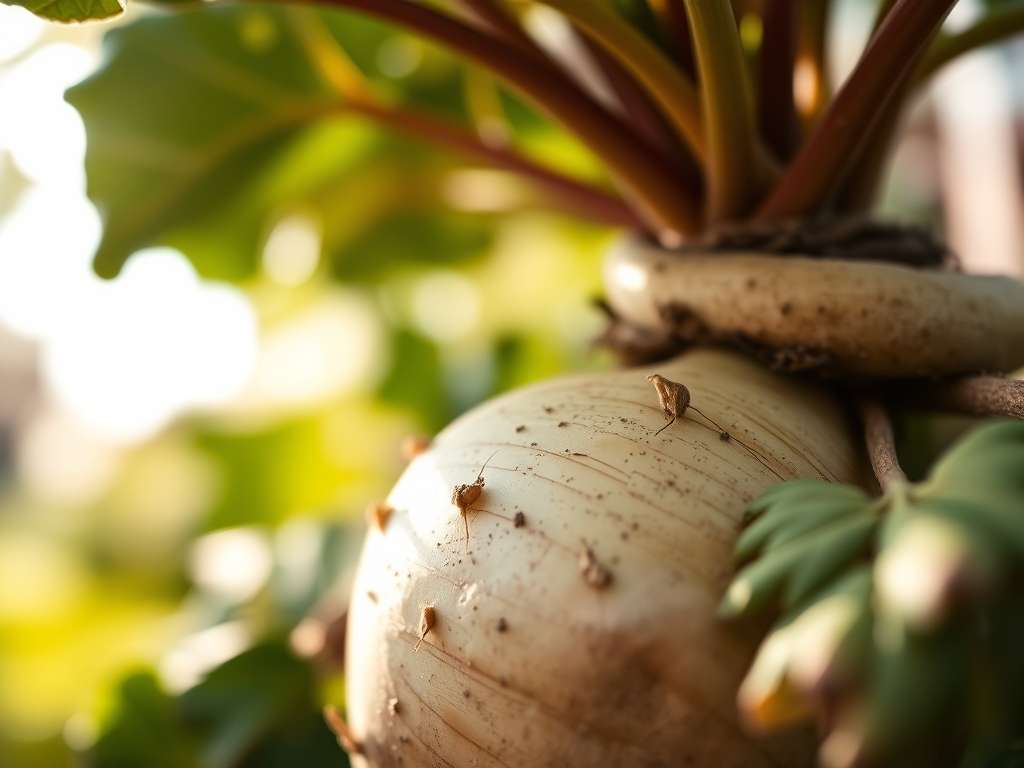
Harvesting should begin when the roots reach a diameter of 3 to 5 inches. Larger roots often become "corky" and lose their culinary value. Use a garden fork to loosen the soil 6 inches away from the root to avoid piercing the skin. Lift the plant by the base of the leaves.
Post-harvest handling is critical for longevity. Twist off the tops, leaving about one inch of stem to prevent the root from drying out. Do not wash the roots if they are intended for long-term storage; instead, gently brush off the excess soil. For "day-one" freshness, store them in a cool, humid environment such as a root cellar or a refrigerator crisper drawer at 33 to 35 degrees Fahrenheit with 90% humidity. Under these conditions, the roots will remain viable for four to six months.
FAQ:
Why are my rutabagas bitter?
High temperatures during the final stages of growth cause the plant to accumulate glucosinolates. Bitterness is also exacerbated by water stress. Ensure the crop matures during cool autumn weather and receives consistent irrigation of 1.5 inches per week.
Can I grow rutabagas in containers?
Yes, provided the container is at least 12 inches deep and holds 5 gallons of media. Use a high-quality potting mix with a 6.5 pH and ensure the container has excellent drainage to prevent root rot.
What is the difference between a turnip and a rutabaga?
Rutabagas (Brassica napobrassica) are larger, have yellowish flesh, and require a longer growing season of 90 plus days. Turnips (Brassica rapa) are smaller, usually white-fleshed, and mature quickly in about 45 to 60 days.
How do I prevent "Brown Heart" in my roots?
Brown heart is caused by a boron deficiency. Apply a dilute solution of Borax or a micronutrient-rich seaweed extract to the soil before planting. Maintain a pH below 7.0 to ensure boron remains bioavailable to the root system.