5 Organic Ways How to Grow Red Beets
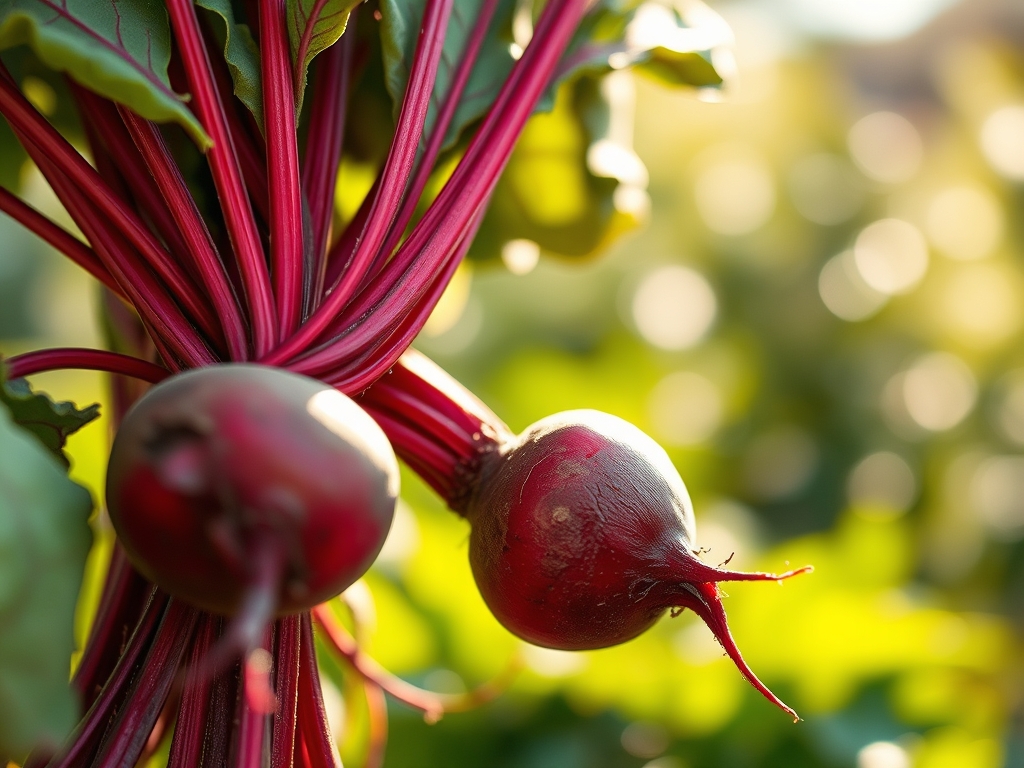
Crushing a clod of damp earth between your palms reveals the structural integrity of the rhizosphere. The smell of geosmin indicates active microbial life. When you master how to grow organic red beets, you are managing the turgor pressure of the Beta vulgaris species. A healthy beet leaf should feel rigid and cool to the touch. This rigidity signifies a robust vascular system capable of transporting sugars from the foliage to the expanding taproot.
Success in organic beet production requires more than casual observation. It demands an understanding of soil chemistry and the biological triggers that govern root expansion. Red beets are efficient accumulators of minerals; however, they are sensitive to soil compaction and acidic environments. You must provide a substrate that allows for unimpeded downward growth while maintaining a consistent moisture profile. By focusing on the physiological needs of the plant, you ensure a harvest characterized by high brix levels and dense cellular structure.
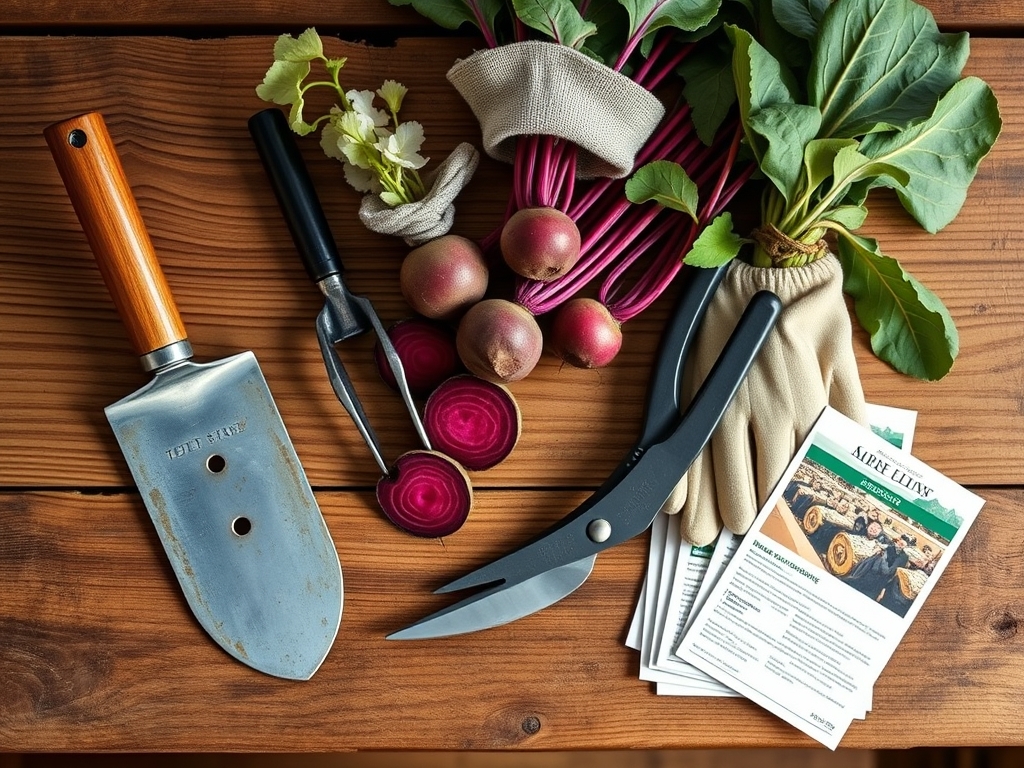
Materials:
The ideal substrate for organic red beets is a friable loam with a high Cation Exchange Capacity (CEC). This allows the soil to hold and release essential nutrients like potassium and magnesium. You must target a soil pH between 6.5 and 7.0. Beets are highly sensitive to acidic conditions; a pH below 6.0 will lead to stunted growth and poor germination.
Nutrient management should follow a specific NPK ratio to prevent excessive leaf production at the expense of the root. Use an organic fertilizer with a 3-5-7 or 4-12-12 ratio. High nitrogen levels (the first number) will result in lush green tops but small, woody roots. Phosphorus is critical for initial root development, while potassium regulates the water balance and sugar synthesis within the taproot. Incorporate well-composted organic matter at a rate of two inches tilled into the top six inches of the bed. This improves the soil structure and provides a slow-release source of micronutrients like boron, which is vital for preventing internal black heart disorder.
Timing:
Red beets are cool-season biennials often grown as annuals. They thrive in USDA Hardiness Zones 2 through 10, provided the planting window aligns with ambient temperatures between 50 and 75 degrees Fahrenheit. The biological clock of the beet is governed by vernalization. If young plants are exposed to temperatures below 45 degrees Fahrenheit for several consecutive days, they may "bolt." Bolting is the transition from the vegetative stage to the reproductive stage, where the plant sends up a seed stalk and the root becomes inedible and fibrous.
For a spring crop, sow seeds 2 to 3 weeks before the last frost date. For a fall harvest, calculate your sowing date by subtracting 55 to 70 days from the first expected hard frost. Beets can tolerate a light frost, which often increases the sugar concentration in the root as a natural antifreeze mechanism. However, a hard freeze will damage the crown and lead to cellular collapse.
Phases:

Sowing
Beet "seeds" are actually small, corky fruits containing two to five individual embryos. Sow them 0.5 inches deep and space clusters 2 to 3 inches apart. Rows should be separated by 12 to 18 inches to allow for adequate airflow and cultivation.
Pro-Tip: Soak seeds in room temperature water for 24 hours prior to planting. This initiates the imbibition phase, softening the outer fruit coat and accelerating the emergence of the radicle.
Transplanting
While most root crops resent disturbance, beets can be transplanted if handled during the "two-leaf" stage. Use biodegradable peat or paper pots to avoid disrupting the primary taproot. Ensure the transplant hole is deep enough to keep the root straight; a "J-root" deformity at this stage will result in a permanently misshapen beet.
Pro-Tip: Maintain high humidity around transplants for 48 hours to minimize transpirational pull. This prevents the seedling from wilting before the root hairs can establish contact with the new soil medium.
Establishing
Once seedlings reach 3 inches in height, thin them to one plant every 4 inches. This reduces competition for light and nutrients. Use a sharp pair of bypass pruners to snip the extras at the soil line rather than pulling them, which protects the delicate root systems of the remaining plants.
Pro-Tip: Apply a thin layer of organic mulch, such as straw or shredded leaves, once plants are established. This suppresses weed growth and prevents auxin suppression, a hormonal response where the plant slows growth due to environmental stress or competition.
The Clinic:
Symptom: Internal Black Spots
Cause: Boron Deficiency.
Solution: Beets have a high demand for boron. If your soil test indicates a deficiency, apply a dilute solution of Solubor or organic kelp meal. Boron facilitates cell wall formation; without it, the internal tissues of the root collapse and turn black.
Symptom: Leaf Spot (Cercospora)
Cause: Fungal pathogen encouraged by high humidity.
Structure: Small circular spots with purple borders.
Solution: Improve air circulation and avoid overhead irrigation. Remove infected foliage immediately using a hori-hori knife and dispose of it far from the compost pile to prevent spore survival.
Symptom: Nitrogen Chlorosis
Cause: Nitrogen deficiency or high soil pH locking out nutrients.
Fix-It: If older leaves turn pale yellow while veins remain green, check the pH. If the pH is correct, side-dress with blood meal or fish emulsion to provide a quick nitrogen boost.
Maintenance:
Precision irrigation is the cornerstone of beet quality. Provide 1.5 inches of water per week at the drip line. Fluctuating moisture levels cause the root to expand and contract rapidly, leading to "zoning" or white rings inside the beet. Use a soil moisture meter to ensure the root zone remains consistently damp but not saturated.
Weed management must be aggressive during the first six weeks. Use a hori-hori knife to slice through the roots of germinating weeds just below the soil surface. Be careful not to cultivate deeper than one inch near the beet plants, as their lateral roots are shallow and easily damaged. If the shoulders of the beet roots begin to emerge from the soil, "hill" them by pushing a small amount of soil over the exposed area. This prevents the crown from becoming tough or sun-scalded.
The Yield:
Harvesting can begin when roots reach 1.5 inches in diameter (baby beets) but usually peaks when they are 2.5 to 3 inches. Larger beets often become "woody" as the plant increases lignin production for structural support. To harvest, loosen the soil around the root with a garden fork, then pull the plant upward by the base of the leaves.
Post-harvest handling is critical for maintaining day-one freshness. Immediately twist off the greens, leaving about one inch of stem attached to the root. Do not cut the "tail" or taproot. Removing the leaves stops the process of senescence and prevents the foliage from drawing moisture out of the root. Store the unwashed roots in a cool, humid environment at 32 to 40 degrees Fahrenheit. Under these conditions, organic red beets will maintain their turgor and nutritional density for several months.
FAQ:
Why are my beets growing lots of leaves but no roots?
This is typically caused by excessive nitrogen or overcrowding. High nitrogen levels prioritize vegetative growth over root storage. Ensure your NPK ratio favors phosphorus and potassium, and thin seedlings to at least four inches apart for proper expansion.
Can I grow beets in containers?
Yes. Use a container at least 12 inches deep with excellent drainage. Ensure the potting mix has a neutral pH and monitor moisture levels closely, as containers lose water faster than in-ground beds, which can lead to fibrous roots.
What causes the white rings inside my red beets?
Internal ringing, or "zoning," is usually a result of uneven watering or extreme temperature fluctuations. Consistent moisture of 1.5 inches per week and organic mulching help stabilize the soil environment and ensure a uniform, solid red color.
How do I know when the soil is ready for planting?
The soil is ready when it reaches a consistent 50 degrees Fahrenheit and is dry enough to crumble. If the soil forms a solid ball when squeezed, it is too wet; planting in these conditions leads to compaction and poor aeration.