7 Steps to Prepare a Permanent Garden Bench Site
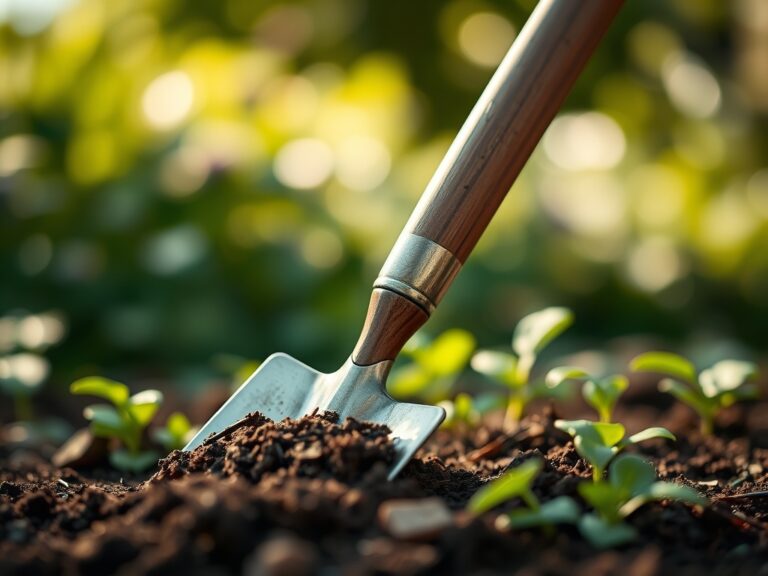
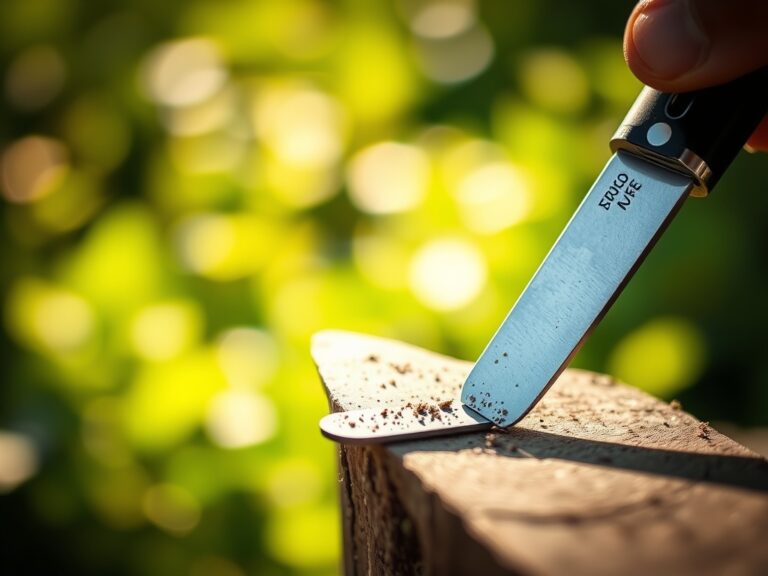
Damp earth releases geosmin as the spade breaks the surface; the scent signals a high concentration of actinomycetes in the rhizosphere. High turgor pressure in surrounding perennials indicates a site with adequate hydration, yet a permanent installation requires more than just aesthetics. Learning how to prepare a site for a garden bench demands an understanding of soil mechanics and structural stability to prevent subsidence over time. A bench is not merely furniture; it is a heavy load that interacts with the soil's bulk density and pore space. Improper preparation leads to uneven settling, which stresses the materials and disrupts the surrounding root systems of nearby specimen plants. You must evaluate the Cation Exchange Capacity (CEC) and drainage rates before the first stone is laid. Precision in site leveling ensures that the bench remains a functional fixture rather than a sinking liability. This guide provides the technical framework to stabilize the earth, manage moisture, and integrate the structure into the living landscape without compromising the physiological health of the surrounding flora.
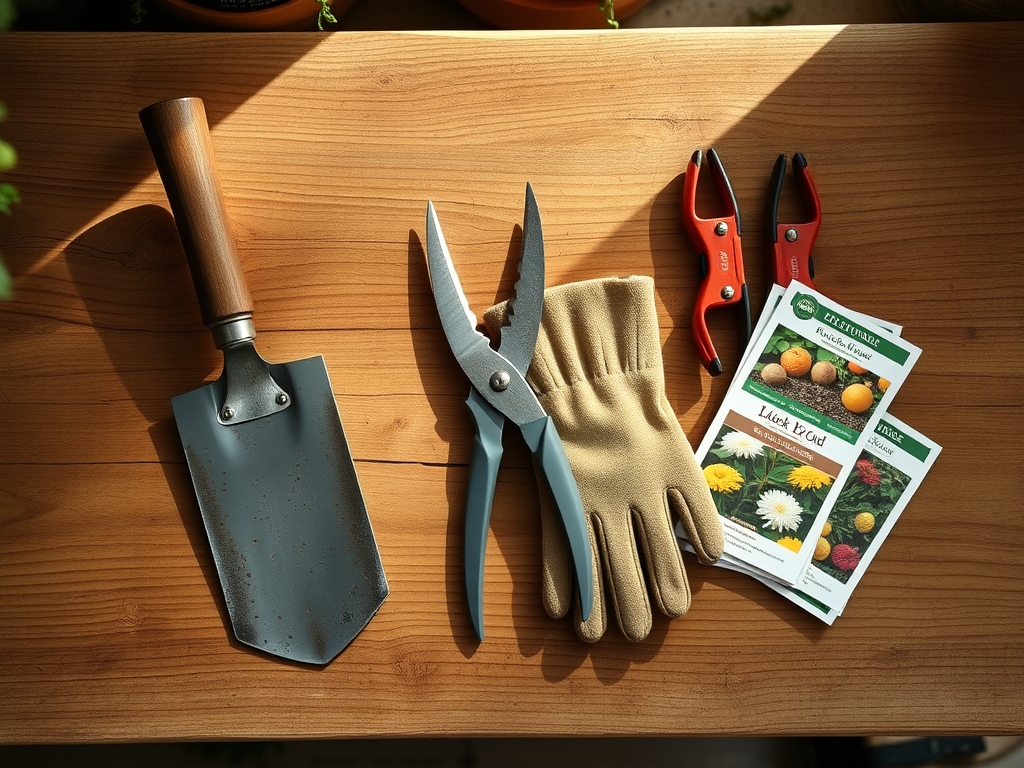
Materials:
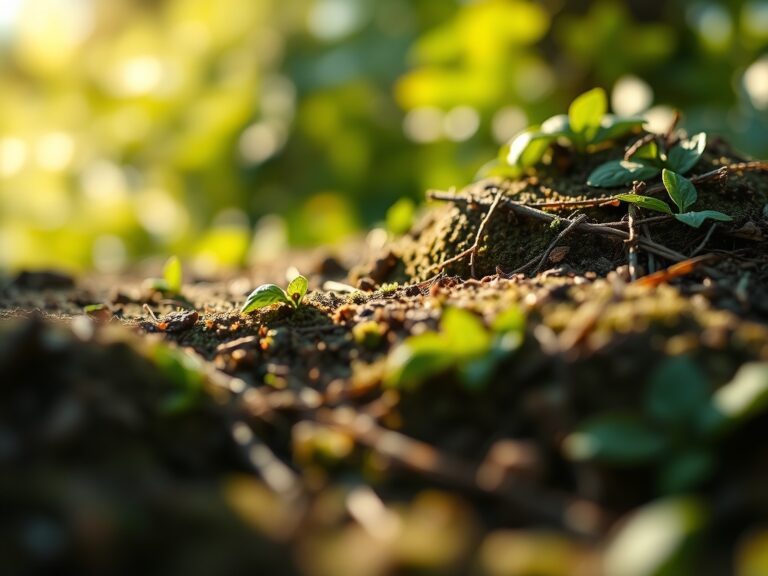
Site preparation begins with analyzing the substrate. For areas surrounding the bench where vegetation will be reinstated, aim for a **friable loam** with a **pH between 6.2 and 6.8**. This range ensures maximum nutrient bioavailability.
Required inputs include:
- Base Material: Crushed limestone or 3/4 inch minus gravel to provide a stable, non-shifting foundation.
- Soil Amendments: Well-aged compost with an NPK ratio of 1-0.5-1 to restore microbial activity post-compaction.
- Fertilizer: A slow-release 5-10-10 formula for surrounding root zones to encourage phosphorus-driven root development rather than excessive foliar growth.
- Geotextile Fabric: 4-ounce non-woven needle-punched fabric to separate the subgrade from the base material, preventing the migration of fines.
Timing:
The biological clock of your garden dictates the installation window. In Hardiness Zones 4 through 7, the ideal time for site preparation is late autumn or early spring. During these periods, plants are in a state of senescence or are just breaking dormancy. This minimizes the risk of damaging active meristematic tissue.
Avoid construction when the soil moisture exceeds the "plastic limit." If you can form a ball of soil that does not crumble when squeezed, the site is too wet. Working saturated soil destroys the macropores essential for gas exchange. For those in Zones 8 through 10, schedule work during the winter months to avoid the high transpiration rates of the summer heat, which can lead to rapid desiccation of any exposed root systems.
Phases:
Sowing the Foundation
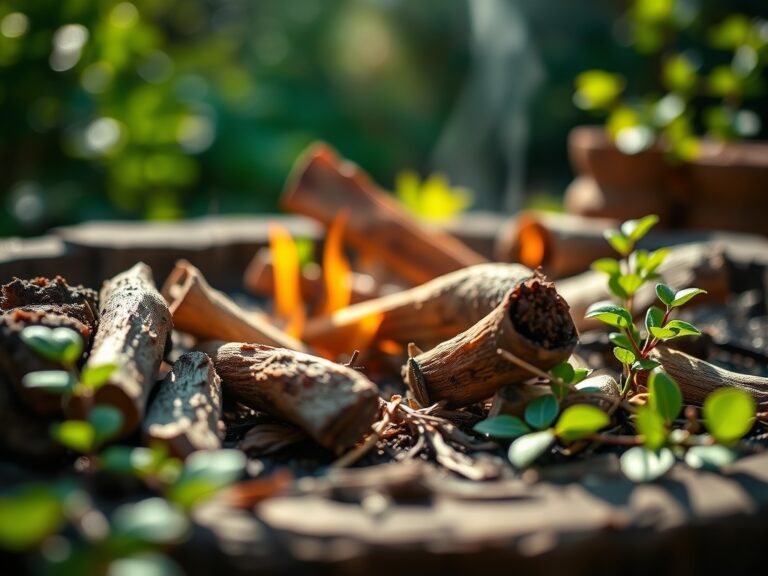
Excavate the site to a depth of 6 to 8 inches. This depth allows for a 4-inch compacted base and a 2-inch leveling course. Remove all organic matter, including turf and large roots, to prevent localized nitrogen drawdown as the material decomposes underground.
Pro-Tip: Ensure the subgrade has a 1% to 2% slope away from nearby high-value trees. This prevents water from pooling at the root flare, which can lead to Phytophthora or other fungal pathogens due to lack of oxygen in the rhizosphere.
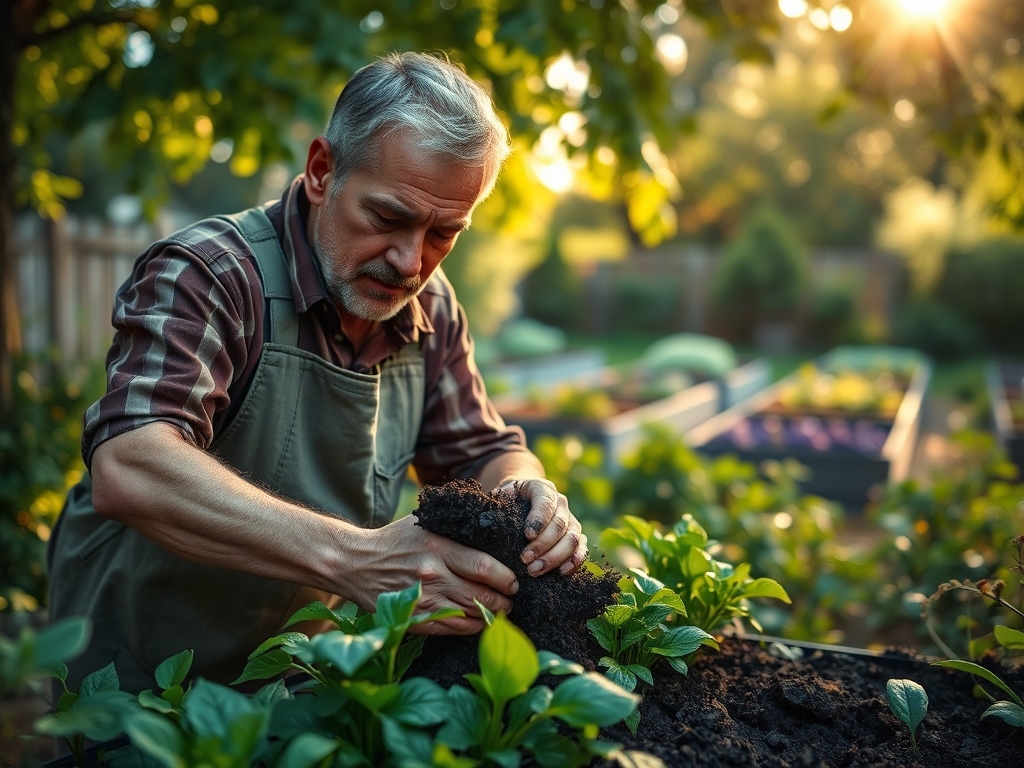
Transplanting and Grading
If the bench site displaces existing perennials, lift them with a wide root ball to preserve the mycorrhizal symbiosis. Reinstall these plants at the perimeter of the bench site, ensuring the crown is level with the new soil grade. Use a soil moisture meter to verify that the disturbed area maintains a consistent moisture level of 25% to 35%.
Pro-Tip: When replanting, avoid over-fertilizing with high nitrogen. Excessive nitrogen triggers auxin suppression in roots while forcing rapid leaf expansion, causing a physiological imbalance that leads to transplant shock.
Establishing the Site
Compact the gravel base in 2-inch lifts using a plate compactor or hand tamper. A firm base prevents the bench from tilting, which would otherwise result in uneven weight distribution and mechanical failure of the bench joints. Finish the surface with a layer of fine sand or pea gravel for final leveling.
Pro-Tip: If planting groundcovers around the bench feet, select species with high trample tolerance. These plants utilize specialized cell wall thickening to withstand mechanical stress without losing turgor or suffering from vascular collapse.
The Clinic:
Physiological disorders often appear in the plants surrounding a new hardscape. Monitor for these specific symptoms:
-
Symptom: Interveinal chlorosis (yellowing leaves with green veins).
Solution: This indicates a micronutrient lockout, often Iron or Manganese.
Fix-It: Check the soil pH. If it has spiked above 7.5 due to leaching from concrete or limestone, apply elemental sulfur to lower the pH and restore nutrient solubility. -
Symptom: Marginal leaf burn or necrosis.
Solution: This is often caused by high salts or "fertilizer burn" in the disturbed soil.
Fix-It: Flush the area with 2 inches of water to leach excess salts below the active root zone. -
Symptom: Wilting despite moist soil.
Solution: This suggests root asphyxiation due to soil compaction during the bench installation.
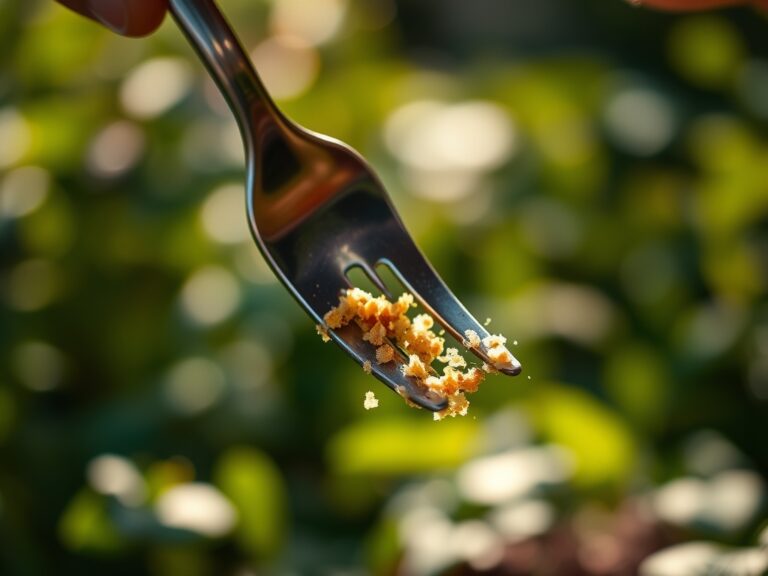
Fix-It: Use a garden fork to gently aerate the soil around the bench perimeter, restoring oxygen flow to the rhizosphere.
Maintenance:
A permanent site requires ongoing monitoring to ensure the soil remains healthy and the structure remains level. Check the bench for "wobble" every spring after the frost-heave cycle. Use a hori-hori knife to remove deep-taproot weeds that may emerge at the edge of the gravel base; these weeds can exert enough hydraulic pressure to shift heavy stones.
Provide 1.5 inches of water per week at the drip line of surrounding plants, especially during the first growing season post-installation. Use bypass pruners to remove any branches that begin to interfere with the seating area. This prevents mechanical damage to the plant's cuticle, which serves as the first line of defense against opportunistic pathogens.
The Yield:
If your bench is situated within a cutting garden or orchard, the "yield" is the health of the surrounding specimens. For floral displays, harvest stems in the early morning when turgor pressure is at its peak. Use a sharp blade to make a clean cut at a 45-degree angle, maximizing the surface area for water uptake.
Immediately plunge the stems into water at 100 degrees Fahrenheit. This temperature reduces the viscosity of the water, allowing for faster movement through the xylem vessels. For woody stems, remove the lower leaves to prevent bacterial growth in the water, ensuring "day-one" freshness for the duration of the bloom.
FAQ:
How deep should I dig for a bench foundation?
Excavate to a depth of 6 to 8 inches. This allows for a 4-inch compacted gravel base and a 2-inch leveling layer, ensuring the site resists frost heave and prevents the bench from sinking into the subgrade.
What is the best base material for a garden bench?
Use 3/4 inch minus crushed limestone or angular gravel. Unlike rounded pea gravel, angular stones lock together under pressure, creating a stable, non-shifting surface that maintains its integrity over multiple seasons of use.
How do I prevent weeds from growing under the bench?
Install a 4-ounce non-woven geotextile fabric between the soil and the gravel base. This barrier prevents weed seeds in the soil from germinating while allowing water to drain freely into the lower soil profiles.
Can I put a bench over tree roots?
Avoid placing a bench directly over large structural roots. If necessary, use a "floating" deck or a bench with pier footings to minimize soil compaction, which can lead to root necrosis and reduced nutrient uptake for the tree.