9 Spacing and Drainage Tips to Prepare a Crate Herb Garden
The scent of crushed basil leaves on your fingertips, the clean mineral smell of damp potting mix, and the satisfying geometry of green growth contained in repurposed wood. Learning how to prepare a mini herb garden in a crate transforms a cubic foot of space into a functional culinary asset. The key lies not in aesthetics but in nine technical interventions that govern root architecture, gas exchange, and nutrient availability.
Materials

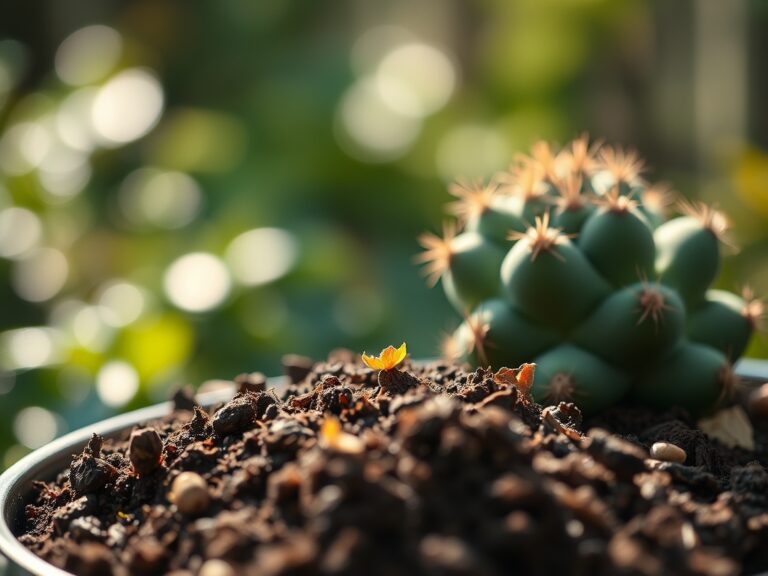
Wooden crates offer superior breathability compared to plastic containers. Select untreated pine, cedar, or fir crates with dimensions between 12 and 18 inches per side. Avoid pressure-treated lumber containing chromated copper arsenate.
For substrate, combine components targeting a final pH of 6.2 to 6.8. Use three parts peat moss or coir (pH 5.5 to 6.5), two parts perlite (neutral), and one part aged compost (pH 6.5 to 7.5). Incorporate a balanced organic fertilizer at a 4-4-4 NPK ratio, applied at 2 tablespoons per gallon of media. Feather meal (12-0-0) provides slow-release nitrogen over 12 to 16 weeks. Bone meal (3-15-0) delivers phosphorus for root development. Kelp meal (1-0.5-2.5) contributes trace minerals and natural cytokinins.
Install landscape fabric or burlap as a liner. This retains particles while permitting drainage. Avoid plastic sheeting, which creates anaerobic pockets. For drainage augmentation, position the crate atop two pressure-treated 4×4 blocks, elevating the base 3.5 inches above ground level.
Timing
Crate herb gardens function across USDA Hardiness Zones 3 through 10, with timing adjustments. In Zones 3 through 6, initiate outdoor placement 10 to 14 days after the last spring frost date. Soil temperature must stabilize above 55°F for basil, above 45°F for parsley, cilantro, and chives.
In Zones 7 through 10, two planting windows exist. The spring window opens 4 weeks before the last frost. The fall window begins 8 weeks before the first expected frost, allowing cool-season herbs like cilantro to bypass bolting triggers.
Indoor preparation begins 6 to 8 weeks before outdoor deployment. Germinate seeds at 70 to 75°F under full-spectrum LED grow lights delivering 200 to 400 micromoles per square meter per second.
Phases
Sowing Phase
Direct-sow large seeds like cilantro and dill at 0.25-inch depth. Surface-sow fine seeds such as thyme and oregano, pressing them into contact with the substrate without burial. Maintain consistent moisture through misting twice daily until radicle emergence at 5 to 10 days.
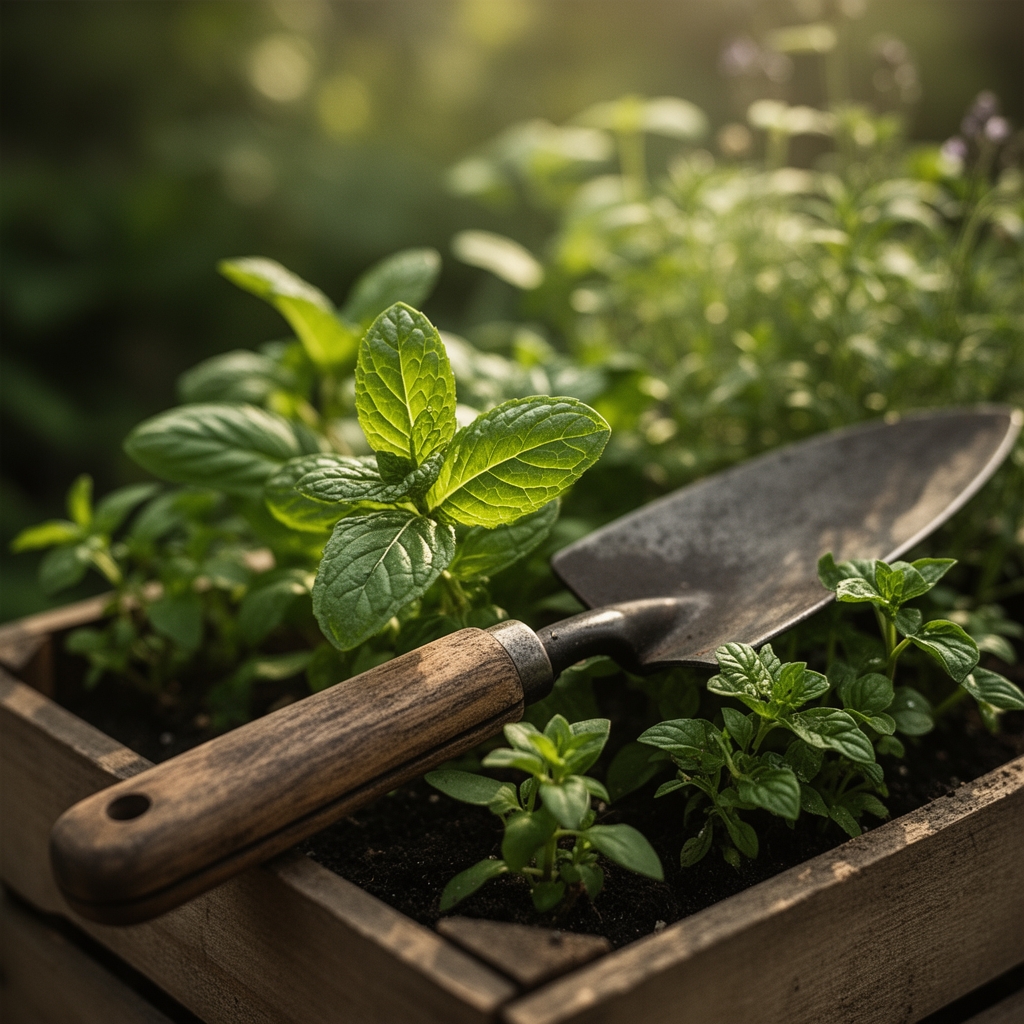
Space seeds according to mature canopy projections. Basil requires 6-inch centers. Parsley tolerates 4-inch centers. Thyme and oregano function at 5-inch centers.
Pro-Tip: Coat herb seeds with a slurry of mycorrhizal fungi (Rhizophagus irregularis) at a concentration of 500 propagules per gram. This colonization increases phosphorus uptake efficiency by 40 to 60 percent and enhances drought tolerance.
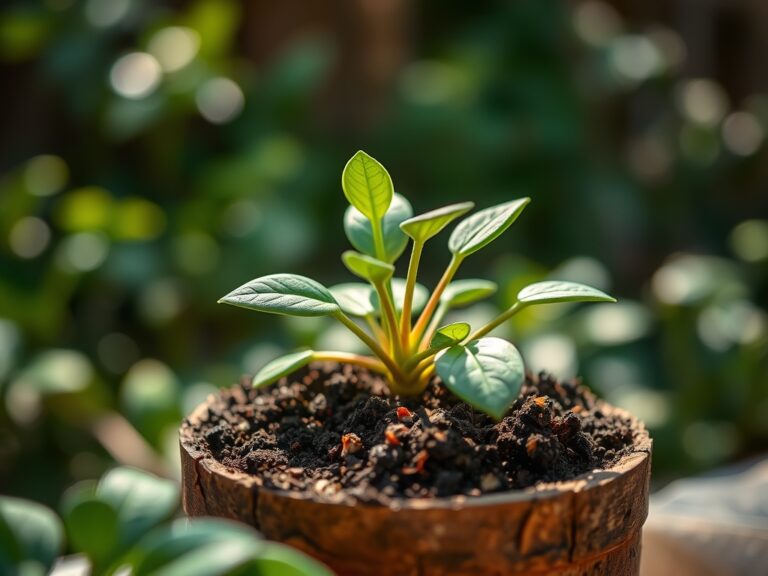
Transplanting Phase
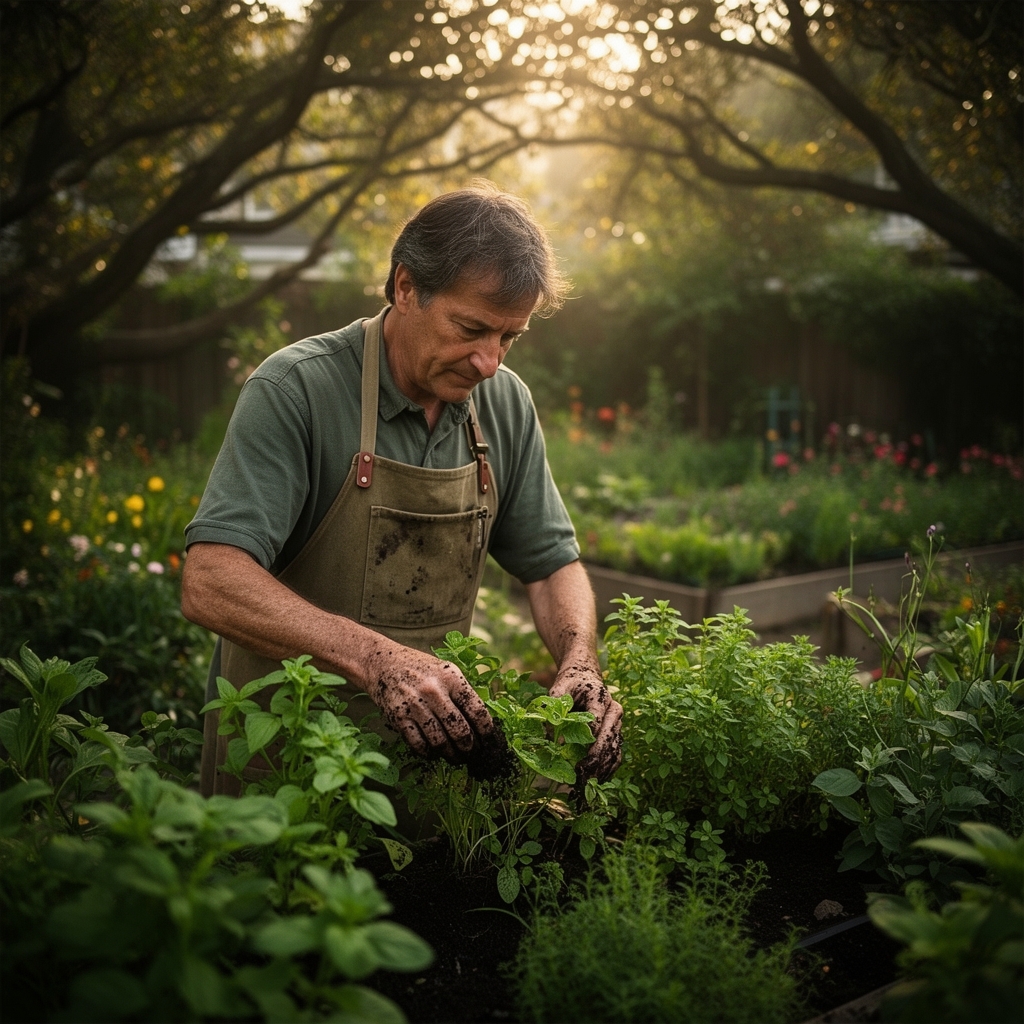
Harden off greenhouse-started seedlings over 7 days. Reduce watering frequency by half and expose plants to outdoor conditions for progressively longer intervals, starting at 2 hours and building to full days.
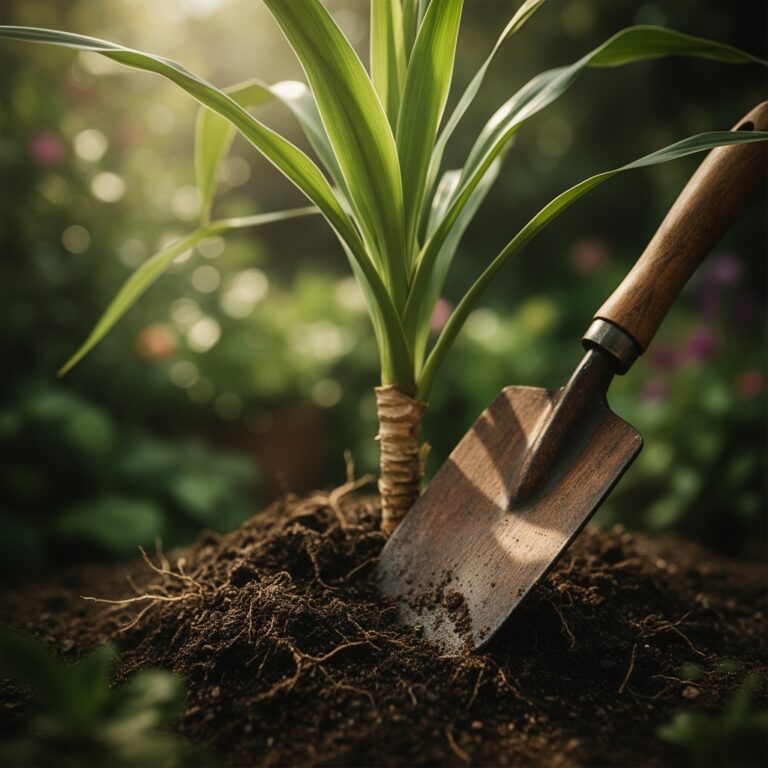
When root systems occupy 70 percent of cell volume, transplant into the crate at the spacing noted above. Handle seedlings by leaves, not stems, to prevent vascular damage. Position the root crown level with the substrate surface. Basil planted too deep invites fusarium infection at the stem base.
Pro-Tip: Prune basil seedlings at the second true-leaf stage by removing the terminal bud at a 45-degree angle, 0.25 inch above the node. This stimulates auxin distribution to lateral meristems, doubling shoot density within 3 weeks.
Establishing Phase
Water transplants with a solution of kelp extract (diluted 1:500) to mitigate transplant shock and promote adventitious root formation. Monitor substrate moisture with a tensiometer. Maintain readings between 10 and 30 centibars during the first 14 days.
Apply a 0.5-inch layer of shredded hardwood mulch around plants, keeping a 1-inch clearance from stems. This regulates substrate temperature and suppresses early-stage weed germination.
Pro-Tip: After 21 days of establishment, foliar-feed with fish hydrolysate (2-4-1 NPK) at a dilution of 2 tablespoons per gallon. Spray at dawn when stomata are maximally open. This increases leaf nitrogen content by 12 percent over untreated controls.
Troubleshooting
Symptom: Interveinal chlorosis on basil, beginning with lower leaves.
Solution: Magnesium deficiency. Dissolve 1 teaspoon Epsom salt (magnesium sulfate) per gallon of water. Drench substrate biweekly for 6 weeks.
Symptom: White powdery coating on oregano and thyme foliage.
Solution: Powdery mildew (Erysiphe cichoracearum). Reduce leaf wetness by watering substrate directly. Spray affected plants with a 0.5 percent solution of potassium bicarbonate every 5 days for three applications.
Symptom: Wilting despite adequate substrate moisture.
Solution: Root rot from Pythium species. Improve drainage by drilling four additional 0.5-inch holes per square foot of crate base. Reduce watering frequency by 30 percent. Drench remaining substrate with a suspension of Trichoderma harzianum (10^6 colony-forming units per milliliter).
Symptom: Leaf edges turn brown and crisp on parsley.
Solution: Salt accumulation from over-fertilization. Leach substrate by applying water volume equal to twice the container capacity. Allow full drainage. Resume fertilization at half the previous rate.
Symptom: Basil stems elongate with pale, sparse foliage.
Solution: Insufficient photosynthetically active radiation. Relocate crate to receive 6 to 8 hours of direct sun daily, or supplement with grow lights at 300 to 500 micromoles per square meter per second for 14 hours.
Maintenance
Irrigate when the top 1 inch of substrate feels dry to the touch. Most crate systems require 0.5 to 0.75 gallons per watering event during active growth. Deep watering encourages roots to explore the full substrate depth rather than concentrating near the surface.
Fertilize every 14 days with liquid fish emulsion (5-1-1) or compost tea. Dilute fish emulsion to half the manufacturer's recommended strength to prevent tip burn from excessive soluble salts.
Harvest herbs in the morning after dew evaporates but before midday heat. Remove no more than one-third of total leaf mass per harvest to maintain photosynthetic capacity. For basil, pinch stems just above a leaf node to encourage branching.
Inspect foliage weekly for aphids, spider mites, or whiteflies. Dislodge small populations with a forceful water spray. For persistent infestations, apply insecticidal soap (potassium salts of fatty acids) at a 2 percent concentration, ensuring complete coverage of leaf undersides.
FAQ
What crate dimensions work best for how to prepare a mini herb garden in a crate?
Use crates measuring 12 x 12 x 8 inches minimum. This volume supports three to four herb plants with adequate root zone buffering and moisture retention.
Can I reuse potting mix from last season's crate?
Yes, but pasteurize it first. Moisten the substrate and heat to 160°F for 30 minutes to eliminate pathogens. Replenish organic matter by mixing in 20 percent aged compost by volume.
Which herbs tolerate partial shade?
Parsley, cilantro, chervil, and mint perform adequately with 4 to 5 hours of direct sun. Basil, rosemary, and thyme require 6 to 8 hours for optimal essential oil production.
How do I prevent crates from rotting?
Line interior surfaces with pond liner or heavy-duty landscape fabric. Elevate crates on masonry blocks to promote air circulation beneath the base. Apply a non-toxic wood sealant to exterior surfaces.
What is the cation exchange capacity I should target?
Aim for a substrate CEC between 10 and 20 milliequivalents per 100 grams. This range provides adequate nutrient retention without excessive water-holding capacity that invites root disease.