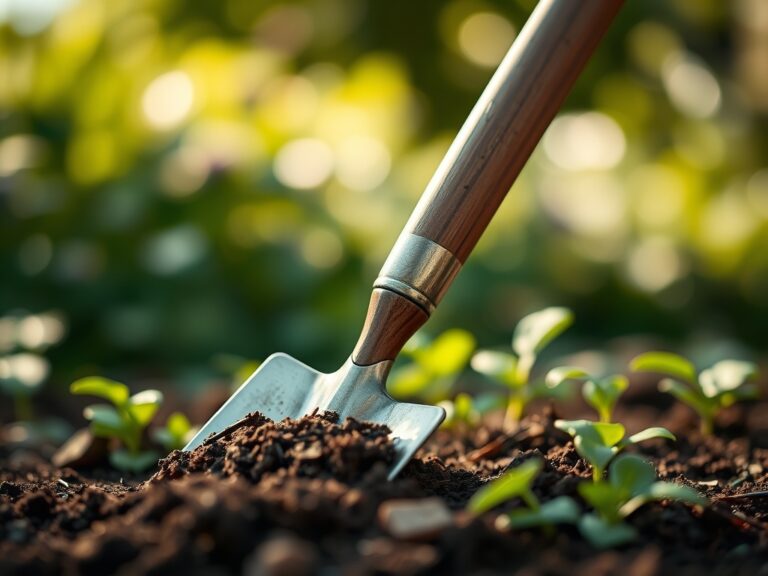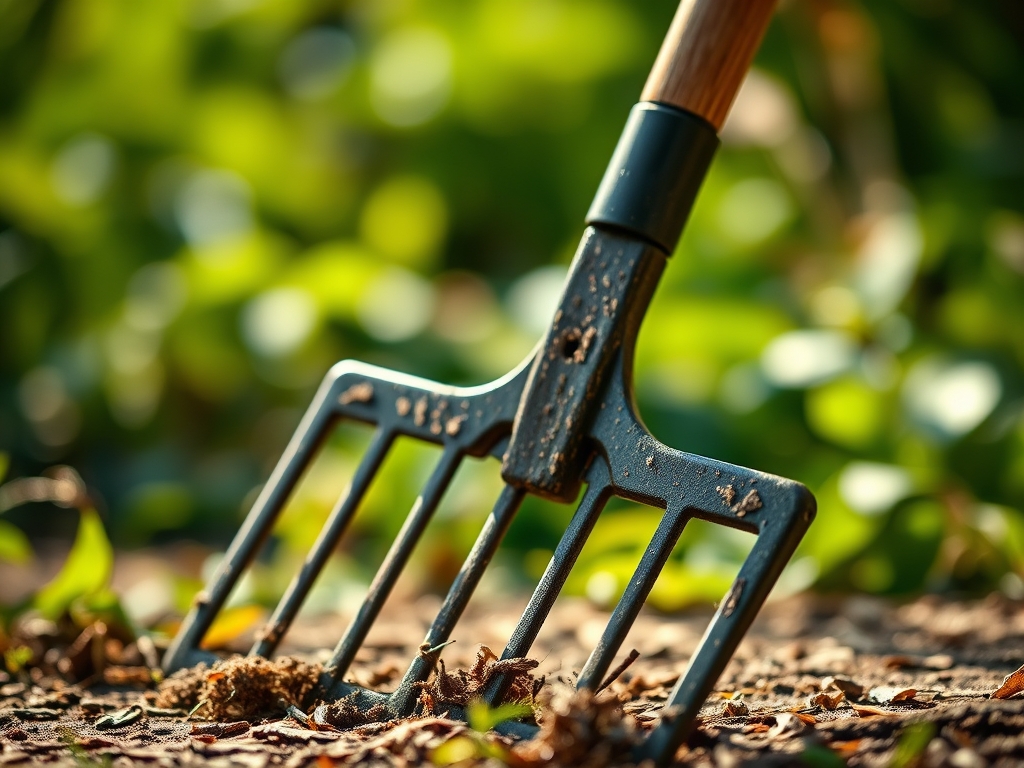
9 Quick Steps to Clean a Metal Rake After Use
The smell of damp earth signals a high concentration of geosmin; this organic compound indicates active microbial life within the rhizosphere. Maintaining the integrity of your tools is as critical as monitoring the turgor pressure of your prize brassicas. Metal tines that harbor caked mud or plant pathogens will inevitably compromise your soil structure and introduce fungal spores to healthy beds. Implementing the nine specific steps for cleaning a garden rake after use ensures that your equipment does not become a vector for disease or oxidation. A clean rake maintains the precise mechanical advantage required to manipulate friable loam without destroying delicate soil aggregates. Neglecting this maintenance leads to the accumulation of moisture and organic acids; these elements accelerate the degradation of high-carbon steel. Professional horticulture demands equipment that functions with the same precision as a calibrated soil moisture meter.
Materials:
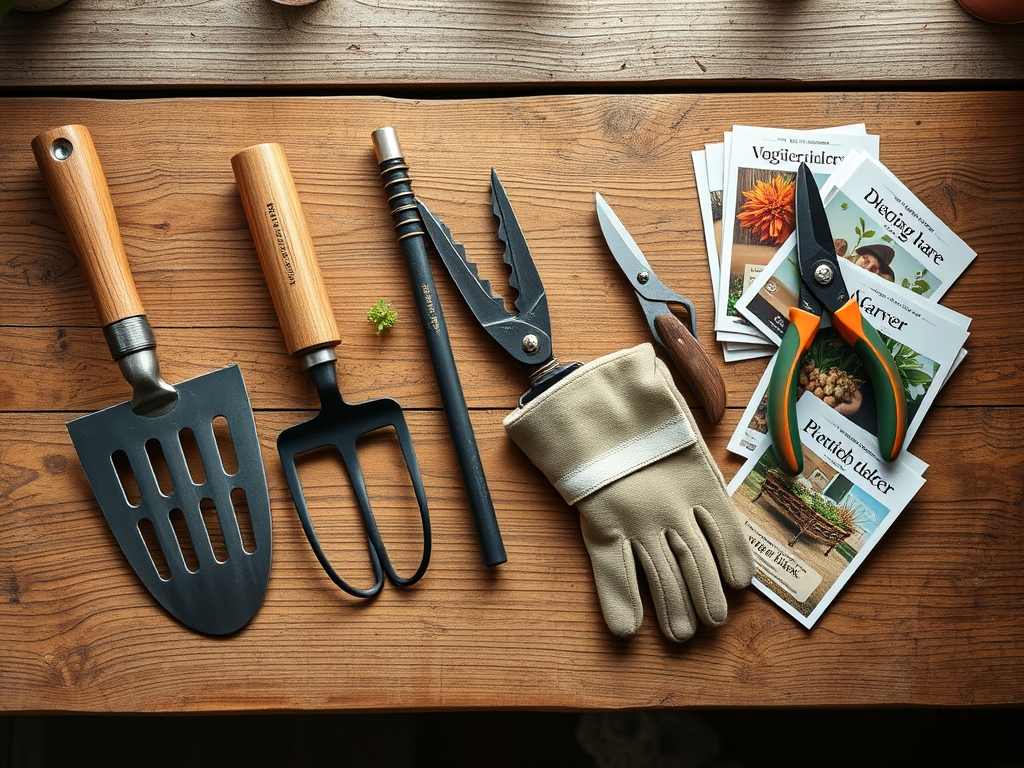
Effective tool maintenance requires a dedicated workspace with a stable pH environment. Avoid cleaning tools near areas where you manage acidic soils (pH 5.5 to 6.2) or alkaline patches (pH 7.5 to 8.0) to prevent cross-contamination. You will need a stiff-bristled nylon brush, a bucket of coarse builder’s sand, and linseed oil. For the cleaning medium, utilize a mixture of sand and mineral oil; this creates an abrasive yet protective environment. If you are working in high-production zones, ensure you have access to a 10 percent bleach solution or 70 percent isopropyl alcohol to neutralize pathogens like *Fusarium* or *Verticillium*. The physical texture of your cleaning substrate should be gritty and free-draining. High-quality tools deserve a storage medium that mimics a well-aerated, friable loam but without the moisture-retaining organic matter that triggers rust.
Timing:
Maintenance must align with the biological clock of your landscape. In Hardiness Zones 4 through 6, tool cleaning is critical before the first hard frost, typically occurring between October 15 and November 15. As plants enter senescence and the photoperiod shortens, the risk of transferring dormant pathogens increases. During the transition from the vegetative stage to the reproductive stage in autumn, moisture levels in the soil often rise. This increased humidity accelerates the oxidation of ferrous metals. Clean your rake immediately after use when the soil is still at its field capacity. Waiting until the soil dries on the tines increases the mechanical force required for removal; this can lead to micro-scratches in the metal where moisture will later reside.
Phases:

Sowing: The Mechanical Removal
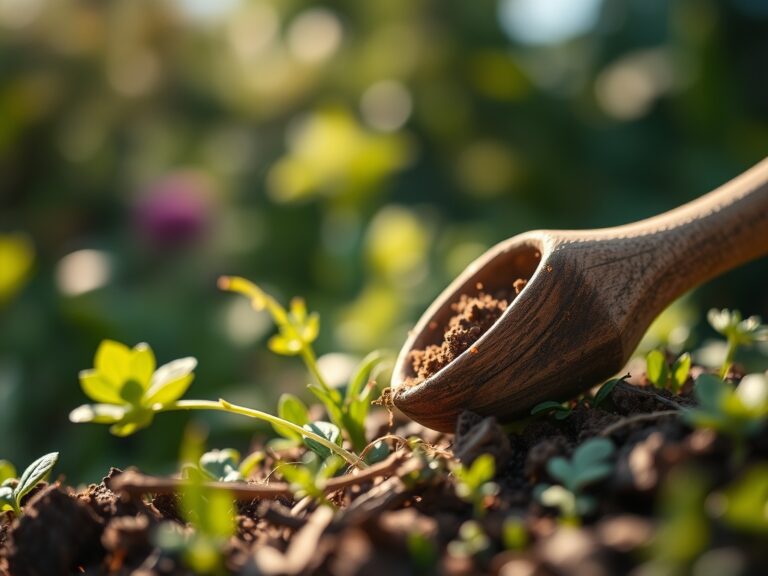
Begin by physically dislodging large clods of earth. Use a wooden spatula or a dedicated scraper to remove heavy clay or silt from the tines. This prevents the buildup of anaerobic pockets within the debris. Ensure you work from the handle down to the head to avoid spreading particulates.
Pro-Tip: Removing organic matter prevents the growth of saprophytic fungi. By eliminating the food source for these organisms, you stop the cycle of decay before it can affect the tool's structural integrity.
Transplanting: The Deep Scrub
Submerge the rake head in a bucket of water mixed with a mild surfactant. Use your stiff brush to reach the junctions where the tines meet the crossbar. These crevices often harbor weed seeds or microscopic nematodes that can be inadvertently transplanted to new beds.
Pro-Tip: Clean tools prevent the disruption of mycorrhizal symbiosis. By not introducing foreign pathogens, you allow the beneficial fungal networks in your new planting holes to establish without competition from invasive microbes.
Establishing: The Protective Seal
Once the rake is dry, plunge it into a bucket of oiled sand five to ten times. This abrasive action polishes the metal and leaves a microscopic film of oil. This barrier prevents oxygen from reaching the metal surface, effectively halting the oxidation process.
Pro-Tip: Maintaining a smooth metal surface reduces friction during soil manipulation. Lower friction minimizes the "smearing" of soil particles, which preserves the macropores necessary for oxygen diffusion to the root zone.
The Clinic:
Symptom: Surface Oxidation (Rust)
Solution: Use a wire brush or medium-grit sandpaper to remove the oxide layer until shiny metal is visible.
Fix-It: Once the rust is removed, neutralize the area with a phosphoric acid-based rust converter or apply a thick coat of paste wax.
Symptom: Tine Deformation
Solution: Metal fatigue occurs when rakes are used to pry heavy stones. Use a bench vise to slowly bend the tine back into alignment.
Fix-It: If the metal shows signs of stress fractures, the tool must be decommissioned to prevent it from snapping and leaving metal shards in the soil.
Symptom: Wood Handle Desiccation
Solution: Check for splinters or cracks. Sand the wood with 120-grit sandpaper.
Fix-It: Apply boiled linseed oil. This prevents the wood from becoming brittle, which is essential for maintaining the leverage needed to work heavy soils.
Nutrient Deficiency Fix-It
If your plants show signs of Nitrogen chlorosis (yellowing of older leaves), do not blame your tools. Ensure your soil has a Cation Exchange Capacity (CEC) sufficient to hold nutrients. Apply a 10-10-10 NPK fertilizer at a rate of 1 pound per 100 square feet to restore vigor.
Maintenance:
Precision in the garden extends to hydration and tool care. Most perennials require 1.5 inches of water per week delivered at the drip line to maintain turgor. Use a soil moisture meter to verify that the water is penetrating at least 6 inches deep. When using a hori-hori knife or bypass pruners, clean them with the same rigor as your rake. Wipe the blades of your pruners with alcohol after every five cuts if you suspect disease. Store all metal tools in a vertical rack to prevent moisture from pooling in the sockets. Lubricate the pivot points of your bypass pruners with a drop of machine oil every 30 days of active use.
The Yield:
When harvesting root crops or flowers, timing is everything. Harvest leafy greens when their turgor pressure is highest, usually before 10:00 AM. For woody stems, use sharp pruners to ensure a clean cut that doesn't crush the xylem and phloem. This precision allows for better water uptake post-harvest. Immediately submerge the stems in 40-degree Fahrenheit water to slow the rate of respiration. This technique preserves "day-one" freshness by delaying the onset of senescence and maintaining the cellular integrity of the plant tissue.
FAQ:
How often should I oil my garden rake?
Oil your rake after every use during the active growing season. A quick plunge into a bucket of oiled sand takes ten seconds and provides a critical barrier against oxidation and moisture-induced corrosion.
Can I use motor oil for my tools?
Avoid used motor oil as it contains heavy metals and petroleum residues that contaminate the rhizosphere. Use vegetable-based oils or clean mineral oil to ensure you are not introducing toxins into your food-producing soil.
What is the best way to disinfect tools?
Wipe the metal surfaces with a solution of 70 percent isopropyl alcohol. This concentration is more effective than 91 percent because the water content allows it to penetrate the cell walls of pathogens more efficiently.
Why is my rake handle loosening?
Wood shrinks and expands based on ambient humidity. If the head is loose, soak the end of the handle in water for 24 hours to swell the fibers, then secure it with a new galvanized wood wedge.