6 Simple Steps to Plant Daikon Radish
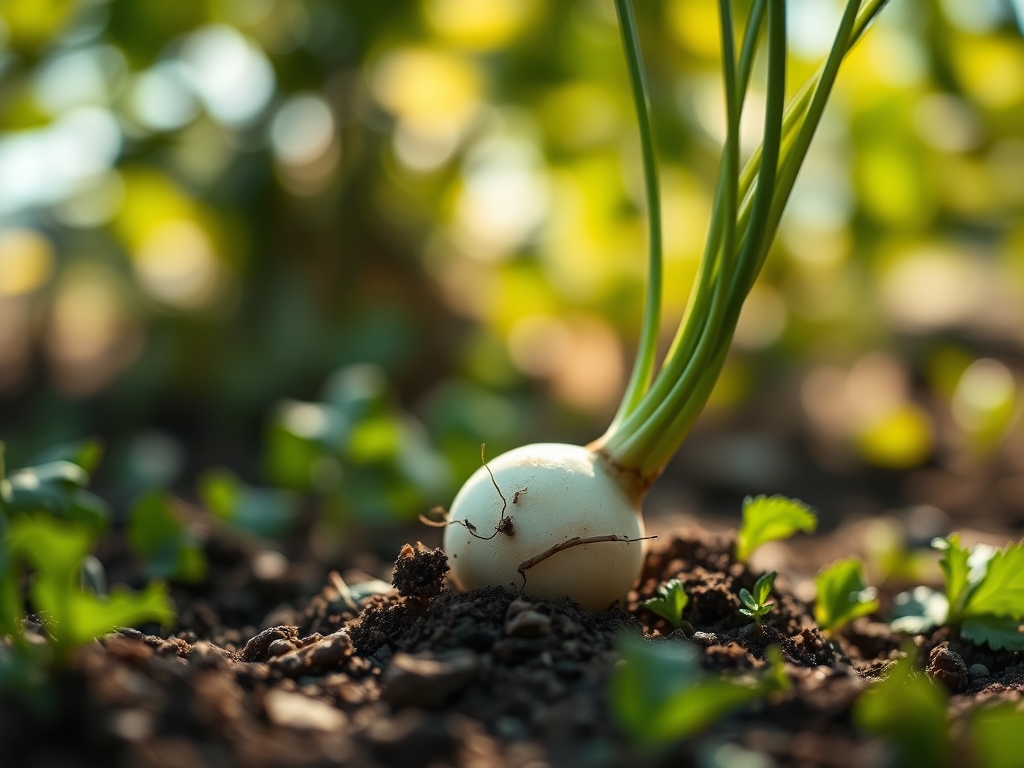
Cold, damp soil clings to the skin while the sharp, peppery scent of crushed brassica foliage signals a successful germination cycle. When you grasp the foliage of a mature Raphanus sativus var. longipinnatus, you feel the immense turgor pressure of a root that has effectively fractured compacted subsoil. Achieving this level of hydraulic force requires precise execution of the steps to plant daikon radish. This is not casual gardening; it is an exercise in soil engineering. You are managing a biological drill designed to penetrate twelve to eighteen inches into the earth. Success depends on the intersection of thermal windows, nutrient availability, and the structural integrity of the rhizosphere. By following a rigorous scientific protocol, you can produce roots that weigh several pounds while improving the aeration and drainage of your entire plot.
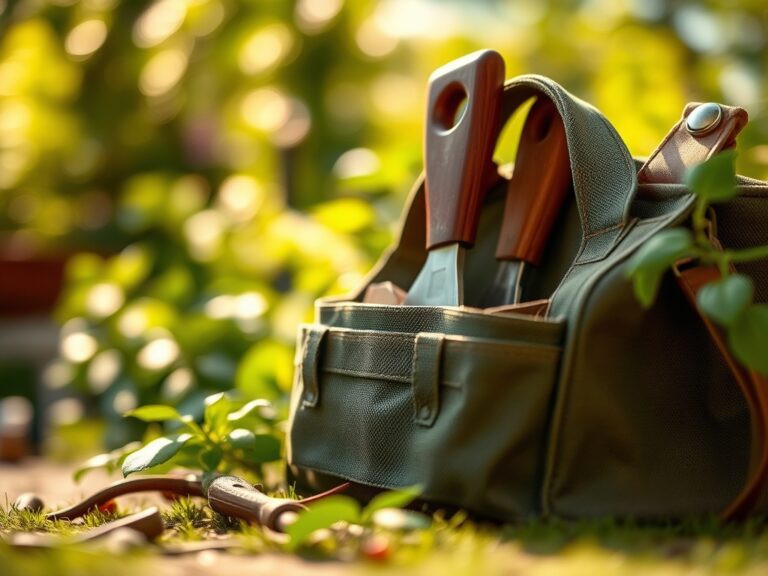
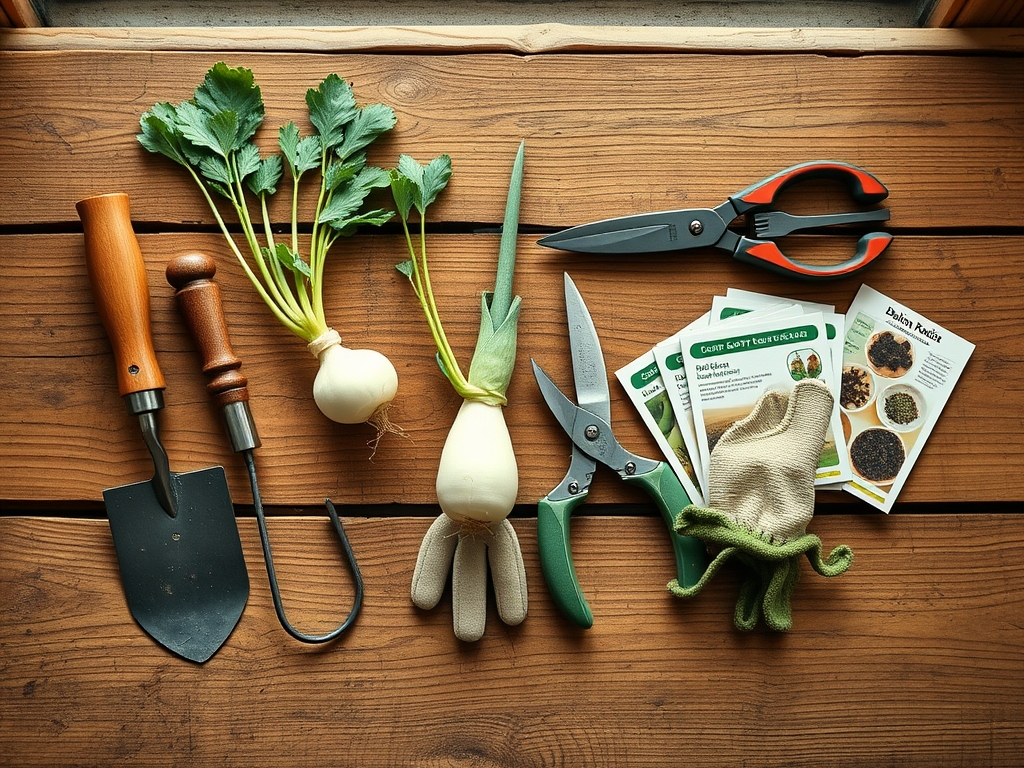
Materials:
The foundation of a high yield daikon crop is a **friable loam** with a low bulk density. If the soil is too dense, the taproot will fork or become stunted. Aim for a **soil pH between 5.8 and 6.8**. This range ensures optimal nutrient bioavailability and prevents the lock-up of essential micronutrients.
Before sowing, integrate a balanced organic fertilizer with an NPK ratio of 5-10-10. Daikon requires higher Phosphorus (P) and Potassium (K) levels to support root expansion and cellular wall strength. Excessive Nitrogen (N) must be avoided; high nitrogen levels trigger rapid vegetative canopy growth at the expense of the taproot, often leading to a "hollow heart" condition. Your substrate should have a Cation Exchange Capacity (CEC) above 15 to ensure the soil can hold and exchange the positively charged ions like Calcium and Magnesium required for root development.
Timing:
Daikon radishes are highly sensitive to the photoperiod and temperature fluctuations. They are categorized as cool-season crops. In Hardiness Zones 3 through 6, planting should occur in late summer, roughly 60 to 70 days before the first hard frost. In Zones 7 through 10, daikon can be grown as a winter crop.
The biological clock of the radish is triggered by increasing day length and heat. If planted in the spring as days lengthen, the plant will quickly transition from the vegetative stage to the reproductive stage. This process, known as bolting, causes the root to become woody and bitter as the plant redirects all sugars toward seed production. Planting in the declining light of late summer allows the plant to focus energy downward into the root as it prepares for winter dormancy.
Phases:

Sowing
Direct sow seeds at a depth of 0.5 inches. Space seeds 3 inches apart in rows separated by 12 to 18 inches. Once seedlings reach two inches in height, thin them to a final spacing of 6 inches. This prevents competition for light and soil nutrients.
Pro-Tip: Maintaining consistent moisture during the germination phase is critical for imbibition. If the seed coat dries out after the initial uptake of water, the embryo will suffer irreversible cellular collapse.
Establishing the Rhizosphere
As the first true leaves emerge, the taproot begins its rapid descent. During this phase, ensure the soil remains moist but not saturated. Use a soil moisture meter to maintain a consistent level of 60 percent field capacity.
Pro-Tip: Avoid disturbing the soil near the crown. Daikon relies on mycorrhizal symbiosis to extend its reach for phosphorus. Disrupting these fungal networks slows the nutrient uptake rate and can stunt the final diameter of the radish.
Managing the Canopy
The leaves of the daikon act as the solar panels for the developing root. Large, healthy leaves indicate high photosynthetic activity. If leaves appear pale, it may indicate a lack of sulfur, which is vital for the synthesis of the glucosinolates that give radishes their flavor.
Pro-Tip: Ensure the plants receive at least six hours of direct sunlight. Reduced light levels trigger auxin suppression in the roots, leading to elongated, thin specimens that lack the mass required for a high-quality harvest.
The Clinic:
Physiological disorders in daikon are usually the result of environmental stressors or nutrient imbalances.
- Symptom: Forked or misshapen roots.
Solution: This is caused by physical obstructions or high bulk density. Ensure the soil is tilled to a depth of 18 inches and remove all stones larger than a marble. - Symptom: Pithy or hollow centers.
Solution: This occurs due to erratic watering or over-maturation. Maintain 1.5 inches of water per week and harvest promptly when the radish reaches its variety-specific size. - Symptom: Yellowing of older leaves (Chlorosis).
Fix-It: This indicates a Nitrogen deficiency. Apply a side-dressing of blood meal or a liquid fish emulsion to restore chlorophyll production. - Symptom: Purple tinting on leaf undersides.
Fix-It: This is a classic sign of Phosphorus deficiency, often occurring in cold soils where P-uptake is chemically inhibited.
Maintenance:
Precision is the hallmark of a master horticulturist. Use a soil moisture meter daily to ensure the root zone never drops below 40 percent moisture content. Daikon requires exactly 1.5 inches of water per week delivered at the drip line. Avoid overhead irrigation; wet foliage increases the risk of fungal pathogens like Alternaria leaf spot.
Weed management is non-negotiable. Use a hori-hori knife to slice weeds just below the soil surface. Do not pull large weeds near the radish, as the root system is sensitive to physical displacement. If the shoulders of the radish begin to push out of the soil, mulch them with straw to prevent greening caused by chlorophyll development in the root tissue.
The Yield:
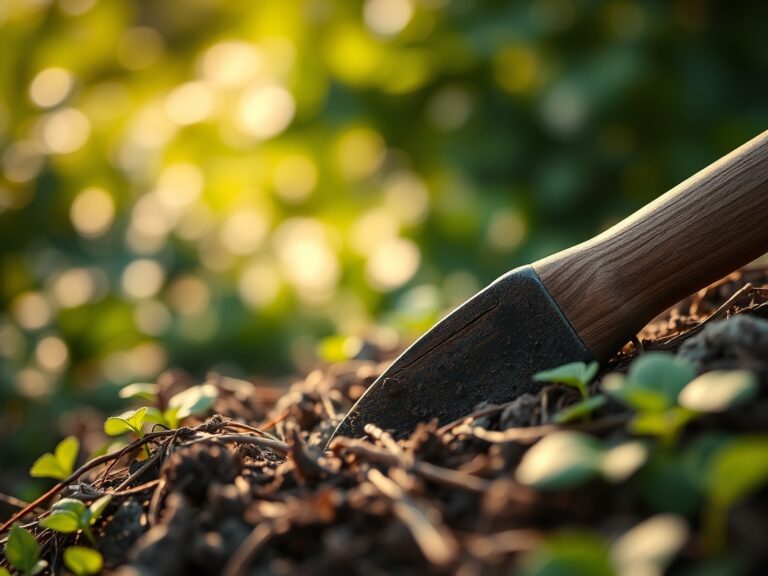
Harvesting occurs when the radish reaches 10 to 14 inches in length, depending on the cultivar. Do not wait for the plant to enter senescence. Use a garden fork to loosen the soil six inches away from the root; pulling by the leaves alone often results in the foliage detaching from the crown.
Post-harvest handling is vital for maintaining day-one freshness. Immediately remove the leaves to stop the draw of moisture from the root. Wash the roots in cool water to remove soil and store them in a high-humidity environment at 34 to 38 degrees Fahrenheit. Under these conditions, the roots will maintain their crisp texture for up to two months.
FAQ:
How deep should I till the soil for daikon?
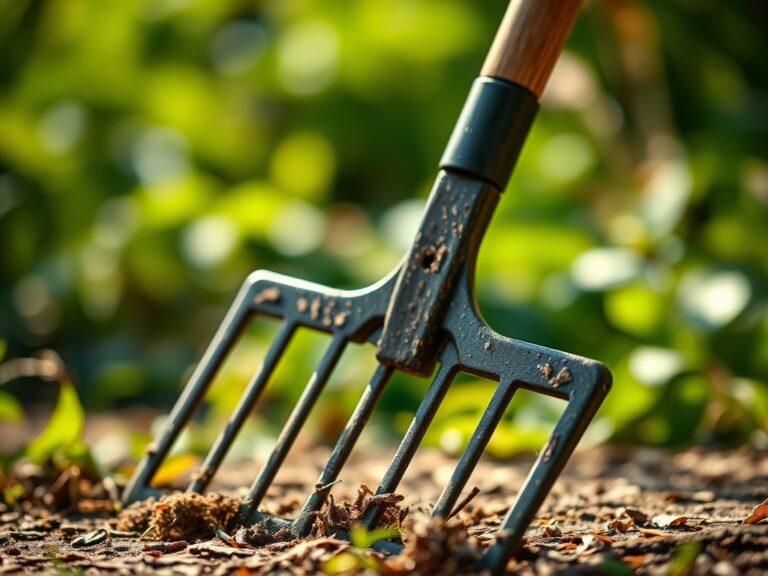
Till the soil to a minimum depth of 18 inches. This ensures the taproot can expand without resistance. Compacted soil leads to stunted or forked roots. Use a broadfork or tiller to achieve a friable loam texture.
Can I grow daikon in containers?
Yes, provided the container is at least 20 inches deep. Use a high-quality potting mix with a CEC above 15. Ensure the container has excellent drainage to prevent root rot caused by anaerobic soil conditions.
What is the best fertilizer for daikon?
Use a fertilizer with an NPK ratio of 5-10-10. High phosphorus and potassium levels are essential for root development. Avoid high-nitrogen fertilizers, which promote excessive leaf growth and can cause the roots to become hollow or flavorless.
Why did my daikon radish bolt?
Bolting is usually triggered by increasing day length or temperatures exceeding 80 degrees Fahrenheit. To prevent this, plant in the late summer so the radish matures during the shorter, cooler days of autumn. This keeps the plant in its vegetative state.