7 Steps to Prepare a Prefabricated Garden Shed Site
Learning how to prepare a site for a garden shed transforms an amateur installation into a structure that will resist frost heave, drainage failure, and premature rot for decades. The scent of turned earth mixed with crushed stone dust marks the beginning of proper site work. Most prefabricated sheds fail not from manufacturing defects but from inadequate ground preparation that allows seasonal water movement to undermine the foundation perimeter within three to five years.
Materials
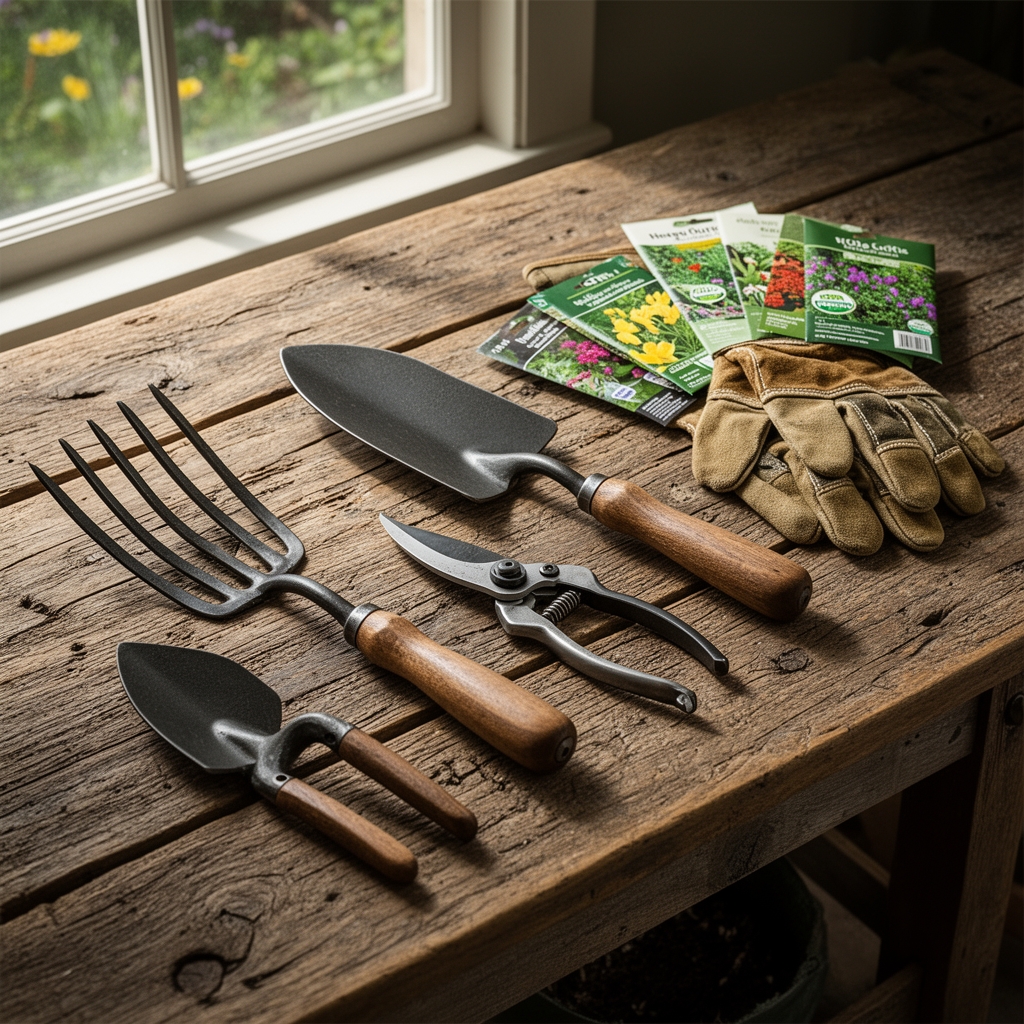
Successful site preparation requires materials selected for specific soil conditions and drainage coefficients. Begin with a soil test kit measuring pH, cation exchange capacity, and existing compaction levels. Clay soils with pH above 7.2 demand different base treatments than sandy loam at 6.0.
For the base layer, source crushed stone aggregate in 3/4-inch diameter. Calculate six inches depth across the entire footprint plus 12 inches beyond each edge. This translates to 2.5 cubic yards for a standard 10×12 foot shed. Landscape fabric rated at 4.1 ounces per square yard prevents subsurface clay migration into the stone matrix.
Treated timber sills measuring 4×6 inches form the perimeter frame. Select lumber pressure-treated to 0.40 PCF (pounds per cubic foot) retention for ground contact applications. Galvanized carriage bolts in 1/2-inch diameter with 6-inch length anchor corners. Concrete pier blocks rated to 1,800 PSI compressive strength support critical load points at 48-inch intervals.
Additional materials include mason's sand for leveling at 1/4 cubic yard, construction adhesive rated for exterior use at temperatures down to 20°F, and 4-foot bubble levels accurate to 0.0005 inches per inch. Heavy clay sites require additional perforated drain pipe, 4-inch diameter, sloped 1/4 inch per linear foot to daylight drainage points.
Timing
Site preparation timing depends directly on frost depth and soil workability windows within your hardiness zone. Zones 3-5 permit excavation from late May through October when soil temperatures at 12-inch depth stabilize above 45°F. Earlier work risks refreezing damage to compacted base layers.
Zones 6-7 extend the preparation window from April through November. The ground rarely freezes below six inches in these regions. Schedule foundation work 30 days before shed delivery to allow stone base settling under natural precipitation.
Zones 8-10 allow year-round preparation but avoid the wettest months. December through February in maritime climates creates soil saturation that prevents proper compaction. Moisture content above 18 percent by weight makes effective tamping impossible.
Check local frost tables for maximum depth. Pier blocks must rest on undisturbed subsoil below this line. A zone 4 location with 48-inch frost penetration requires excavation to 50 inches at each pier location.
Phases

Layout and Excavation
Mark the site perimeter using batter boards set 24 inches beyond each corner. String lines establish precise dimensions. Check diagonal measurements: they must match within 1/4 inch to ensure square corners. Remove organic topsoil to eight inches depth across the footprint plus overage area. Stockpile this material for future garden amendments, noting its existing nitrogen-phosphorus-potassium ratio.
Pro-Tip: Spray-paint the grass with marking paint before excavation to maintain precise perimeter visibility as work progresses through multiple days.
Base Installation
Install landscape fabric directly on exposed subsoil. Overlap seams by 12 inches. Add crushed stone in three two-inch lifts, compacting each layer to 95 percent Standard Proctor Density using a plate compactor generating 5,000 pounds force. Rent units delivering 18-inch plate width and 90 Hz vibration frequency.
Check level every 16 inches using a digital inclinometer accurate to 0.1 degrees. The finished base must not deviate more than 1/2 inch across the entire platform. Add or remove stone as needed before final compaction.
Pro-Tip: Wet the stone lightly between compaction passes to activate fines and improve particle interlock, increasing bearing capacity by 12 to 18 percent.
Perimeter Frame Construction
Position treated sills on the compacted base. Excavate pier locations at corners and 48-inch intervals along walls exceeding eight feet. Dig to below-frost depth. Place pier blocks on two inches of tamped sand. The top surface of each sill must align within 1/8 inch elevation variance.
Secure corners with carriage bolts after drilling 9/16-inch pilot holes. Apply construction adhesive between sill joints. This connection resists lateral movement during seasonal freeze-thaw cycles.
Pro-Tip: Install the sills level but slope the stone base 1/4 inch per foot away from the shed footprint to direct water runoff without creating a noticeable tilt in the structure.
Troubleshooting
Symptom: Persistent ponding along one edge after rainfall.
Solution: Excavate a swale 18 inches wide and 8 inches deep along the affected side. Line with landscape fabric and fill with 1-inch diameter river stone to create French drain capacity of 0.8 cubic feet per minute.
Symptom: Corners settling unevenly within first season.
Solution: Inadequate pier depth allowed frost jacking. Excavate to proper depth and reset piers. Add crushed stone surround 12 inches beyond pier edges for improved load distribution.
Symptom: Sills separating at corner joints after winter.
Solution: Thermal expansion exceeded bolt tolerance. Replace with 8-inch bolts on 3/4-inch diameter. Add metal corner brackets rated to 500 pounds shear strength.
Symptom: Weed growth through base stone within months.
Solution: Landscape fabric torn or omitted. Remove stone to 4 inches depth. Install commercial-grade fabric at 6 ounces per square yard with complete overlap coverage.
Symptom: Stone base migrating downslope on graded sites.
Solution: Install pressure-treated 4×4 edging along downhill perimeter. Anchor with 18-inch rebar stakes driven at 36-inch intervals through pre-drilled holes.
Maintenance
Inspect the base perimeter twice annually in spring after final frost and autumn before freeze onset. Add crushed stone as needed to maintain six-inch minimum depth. Minor settling of 1/4 to 1/2 inch occurs naturally during the first year.
Clear vegetation within 18 inches of the shed footprint. Roots from aggressive species like quackgrass or bindweed can penetrate treated lumber within three growing seasons. Apply corn gluten meal at 20 pounds per 1,000 square feet as a pre-emergent barrier each April.
Check sill level annually using a four-foot spirit level. Deviations exceeding 1/4 inch indicate pier movement requiring immediate correction. Jack the affected corner, excavate, and reset the pier with additional compacted base material.
Re-apply construction adhesive to any separated sill joints. Clean surfaces with wire brush before application. Modern polyurethane adhesives maintain flexibility through temperature swings from -20°F to 140°F.
Monitor drainage paths after heavy rainfall events exceeding one inch per hour. Clear any silt accumulation from swales or French drains. Maintain positive slope away from all sides at minimum 2 percent grade.
FAQ
How deep should I excavate for a garden shed base?
Remove organic topsoil to eight inches depth, then add six inches of compacted crushed stone for a total 14-inch profile change from original grade.
Can I skip landscape fabric under the stone?
No. Fabric prevents clay or silt migration into stone voids, which reduces drainage capacity by 40 percent within two years and causes base failure.
What spacing do I need for concrete piers?
Place piers at all four corners plus every 48 inches along walls. An 8×12 shed requires six piers minimum; a 12×16 needs eight.
How level must the finished base actually be?
Maintain maximum 1/2-inch deviation across the entire platform. Greater variance causes door binding, floor stress, and potential wall racking.
Should I use gravel or crushed stone?
Crushed stone with angular edges compacts to higher density and resists lateral movement. Round gravel shifts under load and reduces bearing capacity by 30 percent.