8 Tips to Use a Level for Accurate Garden Grading
Grading a garden bed transforms drainage patterns and prevents erosion that can wash away topsoil at rates exceeding 2 tons per acre annually. Using a level for garden grading ensures precise slope calculations, typically 1-2% away from structures, protecting both foundations and plant root zones from saturation. The carpenter's level, whether a 48-inch box beam model or a digital inclinometer, becomes the horticultural engineer's primary diagnostic tool for reshaping soil planes and directing water flow with surgical accuracy.
Materials
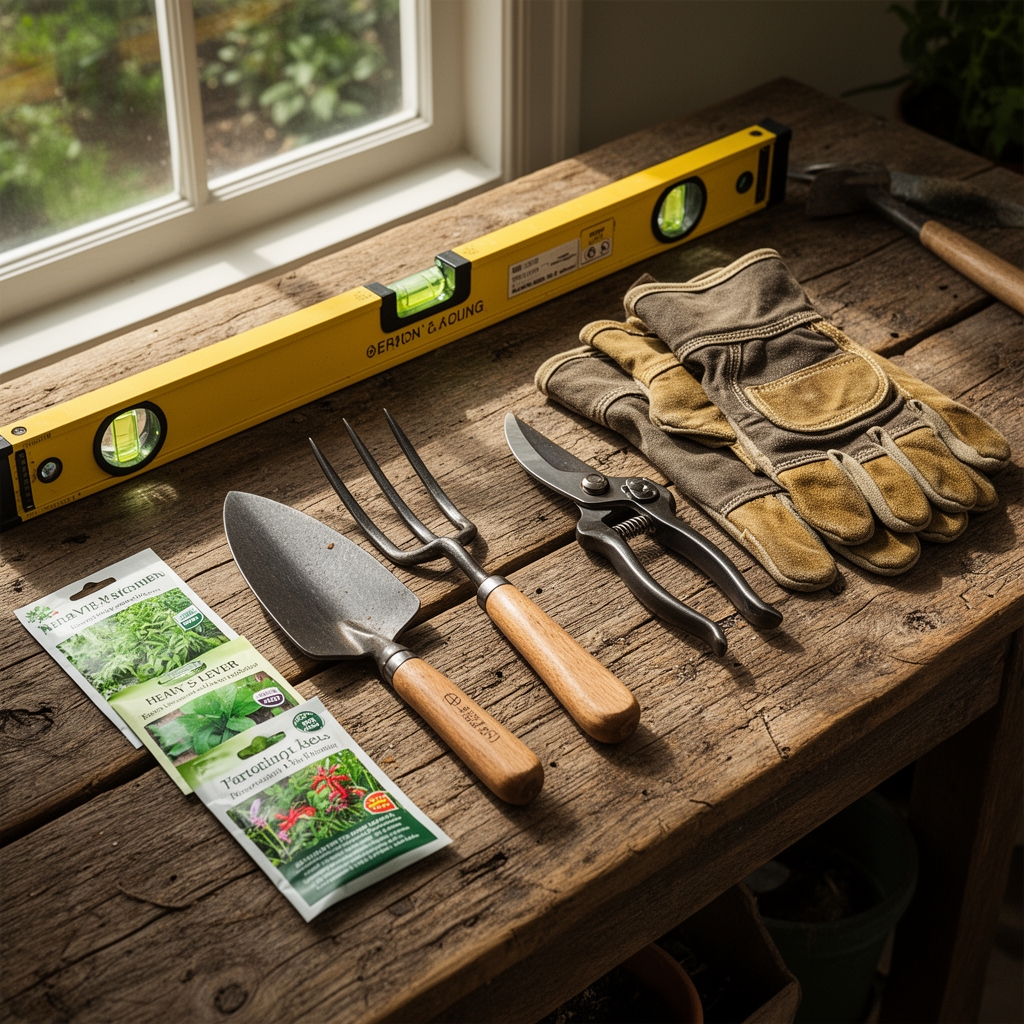
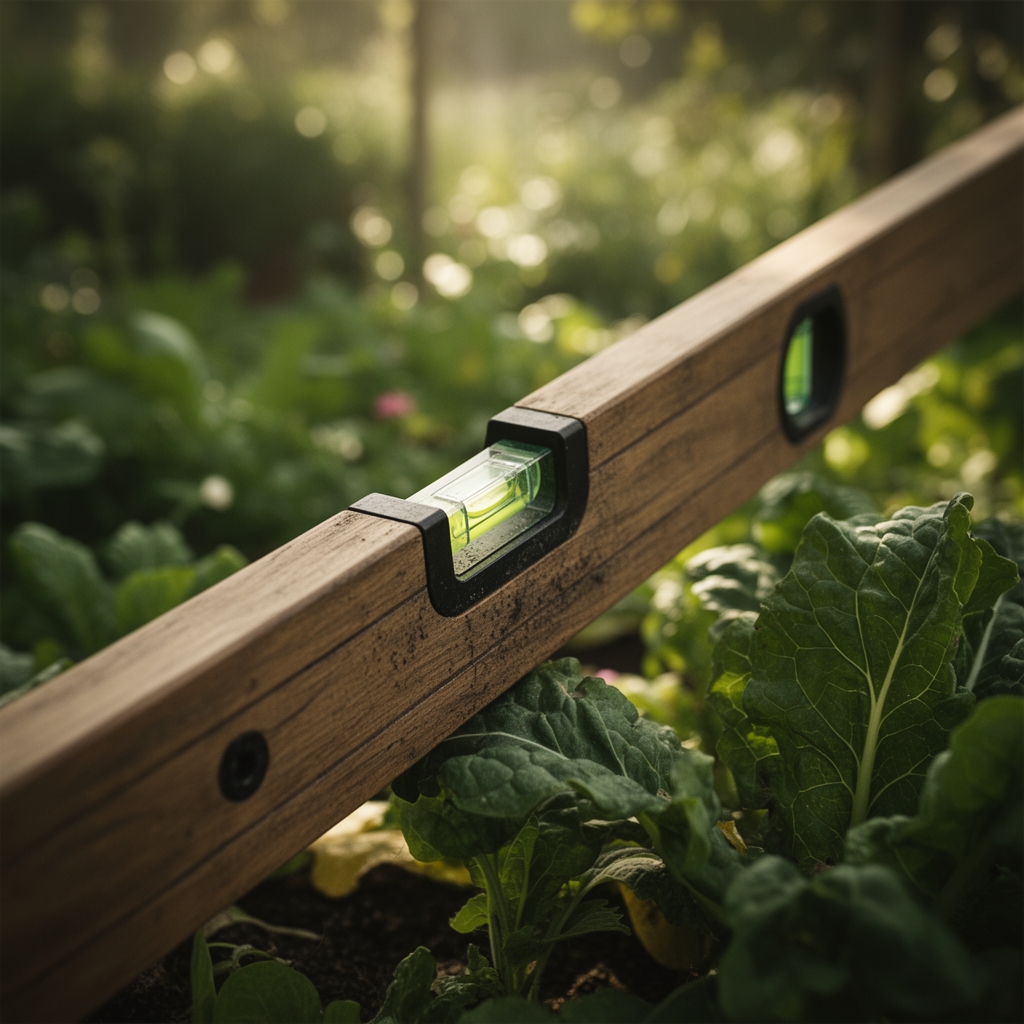
A 48-inch box beam level with three vials provides the foundation for most residential grading projects. Choose models with accuracy ratings of 0.0005 inches per inch. The longer the level, the more reliable the reading across undulating surfaces.
String lines require UV-stabilized polyethylene cordage with minimal stretch characteristics. Mason's line rated at 200-pound test resists sagging between stakes separated by 20-foot intervals.
Wooden stakes cut from 1×2 furring strips at 24-inch lengths anchor string lines. Drive them 8 inches into soil for stability during multiple measurements.
A straight 2×4 lumber piece, precisely 10 feet long, extends the level's effective range. Run the board through a table saw to verify straightness within 1/16 inch over its full length.
Soil amendments depend on existing pH and nutrient profiles. For acidic soils below pH 5.5, incorporate dolomitic limestone at 50 pounds per 1,000 square feet. Balanced organic fertilizers at 4-4-4 or 5-5-5 ratios supply baseline nutrition. Compost with a carbon-to-nitrogen ratio of 25:1 improves cation exchange capacity while adding 2-3% organic matter by volume.
A wheelbarrow capable of holding 6 cubic feet enables efficient soil transport during cut-and-fill operations. Steel trays outlast poly models when moving aggregate materials.
Timing
Execute grading operations during dormant seasons when soil moisture content ranges between 15-20%. This "friable" state allows reshaping without creating compaction layers that restrict root penetration.
In USDA Hardiness Zones 3-6, schedule grading between mid-September and late October, or from mid-March to early May. Frozen ground and spring mud seasons render accurate leveling impossible.
Zones 7-9 permit grading from November through February, avoiding the 90-plus-degree days that cause rapid surface drying and dust generation.
Zone 10 offers year-round grading windows, though monsoon seasons create overly saturated conditions. Target periods with three consecutive days of dry weather and soil moisture below 22% by volume.
Phases

Baseline Establishment: Drive stakes at 8-foot intervals along the grading perimeter. Attach string lines at identical heights using a water level or laser level as reference. Position the carpenter's level atop the 10-foot 2×4, then place this assembly perpendicular to string lines. Adjust string tension until sag measures less than 1/4 inch at midspan. Record elevations at each stake using the string as a datum plane.
Pro-Tip: Mark stake heights with paint pens rather than pencil, which rain erodes within hours.
Cut and Fill: Remove soil from high spots, transporting it to depressions. Work in 2-inch lifts, compacting each layer with a hand tamper applying 30 pounds per square foot pressure. The level verifies each lift before adding the next. Maintain the target slope by checking measurements every 4 feet along transects. Native soil compaction prevents differential settling that creates low pockets within 18 months.
Pro-Tip: Preserve topsoil by stripping and stockpiling the upper 6 inches before grading subsoil layers, then redistribute topsoil as the final 6-inch cap.
Fine Tuning: After rough grading achieves slopes within 0.5% of target, rake the surface to break clods smaller than 1 inch diameter. Place the level at multiple orientations, including 45-degree diagonals, to detect subtle crowns or swales. Add or remove soil in 1/4-inch increments. A final pass with a landscape rake drawn backwards feathers transitions between elevation changes, eliminating abrupt grade breaks where water pools.
Pro-Tip: Wet the graded surface with 1/4 inch of irrigation, allow 24-hour settling, then re-check with the level before planting.
Troubleshooting
Symptom: Persistent low spots after compaction. Solution: Excavate the depression to 12 inches depth. Install 4 inches of crushed aggregate base, compact to 95% density, then cap with amended topsoil. The aggregate layer maintains elevation even as surrounding native soil settles.
Symptom: String lines sag between stakes despite tension. Solution: Install intermediate stakes at 10-foot rather than 20-foot spacing. Use thicker cordage rated at 300-pound test. In high-wind conditions, work during morning calm before 9 AM.
Symptom: Level reads differently when reversed end-for-end. Solution: The instrument requires calibration. Place it on a known flat surface, note the bubble position, rotate 180 degrees, and compare readings. Adjustment screws on quality levels correct vial alignment.
Symptom: Soil compacts into impermeable layers during tamping. Solution: Moisture content exceeds workable range. Postpone grading until soil dries to 18% or lower. Squeeze-test soil: properly conditioned material forms a ball that crumbles under light finger pressure.
Symptom: Grade appears correct but water still pools. Solution: Verify that swales or low edges don't trap runoff at the bed perimeter. Grade must transition continuously to existing drainage paths or catch basins.
Maintenance
Inspect graded areas after every rainfall exceeding 1 inch within 24 hours. Erosion rills deeper than 1/2 inch require immediate repair with topsoil and reseeding.
Apply 1 inch of water weekly during establishment periods spanning 60-90 days post-grading. Irrigation timing between 4-8 AM reduces evaporation losses and fungal pressure.
Topdress settled areas annually with compost screened to 1/4-inch particle size, applied at 1/2 cubic yard per 1,000 square feet. This practice maintains surface elevation and organic matter levels above 4%.
Aerate compacted zones with a core aerator removing plugs 3 inches deep on 6-inch centers. Frequency depends on soil texture: clay loams require annual treatment, sandy loams every 3 years.
FAQ
How precise must garden grading be?
Residential gardens require slopes between 1-2%, equivalent to 1.2-2.4 inches of drop per 10-foot run. Precision within 0.25% prevents both ponding and excessive runoff velocity.
Can I grade around existing trees?
Avoid adding more than 2 inches of soil over established root zones. Excess fill reduces oxygen diffusion to roots, triggering decline within 2-3 seasons. Cut grades away from trunk flares.
What slope prevents erosion on hillsides?
Slopes exceeding 8% require terracing or erosion-control fabrics. Native grass establishment stabilizes grades between 3-8%. Annual ryegrass germinates in 7 days, providing emergency cover.
Do I need different techniques for clay versus sand?
Clay soils demand gypsum at 40 pounds per 1,000 square feet to improve aggregation. Sandy soils need compost incorporation at 3 cubic yards per 1,000 square feet to increase water retention.
How long before I can plant after grading?
Wait 30 days minimum for two settling cycles through wetting and drying. Mycorrhizal fungi populations recover within 45-60 days if native topsoil was preserved and redistributed.