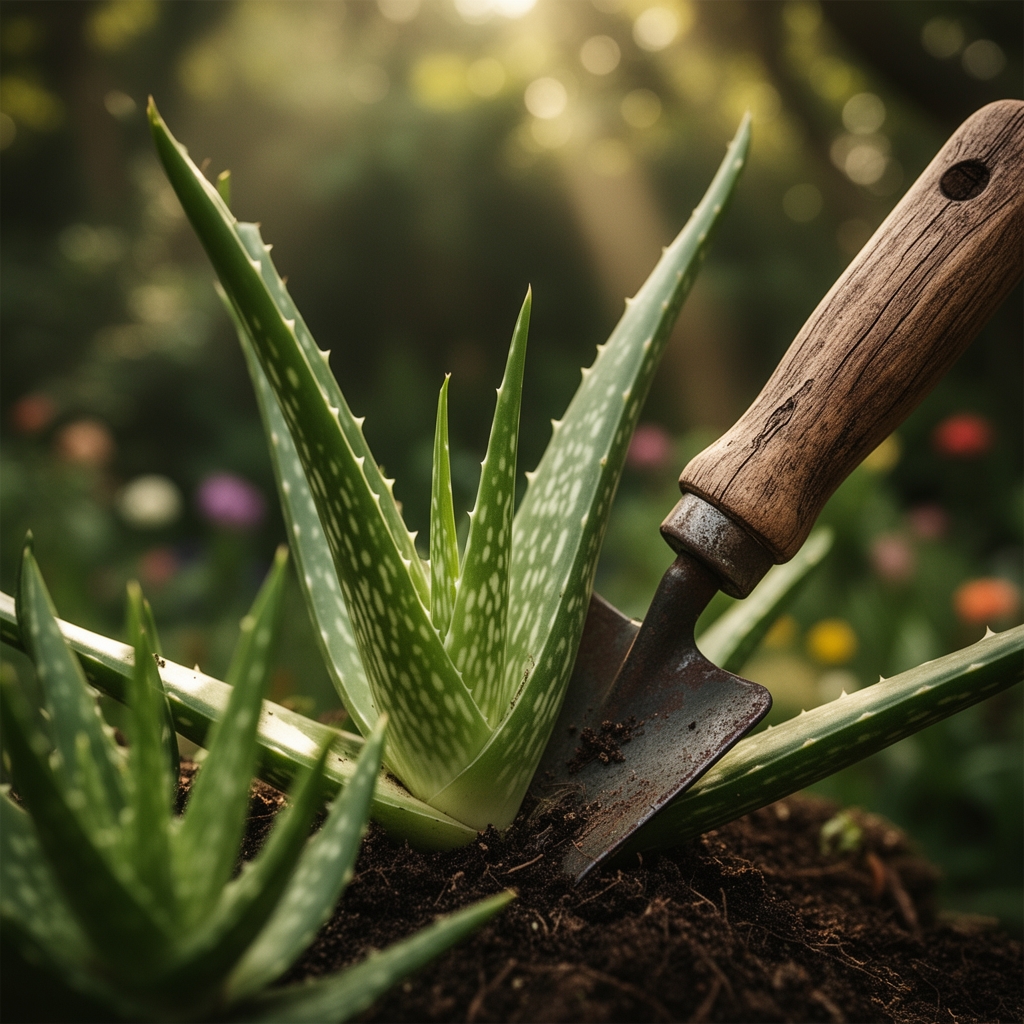
8 Handling Steps for Repotting an Aloe Vera Plant
The mature aloe vera plant sits root-bound in its plastic container, its fleshy leaves drooping slightly at the tips. The potting medium has compressed into a dense, water-repellent mass after two years of mineral salt accumulation and root expansion. Mastering the steps for repotting an aloe vera plant ensures continued vigor, proper auxin distribution to new offsets, and prevents the crown rot that kills more specimens than drought ever could.
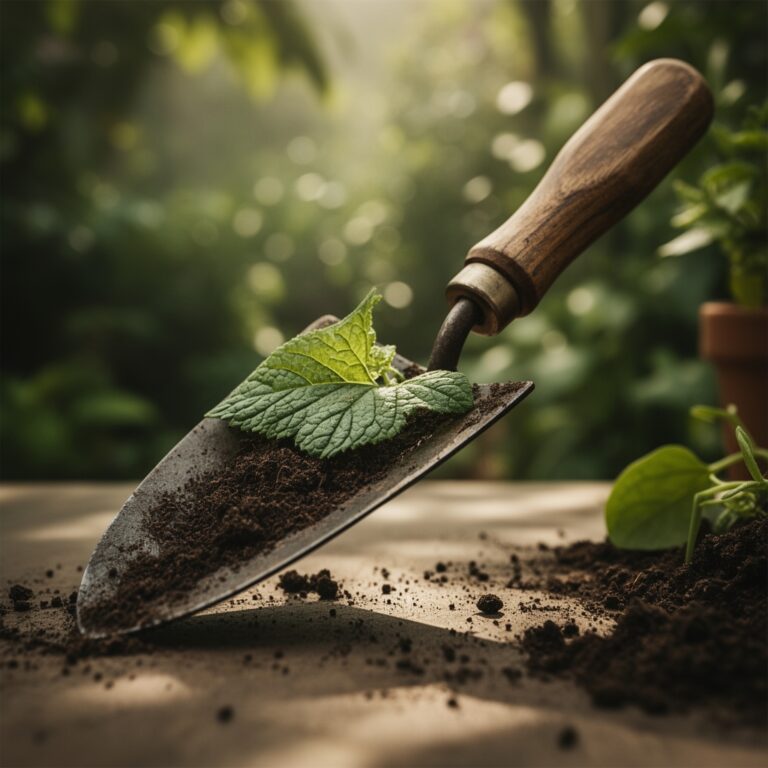
Materials
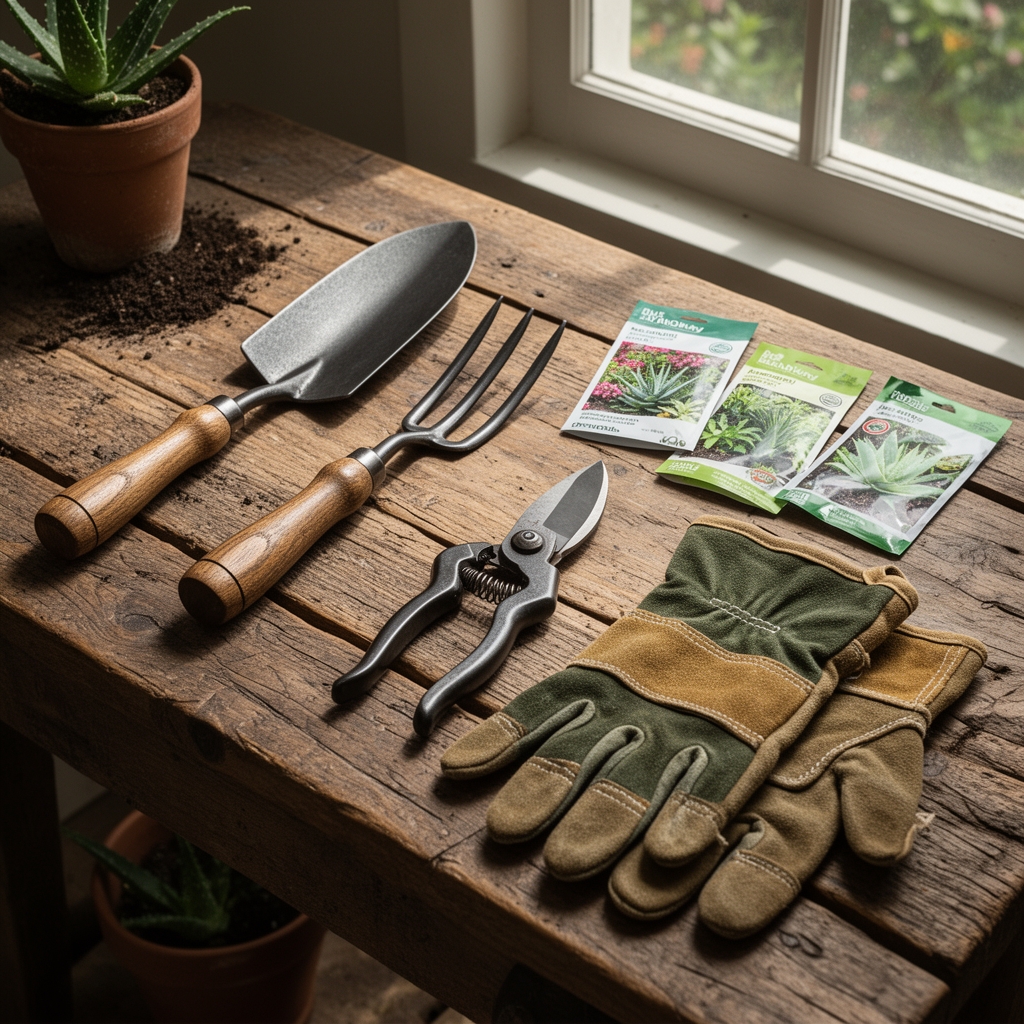
Assemble a terracotta or unglazed ceramic container with drainage holes measuring 2 inches wider than the current pot. The porous walls allow moisture evaporation and prevent anaerobic conditions at the root zone. Select a cactus and succulent potting mix with pH 6.0-7.0. Standard formulations contain 40% coarse sand or perlite, 30% composted bark, and 30% peat or coir. Avoid nitrogen-heavy amendments. A balanced 4-4-4 organic fertilizer supplies adequate macronutrients without forcing excessive vegetative growth that weakens the plant's drought-resistance mechanisms.
Additional supplies include 70% isopropyl alcohol for sterilizing cutting tools, a soil moisture meter calibrated for low-water substrates, and horticultural charcoal to incorporate at 5% by volume. The charcoal adsorbs excess moisture and provides beneficial surface area for colonization by saprophytic microorganisms. A pair of leather gloves protects hands from the sharp leaf margins and calcium oxalate crystals present in the epidermis.
Timing
Execute repotting during the active growth phase from March through May in USDA Hardiness Zones 9-11. In Zones 4-8, where aloe vera functions as a container specimen moved indoors before the first frost date, schedule the operation for early April when day length exceeds 12 hours. This photoperiod triggers metabolic activity and rapid root regeneration. Avoid repotting from October through February when the plant enters dormancy and wound-healing capacity drops by 60%.
Temperature stability matters more than calendar dates. Maintain ambient conditions between 65-75°F for two weeks post-repotting. Sudden thermal fluctuations interrupt the re-establishment of mycorrhizal associations and delay root hair development.
Phases
Step 1: Preparation
Water the aloe sparingly three days before repotting. The slightly hydrated root ball releases from the container walls without tearing feeder roots. Sterilize pruning shears with isopropyl alcohol. Set up the workspace in bright, indirect light with temperatures stable at 70°F.
Step 2: Extraction
Invert the container and tap the rim firmly against a table edge. Slide the root ball out in one motion. Do not pull the plant by its leaves. This action fractures the vascular bundles and introduces entry points for Fusarium species.
Step 3: Root Inspection
Examine the root system for dark, mushy sections indicating rot. Healthy aloe roots appear white to tan with firm texture. Trim damaged roots with sterilized shears, cutting 0.25 inches into healthy tissue at a 45-degree angle to maximize surface area for callus formation.
Pro-Tip: Dust cut surfaces with sulfur powder or cinnamon to create an antifungal barrier. Allow the plant to rest in open air for 24 hours. The cut sites form a protective cork layer through suberization.
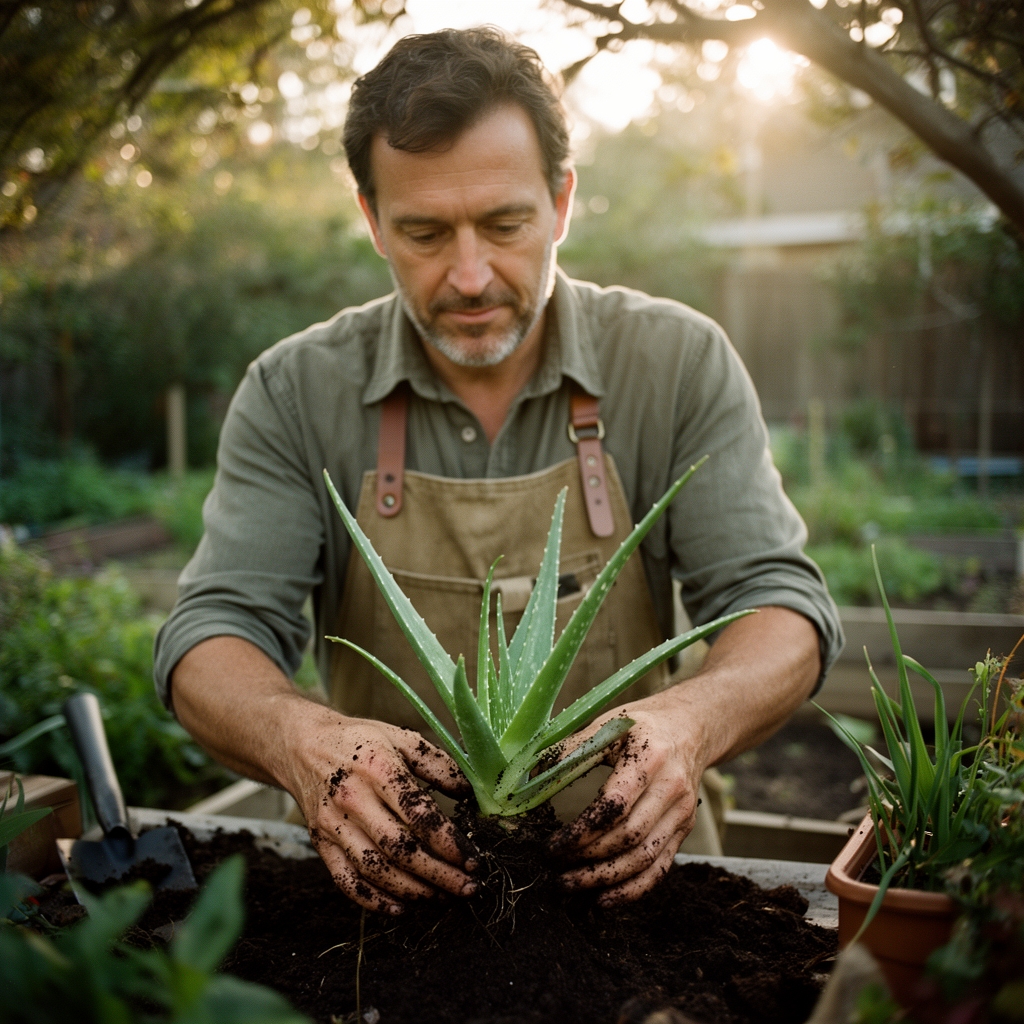
Step 4: Offset Separation
Identify offsets (pups) with at least four leaves and independent root systems. Separate them by cutting through the connecting rhizome with a clean blade. Each division must retain a minimum root mass equal to the width of its leaf rosette.
Step 5: Container Preparation
Place a layer of horticultural charcoal 0.5 inches deep in the new pot. Add cactus mix until the container reaches one-third capacity. Create a central mound to support the root crown at the same depth it occupied previously. Planting too deep causes crown rot. Planting too shallow exposes roots to desiccation.
Pro-Tip: Incorporate endomycorrhizal fungi inoculant (Glomus species) into the planting medium at a rate of 1 tablespoon per gallon of soil. These symbionts increase phosphorus uptake by 300% in low-nutrient conditions.
Step 6: Positioning
Center the aloe on the soil mound. Spread roots radially outward, avoiding J-rooting or circling patterns. Fill around the root mass with additional potting mix, tamping gently to eliminate air pockets while preserving soil structure.
Step 7: Settling
Water sparingly around the pot perimeter with 4 ounces of water. Do not saturate. The goal is to settle soil particles around roots without creating waterlogged conditions. The cation exchange capacity of the medium will draw moisture toward root surfaces through capillary action over 48 hours.
Step 8: Establishment
Place the repotted aloe in bright, indirect light for 10 days. Avoid direct sun, which stresses the recovering root system. Resume normal watering after two weeks when new root hairs establish contact with soil particles.
Pro-Tip: Monitor leaf turgor daily. Wrinkled leaves indicate insufficient moisture reserves. Firm, slightly glossy leaves confirm successful establishment.
Troubleshooting
Symptom: Brown, sunken leaf bases with soft texture appearing 5-7 days post-repotting.
Solution: Crown rot from excessive watering or deep planting. Remove affected leaves at the base. Unpot the plant, trim rotted crown tissue, dust with sulfur, and replant 0.5 inches higher.
Symptom: Leaves turn orange-brown starting at tips within three weeks.
Solution: Root damage during repotting reduced water uptake capacity. Increase humidity to 40% using a pebble tray. Reduce light intensity by 30%. Apply diluted seaweed extract (1:10) to stimulate root regeneration through cytokinin activity.
Symptom: Offset separation sites ooze clear gel and fail to callus.
Solution: Bacterial soft rot from contaminated tools. Excise affected tissue 0.5 inches beyond visible damage. Apply copper fungicide at label rates. Isolate the plant to prevent pathogen spread.
Symptom: New growth appears elongated and pale after repotting.
Solution: Etiolation from insufficient light. Gradually increase exposure to reach 6 hours of morning sun daily. The plant redirects resources toward photosynthesis rather than root establishment when light-starved.
Symptom: No new growth after six weeks despite proper watering.
Solution: Root shock from excessive root pruning or thermal stress. Verify soil temperature remains above 60°F. Apply mycorrhizal tea (inoculant steeped in dechlorinated water for 12 hours) to accelerate fungal colonization and nutrient mobilization.
Maintenance
Water repotted aloe vera when the top 2 inches of substrate reach complete dryness. Insert a moisture meter to verify. Apply 8 ounces of water per 6-inch pot, allowing complete drainage. Empty saucers within 15 minutes to prevent root asphyxiation.
Feed monthly from April through September using a diluted 4-4-4 liquid fertilizer at half the manufacturer's recommended strength. Excess nitrogen produces weak, water-logged leaves prone to physical damage. Phosphorus supports root expansion into new soil volume. Potassium strengthens cell walls against temperature fluctuations.
Rotate the container 90 degrees weekly to ensure even light distribution and prevent phototropic bending. Maintain daytime temperatures between 70-80°F and nighttime temperatures no lower than 55°F. This diurnal fluctuation mimics native Aloe vera habitat conditions and regulates stomatal function for optimal gas exchange.
Remove spent flower stalks at the base once blooming concludes. The seed formation process diverts carbohydrates from root development during the critical six-week establishment window. Prune damaged leaves flush with the main stem using sterilized shears. Leave healthy outer leaves intact. They store water and nutrients required for metabolic processes.
Monitor for mealybugs (Planococcus citri) in leaf axils. These piercing-sucking insects excrete honeydew that supports sooty mold growth. Dislodge with a cotton swab dipped in 70% isopropyl alcohol. Apply neem oil at 2% concentration as a follow-up treatment targeting nymphs.
FAQ
How often should I repot aloe vera?
Repot every 2-3 years when roots emerge from drainage holes or when the plant becomes top-heavy and tips easily. Younger plants in active growth phases may require annual repotting. Mature specimens tolerate slight crowding.
Can I use regular potting soil for aloe vera?
No. Standard potting soil retains excessive moisture and lacks the drainage necessary for succulent root health. The high organic matter content promotes fungal growth. Use only formulations labeled for cacti and succulents with 40-50% inorganic amendments.
Should I water immediately after repotting?
Apply only 4 ounces of water to settle the soil. Wait 10-14 days before resuming normal irrigation. The damaged roots cannot absorb moisture efficiently and saturated conditions invite opportunistic pathogens.
What pot size is best for aloe vera?
Select a container 2 inches wider in diameter than the current pot. Excessive soil volume remains wet too long and encourages root rot. The pot depth should equal the width to accommodate the deep taproot structure.
Why are my aloe leaves turning brown after repotting?
Brown discoloration indicates either crown rot from overwatering, sunburn from excessive light exposure during the recovery period, or root damage that compromised the plant's hydraulic system. Assess watering practices and light levels first.