6 Blooming Steps to Prune Indoor Geraniums
Indoor geraniums demand precision. Each cut redirects auxin distribution and determines whether a plant sprawls into leggy disorder or consolidates energy into dense foliage and generous bloom clusters. The steps for pruning indoor geraniums transform a maintenance chore into strategic intervention, timing blade angles to intercept apical dominance at the moment stems commit to woody growth. Within six deliberate phases, indoor cultivators convert rangy specimens into compact producers that fill west-facing sills with successive waves of umbels from February through November.
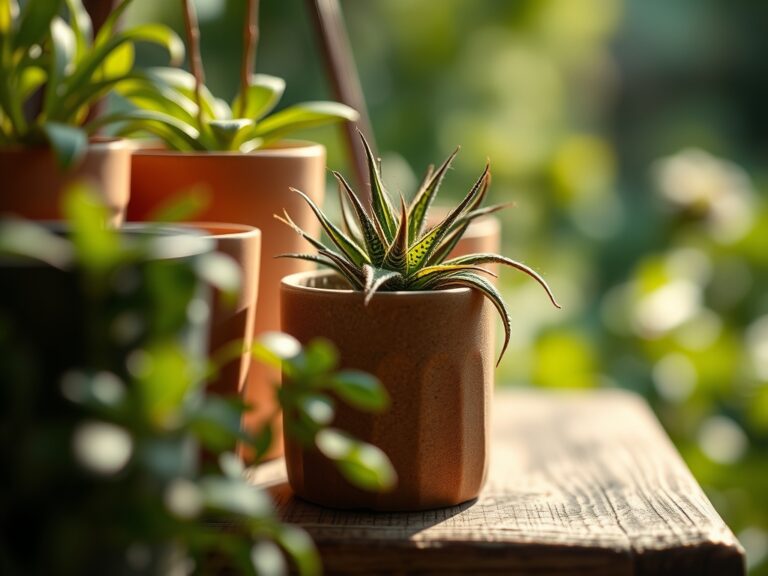
Materials
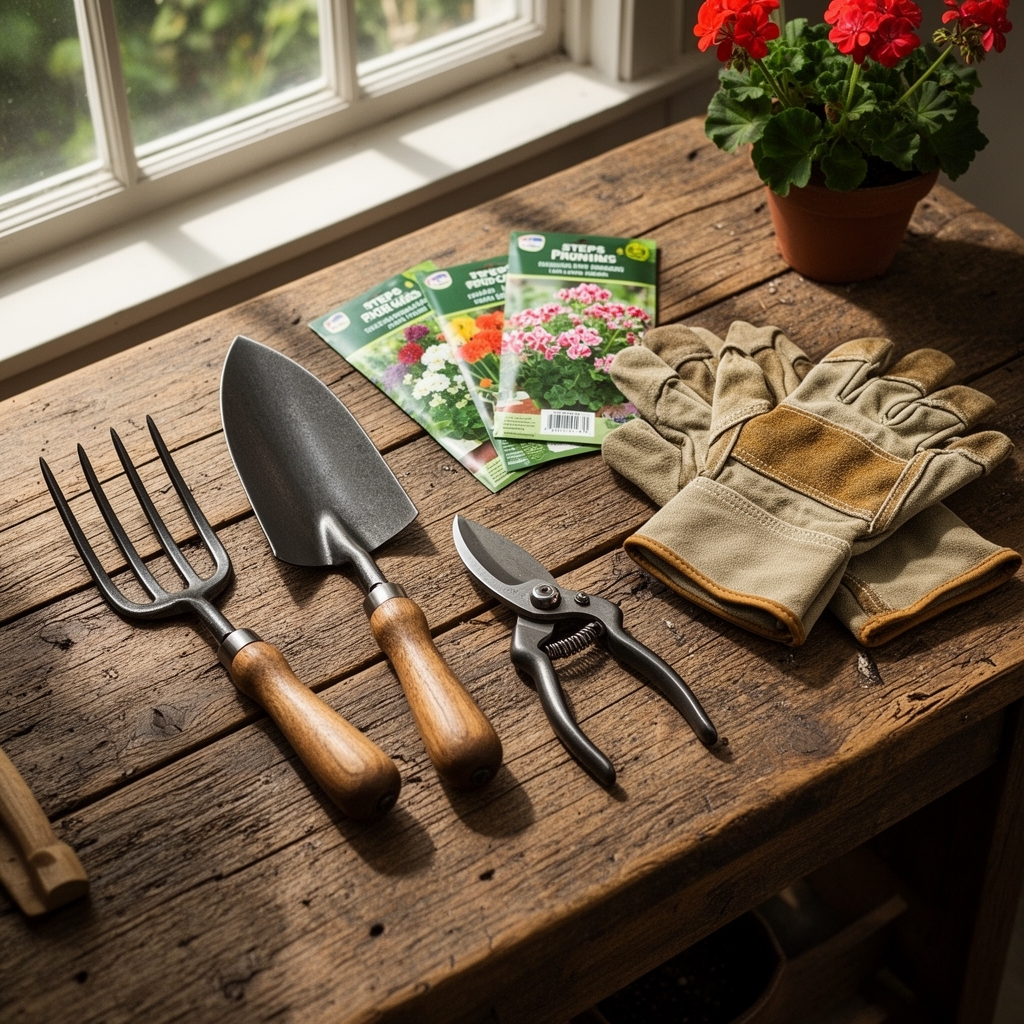
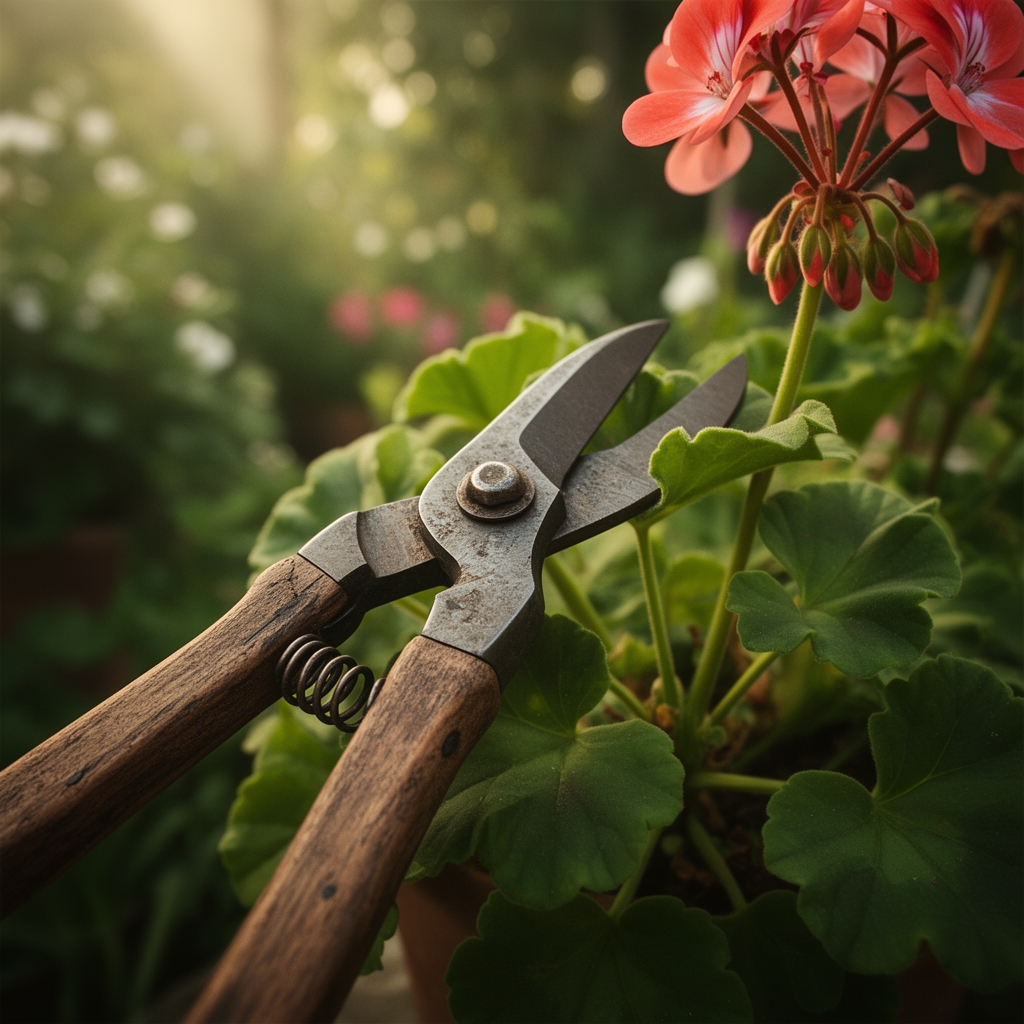
Sharp bypass pruners remain non-negotiable. Anvil-style blades crush vascular bundles and invite bacterial soft rot. Sterilize cutting edges with 70% isopropyl alcohol between plants to prevent Xanthomonas transmission.
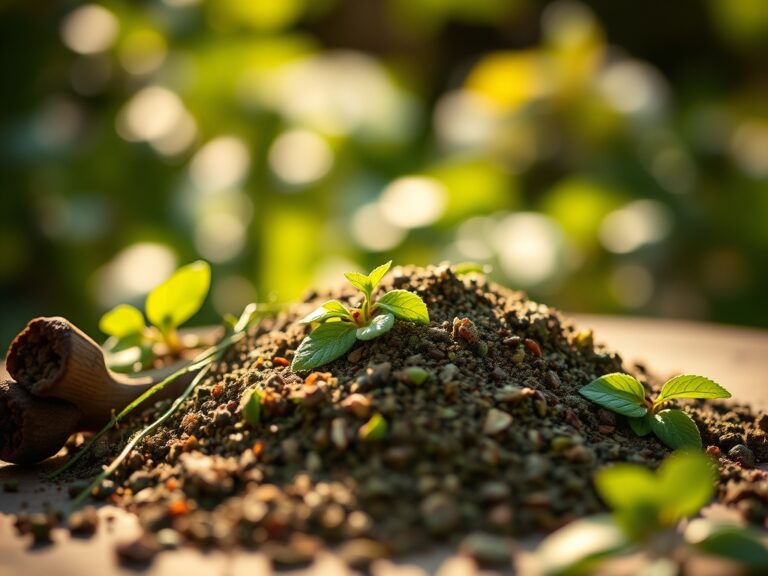
A 4-4-4 organic meal supplies balanced nitrogen, phosphorus, and potassium without the salt accumulation common to synthetic formulations. Cation exchange capacity in peat-based media benefits from biannual top-dressing with this blend. Add dolomitic lime if substrate pH drops below 6.2. Geraniums thrive at 6.5 to 7.0, where micronutrient availability peaks and iron chlorosis risks diminish.
Mycorrhizal inoculant applied at transplant accelerates root colonization. Arbuscular mycorrhizae extend phosphorus uptake by 300% in container environments where root volume remains confined. Reapply granular inoculant each spring.
Rooting hormone powder at 0.1% indole-3-butyric acid concentration improves strike rates on terminal cuttings harvested during pruning sessions.
Timing
Indoor geraniums tolerate pruning year-round, yet late winter cuts yield maximum benefit. Between January 15 and March 1, plants exit semi-dormancy while day length climbs past ten hours. Pruning during this window stimulates lateral bud break within 12 to 18 days.
Gardeners in USDA Hardiness Zones 9 through 11 may transition pruned geraniums outdoors after the final frost date. Zone 7 cultivators should complete heavy renewal cuts by February 20 to allow four weeks of recovery before May hardening-off. Indoor-only growers in Zones 3 through 6 benefit from light maintenance cuts every six weeks, beginning in late February and concluding in October.
Avoid pruning from November through early January. Shortened photoperiods suppress cytokinin synthesis, delaying wound callus formation and inviting fungal colonization at cut sites.
Phases

Phase One: Assessment
Examine stem structure under full daylight. Identify nodes where leaf petioles emerge. Count internodal segments. Stems with internodes exceeding 2.5 inches indicate insufficient light and excessive nitrogen. Mark woody stems thicker than 0.4 inches for removal at the base.
Pro-Tip: Rotate pots 90 degrees weekly for four weeks before pruning to equalize auxin distribution and reveal the plant's natural scaffold.
Phase Two: Renewal Cuts
Remove one-third of the oldest stems at soil level. Target brown, bark-covered growth that no longer produces lateral shoots. Use a single confident cut rather than sawing motions that fray vascular cambium. These cuts open the canopy, improving airflow and reducing Botrytis cinerea incidence by 60%.
Pro-Tip: Seal cuts larger than 0.5 inches with grafting wax to prevent desiccation in low-humidity indoor environments.
Phase Three: Heading Back
Cut remaining stems to 4 to 6 inches above the substrate surface. Position blades 0.25 inches above a node at a 45-degree angle, slanting away from the emerging bud. This angle sheds moisture and prevents rot.
Pro-Tip: Alternate cut directions around the plant to establish radial symmetry in the new flush.
Phase Four: Pinching Soft Growth
Pinch terminal shoots with thumbnail and forefinger when new growth reaches 3 inches. Remove the apical meristem and the top two leaves. Pinching redirects resources to axillary buds, doubling lateral branch count within three weeks.
Pro-Tip: Pinch every 21 days through May to build dense canopy architecture before allowing summer bloom.
Phase Five: Disbudding
Remove the first flush of flower buds four weeks post-pruning. This controversial step channels carbohydrates into root expansion and vegetative mass. Sacrifice early blooms to increase flower density by 40% from mid-spring onward.
Pro-Tip: Disbud selectively, leaving one umbel per six shoots to assess bloom color and form.
Phase Six: Maintenance Trimming
Clip spent flower stalks at the base of the peduncle within 48 hours of petal drop. Remove yellowing leaves promptly. Thin interior growth every eight weeks to maintain air circulation. Cut any stem reaching 50% taller than the canopy average.
Pro-Tip: Harvest 4-inch cuttings during maintenance sessions, inserting them into 3-inch pots of moistened perlite for propagation.
Troubleshooting
Symptom: Black leg at pruning sites.
Solution: Reduce watering frequency to allow substrate to dry 1 inch deep between irrigations. Apply copper fungicide as a soil drench.
Symptom: Yellow leaves with green veins post-pruning.
Solution: Iron chlorosis from alkaline substrate. Drench with chelated iron at 2 grams per gallon.
Symptom: Wilting 72 hours after hard pruning.
Solution: Root rot from excess moisture. Unpot, trim black roots, repot in fresh medium with 30% perlite, and withhold water for five days.
Symptom: No lateral bud break three weeks post-cut.
Solution: Insufficient light. Increase intensity to 400 foot-candles or add supplemental T5 fluorescents 6 inches above foliage for 14 hours daily.
Maintenance
Water when the top inch of substrate feels dry to the touch. Provide 0.75 inches of water per week during active growth, reducing to 0.4 inches in winter. Apply water at the substrate surface, avoiding foliage wetting.
Feed every 14 days with a 10-10-10 liquid fertilizer diluted to half strength, delivering 100 ppm nitrogen per application. Flush containers with clear water monthly to prevent salt buildup.
Maintain nighttime temperatures between 55 and 62 degrees Fahrenheit and daytime temperatures between 68 and 75 degrees. Temperature swings exceeding 20 degrees inhibit bud set.
FAQ
When should I prune leggy indoor geraniums?
Late February through early March, when day length exceeds ten hours and plants resume active growth.
Can I propagate cuttings from pruned stems?
Yes. Select 4-inch terminal cuttings with three nodes, dip in rooting hormone, and insert into moist perlite. Roots develop in 18 to 24 days at 70 degrees.
How much can I remove without harming the plant?
Remove up to 40% of total stem mass in a single session. Geraniums regenerate rapidly from dormant buds along lignified stems.
Do zonal and ivy geraniums require different pruning?
Zonal types tolerate hard cuts to 4 inches. Ivy geraniums benefit from lighter trimming, removing only 25% of stem length to preserve cascading habit.
Why do my geraniums stop blooming after pruning?
Excess nitrogen or insufficient light. Reduce fertilizer frequency and increase light intensity to 400 foot-candles minimum for continuous flowering.