9 Weight-Management Steps for Repotting a Heavy Rubber Tree
The smell of damp peat and the metallic tang of mineralized perlite signal the start of a necessary transition for a Ficus elastica. A healthy specimen exhibits high turgor pressure; its leaves are stiff, glossy, and resistant to bending. When a rubber tree exceeds five feet in height, the physics of its container becomes a liability. The root mass likely occupies 90 percent of the pot volume, leading to a depleted rhizosphere. Executing the proper steps for repotting a rubber tree requires mechanical leverage and an understanding of cellular respiration to prevent transplant shock.
Structural integrity is the primary concern for large-scale indoor trees. A mature rubber tree can weigh over 100 pounds when fully hydrated. This weight is concentrated in the thick, woody stems and the dense, fibrous root system. Moving such a plant is not merely a gardening task; it is an engineering challenge. You must manage the shift in the center of gravity while ensuring the delicate root hairs remain intact. Failure to stabilize the plant during the move can lead to micro-fractures in the vascular tissue, specifically the xylem, which transports water from the roots to the canopy.
Materials:
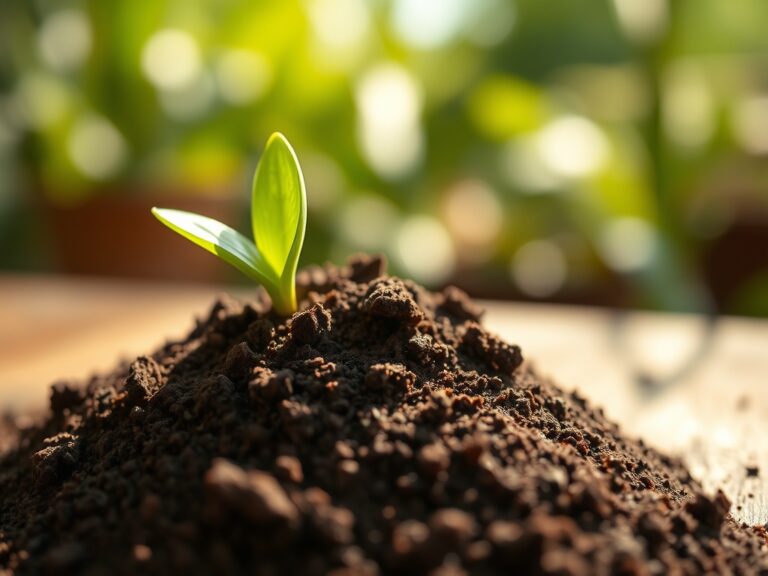
The substrate is the foundation of the tree's metabolic health. For a Ficus elastica, aim for a pH range of 6.0 to 7.0. The texture must be a friable loam that allows for rapid drainage while maintaining a high Cation Exchange Capacity (CEC). This ensures that essential nutrients remain available to the roots rather than leaching out during irrigation.
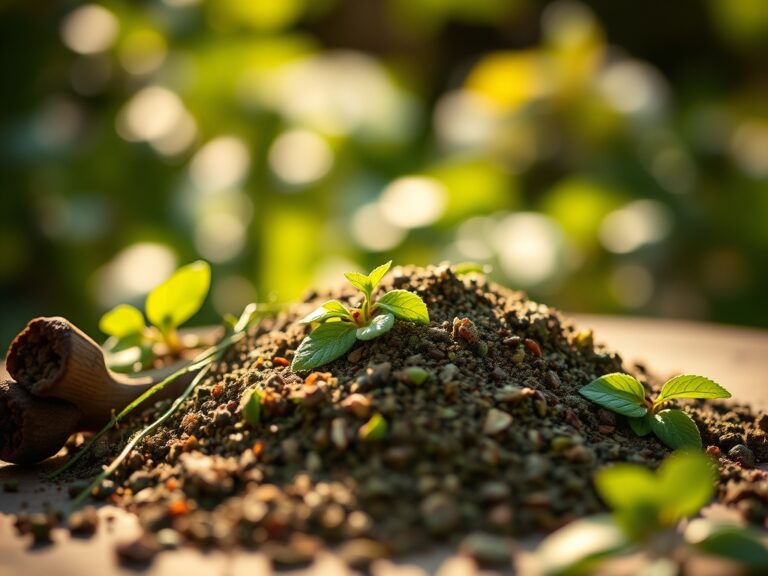
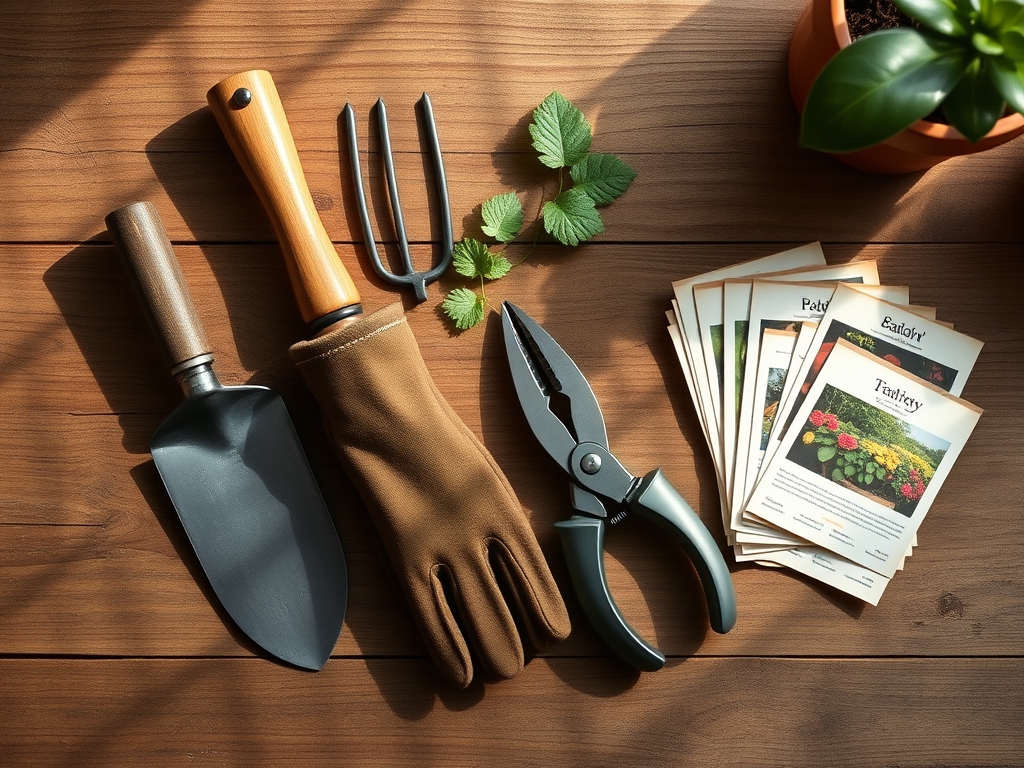
Prepare a custom potting mix using a 1:1:1 ratio of pine bark fines, coarse perlite, and coconut coir. Incorporate a slow-release fertilizer with an NPK ratio of 10-10-10 to provide a baseline nutrient profile. Avoid heavy garden soils which compact over time and suffocate the root system. You will also need a heavy-duty dolly, a hori-hori knife for root pruning, and a new container that is 2 to 4 inches wider in diameter than the current one. Ensure the new pot is constructed from a heavy material like terracotta or glazed ceramic to provide a counterweight to the tree's top-heavy canopy.
Timing:
The biological clock of the Ficus elastica is governed by light intensity and ambient temperature. In Hardiness Zones 9 through 11, these trees can remain outdoors year-round; however, for indoor specimens in cooler zones, repotting should occur in late spring or early summer. This aligns with the plant's peak vegetative growth phase.
Wait until the threat of the last frost has passed and indoor light levels have increased. During this window, the plant produces higher levels of auxins, the hormones responsible for root initiation and apical dominance. Repotting during the winter dormancy period, or senescence, is risky because the metabolic rate is too low to facilitate rapid root repair. Aim for a period when the indoor temperature consistently remains between 65 and 85 degrees Fahrenheit.
Phases:

Sowing and Preparation
Before moving the tree, withhold water for 48 to 72 hours. This reduces the weight of the root ball and makes the soil more manageable. Use your hori-hori knife to slice around the inner perimeter of the pot to break the suction. If the tree is pot-bound, you may need to lay the container on its side and gently roll it to loosen the root mass.
Pro-Tip: Minimizing water intake prior to repotting induces a slight state of leaf flaccidity, which makes the branches less prone to snapping during the physical transition. This is a strategic manipulation of turgor pressure to protect the structural integrity of the plant.
Transplanting
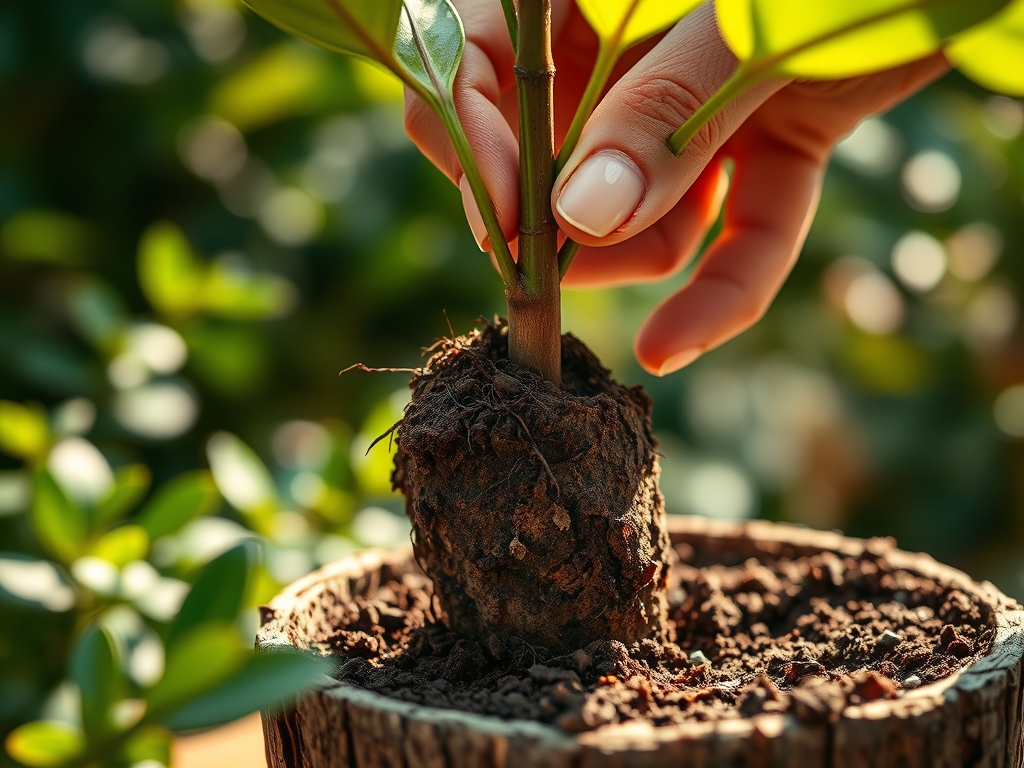
Once the tree is extracted, inspect the root system. Healthy roots are firm and light tan; mushy or black roots indicate anaerobic conditions and rot. Use bypass pruners to remove any circling roots, which can eventually girdle the trunk. Position the tree in the new container so the top of the root ball sits 1 to 2 inches below the rim. Fill the gaps with your prepared substrate, tamping down firmly to eliminate large air pockets.
Pro-Tip: When you prune the roots, you stimulate the production of lateral roots through a process called auxin suppression. By removing the dominant root tips, you force the plant to redistribute growth hormones, resulting in a more robust and branched root system in the new substrate.
Establishing
After the tree is secured, saturate the soil until water flows freely from the drainage holes. This initial watering is critical for "settling" the soil and ensuring direct contact between the root hairs and the substrate. Place the tree in a location with bright, indirect light, and avoid fertilizing for at least four to six weeks to prevent burning the new root tips.
Pro-Tip: Maintaining high humidity around the canopy during the first 14 days post-repotting reduces the transpiration rate. This allows the plant to focus its energy on root establishment in the new rhizosphere rather than struggling to maintain water balance in the leaves.
The Clinic:
Monitoring physiological disorders post-repotting is essential for long-term survival.
- Symptom: Lower leaves turning yellow and dropping (Nitrogen Chlorosis).
- Solution: Check soil pH. If pH is above 7.0, nitrogen becomes chemically locked. Apply a chelated liquid fertilizer with a high Nitrogen (N) value to restore green pigment.
- Symptom: Leaf margins turning brown and crispy.
- Solution: This indicates low humidity or excessive salts in the water. Use a soil moisture meter to ensure the root ball is not drying out completely. Flush the soil with distilled water to remove salt buildup.
- Symptom: Sudden drooping of the entire canopy.
- Solution: This is likely transplant shock or root desiccation. Increase ambient humidity and ensure the soil is moist but not waterlogged. Check for air pockets in the soil and tamp down if necessary.
Maintenance:
Post-repotting maintenance requires precision. Provide 1.5 inches of water per week, delivered slowly to ensure deep penetration into the root zone. Use a soil moisture meter to verify that the top 2 inches of soil have dried out before the next irrigation cycle.
Every six months, use your bypass pruners to manage the height of the tree. This encourages a bushier growth habit and prevents the plant from becoming top-heavy again. Wipe the leaves with a damp cloth monthly to remove dust, which can block stomata and inhibit photosynthesis. For a tree of this size, a 10-10-10 liquid fertilizer should be applied at half-strength every 30 days during the growing season.
The Yield:
While Ficus elastica is primarily grown for foliage, its "yield" is measured in leaf surface area and trunk diameter. To maximize the aesthetic output, ensure the plant receives at least six hours of bright, indirect light daily. If the plant becomes too tall, you can perform "air layering" to create new clones. This involves wounding the stem and wrapping it in damp sphagnum moss to induce adventitious root growth. Once roots are visible through the moss, the section can be severed and potted as a new, independent tree.
FAQ:
How do I know if my rubber tree needs a larger pot?
Check for roots emerging from drainage holes or circling the soil surface. If the plant requires water more than twice a week, the root-to-soil ratio is likely too high, necessitating a larger container.
What is the best soil for a rubber tree?
A well-draining, aerated mix with a pH of 6.0 to 7.0 is ideal. Combine one part peat or coir, one part pine bark, and one part perlite to ensure proper drainage and nutrient retention.
Can I repot a rubber tree in the winter?
It is not recommended. Low light and cool temperatures slow the plant's metabolism, making it difficult for roots to recover from the move. Wait for the active growth phase in spring or summer.
Why are the leaves falling off after repotting?
This is typically due to transplant shock or a drastic change in light. Ensure the tree is in a stable environment with high humidity and avoid moving it frequently to allow for acclimation.