9 Steps to Prepare for a Solar Path Light Installation
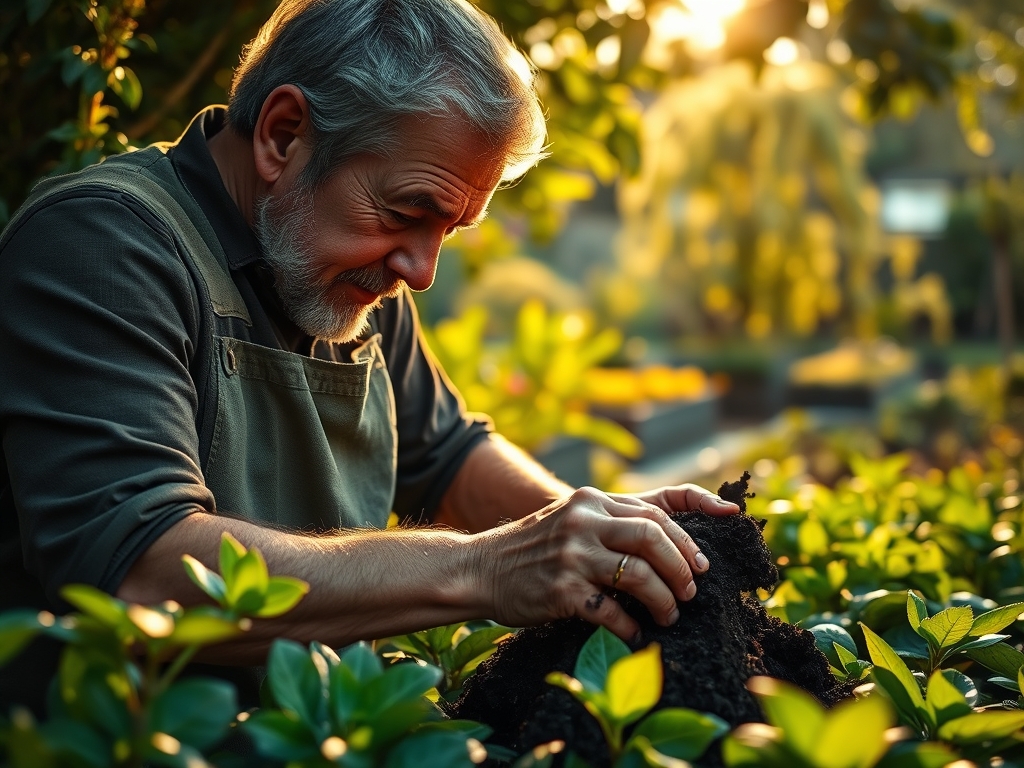
Crushing a handful of damp, friable loam reveals the structural integrity of your rhizosphere; it should crumble under light pressure while retaining enough moisture to provide turgor to nearby foliage. Preparing a landscape for illumination requires more than aesthetic placement. You must understand how to prepare a garden for a light by assessing the soil compaction and the physiological needs of the surrounding flora. Solar path lights rely on unobstructed photon absorption, which necessitates a clear canopy and stable substrate. Before the first stake enters the earth, you must evaluate the site for drainage capacity and potential root interference. Proper preparation ensures that the installation does not disrupt the delicate balance of soil microbes or the structural stability of established perennials. This process demands technical precision and an understanding of how light cycles influence plant senescence and growth patterns. By following a rigorous horticultural protocol, you can integrate technology into the ecosystem without compromising the biological health of your botanical collection.
Materials:

The success of any installation begins with the substrate. You require a **friable loam** with a **pH range between 6.0 and 7.0** to ensure optimal nutrient availability. If your soil is heavy clay, incorporate organic matter to improve the **Cation Exchange Capacity (CEC)**. Use a balanced **10-10-10 NPK ratio** fertilizer if the area requires reseeding post-installation. For established woody ornamentals near the light path, a **5-10-15 NPK ratio** promotes root resilience without triggering excessive vegetative surges. Ensure you have a **soil moisture meter** to calibrate the hydration levels before disturbing the topsoil.
Timing:
In Hardiness Zones 4 through 7, the ideal window for installation is during the dormant season or early spring before the "Biological Clock" triggers the transition from vegetative growth to reproductive stages. Aim for a period at least three weeks before the first frost or after the ground has thawed and reached a consistent 55 degrees Fahrenheit. Installing lights during the peak of summer can cause heat stress to roots exposed during the process. Monitor the photoperiod; ensure the chosen site receives at least six to eight hours of direct solar radiation to satisfy the photovoltaic requirements of the units.
Phases:
Sowing and Site Clearing
Clear all detritus and competitive weeds within a six-inch radius of each light placement. Use a hori-hori knife to extract taproots completely. This prevents nutrient competition and ensures the solar panel remains unobstructed by rapid seasonal growth.
Pro-Tip: Removing competing biomass reduces auxin suppression in desired groundcovers, allowing them to fill in around the light base uniformly.
Transplanting and Soil Prep
If you must move plants to accommodate the light path, maintain a root ball three times the diameter of the stem. Dig a pilot hole for the light stake using a narrow trowel to avoid unnecessary soil compaction. Ensure the hole depth matches the stake length to prevent "frost heaving" in colder climates.
Pro-Tip: Minimize root exposure to prevent the loss of mycorrhizal symbiosis, which is essential for water uptake and phosphorus translocation.
Establishing and Anchoring
Firm the soil around the base of the light to eliminate air pockets. Apply a two-inch layer of hardwood mulch, keeping it one inch away from the light post to prevent moisture-induced corrosion or fungal pathogens at the base.
Pro-Tip: Proper anchoring prevents wind-induced swaying, which can trigger thigmomorphogenesis (stunted growth) in nearby sensitive seedlings.
The Clinic:
Physiological disorders can arise if the installation process ignores plant health.
Symptom: Interveinal chlorosis (yellowing leaves with green veins).
Solution: This indicates Nitrogen chlorosis or iron deficiency often caused by high pH.
Fix-It: Apply chelated iron or sulfur to lower the pH to 6.5.
Symptom: Leaf scorch or marginal necrosis.
Solution: Excessive salt buildup or root damage during digging.
Fix-It: Flush the area with two inches of water to leach salts and apply a root stimulant.
Symptom: Etiolation (pale, stretched stems).
Solution: The light fixture is casting a shadow on low-growing sun-lovers.
Fix-It: Prune the plant or reposition the light to restore the full-sun photoperiod.
Maintenance:
Consistency is the hallmark of a professional gardener. Provide 1.5 inches of water per week at the drip line of plants surrounding your lights. Use bypass pruners to maintain a clear "solar window" for the panels, removing any overhanging branches that block more than 20 percent of daily sunlight. Clean the solar lenses monthly with a microfiber cloth to remove calcium deposits from irrigation overspray. Use a soil moisture meter weekly to ensure the installation hasn't created a "dry pocket" in the substrate.
The Yield:
If your light path borders an edible garden, harvest timing is critical. Collect leafy greens like kale or Swiss chard in the early morning when turgor pressure is at its peak. This ensures the cells are fully hydrated. Use a sharp blade to make clean cuts, preventing tissue jaggedness that leads to rapid senescence. Place harvested material immediately into a cool, shaded environment to maintain "day-one" freshness and preserve the volatile oils and nutrient density.
FAQ:
How deep should I dig for solar light stakes?
Dig a pilot hole six to eight inches deep. This bypasses the primary turf root zone and ensures the stake sits in stable subsoil, preventing tilting during heavy rain or soil expansion.
Will artificial light disrupt my plants' growth?
Most solar path lights emit low lumens that do not interfere with photoperiodism. However, avoid placing high-intensity LEDs near "short-day" plants like poinsettias, which require uninterrupted darkness to trigger flowering.
What is the best soil for light stability?
A sandy loam offers the best balance. It provides enough friction to hold the stake securely while allowing for superior drainage, which prevents the metal or plastic components from sitting in anaerobic, stagnant water.
How do I prevent weeds around the light base?
Apply a geotextile fabric circle around the base, covered by two inches of inorganic mulch like pea gravel. This physical barrier prevents seed germination while allowing gas exchange in the rhizosphere.