9 Steps to Prepare a Garden Perimeter for a New Fence
Preparing ground for fence installation requires surgical precision to protect root zones while creating clean access corridors. How to prepare a garden for a fence begins six weeks before post-hole digging, allowing sufficient time for plant relocation, soil amendment integration, and perimeter root pruning without shocking established specimens. The excavation line becomes a temporary boundary between construction disturbance and living soil ecosystems that support your ornamental and productive plantings.
Materials
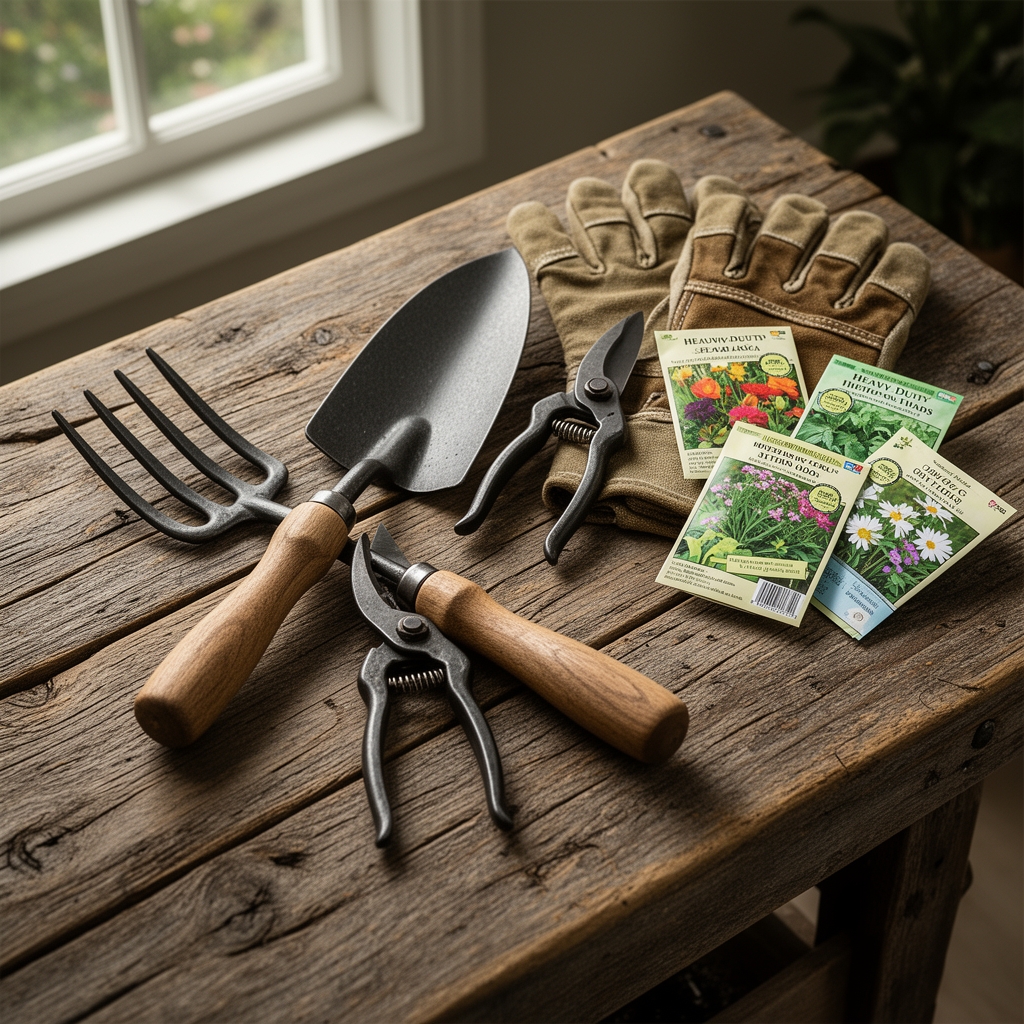
Assemble tools and amendments before disturbing the perimeter. You will need a sharp spade with 12-inch blade depth for root pruning, landscape marking paint (pH-neutral formulation), and burlap or biodegradable fabric for root ball wrapping. Soil amendments include composted pine bark (pH 5.5-6.2) at 2 cubic feet per 10 linear feet, bone meal at 4-12-0 analysis for transplant shock mitigation, and granular kelp meal at 1-0.5-2 to support auxin distribution during recovery. A broadfork aerates compacted zones without inverting soil horizons. Mycorrhizal inoculum (Rhizophagus irregularis strain preferred) colonizes disturbed roots at application rates of 0.25 ounces per gallon of backfill. Calcium sulfate at 5 pounds per 100 square feet improves cation exchange capacity in clay-dominant soils along construction zones.
Timing
Execute perimeter preparation between late winter dormancy and early spring budbreak in Zones 4-6, typically March 15 through April 10. Zones 7-9 benefit from fall preparation windows, September 20 through October 30, when soil temperatures remain above 50°F but transpiration demands decrease. Avoid ground disturbance within 14 days of predicted frost, as freshly cut roots cannot seal wounded vascular tissue below 40°F. Schedule fence installation no sooner than four weeks after root pruning to allow callus formation at cut sites. In Zone 10 and warmer, work during the coolest available months when rainfall reduces irrigation demands on stressed root systems.
Phases
Perimeter Marking and Assessment
Mark the fence line with landscape paint, extending 18 inches beyond planned post locations to account for construction traffic. Identify all woody specimens within 24 inches of this boundary. Plants with stems under 2 inches in caliper can tolerate 30 percent root loss if properly prepared. Larger specimens require 36-inch root zone buffers or transplanting. Excavate inspection trenches 12 inches deep at 10-foot intervals to map root distribution patterns. Clay soils concentrate roots in the upper 8 inches; sandy loams show vertical roots penetrating 16 inches or deeper.
Pro-Tip: Mark root collar depth on woody stems with biodegradable flagging tape before any excavation. This reference prevents burial or exposure during backfilling operations.
Strategic Root Pruning
Using the sharpened spade, cut vertically through the root zone 8 to 12 inches outside the fence line. Make clean cuts rather than tearing or crushing roots. This technique triggers lateral root proliferation away from the disturbance zone over the next 28 days. Remove 40 percent of canopy volume on plants losing more than 20 percent of root mass to balance water uptake capacity with transpirational demand. Apply bone meal at 2 tablespoons per foot of trench and incorporate mycorrhizal inoculum into exposed root surfaces immediately after cutting.
Pro-Tip: Prune roots during late afternoon when carbohydrate reserves have accumulated in root tissue from daily photosynthesis. Morning cuts remove roots depleted by overnight respiration.
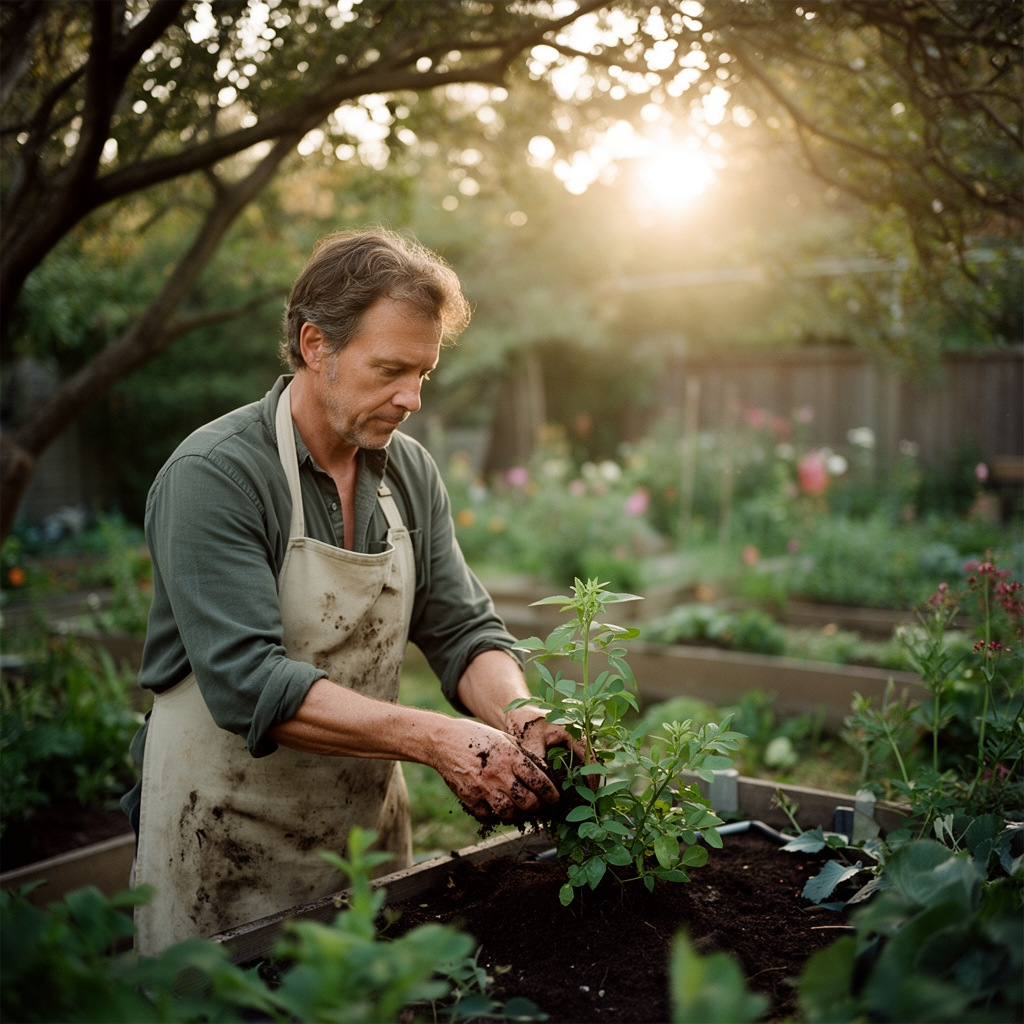
Plant Relocation
Dig root balls with 10-inch radius per inch of stem caliper. Wrap root balls in damp burlap secured with biodegradable twine. Transplant into prepared holes amended with 1:1 native soil and compost, setting the root collar exactly level with surrounding grade. Backfill in 4-inch lifts, settling each layer with water rather than tamping. Create a 3-inch soil berm at the drip line to direct irrigation toward the root zone. Apply 3 inches of shredded hardwood mulch, keeping material 4 inches away from stem tissue to prevent crown rot.
Pro-Tip: Add kelp meal at 1 tablespoon per gallon of backfill to supply cytokinins that counteract transplant-induced ethylene production.
Troubleshooting
Symptom: Wilting foliage despite adequate soil moisture within 10 days of root pruning.
Solution: Reduce canopy by additional 25 percent and apply kaolin clay foliar spray at 2 tablespoons per quart to reduce transpiration rates by 15-20 percent.
Symptom: Yellowing leaves with green veins on relocated specimens.
Solution: Iron chlorosis from damaged root systems unable to acidify rhizosphere. Apply chelated iron at 1 tablespoon per gallon as soil drench, repeating every 14 days until new growth shows normal coloration.
Symptom: Stem dieback 6 inches from pruned roots.
Solution: Secondary pathogen invasion through wounded tissue. Remove affected stems at 45-degree angles 2 inches below visible damage. Seal cuts over 1 inch diameter with pruning sealant containing copper fungicide.
Symptom: Stunted spring growth following fall preparation.
Solution: Insufficient carbohydrate reserves after root loss. Apply liquid kelp at 2 tablespoons per gallon monthly and reduce nitrogen inputs by 50 percent to prevent excessive foliar growth that depletes remaining energy stores.
Maintenance
Water relocated plants with 2 gallons per inch of stem caliper every 3 days for the first month, then weekly through the first growing season. Monitor soil moisture at 6-inch depth; maintain consistent 40-60 percent field capacity rather than cycling between saturation and drought. Apply balanced fertilizer at 10-10-10 analysis at half-strength (0.5 tablespoons per gallon) beginning 6 weeks after transplanting. Renew mulch layer to maintain 3-inch depth, adding 1 inch every 8 weeks as material decomposes. Prune only dead or damaged tissue during the first year to maximize photosynthetic capacity.
FAQ
How close to plant roots can fence posts go?
Maintain 18 inches minimum clearance from woody plant stems. Herbaceous perennials tolerate 6-inch spacing if post-hole excavation occurs during dormancy.
When should I fertilize after root pruning?
Wait 4 weeks to allow wound sealing before applying any nitrogen sources. Phosphorus and potassium applications can begin immediately to support root regeneration.
Can I install a fence in summer?
Possible in Zones 4-6 with intensive irrigation: 3 gallons per relocated plant every other day for 8 weeks. Zones 7-10 experience unacceptable mortality rates above 85°F.
How do I protect existing garden beds during installation?
Lay 0.75-inch plywood sheets over beds within 4 feet of fence line. Distribute equipment weight and prevent soil compaction that reduces oxygen diffusion to root zones by 40 percent.
What if fence line crosses through established shrubs?
Relocate specimens under 5 years old. Older plants require fence design modifications: adjust post spacing or use alternative anchoring methods that avoid primary root zones extending 1.5 times canopy radius.