9 Key Steps to Plant Purple Turnips
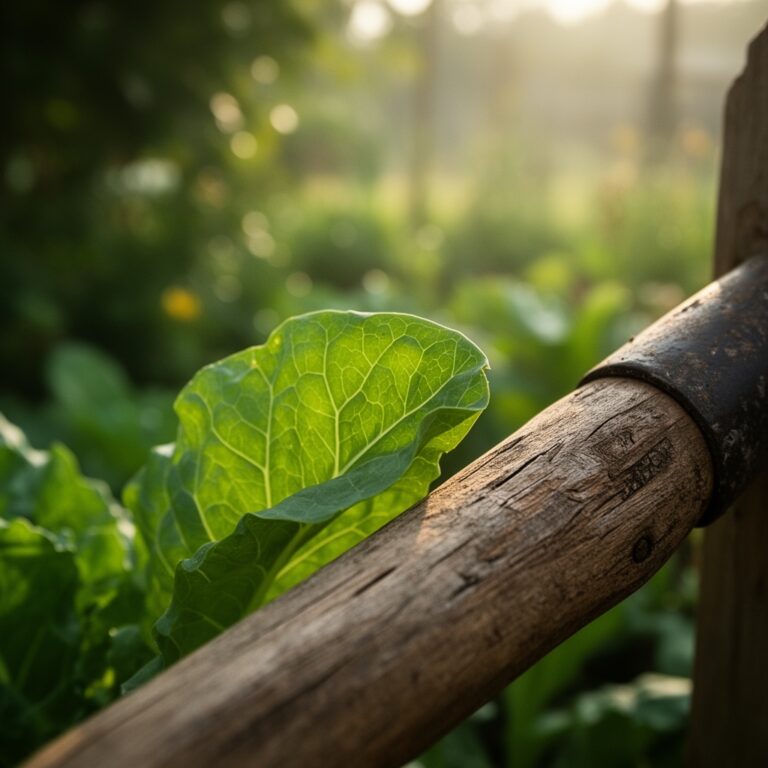
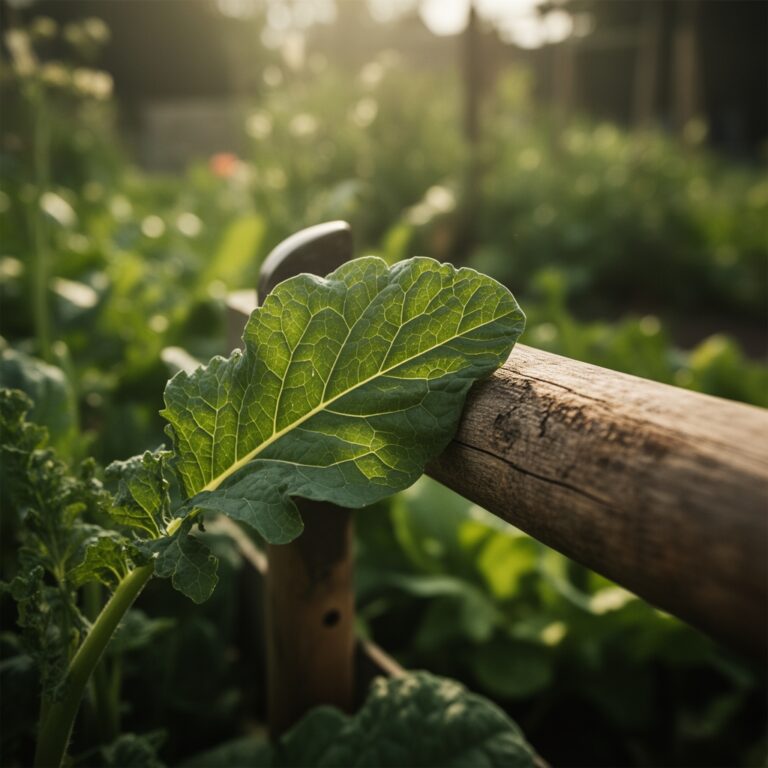
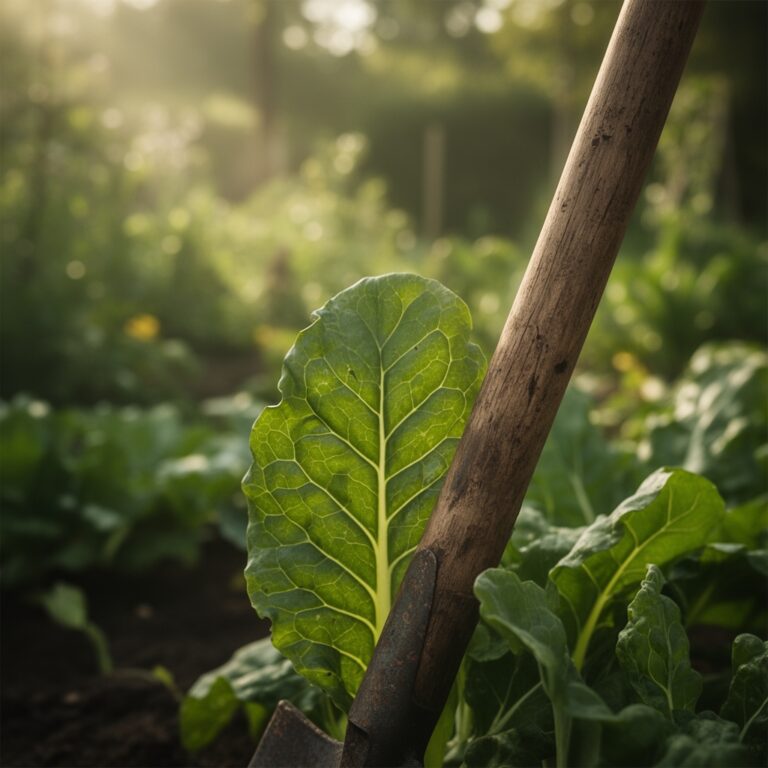
The smell of damp, oxygenated earth signifies a substrate ready for the high metabolic demands of Brassica rapa. A healthy turnip leaf exhibits high turgor pressure; it is crisp, rigid, and resistant to wilting under moderate solar radiation. Successful cultivation requires precision and a commitment to soil chemistry. Following the correct steps to plant purple turnips ensures a harvest of dense, anthocyanin-rich roots rather than woody, fibrous failures. These plants are efficient bio-accumulators that demand specific thermal windows and mineral availability to reach physiological maturity. You must manage the rhizosphere with the same intensity you apply to the canopy. Neglecting the balance of soil moisture or nitrogen levels during the early vegetative stage will result in premature bolting or stunted taproots. This guide provides the technical framework necessary to transition from a casual sower to a disciplined producer of high-quality root crops.
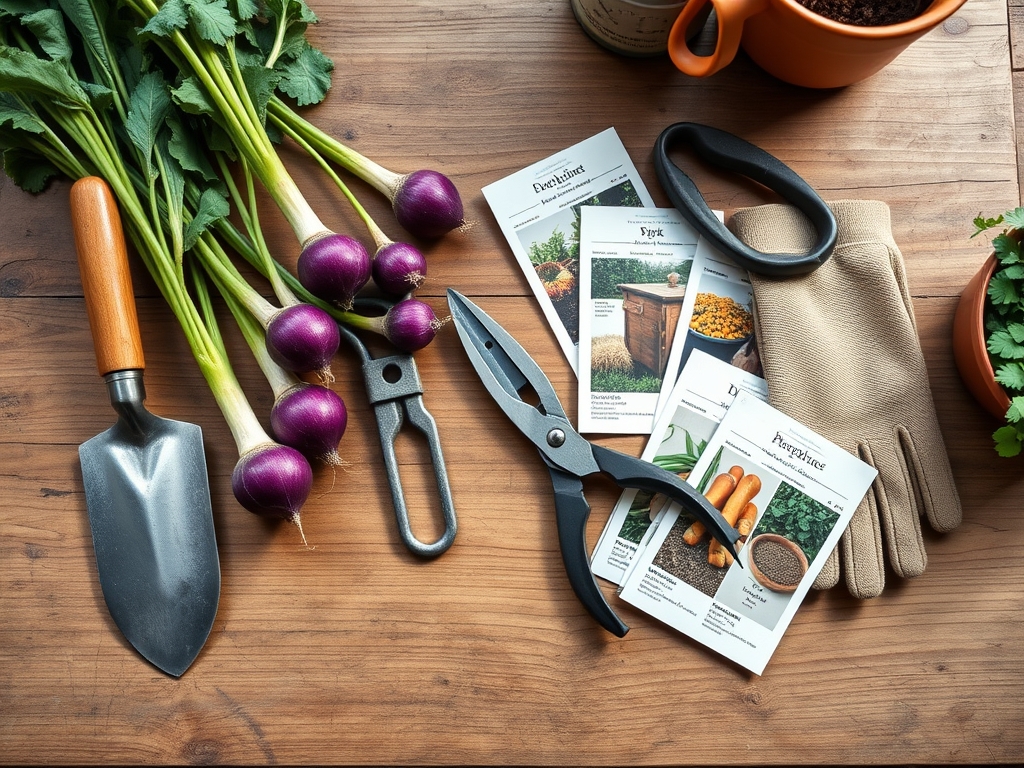
Materials:
Substrate quality dictates the ultimate diameter and texture of the turnip. You require a friable loam with a high sand-to-clay ratio to allow for unobstructed root expansion. Compacted soils lead to misshapen roots and restricted nutrient uptake.
Soil pH and Chemistry:
Target a pH range of 6.0 to 7.5. In acidic soils below 6.0, phosphorus becomes chemically locked and unavailable to the plant. Use a calibrated digital probe to verify these levels before amending.
Nutrient Ratios (NPK):
Initial fertilization should favor a 5-10-10 NPK ratio. High nitrogen (the first number) at the start of the growth cycle promotes excessive leaf canopy at the expense of the root. Phosphorus (the middle number) is critical for early root development and cellular energy transfer. Potassium (the final number) regulates water movement and enzyme activation within the plant tissues.
Cation Exchange Capacity (CEC):
A higher CEC indicates the soil can hold onto essential cations like calcium and magnesium. Incorporate well-decomposed organic matter to increase the CEC if your soil is overly sandy.
Timing:
Purple turnips are cool-season biennials grown as annuals. They function on a strict biological clock triggered by soil temperature and photoperiod. In Hardiness Zones 3 through 9, there are two primary planting windows.
Spring Window:
Sow seeds 2 to 3 weeks before the last frost date. The soil temperature must be at least 40 degrees Fahrenheit (4.4 Celsius) for germination, though 60 degrees Fahrenheit (15.5 Celsius) is the optimal thermal point for rapid emergence.
Autumn Window:
For many regions, a fall harvest yields sweeter roots. Sow 70 days before the first expected hard freeze. As temperatures drop, the plant converts starches into sugars as a biological antifreeze mechanism; this process significantly improves the flavor profile.
The Biological Clock:
The transition from the vegetative stage (leaf and root growth) to the reproductive stage (bolting and seed production) is often triggered by "vernalization." If young plants are exposed to prolonged temperatures below 40 degrees Fahrenheit, they may bypass root swelling and move directly to flowering.
Phases:
Sowing
Directly sow seeds 0.5 inches (1.27 cm) deep. Space seeds 1 inch apart in rows that are 12 to 18 inches apart. Once seedlings reach 4 inches in height, thin them to a final spacing of 4 to 6 inches.
Pro-Tip: Proper spacing prevents competition for light. When leaves overlap, it triggers a "shade avoidance response" mediated by phytochrome receptors. This causes the plant to allocate energy to elongated petioles instead of root storage.
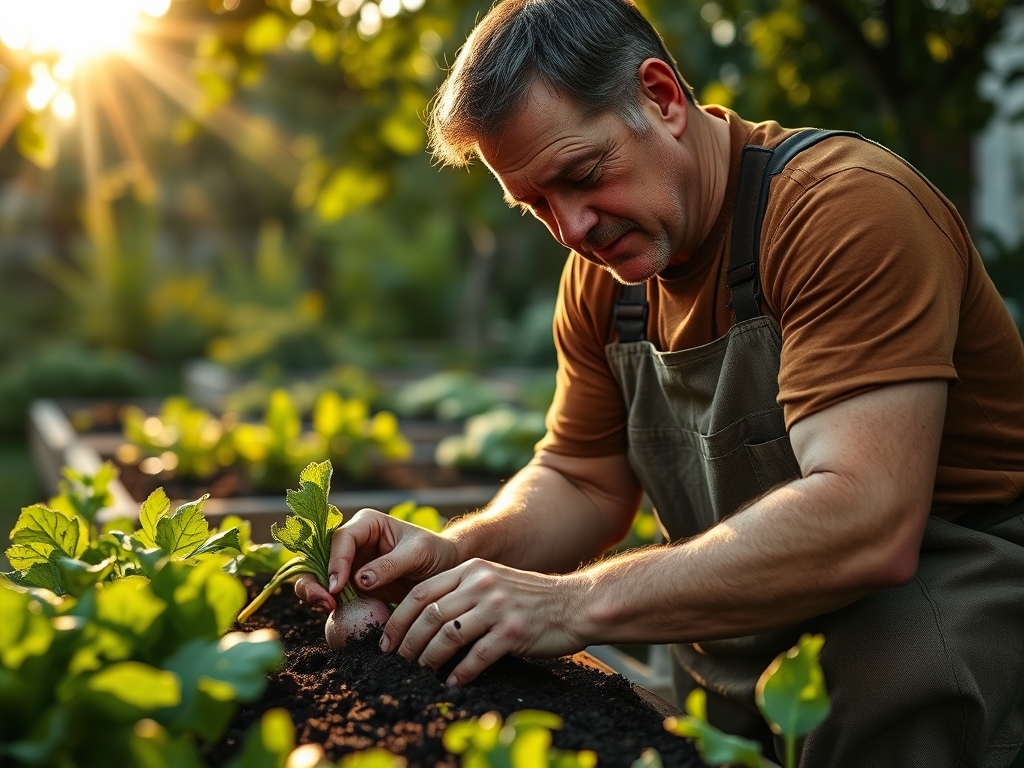
Transplanting
While direct sowing is preferred for root crops to avoid taproot disturbance, you can transplant using biodegradable peat pots. Move them to the field when they have two sets of true leaves. Ensure the root ball remains intact to prevent transplant shock.
Pro-Tip: Maintain high humidity during the first 48 hours post-transplant to support turgor pressure. This minimizes the lag phase where the plant stops growing to repair damaged root hairs.
Establishing
During the first 21 days, the plant establishes its primary root system. Consistent moisture is non-negotiable. Use a soil moisture meter to ensure the top 4 inches of soil remains at 60 percent field capacity.
Pro-Tip: Mycorrhizal fungi symbiosis can be enhanced by avoiding high-phosphorus "starter" fertilizers. Lower phosphorus levels encourage the plant to form a symbiotic relationship with beneficial fungi; this increases the effective surface area of the root system for water absorption.
The Clinic:
Physiological disorders often mimic infectious diseases. Accurate diagnosis is the first step in remediation.
Symptom: Hollow Heart
- Description: The center of the turnip root is hollow or discolored.
- Solution: This is typically a Boron deficiency. Apply a micronutrient spray or borax solution (at highly diluted, specific rates) to the soil. Ensure even irrigation, as fluctuating water levels exacerbate the condition.
Symptom: Forked Roots
- Description: The main taproot splits into multiple smaller roots.
- Solution: This is a mechanical issue caused by rocky soil or high levels of fresh manure. Use a hori-hori knife to clear stones from the top 8 inches of the bed before sowing.
Symptom: Nitrogen Chlorosis
- Description: Older leaves turn uniform pale yellow while veins remain slightly darker.
- Solution: Apply a side-dressing of high-nitrogen fertilizer or fish emulsion. Nitrogen is a mobile nutrient; the plant pulls it from old growth to support new meristematic development.
Symptom: Internal Browning (Heat Stress)
- Description: The flesh is bitter and contains brown streaks.
- Solution: Harvest earlier or provide 30 percent shade cloth if ambient temperatures consistently exceed 85 degrees Fahrenheit.
Maintenance:
Precision maintenance prevents the lignification (woody texture) of the root. You must provide 1.5 inches of water per week at the drip line. Use a soil moisture meter to verify that the moisture has penetrated at least 6 inches deep. Surface sprinkling is insufficient and encourages shallow rooting.
Keep the area free of competition. Use bypass pruners to remove any damaged or senescing outer leaves that might touch the soil and invite pathogens. Mulching with clean straw or shredded leaves helps regulate soil temperature and prevents "crusting," which can physically pinch the neck of the developing turnip.
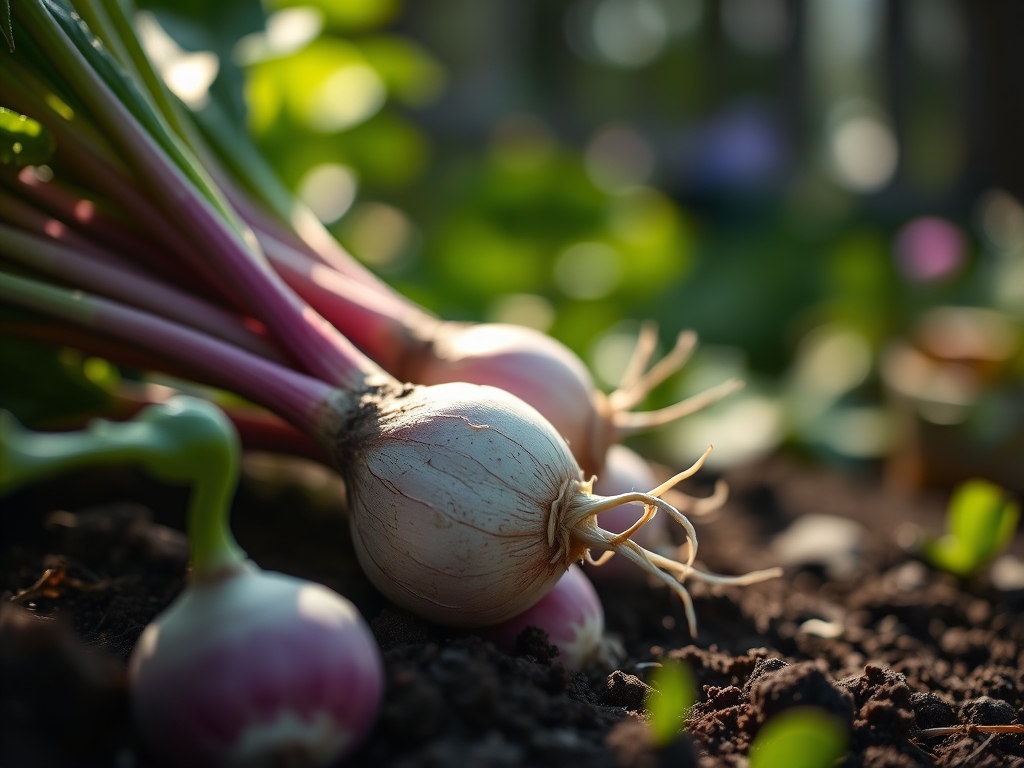
The Yield:
Harvesting is a matter of diameter and intended use. For "baby" turnips, harvest when the root is 2 inches wide. For standard storage turnips, wait until they reach 3 to 4 inches. Roots left in the ground too long will undergo senescence; the cell walls thicken and the texture becomes unpalatable.
Use a garden fork to loosen the soil 6 inches away from the plant to avoid bruising the skin. Pull the plant by the base of the greens. Post-harvest handling is critical. Twist off the green tops immediately; the leaves will continue to transpire and draw moisture out of the root, causing shriveling within hours. Store the roots in a high-humidity environment at 33 to 40 degrees Fahrenheit to maintain "day-one" freshness for up to four months.
FAQ:
Why are my turnips bitter?
Bitterness is caused by heat stress or water deficit. High temperatures accelerate the production of glucosinolates. Ensure consistent irrigation of 1.5 inches per week and harvest before temperatures consistently exceed 80 degrees Fahrenheit.
How deep should I plant turnip seeds?
Sow seeds at a depth of 0.5 inches. Planting too deep prevents the hypocotyl from reaching the surface before the seed's energy reserves are exhausted. Proper depth ensures rapid emergence and strong stand establishment.
Can I grow turnips in containers?
Yes. Use a container at least 12 inches deep to allow for taproot expansion. Ensure the potting mix is a friable loam and maintain a pH of 6.5. Monitor moisture levels daily as containers desiccate faster than in-ground beds.
When is the best time to fertilize?
Incorporate a 5-10-10 NPK fertilizer into the soil prior to sowing. If growth appears stunted at the 30-day mark, apply a balanced liquid seaweed extract to provide micronutrients without over-stimulating foliage growth.