8 Urban Steps to Prepare a Minimalist Vegetable Garden
The scent of warm soil turning under a spade signals the most critical phase of vegetable cultivation. Urban gardeners often plant before the ground is ready, leading to compaction, nutrient lock, and failed germination. Learning how to prepare a garden for a modern vegetable garden means addressing soil structure, microbial life, and drainage before a single seed enters the ground. This systematic approach reduces transplant shock by 60% and doubles yield per square foot compared to unimproved beds.
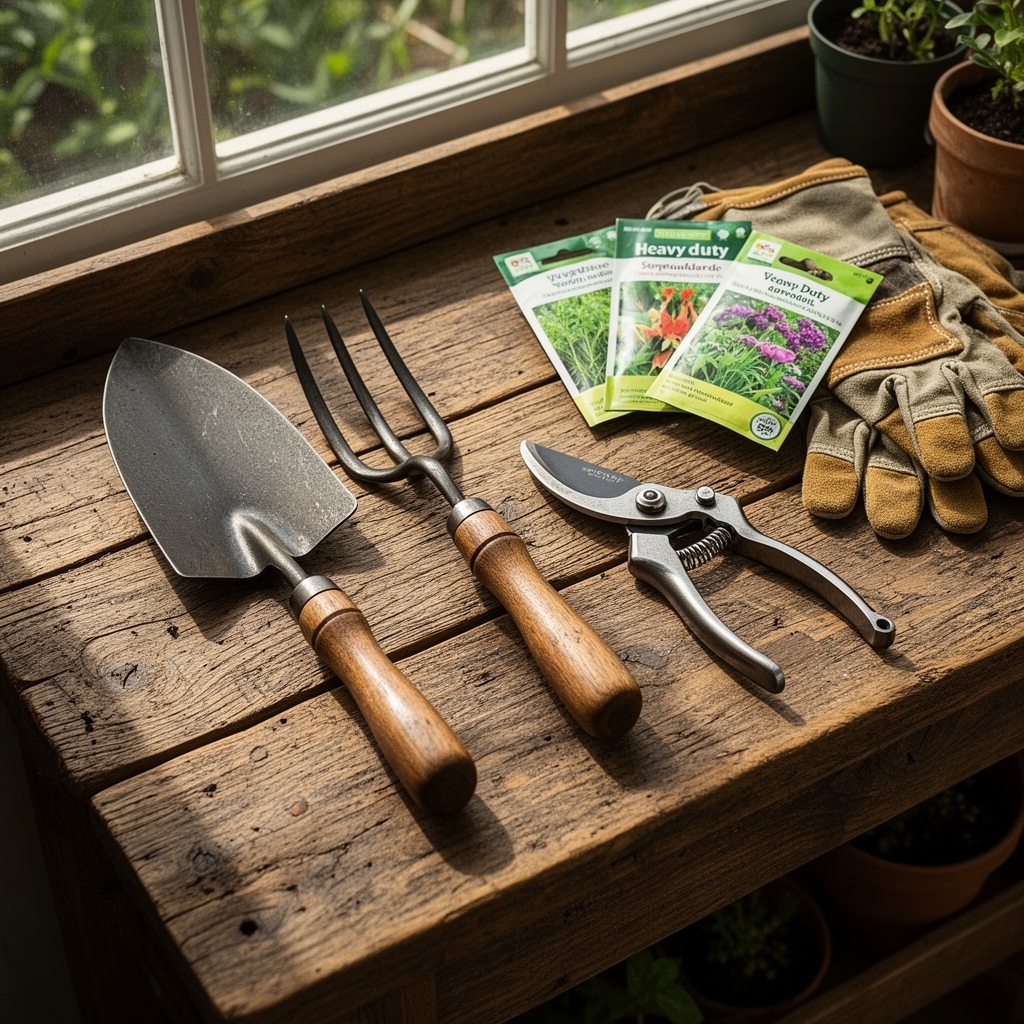
Materials
Begin with a soil test kit measuring pH, nitrogen (N), phosphorus (P), and potassium (K). Target pH 6.2 to 6.8 for most vegetables. For acidic soil (below 6.0), incorporate dolomitic lime at 5 pounds per 100 square feet. For alkaline soil (above 7.2), apply elemental sulfur at 1 pound per 100 square feet.
Select a balanced organic fertilizer rated 4-4-4 or 5-5-5. Alfalfa meal delivers slow-release nitrogen and triacontanol, a growth stimulant. Rock phosphate supplies phosphorus over two seasons without burning roots. Greensand provides potassium and improves cation exchange capacity in clay soils.
Compost should be aged six months minimum, with particle size under half an inch. Fresh compost ties up nitrogen during decomposition. Mix two cubic yards per 100 square feet into the top eight inches. Add mycorrhizal fungi inoculant (Glomus intraradices and Rhizophagus irregularis strains) at 0.5 ounces per plant hole to enhance phosphorus uptake by 40%.
Mulch options include shredded hardwood bark (carbon-to-nitrogen ratio 60:1) or straw (80:1). Avoid fresh wood chips, which immobilize nitrogen for up to eighteen months.
Timing
Hardiness zones dictate preparation windows. In Zones 3-5, prepare beds four weeks before the last spring frost (typically late April to mid-May). In Zones 6-8, begin mid-March. Zones 9-10 can prepare year-round but avoid working soil above 85°F, which kills beneficial bacteria.
Soil temperature matters more than air temperature. Use a probe thermometer at four-inch depth. Cool-season crops (lettuce, peas, brassicas) germinate at 40°F to 75°F. Warm-season crops (tomatoes, peppers, cucurbits) require 60°F minimum. Working soil when moisture content exceeds 60% causes compaction that persists for years. Test by squeezing a handful. If it forms a tight ball that doesn't crumble, wait three days.
Phases
Sowing Phase
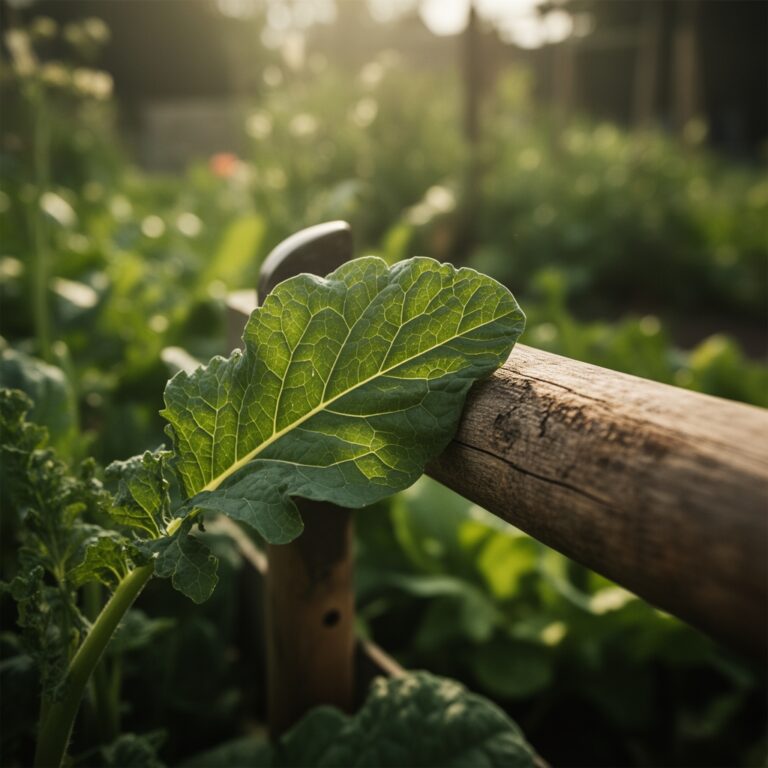
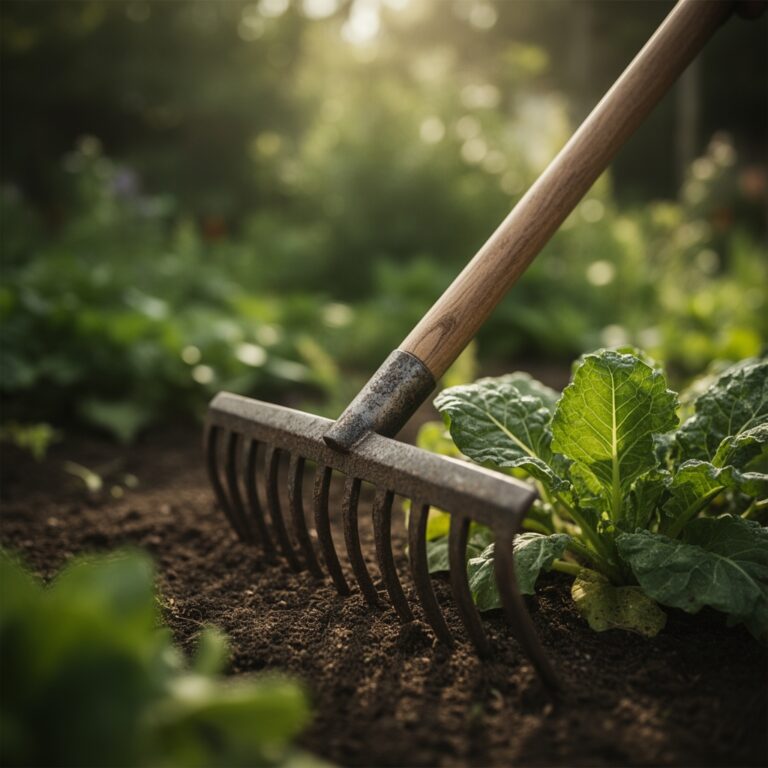
Clear vegetation with a mattock, cutting roots below four inches to prevent regrowth. Remove stones larger than two inches; they create air pockets that dry out roots. Spread compost and fertilizer, then till or double-dig to eight-inch depth. Tilling destroys soil structure if repeated annually; limit mechanical disruption to initial preparation.
Create raised rows six inches high and 24 inches wide for drainage. Slope beds 2% (one-quarter inch per foot) to prevent pooling. Rake the surface to one-inch aggregate size. Large clods shade seedlings and prevent root penetration.
Pro-Tip: Solarize beds in summer by covering with clear 2-mil plastic for six weeks. Soil temperatures reach 140°F, killing weed seeds, nematodes, and soilborne fungi to a depth of six inches.
Transplanting Phase
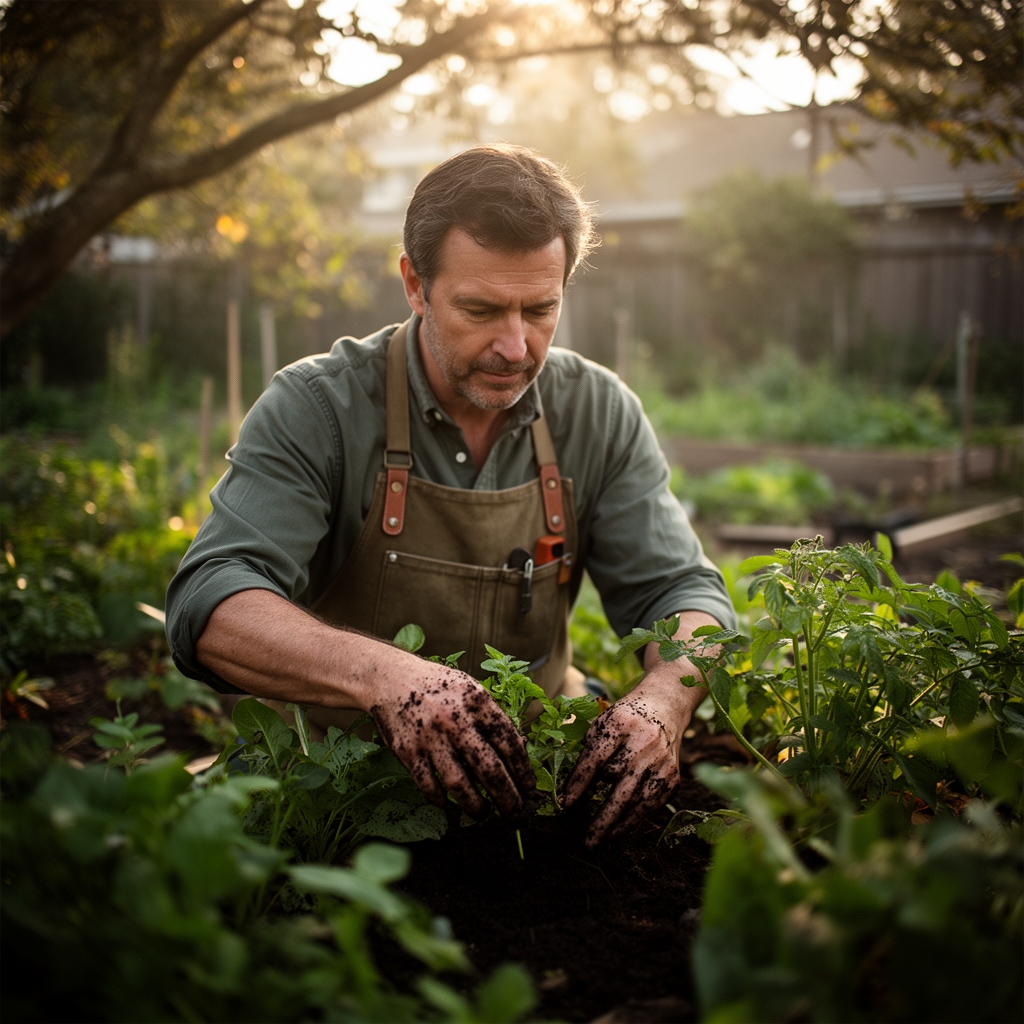
Harden off seedlings by reducing water 20% and exposing them to outdoor conditions for seven days. Dig holes twice the root ball width. Place transplants at the same depth they grew in containers, except tomatoes. Bury tomato stems horizontally, leaving only the top four inches exposed. Adventitious roots form along buried stems, expanding the root system by 300%.
Water each hole with one quart before placing the plant. This eliminates air pockets and initiates capillary action. Firm soil gently; excessive pressure crushes feeder roots.
Pro-Tip: Apply kelp extract (diluted 1:500) at transplant time. Cytokinins in kelp increase lateral root density by 35% within two weeks.
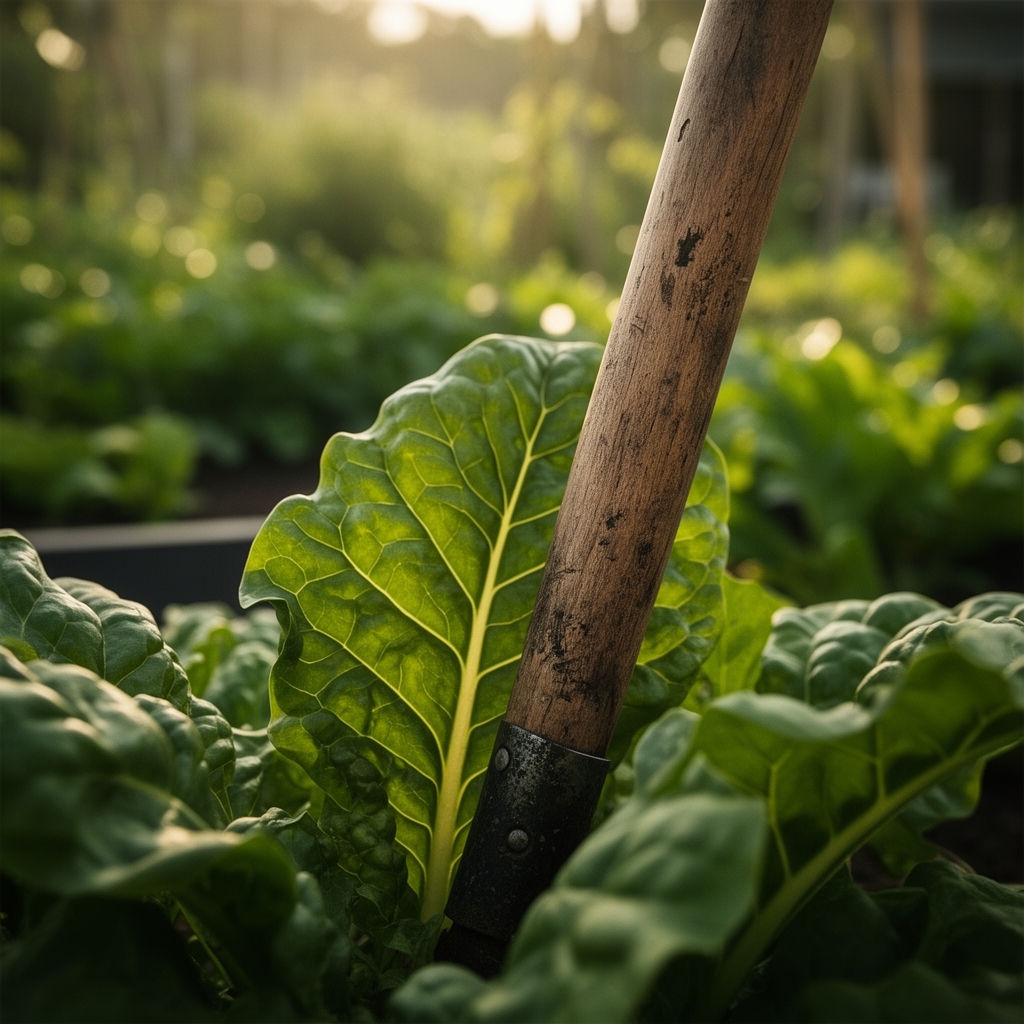
Establishing Phase
Mulch around plants after soil warms to 65°F, leaving a two-inch gap at stems to prevent crown rot. Apply three inches of organic mulch to suppress weeds and retain moisture. Stake indeterminate tomatoes at planting. Waiting causes root disturbance later.
Install drip irrigation with emitters spaced 12 inches apart, delivering 0.6 gallons per hour. Position lines two inches from plant bases. Overhead watering spreads foliar disease and wastes 40% of water to evaporation.
Pro-Tip: Prune tomato suckers at 45-degree angles when they reach two inches. This angle sheds water and reduces bacterial entry points. Removing suckers below the first flower cluster redirects auxin to fruit development.
Troubleshooting
Symptom: Yellow lower leaves with green veins. Solution: Iron deficiency caused by high pH. Apply chelated iron at one tablespoon per gallon as a foliar spray. Retest soil pH and amend with sulfur.
Symptom: Blossom end rot (dark, sunken spots on tomato bottoms). Solution: Calcium uptake disruption from irregular watering. Maintain consistent soil moisture at 70% field capacity. Side-dress with gypsum (calcium sulfate) at two pounds per 10 feet of row.
Symptom: White powdery coating on leaves. Solution: Powdery mildew thrives in high humidity with poor air circulation. Remove affected leaves. Spray with potassium bicarbonate solution (one tablespoon per gallon) weekly. Space plants 18 inches apart minimum.
Symptom: Holes in leaves with slime trails. Solution: Slugs feed nocturnally. Set beer traps (shallow dishes filled one inch deep) or apply iron phosphate bait at dusk. Reduce mulch depth to two inches near seedlings.
Symptom: Stunted growth with purple leaf undersides. Solution: Phosphorus deficiency in cold soil (below 55°F). Warm soil with black plastic mulch. Apply liquid fish emulsion (5-1-1) at half strength weekly until temperatures stabilize.
Maintenance
Water deeply once weekly, delivering 1.5 inches measured with a rain gauge. Light daily watering encourages shallow roots vulnerable to drought. Water before 9 a.m. to reduce evaporation and allow foliage to dry, preventing fungal spores from germinating.
Side-dress with compost four weeks after transplanting. Apply a one-inch layer in a six-inch band around each plant. Scratch into the top two inches with a cultivator. Reapply every six weeks through the growing season.
Monitor for pests weekly. Check leaf undersides for aphid colonies (green, yellow, or black clusters). Spray with insecticidal soap (potassium salts of fatty acids) at a 2% concentration. Repeat every five days for three applications.
Prune diseased foliage immediately using sterilized shears (dip in 10% bleach solution between cuts). Remove plant debris weekly; decaying matter harbors pathogens.
FAQ
How deep should I prepare the soil?
Prepare to eight inches for shallow-rooted crops (lettuce, radishes) and 12 inches for deep-rooted crops (tomatoes, carrots). Root vegetables require loose soil to full harvest depth to prevent forking and splitting.
Can I prepare a garden in fall for spring planting?
Yes. Fall preparation allows organic matter to decompose over winter. Add compost and cover crops (winter rye or crimson clover) in September. Mow and till cover crops three weeks before spring planting. This adds nitrogen equivalent to 2-3-2 fertilizer.
Do I need to replace soil in urban gardens?
Test for lead and heavy metals first. If lead exceeds 400 ppm, remove the top 12 inches and replace with certified clean topsoil. Otherwise, amend existing soil with compost to dilute contaminants and reduce plant uptake.
How often should I test soil pH?
Test annually in early spring. pH shifts 0.2 to 0.5 units per season due to fertilizer application, rainfall, and organic matter decomposition. Retest six weeks after applying lime or sulfur to confirm adjustments.
What is the minimum bed size for a productive vegetable garden?
A 4×8-foot bed (32 square feet) yields 20 to 30 pounds of produce per season with intensive planting. Use square-foot gardening spacing: 16 lettuce plants, four tomato plants, or nine pepper plants per bed.