8 Tips to Use a Transit Level for Design Grading
The scent of disturbed damp earth and the sharp, metallic tang of cold steel define the beginning of a professional landscape installation. When the soil is at field capacity, its structural integrity allows for precise trenching; however, without an accurate baseline, even the most nutrient-dense loam cannot prevent the catastrophic effects of anaerobic root zones caused by poor drainage. Using a level for garden design is the only method to ensure that surface runoff moves at the required 0.5 percent to 2.0 percent slope, protecting the rhizosphere from saturation. A master horticulturist understands that topography dictates the health of every woody perennial and herbaceous annual. Without a transit level, you are merely guessing at the movement of water. Proper grading prevents the accumulation of salts and ensures that the soil oxygen levels remain high enough to support aerobic microbial activity. Precision in the subgrade is the foundation of plant turgor; it is the difference between a thriving ecosystem and a stagnant, waterlogged failure.
Materials:
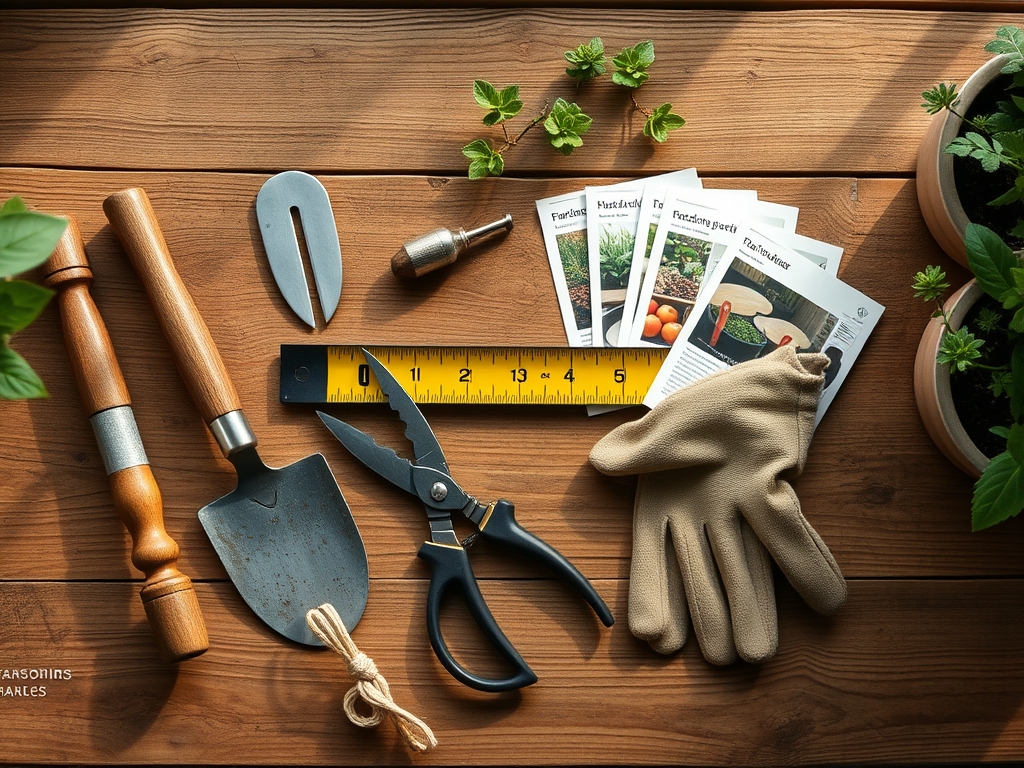
Before deploying the transit, the substrate must be analyzed. The ideal medium for most ornamental and edible crops is a **friable loam with a pH between 6.2 and 6.8**. This range ensures maximum bioavailability of macronutrients. For heavy feeders, a pre-planting NPK ratio of **10-10-10** should be incorporated into the top **6 inches** of soil. The Cation Exchange Capacity (CEC) should ideally fall between **15 and 25 meq/100g** to ensure the soil can retain essential cations like calcium and magnesium. You will need a tripod-mounted transit level, a graduated grade rod marked in tenths of a foot, and a **100-foot steel tape measure**. These tools allow for the calculation of “cut” and “fill” volumes to maintain a consistent **bulk density of 1.3 g/cm3**, which is optimal for root penetration and gas exchange.
Timing:
Grading operations must occur when the soil is below its plastic limit to avoid compaction. In Hardiness Zones 5 through 7, the window for major earthwork typically opens in late spring once the frost has exited the profile and the soil temperature reaches a consistent 55 degrees Fahrenheit. This timing aligns with the "Biological Clock" of most temperate species, moving from endodormancy into the early vegetative stage. Performing transit work during this window ensures that structural changes to the land occur before the peak transpiration demands of mid-summer. Avoid grading during the reproductive stage of existing specimens; the mechanical stress and potential root pruning can trigger premature senescence or flower abortion.
Phases:

Sowing and Grading
Establish your benchmark at a fixed point, such as a concrete foundation or a manhole cover. Set the transit level and take a "backsite" reading. Using a level for garden design requires calculating the difference between this benchmark and your target planting areas. For turfgrass seeding, ensure a 2 percent slope away from structures.
Pro-Tip: Proper grading prevents localized "hot spots" of moisture that can trigger damping-off caused by Pythium fungi. By controlling the water film on the soil surface, you manage the oxygen diffusion rate to the germinating seed.
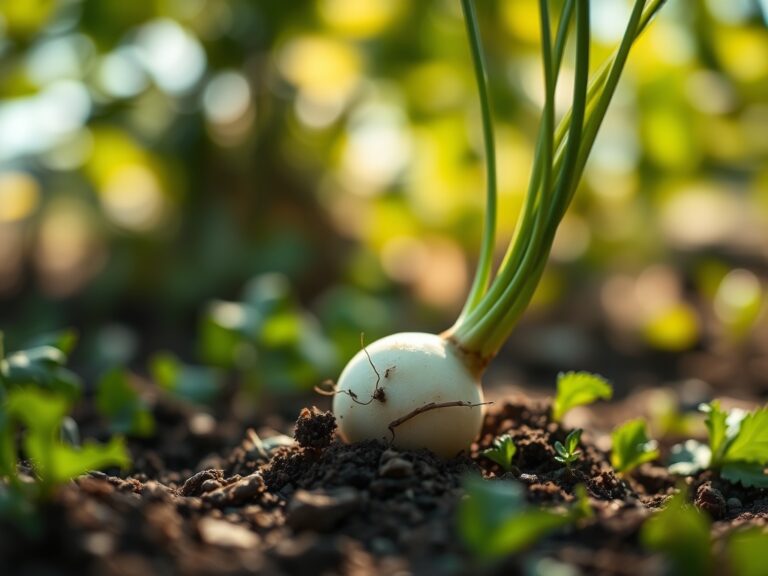
Transplanting and Elevation
When moving containerized stock into the field, use the transit to ensure the root flare sits exactly 1 inch above the finished grade. This prevents the burial of the lenticels on the trunk, which are vital for gas exchange.
Pro-Tip: Maintaining the correct elevation prevents the suppression of auxins at the root-shoot junction. If a tree is planted too deep, the lack of oxygen inhibits the hormonal signaling required for lateral root development.
Establishing the Grade
Once the rough grade is set, use the transit level to verify the final "fine grade" after the addition of organic amendments. The transition from the subsoil to the topsoil must be gradual to prevent "perched water tables," where water stops moving downward due to a sudden change in soil texture.
Pro-Tip: A smooth grade promotes mycorrhizal symbiosis by ensuring uniform moisture distribution. This allows fungal hyphae to colonize the root system evenly, increasing the plant's effective surface area for phosphorus uptake.
The Clinic:
Physiological disorders often stem from poor topographical planning.
- Symptom: Interveinal chlorosis in new growth.
- Solution: This often indicates an iron deficiency caused by high pH or waterlogged soil. Check the grade with your transit. If the area is a "low spot," water is displacing oxygen, raising the pH and locking up micronutrients. Fix-It: Re-grade to a 1 percent slope and apply chelated iron.
- Symptom: Marginal leaf burn (Necrosis).
- Solution: This suggests salt accumulation. In poorly drained areas, evaporation leaves behind concentrated salts. Fix-It: Use the level to create a drainage swale and flush the soil with 3 inches of water to leach the salts below the root zone.
- Symptom: Stunted growth with purplish leaves.
- Solution: This is a classic Nitrogen and Phosphorus deficiency. If the soil is cold and wet due to poor drainage, the plant cannot uptake these elements. Fix-It: Incorporate a 5-10-5 fertilizer and improve the grade to increase soil temperature through better drainage.
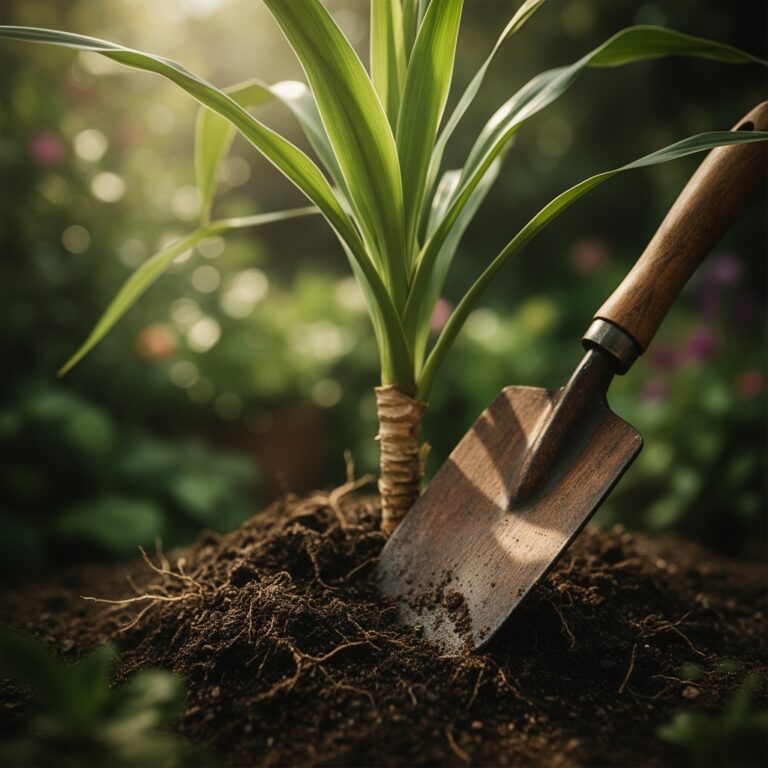
Maintenance:
Post-grading maintenance requires precision tools. Use a soil moisture meter to verify that the root zone maintains a consistent 25 percent to 30 percent volumetric water content. Most woody ornamentals require 1.5 inches of water per week delivered at the drip line via drip irrigation to minimize foliar disease. When pruning, use sharp bypass pruners to make clean cuts at the branch bark ridge, facilitating rapid callus formation. For weeding near delicate root systems, a hori-hori knife allows for the extraction of taproots without disrupting the established grade or the delicate network of surface roots. Monitor the grade annually; soil settling can create new depressions that require top-dressing with a mix of 70 percent sand and 30 percent compost.
The Yield:
For those managing edible landscapes, the harvest is the ultimate metric of grading success. Harvest pome fruits when the ground color shifts from green to yellow and the abscission layer at the stem begins to weaken. For leafy greens, harvest in the early morning when turgor pressure is at its peak; this ensures the cells are fully hydrated, extending the shelf life. Post-harvest, hydro-cool the produce by immersing it in 40-degree Fahrenheit water to remove field heat and slow the rate of respiration. This process preserves the sugars and vitamins, maintaining "day-one" freshness for several days.
FAQ:
How do I set up a transit level for a sloped yard?
Level the tripod head first. Mount the transit and adjust the leveling screws until the vial bubble is centered. Take a reading on a fixed benchmark, then move the rod to calculate the elevation drop across the site.
What is the minimum slope for garden drainage?
A minimum slope of 1 percent (one foot of fall for every 100 feet of distance) is required. For heavy clay soils with low permeability, increase the slope to 2 percent to ensure surface water exits the rhizosphere effectively.
Can I use a transit level alone?
While a laser level can be used solo, a traditional optical transit level requires two people. One person operates the telescope to read the measurements, while the second person holds the graduated grade rod at various points across the landscape.
Why is soil bulk density important when grading?
High bulk density (above 1.6 g/cm3) indicates compaction, which restricts root elongation and reduces oxygen pore space. Proper grading with a transit level ensures you don't over-compact the soil while moving earth to achieve your desired elevations.