8 Steps to Prepare a Large Backyard Garden Pond Site
Learning how to prepare a garden for a pond transforms a flat expanse of lawn into a layered aquatic ecosystem. The scent of disturbed earth, the weight of clay-heavy soil on a spade, and the careful geometry of excavation create the foundation for frogs, dragonflies, and marginal plants. Proper site preparation prevents liner punctures, controls runoff pH, and establishes drainage patterns that protect both pond and surrounding garden beds. Each step builds structural integrity from the substrate upward.
Materials
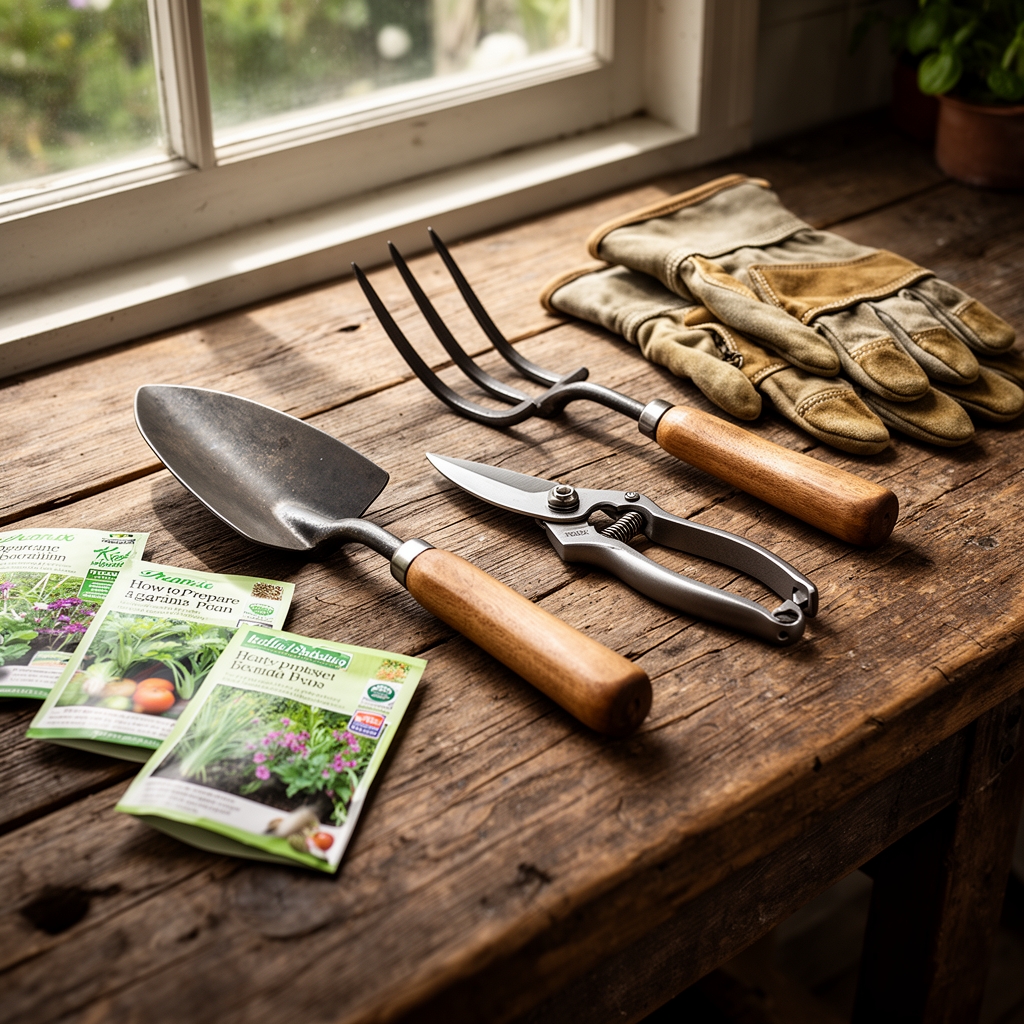
Gather marking paint, 100 feet of garden hose for outlining curves, and a sharp spade with a 7-inch blade. For substrate amendment, source one 40-pound bag of 4-4-4 organic fertilizer per 100 square feet of marginal planting zones. Sand must be coarse builder's grade, not fine play sand, to improve cation exchange capacity in clay soils. A pH test kit calibrated between 5.5 and 8.5 ensures accurate baseline readings before excavation.
Heavy-duty EPDM liner rated for 45 mil thickness resists UV degradation and root penetration. Underlayment fabric at 6 ounces per square yard cushions the liner from stones and compacted subsoil. Bentonite clay granules seal minor leaks in porous soils. For edge work, flat fieldstones or pressure-treated lumber create stable coping. Avoid limestone if planting acid-loving marginals; it raises pH above 7.8 over time.
Timing
In USDA Hardiness Zones 3 through 6, begin excavation six weeks before the last spring frost. Soil temperatures between 45 and 55 degrees Fahrenheit allow workability without excessive mud adhesion. Zones 7 through 9 benefit from late autumn preparation, when reduced evaporation rates stabilize water levels during initial fill. Avoid mid-summer excavation; heat stress limits mycorrhizal fungi colonization in marginal planting pockets.
Spring preparation aligns pond establishment with the auxin distribution surge in bare-root aquatic plants. Fall timing allows winter rains to settle substrates and reveal low spots requiring additional sand. Plan for a minimum of two weeks between excavation completion and liner installation to let sidewalls cure and compacted zones relax.
Phases

Site Selection and Marking
Position the pond to receive four to six hours of direct sunlight daily. Full shade inhibits oxygenating plant photosynthesis; excessive sun accelerates algae bloom cycles. Maintain a 10-foot minimum distance from mature tree root zones to prevent structural heaving. Use marking paint to outline the perimeter, adding 18 inches beyond the final waterline for marginal shelves.
Pro-Tip: Lay the garden hose along proposed curves on a warm afternoon. Heat makes the hose pliable, revealing awkward transitions that stiffen in cool weather.
Excavation and Grading
Excavate in 6-inch lifts, checking depth with a 4-foot level every third pass. Create marginal shelves 12 inches wide at 9 inches below finished grade for shallow-water plants. Central zones should reach 24 to 30 inches depth to prevent winter freeze damage in Zone 5 and colder. Slope sidewalls at a 20-degree angle; steeper cuts collapse in saturated clay.
Remove stones larger than 1 inch diameter from all surfaces. Rake the floor smooth, then compact with a hand tamper at 3 pounds per square inch. Spread a 2-inch sand layer over the compacted base to cushion the underlayment.
Pro-Tip: Sprinkle bentonite clay at 5 pounds per 10 square feet on sandy soils. Water activates the swelling properties, reducing seepage by 40 percent.
Liner Installation and Filling
Drape underlayment loosely across the excavation, smoothing wrinkles from the center outward. Position the EPDM liner with equal overhang on all edges. Begin filling with a slow trickle from a garden hose. The water's weight naturally molds the liner into contours. Pause at 50 percent capacity to adjust major folds.
Trim excess liner to 12 inches beyond the waterline once filling is complete. Fold edges under coping stones, securing with exterior-grade construction adhesive. Test pH after 48 hours; new liners may leach compounds that shift readings by 0.5 units.
Pro-Tip: Inoculate marginal planting pockets with endomycorrhizal fungi granules at 1 teaspoon per gallon of soil. Apply directly to root zones during planting for 30 percent faster nutrient uptake.
Troubleshooting
Symptom: Liner billowing or floating after installation.
Solution: Drain 30 percent of water volume. Press liner firmly into bottom contours. Add 50 pounds of washed river rock per 25 square feet to anchor the base.
Symptom: Waterline dropping 2 inches per week.
Solution: Inspect for punctures along folds using food-grade dye. Patch with EPDM repair tape, overlapping tears by 3 inches. Reapply bentonite to porous zones.
Symptom: Soil sidewalls slumping post-excavation.
Solution: Recut slopes to 15 degrees. Tamp with a plate compactor at 5 pounds per square inch. Install coconut coir matting on shelves to stabilize planting media.
Symptom: pH reading above 8.0.
Solution: Add elemental sulfur at 1 pound per 100 gallons. Retest in 72 hours. Avoid aluminum sulfate; it increases metal toxicity in fish.
Maintenance
Check water levels weekly during the first month. Evaporation removes 1 inch per week in full sun; top off with dechlorinated water. Trim marginal plant runners every 14 days to prevent overgrowth into open water. Remove fallen leaves within 24 hours to limit tannin leaching and pH shifts below 6.5.
Test nitrate levels monthly using a drop-test kit. Readings above 40 ppm indicate excess organic matter decomposition. Skim surface debris with a fine-mesh net before it sinks. Drain and refill 20 percent of pond volume every six weeks to dilute accumulated dissolved solids.
FAQ
When is the best month to start excavation?
April in Zones 5-6, October in Zones 8-9. Soil must be workable but not saturated.
How deep should marginal shelves be?
9 inches below the waterline, with 12-inch horizontal width for container-grown aquatics.
Can I use regular garden soil around the pond?
Only if amended with coarse sand at a 1:1 ratio. Pure loam becomes anaerobic when saturated.
What prevents liner punctures?
A 2-inch sand base plus 6-ounce underlayment fabric. Remove all stones above 1 inch diameter.
How long before adding plants?
Wait 48 hours after filling. Water temperature should stabilize within 5 degrees of ambient air temperature.