8 Handling Steps for Repotting a ZZ Plant with Aerated Soil
The smell of damp peat and the metallic tang of perlite signal the start of a necessary structural overhaul for the Zamioculcas zamiifolia. When you grasp a healthy leaf, the high turgor pressure should make the tissue feel rigid and cold. If the plastic nursery pot is bulging or the plant is lifting itself out of the medium, you must initiate the steps for repotting a ZZ plant to prevent root necrosis. This species relies on thick, water-storing rhizomes that require high oxygen availability within the rhizosphere to function.
Neglecting the container size leads to a rapid decline in gas exchange. As the roots compress against the ceramic or plastic walls, the Cation Exchange Capacity (CEC) of the remaining soil diminishes; this prevents the plant from accessing essential macronutrients. A successful repotting operation is not merely a change of scenery. It is a calculated recalibration of the plant's hydraulic system. You are managing the transition from a depleted, compacted medium to a high-porosity substrate that facilitates rapid drainage while maintaining enough moisture to prevent desiccation of the delicate feeder roots.
Materials:
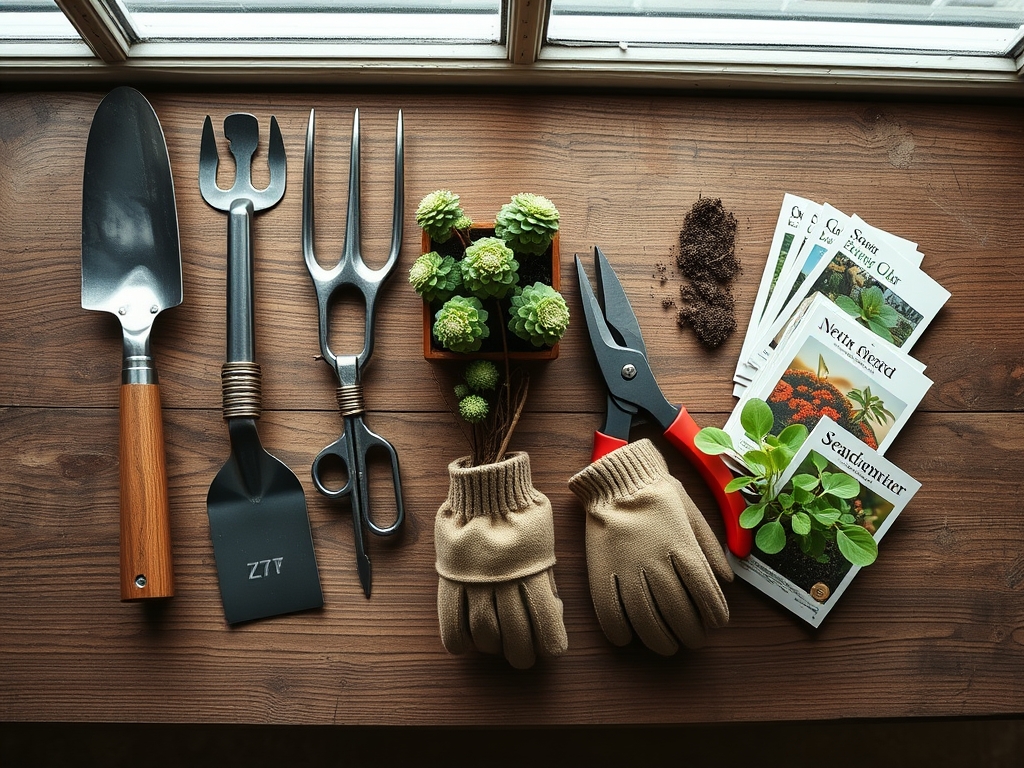
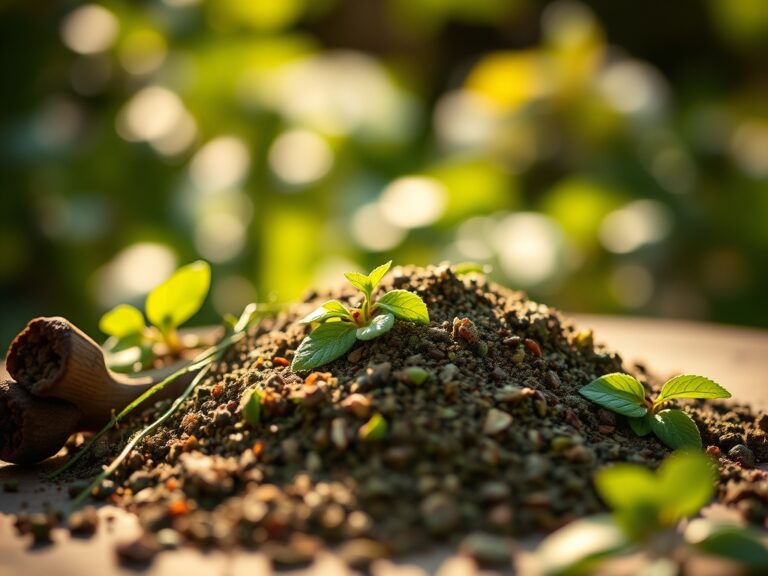
The substrate must be a friable loam or a custom soilless mix designed for low-moisture succulents. Aim for a pH range of 6.0 to 7.0 to ensure maximum nutrient bioavailability. Your primary goal is a high-porosity mix consisting of 50 percent organic matter (coco coir or aged pine bark) and 50 percent inorganic aggregates (pumice, perlite, or coarse silica sand).
For nutrient loading, integrate a slow-release granular fertilizer with an NPK ratio of 10-10-10 or 20-20-20 at half strength. The ZZ plant is a light feeder; excessive nitrogen can lead to leggy growth and weakened cell walls. Ensure you have a pot that is 1 to 2 inches wider in diameter than the current vessel. It must feature at least one large drainage hole. Avoid oversized containers, as excess soil volume retains surplus water, which leads to anaerobic conditions and subsequent rhizome rot.
Timing:
While the ZZ plant is primarily an indoor specimen, its biological clock is tethered to light intensity and ambient temperature. The ideal window for repotting is during the transition from the dormant winter phase to the active vegetative stage in early spring (March or April). In USDA Hardiness Zones 9 through 11, where these plants can occasionally exist on shaded patios, repotting should occur well after the last frost date.
The plant enters a period of increased metabolic activity as the photoperiod lengthens. Performing the procedure now allows the root system to colonize the new substrate before the heat of mid-summer increases the transpiration rate. If you repot during the winter senescence, the plant lacks the hormonal drive to repair damaged root tissue, increasing the risk of fungal infection.
Phases:

Sowing the Foundation
Prepare the new container by placing a small mesh screen over the drainage hole to prevent substrate loss. Fill the bottom 25 percent of the pot with your aerated mix. Do not pack the soil down; maintain a low bulk density to allow for immediate root penetration.
Pro-Tip: Maintaining a low bulk density encourages mycorrhizal symbiosis. These beneficial fungi extend the root system's reach, allowing the plant to pull phosphorus and micronutrients from soil pores that are otherwise inaccessible.
Transplanting and Extraction
Lay the plant on its side and apply firm pressure to the sides of the pot to loosen the root ball. Use a hori-hori knife to slide along the inner circumference if the plant is stuck. Once removed, inspect the rhizomes. They should be creamy white and firm. Use bypass pruners sterilized with 70 percent isopropyl alcohol to remove any mushy or blackened roots. Position the plant in the center of the new pot, ensuring the top of the rhizomes sits approximately 1 inch below the rim.
Pro-Tip: When handling the rhizomes, avoid bruising the exterior tissue. Damage to these storage organs triggers auxin suppression in the immediate area, which can temporarily halt new shoot development as the plant diverts energy toward cellular repair.
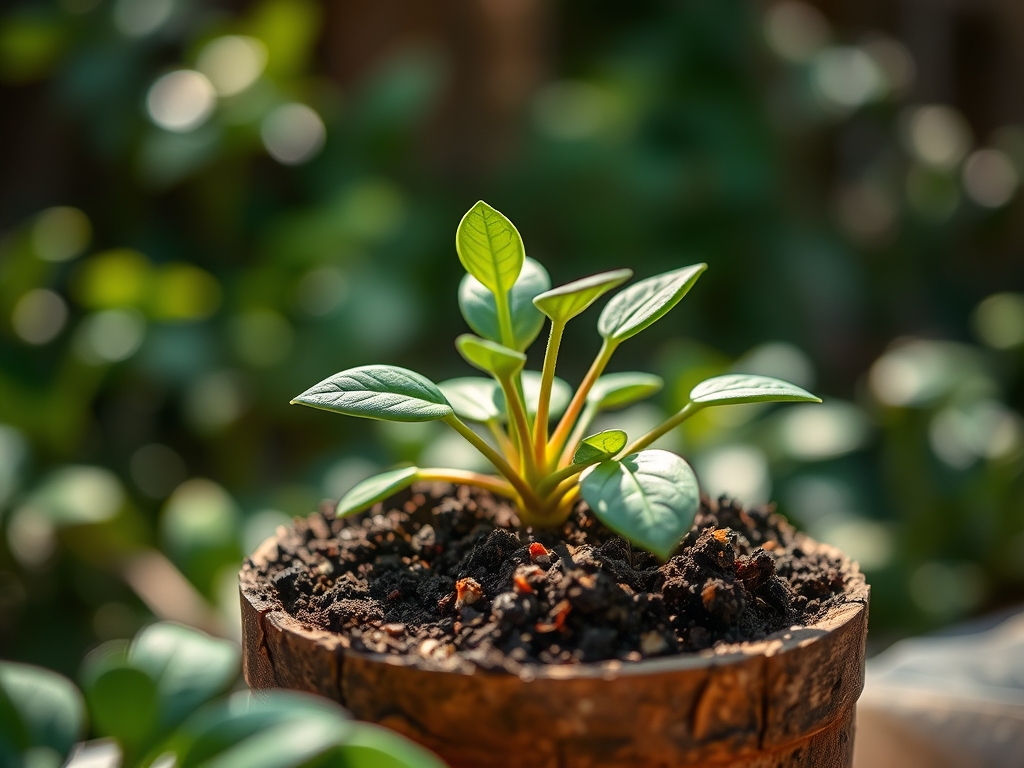
Establishing the Specimen
Backfill the voids with the aerated mix, tapping the sides of the pot to settle the soil. Avoid pressing down with your hands, as this collapses the macro-pores required for gas exchange. Water the plant thoroughly until liquid exits the drainage hole. This "first drink" settles the soil around the roots and eliminates large air pockets that could cause root desiccation.
Pro-Tip: The initial watering initiates hydrotropism, where root tips grow toward moisture gradients. By ensuring the entire soil column is evenly moist, you encourage the roots to expand outward rather than circling the base of the plant.
The Clinic:
Symptom: Lower Leaf Yellowing (Chlorosis)
Solution: This is often a sign of Nitrogen deficiency or overwatering. If the soil is soggy, the roots cannot uptake N. If the soil is dry, the plant is scavenging N from old growth to support new leaves.
Fix-It: Apply a balanced liquid fertilizer at 25 percent strength during the next scheduled watering.
Symptom: Leaf Tip Burn (Necrosis)
Solution: This typically indicates a buildup of mineral salts or fluoride in the substrate.
Fix-It: Flush the soil with distilled or deionized water until the runoff runs clear. This lowers the electrical conductivity (EC) of the rhizosphere.
Symptom: Shriveled Stems
Solution: Low turgor pressure due to extreme dehydration.
Fix-It: Submerge the bottom half of the pot in a basin of water for 20 minutes. This allows the medium to rehydrate via capillary action without washing away the topsoil.
Maintenance:
Post-repotting care requires precision. Use a soil moisture meter to verify that the substrate is at least 80 percent dry before adding more water. In a standard indoor environment, this typically equates to watering every 2 to 3 weeks. When you do water, apply approximately 1 cup of water per gallon of soil volume, ensuring it reaches the root zone.
Keep the foliage clean using a damp microfiber cloth to maximize photosynthetic efficiency. If the plant becomes top-heavy, use a bamboo stake to provide structural support. Avoid placing the plant in direct afternoon sun; the ZZ plant is optimized for low-light environments, and high UV exposure will cause solarization and permanent scarring of the waxy cuticle.
The Yield:
While the ZZ plant is not an edible crop, its "yield" is measured in biomass and aesthetic symmetry. To maintain a professional appearance, prune yellowing or damaged stalks at the soil line using sterilized bypass pruners. If you wish to propagate, the rhizomes can be divided during the repotting process. Ensure each division has at least one healthy stalk and a portion of the root system. Place these divisions in a shaded area for 24 hours to allow the "wound" to callous before potting them in a fresh, aerated mix. This prevents pathogens from entering the vascular system.
FAQ:
How do I know when to repot my ZZ plant?
Repot when the rhizomes press against the pot walls or roots emerge from drainage holes. This usually occurs every two to three years. If the pot deforms or cracks, immediate intervention is required to maintain root health.
What is the best soil for a ZZ plant?
Use a well-draining mix with a pH of 6.0 to 7.0. A combination of 50 percent potting soil and 50 percent inorganic matter like perlite or pumice is ideal. This ensures high oxygen levels in the rhizosphere.
Should I water my ZZ plant immediately after repotting?
Yes. Watering settles the substrate and eliminates air pockets that cause root desiccation. Use room-temperature water to avoid thermal shock to the root system. Ensure all excess water drains completely from the bottom of the container.
Can I use a pot without drainage holes?
No. Lack of drainage leads to waterlogging and anaerobic conditions. This causes rhizome rot, a fungal condition that is often fatal. Always select a vessel with at least one functional drainage port for proper moisture management.