8 Handling Steps for Repotting a Ponytail Palm
The bulbous caudex of Beaucarnea recurvata sits inches beneath your potting bench, roots coiled tight as watch springs beneath papery bark. This swollen stem stores water for months, but compression in an undersized pot fractures young feeder roots and stunts xylem flow. Mastering the steps for repotting a ponytail palm requires attention to caudex depth, root-zone aeration, and container proportions. The plant's natural habitat in semi-arid Mexican highlands dictates every handling protocol. Transplant shock manifests within seventy-two hours if moisture gradients shift too rapidly.
Materials

Select a terracotta or unglazed ceramic container two inches wider than the existing pot. Plastic retains moisture beyond the tolerance of Beaucarnea roots, which require frequent wet-dry cycles. The substrate must achieve a cation exchange capacity below 15 meq/100g to prevent sodium accumulation. Blend three parts coarse sand (grain size 1.0-2.0 mm), two parts pine bark fines, and one part perlite. This mixture maintains a pH of 6.0-6.5, optimal for phosphorus uptake.
Incorporate a slow-release fertilizer at 4-4-4 NPK ratio. Organic alfalfa meal supplies nitrogen without salt buildup, while rock phosphate delivers phosphorus over eighteen months. Avoid high-nitrogen formulations; excessive vegetative growth weakens caudex tissue and increases susceptibility to Fusarium rot. Mycorrhizal fungi inoculant (specifically Glomus intraradices) colonizes root surfaces within three weeks, extending phosphorus acquisition by 40 percent. Sterilize pruning shears with 10 percent bleach solution, then rinse with distilled water to eliminate chlorine residue.
Timing
Repot ponytail palms between mid-March and late April in USDA Hardiness Zones 9-11. In Zones 4-8, where the plant remains indoors year-round, schedule repotting after the last average frost date when root growth resumes. Soil temperatures above 65°F trigger auxin distribution to apical meristems, signaling active root elongation. Avoid repotting during winter dormancy; metabolic rates drop by 60 percent, and wound healing slows to negligible levels.
Monitor root emergence through drainage holes. When white root tips protrude one inch beyond the pot base, the plant has exhausted available rooting volume. Postponing beyond this point causes roots to girdle the caudex, constricting vascular cambium and limiting water transport to the crown.
Phases
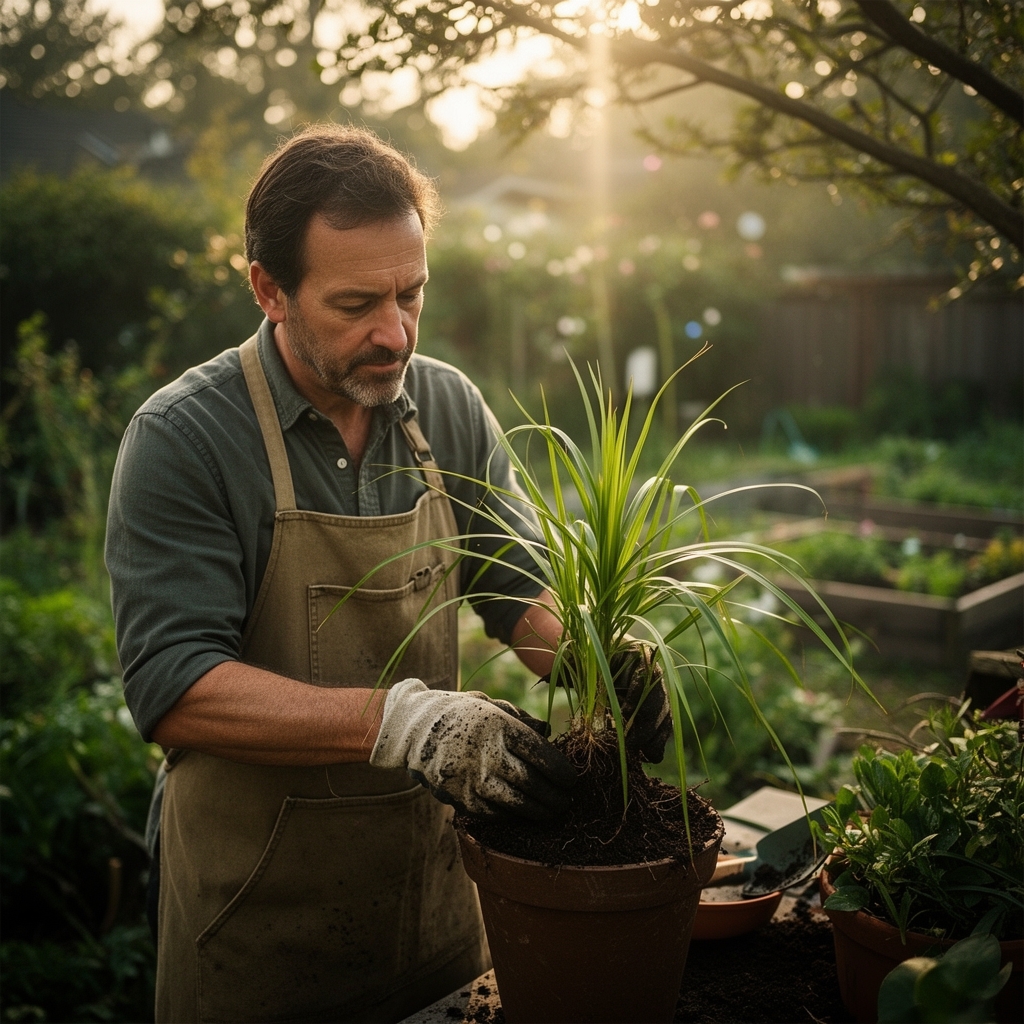
Step 1: Water the root ball twenty-four hours before extraction. Hydrated roots flex rather than snap under tension. Soil cohesion increases by 30 percent, allowing intact removal.
Step 2: Invert the container and tap the rim against a solid edge. Slide the root mass free. Do not pull the trunk; this severs fine roots at the caudex junction.
Step 3: Inspect the root ball for circling roots thicker than 3 mm. Use sterilized shears to make vertical cuts through compacted zones. Remove any roots with brown, mushy texture, indicating Pythium infection.
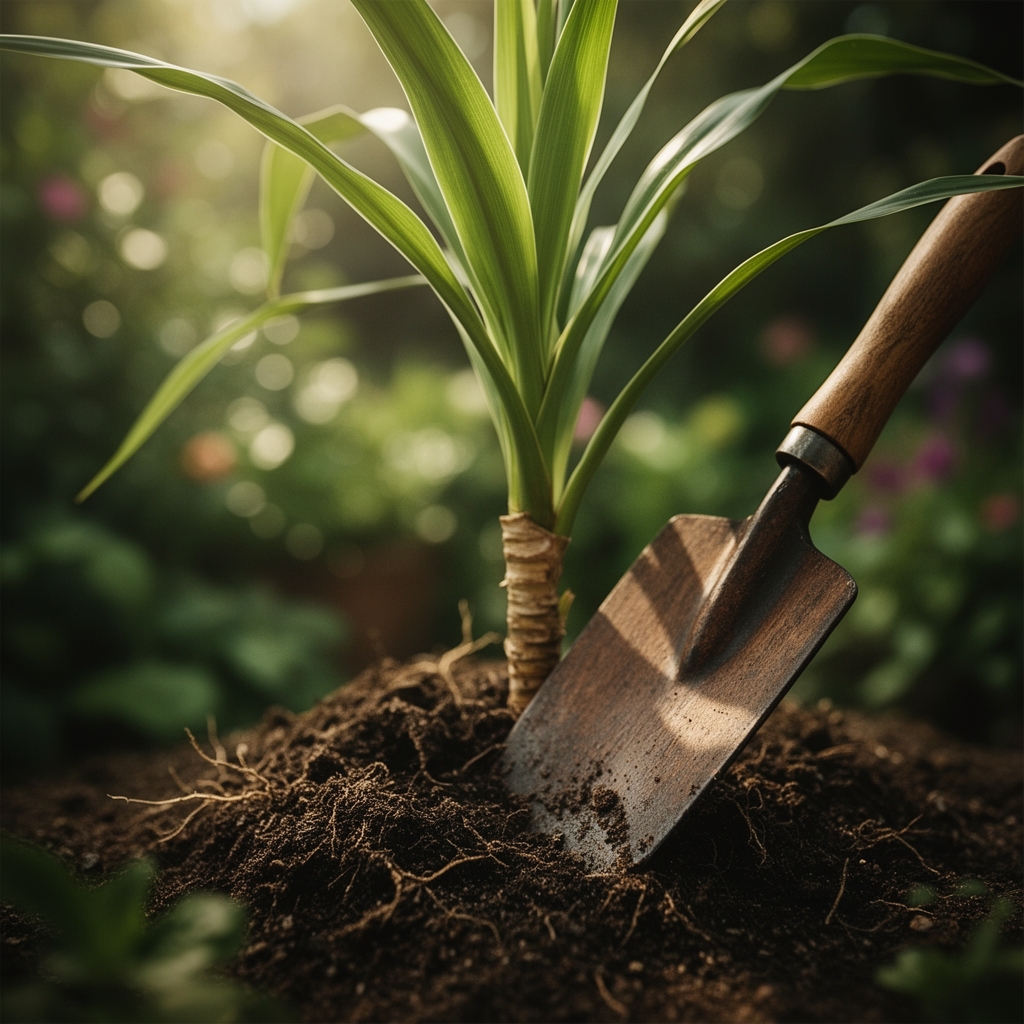
Step 4: Place two inches of prepared substrate in the new container. Position the caudex so its top sits one inch above the final soil line. Burying the caudex invites crown rot by trapping moisture against bark tissue.
Pro-Tip: Dust severed root ends with powdered sulfur to lower localized pH to 5.5. This inhibits bacterial colonization and accelerates callus formation by 48 hours.
Step 5: Fill lateral gaps with substrate, tamping gently to eliminate air pockets. Air voids desiccate root tips and disrupt mycorrhizal networks. Use a wooden dowel to compress soil along container walls.
Step 6: Water with 16 ounces of solution containing 1/4-strength 3-1-2 NPK liquid fertilizer. This initiates osmotic flow without shocking root hairs. Excess fertilizer causes plasmolysis in tender meristematic cells.
Step 7: Position the plant in bright indirect light for ten days. Direct sun raises leaf surface temperature above 95°F, increasing transpiration beyond the damaged root system's capacity.
Pro-Tip: Apply 0.1 percent IBA (indolebutyric acid) rooting hormone to cut surfaces during Step 3. Auxin concentration accelerates adventitious root formation by 35 percent within fourteen days.
Step 8: Resume normal watering after fourteen days. Insert a moisture meter to 4-inch depth; water only when readings drop to 2 on a 10-point scale.
Troubleshooting
Symptom: Yellow lower leaves with brown crisp margins appearing five days post-repotting.
Solution: Reduce watering frequency by 50 percent. Overwatering suffocates roots, blocking ethylene diffusion and triggering abscission.
Symptom: Soft, darkened caudex tissue at soil line.
Solution: Unpot immediately. Excise affected tissue with a sterile blade until firm white flesh appears. Dust with sulfur, allow to dry for 48 hours, then repot in fresh substrate.
Symptom: White cottony masses on root surfaces.
Solution: Planococcus citri (mealybugs) colonize stressed roots. Drench soil with neem oil solution (2 tablespoons per gallon). Repeat at seven-day intervals for three applications.
Symptom: Stunted new leaf growth with pale green coloration.
Solution: Nitrogen deficiency from excessive drainage. Top-dress with 1 tablespoon blood meal (12-0-0 NPK), scratched into the top inch of substrate.
Maintenance
Water with 20 ounces every 14 days from April through September. From October through March, reduce to 12 ounces every 21 days. Install the container on a saucer filled with pebbles to increase ambient humidity to 40 percent without saturating roots. Fertilize monthly during active growth with 1/2-strength 3-1-2 liquid fertilizer. Prune dead leaf tips at a 45-degree angle, 1/4 inch above brown tissue, to prevent pathogen entry.
Rotate the container 90 degrees every two weeks to prevent phototropic leaning. Maintain daytime temperatures between 70-80°F and nighttime lows no cooler than 50°F. Leaf margins blacken when exposed to temperatures below 40°F for more than four hours.
FAQ
How often should I repot a mature ponytail palm?
Every three to four years for specimens under 24 inches tall. Mature plants over 36 inches require repotting every five to six years.
Can I divide the caudex during repotting?
No. The caudex is a single storage organ. Cutting divides cause fatal desiccation and introduce Erwinia bacterial soft rot.
Should I prune roots before repotting?
Remove only damaged or circling roots. Healthy roots require no pruning; unnecessary cuts reduce water uptake by 25 percent during establishment.
What container depth is ideal?
Match depth to caudex height plus 3 inches. Excessive depth holds moisture below the root zone, fostering anaerobic conditions.
Why do leaves droop after repotting?
Temporary turgor loss from root disturbance. Leaves regain rigidity within 72 hours as osmotic pressure re-equilibrates across cell membranes.