7 Steps to Build a Professional Paver Garden Patio
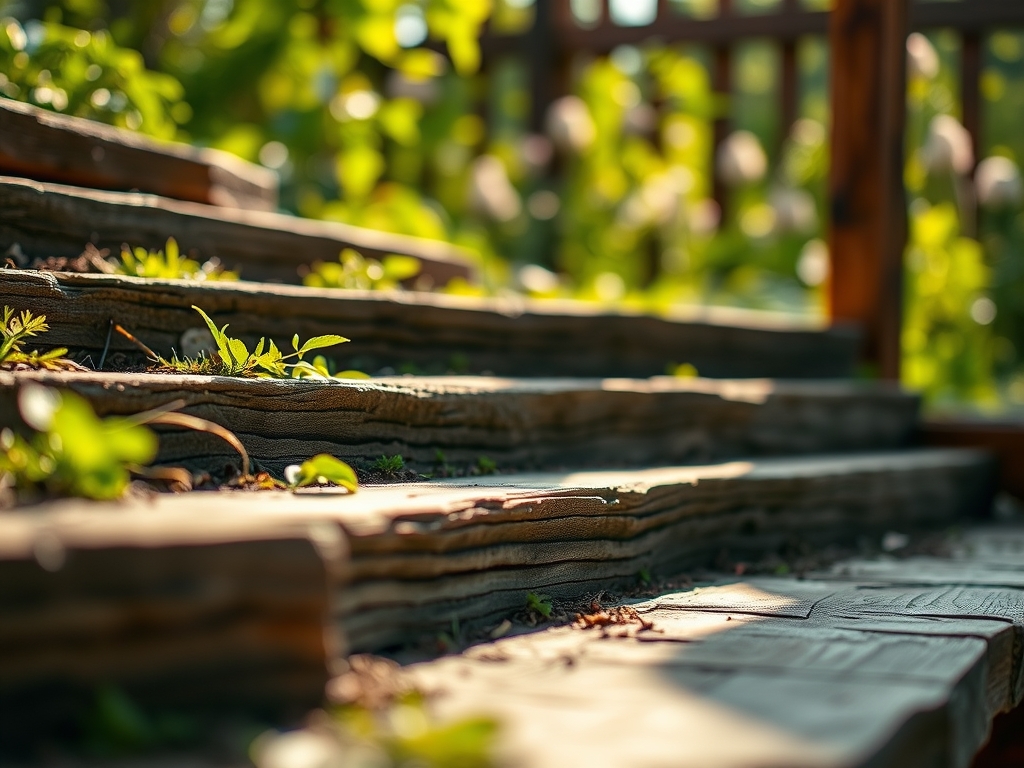
Crushed limestone dust and the scent of damp, disturbed earth signal the beginning of a structural landscape shift. To achieve the necessary turgor pressure in surrounding flora, the hydrology of the site must be managed through precise engineering. Following the correct steps for building a garden patio ensures that the finished surface does not impede the rhizosphere of adjacent specimens. Success depends on calculating the load-bearing capacity of the sub-base while maintaining a slope that prevents anaerobic conditions in the root zones of peripheral plantings.
Materials:
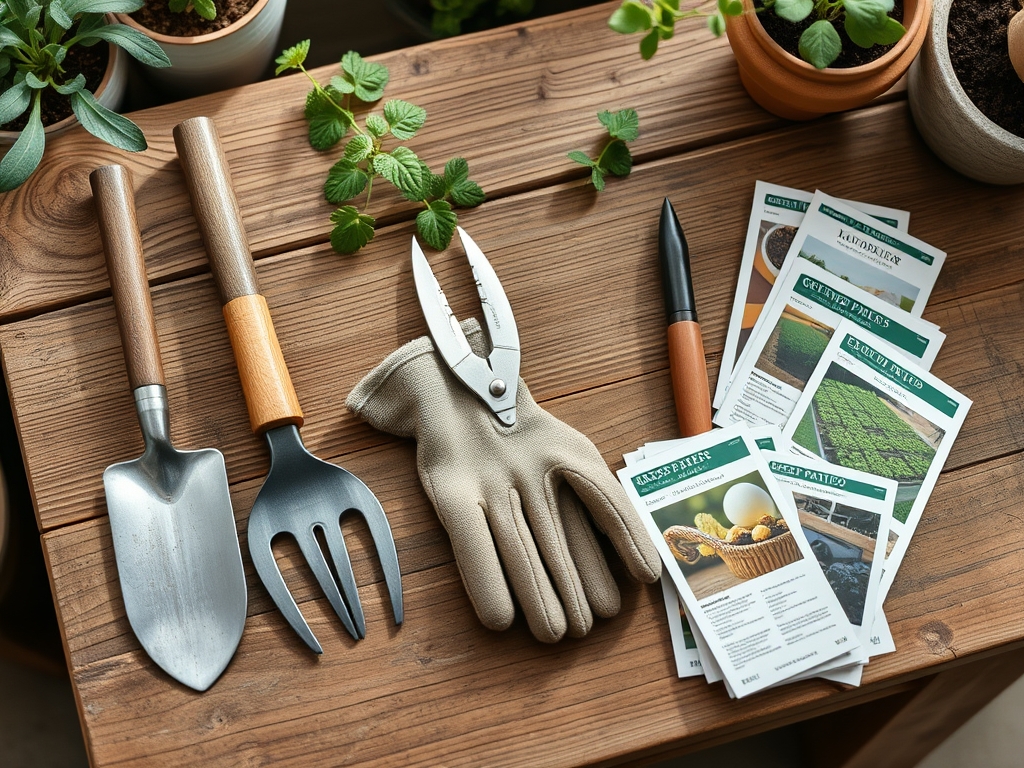
A professional patio requires a foundation that respects the soil chemistry of the surrounding garden. The substrate must be a **friable loam** with a **pH between 6.0 and 7.0** to ensure that any runoff does not alter the Cation Exchange Capacity (CEC) of the nearby beds. When planting along the perimeter, utilize a starter fertilizer with an **NPK ratio of 5-10-5** to prioritize root development over foliar growth.
The hardscape itself requires ASTM D2940 graded aggregate for the sub-base. This material provides the structural integrity needed to prevent settling. For the bedding layer, use washed concrete sand rather than masonry sand; the angular particles of concrete sand lock together more effectively. If the patio borders acid-loving plants like Pieris or Rhododendrons, avoid using limestone screenings, as the alkaline runoff can induce iron chlorosis.
Timing:
The installation window is dictated by Hardiness Zones and soil moisture levels. In Zones 5 through 7, construction should occur after the final spring frost but before the heat of mid-summer to minimize transplant shock for border plants. The "Biological Clock" of the garden is at its peak during the transition from the vegetative to the reproductive stage.
Installing a patio during the dormant season (late autumn) is optimal for the soil structure, as it allows for natural compaction through freeze-thaw cycles before the final leveling. However, excavation must never occur when the soil is saturated; working wet soil destroys its structure and leads to massive compaction, reducing the pore space required for oxygen exchange in the rhizosphere.
Phases:

Sowing the Perimeter
Once the patio footprint is excavated to a depth of 8 inches, focus on the transition zone. If you are seeding a border, ensure the soil is tilled to a depth of 6 inches. Distribute seeds at a rate of 1 pound per 1,000 square feet for most fescue blends.
Pro-Tip: Maintain consistent moisture to prevent seed desiccation. Biological Why: Seeds require a specific water potential to trigger the metabolic processes of germination; if the embryo dries out after the initial imbibition of water, the plant will suffer cellular collapse and die.
Transplanting Specimen Plants
Integrating mature plants around the new patio requires careful handling of the root ball. Dig a hole twice the width of the root ball but no deeper than its current height. Backfill with native soil to maintain consistent CEC levels across the site.
Pro-Tip: Always prune circling roots before backfilling. Biological Why: This disrupts auxin suppression at the root tips, stimulating the production of new lateral roots that will colonize the surrounding soil more aggressively.
Establishing the Hardscape and Flora
The final phase involves vibrating the pavers into the sand setting bed and sweeping in polymeric sand. Simultaneously, the surrounding plants must be monitored for signs of stress. New transplants require 2 inches of water per week during the first month.
Pro-Tip: Use a soil moisture meter to check the depth of water penetration. Biological Why: Deep watering encourages geotropism, where roots grow downward into cooler, moister soil layers, rather than staying near the surface where they are vulnerable to thermal fluctuations.
The Clinic:
Physiological disorders often arise when the soil environment is altered by construction.
- Symptom: Interveinal chlorosis (yellowing leaves with green veins).
Solution: This indicates a micronutrient lockout, often caused by high pH from concrete runoff. Apply chelated iron or elemental sulfur to lower the pH to 6.5.
2. Symptom: Marginal leaf burn.
Solution: This is frequently a sign of salt accumulation or drought stress. Flush the soil with 3 inches of water to leach excess salts from the root zone.
3. Symptom: Stunted growth and purplish leaves.
Solution: Phosphorus deficiency. In cold spring soils, phosphorus becomes less available. Apply a water-soluble 10-30-10 NPK fertilizer to bypass the soil fixation.
4. Symptom: Rapid wilting despite wet soil.
Solution: Root rot caused by poor drainage near the patio edge. Incorporate organic matter or install a French drain to increase oxygen availability in the soil.
Maintenance:
A professional patio is only as good as the garden that frames it. Use a soil moisture meter to ensure the ground stays at 60% field capacity. During the growing season, apply 1.5 inches of water per week at the drip line of all perimeter shrubs.
Pruning is essential for maintaining the balance between the hardscape and the landscape. Use bypass pruners for clean cuts on living tissue to prevent pathogens from entering the vascular system. For weeding near paver joints, a hori-hori knife allows for the removal of the entire taproot without disturbing the sand bed. Monitor for senescence in early autumn and remove spent foliage to prevent fungal spores from overwintering in the patio crevices.
The Yield:
If your patio includes integrated planter boxes for herbs or edible flowers, harvest timing is critical for essential oil concentration. Harvest Mediterranean herbs like rosemary or thyme in the early morning, just after the dew has evaporated but before the sun hits its zenith.
Use sharp snips to cut just above a node to encourage branching. For "day-one" freshness, immediately place the stems in a container of cool water or wrap them in a damp paper towel and refrigerate at 40 degrees Fahrenheit. This slows the metabolic rate and preserves the turgor pressure within the cell walls.
FAQ:
How deep should the patio base be?
For pedestrian traffic, excavate 7 to 9 inches. This allows for 4 to 6 inches of compacted aggregate, 1 inch of bedding sand, and the thickness of the paver. Proper depth prevents frost heave and structural failure.
Can I use stone dust instead of sand?
Stone dust is not recommended for the bedding layer. It retains too much moisture and does not drain efficiently. Use washed angular sand to ensure structural stability and to prevent the growth of moss and algae.
How do I prevent weeds between pavers?
Install polymeric sand in the joints. When activated with water, it hardens to create a semi-impermeable barrier. This prevents wind-blown seeds from germinating in the joints and inhibits the "volunteering" of surrounding garden species.
What is the best slope for drainage?
A patio must slope away from structures at a rate of 1/4 inch per linear foot. This ensures that hydrostatic pressure does not build up against foundations and prevents the saturation of the root zones of nearby plants.
When should I fertilize the patio border?
Apply a balanced NPK fertilizer in early spring as the soil temperature reaches 55 degrees Fahrenheit. This coincides with the breaking of dormancy and ensures nutrients are available during the period of most rapid vegetative growth.