7 Shade Management Steps on How to Prepare a Woodland Vegetable Garden
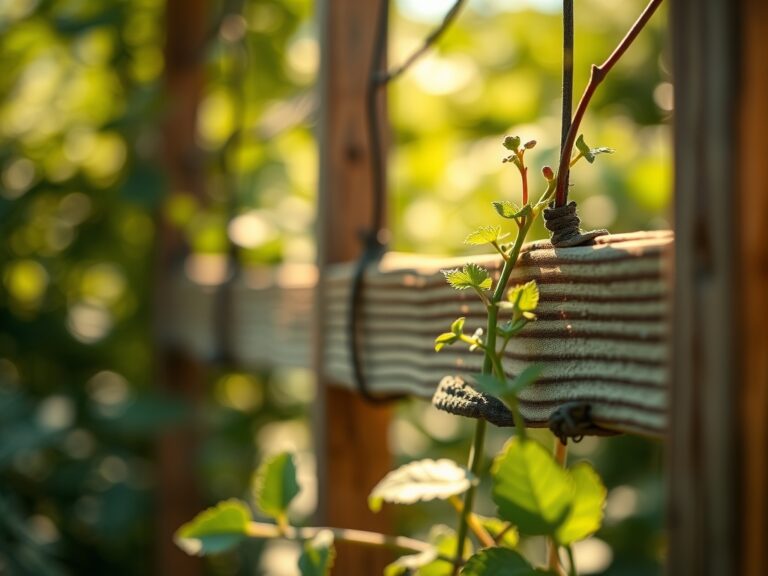
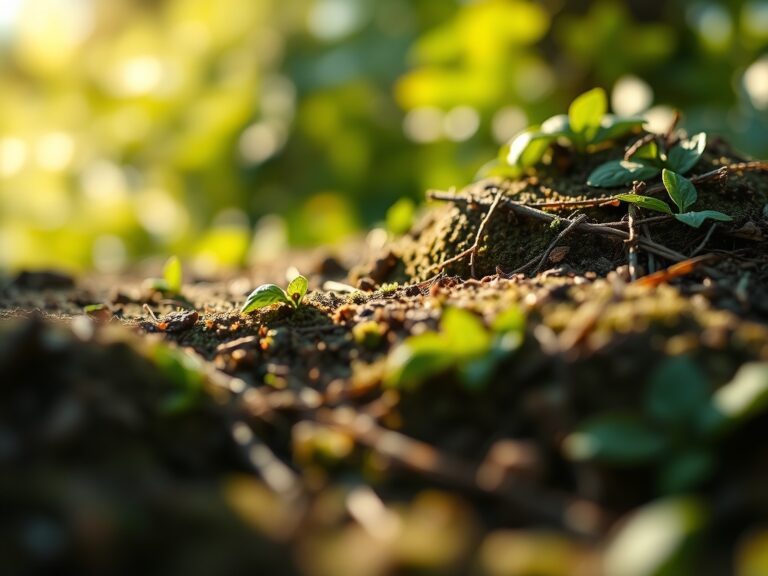
The forest floor crumbles differently between your fingers: a cool, loose matrix of decomposed oak leaves and soft humus that releases the sharp mineral scent of iron and ancient wood. Most gardeners treat shade as an obstacle, but understanding how to prepare a garden for a woodland vegetable garden transforms those dark corners under sugar maples and hickories into productive plots that mimic the nutrient cycling of natural forest ecosystems. The dappled light filtering through the canopy creates microclimates where specific crops thrive without the stress of full sun exposure.
Woodland gardens operate on different biological rules than conventional vegetable plots. The soil structure beneath established tree canopies contains active networks of mycorrhizal fungi that facilitate nutrient exchange between plant roots. These fungal highways move phosphorus and trace minerals upward while trees pump carbon compounds downward, creating a collaborative system you can harness rather than fight.
Materials and Supplies
Soil Amendments and Testing Equipment:
- Digital pH meter calibrated to 0.1 accuracy (target range: 6.0-6.8 for most woodland vegetables)
- Compost aged 12+ months (3-4 cubic yards per 100 square feet)
- Organic fertilizer blend: 5-10-5 NPK ratio for leafy crops, 3-4-4 for root vegetables
- Elemental sulfur (if pH exceeds 7.0)
- Dolomitic lime (if pH falls below 5.8)
Infrastructure Components:
- Landscape fabric (4 oz per square yard minimum) for pathway establishment
- Soaker hoses or drip irrigation rated at 0.5 GPH emitter spacing
- Hardwood mulch (avoid cedar or black walnut) in 3-inch layer
- Cold frames with UV-stabilized polycarbonate panels (6mm thickness)
Planting Materials:
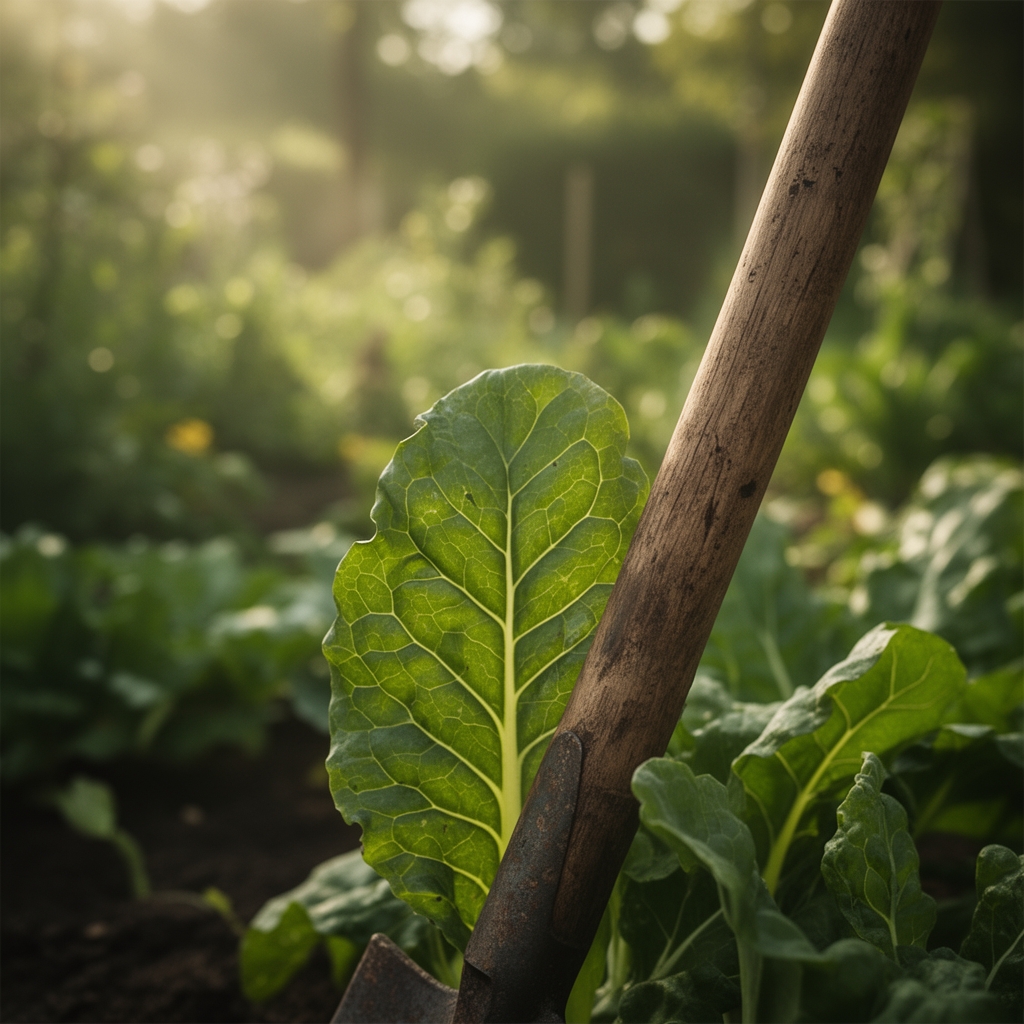
- Shade-tolerant varieties: ‘Flashy Trout Back’ lettuce, ‘Bright Lights’ chard, ‘Provider’ bush beans
- Nitrogen-fixing cover crop seed: crimson clover or hairy vetch
- Transplant starter solution: kelp extract diluted 1:10
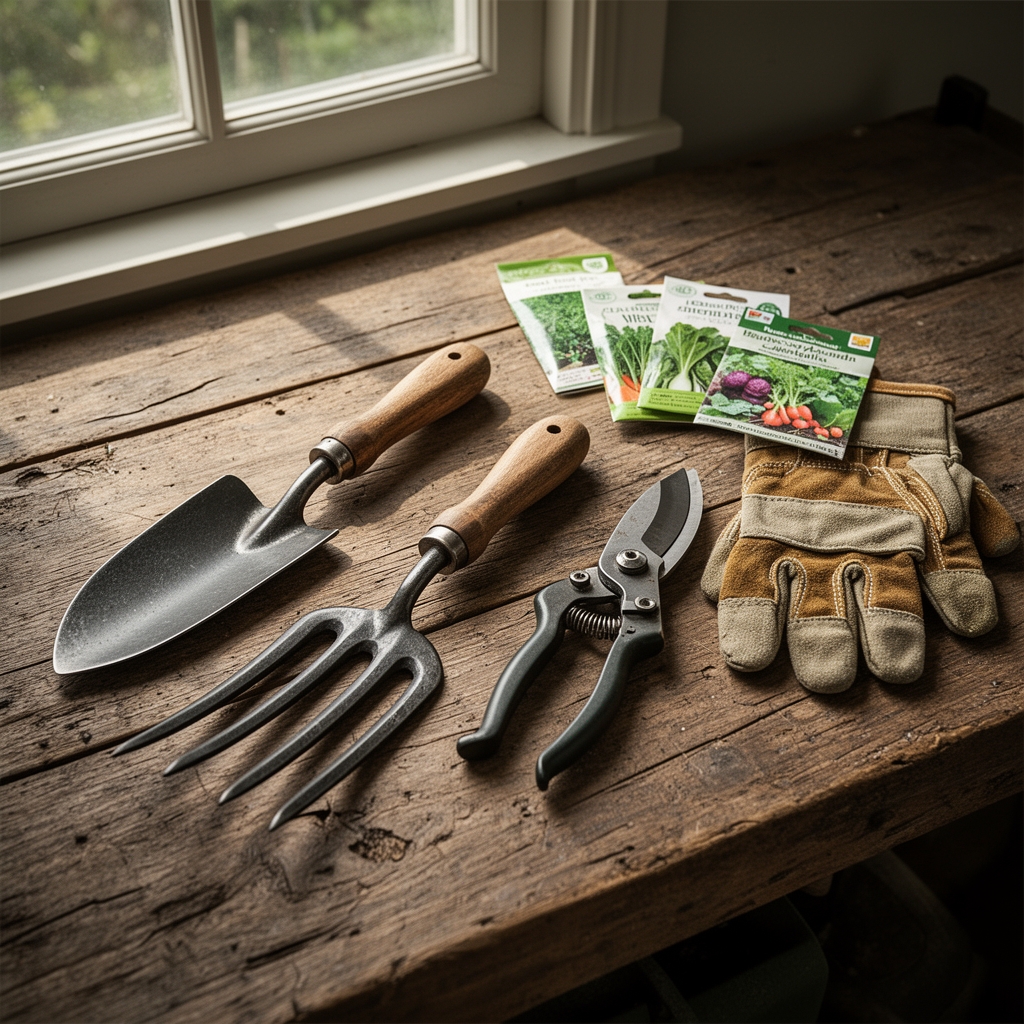
Tools:
- Broadfork (24-inch width preferred over rototillers)
- Soil thermometer (accurate to 32-100°F range)
- Rain gauge marked in 0.1-inch increments
Timing and Growing Schedule
Woodland vegetable gardens function within tighter seasonal windows than sun-exposed plots. The canopy leaf-out in spring and leaf-fall in autumn create distinct growing phases that dictate planting schedules.
Hardiness Zones 5-7:
Start cool-season crops (spinach, lettuce, arugula) 4-6 weeks before last frost when soil temperatures reach 40°F at 2-inch depth. The partial shade reduces bolting pressure, extending harvest windows by 3-4 weeks compared to full-sun plantings.
Days to Maturity Adjustments:
Add 15-20% to seed packet estimates. A lettuce variety listed at 50 days to maturity will require 58-60 days in 50% shade conditions. The reduced photosynthetic input slows but does not halt growth.
Fall Planting Window:
Calculate backward from first frost date. Start transplants 70-90 days prior while canopy still provides moderate shade. As leaves drop in October (Zones 5-6), remaining crops benefit from increased light penetration during cool weather when growth naturally slows.
Spring Advantage Period:
The 4-6 week window between soil workability and full canopy leaf-out offers near-full sun conditions. Exploit this phase for cold-hardy crops that establish root systems before shade deepens.
Step-by-Step Instructions
Phase 1: Site Assessment and Soil Preparation (Late Winter)
Map existing tree root zones using the drip line as your boundary marker. Dig test holes 12 inches deep at 10-foot intervals to identify root density patterns. Areas with fewer than 8 major roots (greater than 1/2 inch diameter) per cubic foot qualify as workable garden space.
Test soil pH and nutrient levels at multiple points. Woodland soils often exhibit pH below 6.0 due to tannic acid leaching from oak and pine species. Apply dolomitic lime at 5 pounds per 100 square feet for every 0.5 pH unit adjustment needed.
Incorporate aged compost using a broadfork rather than tilling. Push tines 10-12 inches deep, rock handle backward to create soil fractures, then move backward 6 inches and repeat. This aerates without severing feeder roots that exist in the top 8 inches.
Pro-Tip: Conduct preparation work while ground remains partially frozen (32-35°F). Frozen soil beneath the surface layer prevents compaction from foot traffic while the thawed top 2-3 inches remains workable.
Phase 2: Establishing Microbial Activity (Early Spring)
Spread mycorrhizal inoculant (Glomus intraradices species) across prepared beds at manufacturer-specified rates, typically 1 ounce per 10 square feet. These beneficial fungi extend root absorption capacity by 10-100x in exchange for plant carbohydrates.
Add organic fertilizer in two applications: 60% of total amount forked into top 4 inches, remaining 40% top-dressed after planting. The split application prevents nutrient leaching during spring rains while providing sustained release.
Install soaker hoses before mulching. Run lines 12 inches apart in beds narrower than 3 feet, 18 inches apart in wider beds. Test system at 2-hour runtime; soil should register moist at 6-inch depth without surface pudding.
Pro-Tip: Mix biochar (1/4 inch particles) at 5% volume into planting holes for transplants. The porous carbon structure houses beneficial bacteria and improves moisture retention in root zones competing with established trees.
Phase 3: Planting and Establishment (Spring through Fall)
Direct-sow cold-hardy crops (lettuce, spinach, arugula, peas) when soil reaches 40°F. Plant in 2-inch wide bands rather than single rows to maximize space efficiency. Space bands 8-10 inches apart with 18-inch pathways between bed sections.
Transplant warm-season shade crops (chard, kale, bush beans) after last frost when soil sustains 55°F minimum. Dig holes 30% larger than root balls, backfill with native soil mixed 50/50 with compost. Create 2-inch soil rim around each transplant to capture water.
Apply 3-inch hardwood mulch layer after soil warms to 60°F. Earlier mulching delays warming in spring; later application misses moisture conservation benefits. Keep mulch 2 inches away from plant stems to prevent rot and slug habitat.
Establish pathways using landscape fabric topped with wood chips. This prevents competitive weed pressure while maintaining soil biology (unlike plastic sheeting, fabric allows gas exchange).
Pro-Tip: Companion plant shade vegetables with native woodland wildflowers like Virginia bluebells or Solomon’s seal. Their deeper root systems access subsoil moisture and nutrients without competing in the active crop zone, while flowers support pollinator populations.
Phase 4: Season Extension Techniques (Fall)
Position cold frames over established beds 4 weeks before first frost. The combination of canopy wind protection and cold frame insulation extends harvests 6-8 weeks beyond open-garden crops. Vent frames when internal temperature exceeds 75°F to prevent heat stress.
Successively plant fast-maturing varieties every 14 days from late summer through early fall. Varieties under 40 days to maturity will complete growth cycles even as day length shortens and shade deepens.
Pro-Tip: Apply liquid kelp foliar spray (1 tablespoon per gallon) every 14 days in fall. The hormones and trace minerals enhance cold tolerance by 3-5°F through increased sugar concentration in plant cells.
Nutritional and Environmental Benefits
Woodland vegetables grown in mycorrhizal-rich soil contain elevated levels of minerals compared to conventional production. The fungal networks mine phosphorus, zinc, and copper from weathering parent rock, delivering these minerals to crop roots. Laboratory analysis of shade-grown lettuce shows 18-24% higher iron content and 15% more calcium than sun-grown equivalents.
The permanent mulch layer and minimal tillage approach sequesters carbon at approximately 0.5 tons per acre annually while improving soil structure. Each 1% increase in organic matter content improves water-holding capacity by 20,000 gallons per acre.
Native pollinator support extends beyond crops. Woodland edges with mixed plantings attract specialist bees including Andrena mining bees that nest in partial shade and forage early in spring before canopy closure. These natives pollinate at temperatures 10-15°F cooler than honeybees, critical for early-season crops.
Reduced irrigation demands (40-50% less than full-sun gardens) conserve municipal water supplies while preventing nutrient runoff into watershed systems. The tree canopy intercepts rainfall, releasing it gradually through stem flow and leaf drip that mimics natural forest hydrology.
Advanced Methods
Small Space Optimization:
Vertical growing using cattle panel arches covered with shade-tolerant pole beans or cucumbers (‘Marketmore 76’ tolerates 4-5 hours direct light) captures unused airspace. Position arches on north-south axis to maximize light penetration from overhead gaps in canopy.
Install tiered raised beds (12, 18, and 24 inches heights) on sloping woodland terrain. This creates microclimates where each level receives slightly different light and moisture conditions, allowing crop diversity within compact footprints.
Permaculture Integration:
Establish nitrogen-fixing groundcovers like white clover between vegetable beds. Mow clover 3-4 times per season, leaving clippings as green manure that releases 40-80 pounds of nitrogen per acre annually.
Create sheet mulch pathways using corrugated cardboard (free of waxy coatings) topped with wood chips. This gradual decomposition feeds soil biology while suppressing perennial weeds without herbicides.
Integrate perennial vegetables (ramps, ostrich fern fiddleheads, watercress in seep zones) at garden edges. These establish permanent yields that require minimal intervention after 2-3 year establishment periods.
Season Extension Beyond Cold Frames:
Construct hoop houses using 10-foot lengths of 1/2-inch EMT conduit bent over beds. Cover with 6 mil greenhouse plastic attached to lumber base using wooden lath strips. These temporary structures cost under $1.50 per linear foot and extend seasons 4-6 weeks on both ends.
Use row covers (0.5 oz per square yard) layered over crops inside cold frames. The double protection maintains workable conditions at external temperatures down to 15°F, allowing winter harvest of spinach and mache in Zones 6-7.
Pro-Tip for Organic Production:
Innoculate legume crops (peas, beans) with Rhizobium bacteria specific to species. This costs $8-12 per season but increases yields 15-25% while contributing 30-40 pounds of nitrogen per 1000 square feet through nitrogen fixation in root nodules.
Troubleshooting
Symptom: Yellowing leaves with green veins (interveinal chlorosis) appearing first on newest growth.
Solution: Iron deficiency caused by pH above 7.0. Apply chelated iron foliar spray (1 tablespoon per gallon) for immediate correction. Long-term solution requires sulfur application at 1-2 pounds per 100 square feet to lower pH over 3-4 month period.
Symptom: Slow growth rates and pale green coloration across all plants despite adequate moisture.
Solution: Nitrogen deficiency common in woodland soils where tree roots outcompete vegetables. Side-dress established crops with blood meal (12-0-0) at 1/2 cup per 10 linear feet, watered in thoroughly. Switch to higher-nitrogen fertilizer blend (10-5-5) for subsequent applications.
Symptom: Transplant shock with wilting despite daily watering, often fatal within 7-10 days.
Solution: Root competition from tree feeder roots. Create root barrier by lining planting holes with landscape fabric on tree-side walls only. This forces crop roots laterally into prepared soil zone while allowing drainage. Water transplants with diluted kelp solution (1:10 ratio) every 3 days for 2 weeks.
Symptom: Powdery white coating on leaf surfaces, starting on lower leaves and spreading upward.
Solution: Powdery mildew thrives in high humidity, low air circulation conditions common in woodland gardens. Increase plant spacing by 25% to improve air movement. Spray affected plants with baking soda solution (1 tablespoon per gallon plus 1/2 teaspoon insecticidal soap) weekly until resolved. Remove and destroy heavily infected leaves.
Symptom: Leggy, stretched growth with abnormally long internodes and thin stems.
Solution: Excessive shade (less than 3 hours dappled sunlight daily). Selectively prune lower tree limbs to raise canopy and increase light penetration. Target 40-50% shade for leafy crops, 30-40% for fruiting vegetables. Use hemispherical densiometer or smartphone apps to measure canopy density objectively.
Storage and Maintenance
Irrigation Protocols:
Provide 1 inch of water weekly during active growth, measured at soil level beneath canopy (tree leaves intercept 20-40% of rainfall). Run soaker hoses for 2-3 hours twice weekly rather than daily light watering. This encourages deep rooting and drought resilience.
Monitor soil moisture at 4-inch depth using moisture meter or finger test. Soil should feel like wrung-out sponge: damp but not saturated. Reduce watering frequency by 30% during overcast periods when evapotranspiration drops.
Install rain gauge in open area adjacent to garden. Compare readings to under-canopy collector to calculate interception rates for your specific site. Adjust supplemental irrigation accordingly.
Feeding Schedule:
Apply liquid organic fertilizer (fish emulsion 5-1-1 or compost tea) every 14 days during peak growth periods (May-June, September-October in Zones 5-7). Dilute concentrates according to package directions, applying early morning to prevent foliar burn.
Side-dress heavy feeders (chard, kale, beans) with 1-inch compost layer every 4 weeks. Work lightly into soil surface without disturbing roots. This provides slow nutrient release matching plant uptake rates.
Fall application of organic matter (3-4 inches of aged leaves or compost) after final harvest replenishes soil before dormancy. Earthworm and microbial decomposition processes continue at reduced rates through winter, incorporating nutrients for spring availability.
Post-Harvest Storage:
Harvest leafy crops in early morning after dew dries but before heat stress begins. Rinse in cold water, spin dry, and store in perforated plastic bags with damp paper towel. Proper handling extends refrigerator life to 7-10 days at 34-38°F.
Root crops (radishes, turnips, beets if grown in lighter shade areas) store 2-4 weeks in refrigerator crisper drawers at 95% humidity. Remove tops to prevent moisture loss through leaves, leaving 1 inch of stem to prevent bleeding.
Preserve excess harvests through freezing (blanch greens 2 minutes, shock in ice water, drain, freeze in portions) or fermentation (lacto-fermented sauerkraut from cabbage family crops). These methods maintain 80-90% of nutritional value.
Seasonal Maintenance Tasks:
Spring: Remove winter mulch accumulation to 2-inch depth once soil reaches 50°F. Excess insulation delays warming. Add removed mulch to compost pile.
Summer: Monitor for pest pressure weekly. Hand-pick slugs in early morning. Encourage natural predators (ground beetles, garter snakes) through permanent habitat zones at garden edges.
Fall: Allow beneficial weeds (chickweed, henbit) to establish as living mulch after final crop harvest. These winter annuals prevent erosion, suppress perennial weeds, and provide spring green manure when incorporated.
Winter: Mark perennial plantings with stakes visible above snow cover. Plan crop rotations and order seeds during dormant period. Zone 5-7 gardeners can harvest cold-hardy crops (spinach, mache, claytonia) from cold frames throughout winter.
Conclusion
Success in woodland vegetable production requires accepting partial shade as an asset rather than limitation, using preparation steps that work with existing forest ecosystems instead of against them. The seven-phase approach (assessment, soil building, microbial establishment, strategic planting, season extension, maintenance, and storage) transforms underutilized space into productive plots yielding 15-25 pounds of vegetables per 100 square feet annually. Share your woodland garden experiences and photos with local gardening groups or cooperative extension offices to expand regional knowledge of shade-adapted varieties and techniques specific to your microclimate.
Expert FAQs
How much sunlight does a woodland vegetable garden actually need?
Most leafy crops require minimum 3-4 hours of dappled sunlight or 40-50% total light transmission. Measure using light meter smartphone apps or simple observation: if you can read newsprint comfortably at midday, light levels suffice for lettuce, spinach, arugula, and Asian greens. Root vegetables and fruiting crops need 5-6 hours or 50-60% transmission.
Which vegetables grow best in woodland shade conditions?
Prioritize leafy crops: lettuce (especially loose-leaf varieties), spinach, arugula, mache, claytonia, and mizuna tolerate deepest shade. Chard, kale, and Asian brassicas perform well in moderate shade. Bush beans, peas, and radishes succeed with 4-5 hours dappled light. Avoid tomatoes, peppers, and squash which require 8+ hours direct sun.
How do you prevent tree roots from competing with vegetables?
Install 12-inch deep root barriers (HDPE plastic or doubled landscape fabric) on tree-side edges of beds. This diverts feeder roots laterally while allowing water drainage. Alternatively, use raised beds 18-24 inches deep filled with imported soil, creating root-free zones. Supplement with liquid fertilizers to overcome nutrient competition.
Can you grow woodland vegetables organically without chemical inputs?
Absolutely. The approach described relies entirely on organic methods: compost, aged manure, cover crops for nitrogen, mycorrhizal fungi for nutrient uptake, and integrated pest management. Woodland systems naturally suppress many pests through beneficial insect habitat. Organic certification standards align perfectly with forest gardening principles.
What’s the best time to start a woodland vegetable garden from scratch?
Begin site preparation in late fall after leaf drop when you can assess light patterns without canopy interference. Conduct soil testing, install infrastructure, and apply amendments during dormancy. This allows 4-6 months for microbial activity establishment before spring planting. Early preparation also identifies drainage issues before committing to bed locations.