7 Security Steps for Building a Custom Garden Fence for Total Safety
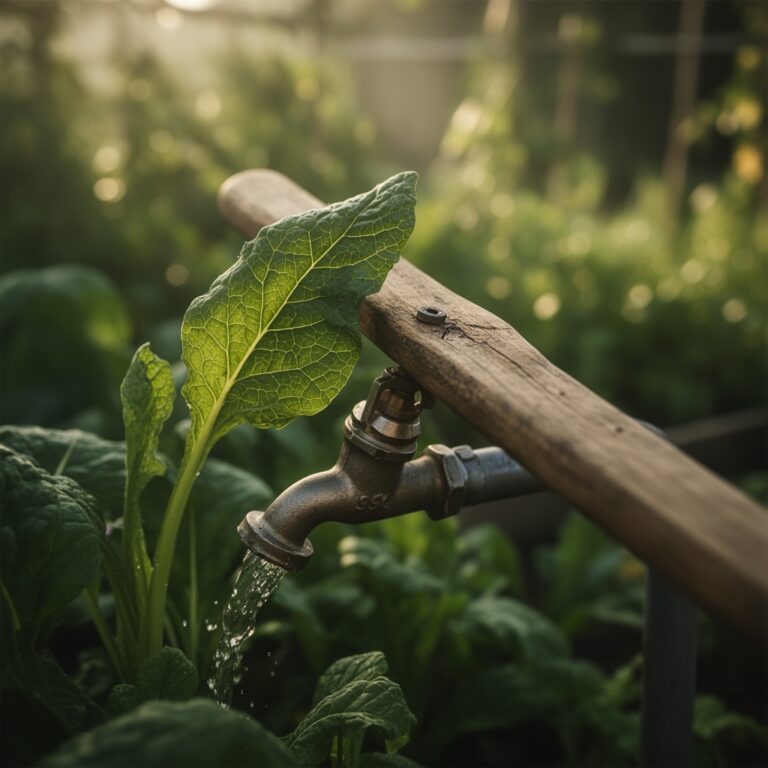
Rabbits, deer, and groundhogs can destroy a vegetable garden in a single night. Tomato plants stripped to stems, lettuce beds cratered, bean vines snapped at the base. The steps for building a garden fence for vegetable security begin with understanding that physical barriers must address both burrowing animals and browsers. A properly constructed enclosure protects the investment of amended soil, mycorrhizal fungi networks, and months of careful cultivation. Security depends on seven technical steps executed in sequence.
Materials
Cedar or black locust posts provide the most durable framework. Cedar contains thujaplicin compounds that resist fungal decay for 15 to 20 years without treatment. Black locust offers superior hardness and a 30-year lifespan in soil contact. Avoid pressure-treated lumber near edible crops due to copper-based preservatives that alter rhizosphere chemistry and cation exchange capacity.
Wire mesh forms the primary barrier. Galvanized steel hex netting with 1-inch openings excludes rabbits while allowing beneficial insect movement. Hardware cloth with 0.5-inch grid stops juvenile mice and voles. For buried aprons, 16-gauge welded wire withstands soil pressure and root disturbance better than woven alternatives.
Fastening systems matter. Ring-shank galvanized nails driven at 45-degree angles into posts resist frost heave. Fence staples every 6 inches along horizontal runs prevent gap formation as wood weathers. UV-resistant zip ties secure overlapping mesh sections where metal fatigue could create entry points.
Soil amendments around fence lines require attention. A 2-inch layer of pea gravel at post bases improves drainage and reduces anaerobic conditions that accelerate decay. Avoid high-nitrogen amendments near posts. A 4-4-4 organic meal applied to adjacent beds maintains balanced NPK ratios without promoting excessive vegetative growth against the barrier.
Timing
Install fencing in late winter or early spring before soil fauna emerge from dormancy. In USDA Hardiness Zones 5 through 7, February through mid-March allows post-hole digging in workable but firm ground. Posts set during this window experience two freeze-thaw cycles before growing season stress, improving stability.
Southern gardeners in Zones 8 and 9 should complete installation by January. Fire ant colonies activate earlier, and post-hole excavation disturbs established nests less before March. Northern zones (3 and 4) require waiting until frost depth recedes to 12 inches, typically late March or early April.
Coordinate fencing with last frost dates. Barriers should stand complete 3 weeks before transplanting tender crops. This allows fence-line soil to settle and permits observation of animal traffic patterns along the new structure.
Phases

Layout Phase: Mark corners with surveyor stakes and mason line. Square the perimeter using the 3-4-5 triangle method. Measure 3 feet along one side, 4 feet along the perpendicular, then verify the diagonal measures exactly 5 feet. This geometric precision prevents racking and maintains uniform tension across wire sections.
Pro-Tip: Spray-mark post locations with landscape paint at 8-foot intervals. This spacing matches standard lumber dimensions and prevents material waste.
Excavation Phase: Dig post holes 24 inches deep in stable soil, 30 inches in sandy or loose conditions. Hole diameter should measure 3 times the post width. Pour 4 inches of crushed stone base before setting posts. Tamp stone with a steel bar in 1-inch lifts to achieve proper compaction.
Backfill with excavated soil in 6-inch layers. Add water to each layer and compress with a tamping bar to eliminate air pockets. The top 4 inches should receive native soil only; amendments at this depth promote collar rot.
Pro-Tip: Coat the below-grade section of posts with copper naphthenate. This penetrating preservative does not leach into root zones but extends service life by 40 percent.
Assembly Phase: Attach wire mesh starting from one corner. Roll out material along the ground, securing it to posts at 36 inches height. Work toward the opposite corner, maintaining consistent tension. Excess slack creates bow waves where animals push through.
Install a buried apron by bending the bottom 12 inches of mesh outward at a 90-degree angle. Excavate a 4-inch trench along the fence line. Lay the apron flat in the trench and backfill. This horizontal barrier stops digging animals that instinctively burrow straight down at obstacles.
Pro-Tip: Overlap mesh sections by 6 inches and secure with doubled zip ties every 3 inches. Single ties fail under repeated animal pressure.
Troubleshooting
Symptom: Posts lean inward after spring thaw.
Solution: Frost jacking has lifted posts from their gravel bases. Remove 2 inches of soil around each post. Drive a 12-inch landscape spike through the post center into undisturbed subsoil. Refill and tamp.
Symptom: Wire mesh pulls away from staples on south-facing sections.
Solution: UV degradation has embrittled the galvanized coating. Apply zinc-rich cold galvanizing spray to affected areas. Replace staples with lag screws and fender washers for 4 times the holding power.
Symptom: Groundhogs tunnel under buried apron.
Solution: Species excavate at 18 to 24-inch depths when encountering barriers. Extend apron to 18 inches and install at a 45-degree outward angle rather than horizontal.
Symptom: Deer browse over 6-foot fence tops.
Solution: Install a 45-degree outward-angled top rail with 18 inches of additional mesh. Deer refuse jumps where landing zones appear constricted.
Symptom: Voles create runways along fence base inside perimeter.
Solution: Maintain a 12-inch vegetation-free zone on both sides of the fence. Apply 2 inches of hardwood mulch. Voles avoid exposed travel routes where raptors hunt.
Maintenance
Inspect all fasteners and connections every 60 days during the growing season. Tighten loose staples and replace corroded zip ties immediately. Apply 1 inch of water weekly to vegetation within 18 inches of fence lines to prevent root systems from undermining buried aprons.
Remove climbing annual weeds such as bindweed and morning glory within 24 hours of emergence. These species exploit fence structures to access light, creating bridges for rodents. Cut woody perennial growth at ground level twice per season.
Check post plumbness each spring using a 4-foot level. Posts tilting more than 2 degrees require immediate reset. Re-tamp backfill and add gravel collars as needed.
Repaint or re-stain above-ground post sections every 3 years. This maintenance prevents checking and splitting that compromise structural integrity. Avoid coating below-grade sections; coatings trap moisture and accelerate decay.
FAQ
How deep must fence wire extend underground?
Twelve inches minimum for rabbits, 18 inches for groundhogs, installed as an outward-facing apron rather than vertical burial.
What fence height stops deer effectively?
Eight feet of vertical mesh or 6 feet vertical with a 45-degree outward-angled top extension measuring 18 inches.
Can I use chicken wire for vegetable garden security?
No. Chicken wire uses thin 20-gauge wire that rabbits chew through in 48 hours. Hardware cloth or hex netting with heavier gauge provides necessary durability.
How do I prevent rust on galvanized fencing?
Avoid contact with copper-based fungicides and high-nitrogen fertilizers. Both accelerate galvanic corrosion. Rinse fence sections quarterly if using overhead irrigation with alkaline water above 8.5 pH.
Should fence posts sit inside or outside the garden perimeter?
Inside placement protects posts from lawnmower damage and allows the full interior space for planting. Outside placement provides easier access for maintenance but reduces growing area by 6 inches per side.