7 Energy-Efficient Steps to Prepare a DIY LED Plant Light
Turgor pressure maintains the rigid structure of a leaf; it is the mechanical force of water against cell walls that prevents wilting. When the photosynthetic rate drops due to insufficient photons, the plant enters a state of metabolic stagnation. Learning how to prepare a DIY plant light ensures that your indoor specimens maintain the necessary energy for transpiration and nutrient uptake. Successful cultivation depends on the precise delivery of the Photosynthetically Active Radiation (PAR) spectrum.
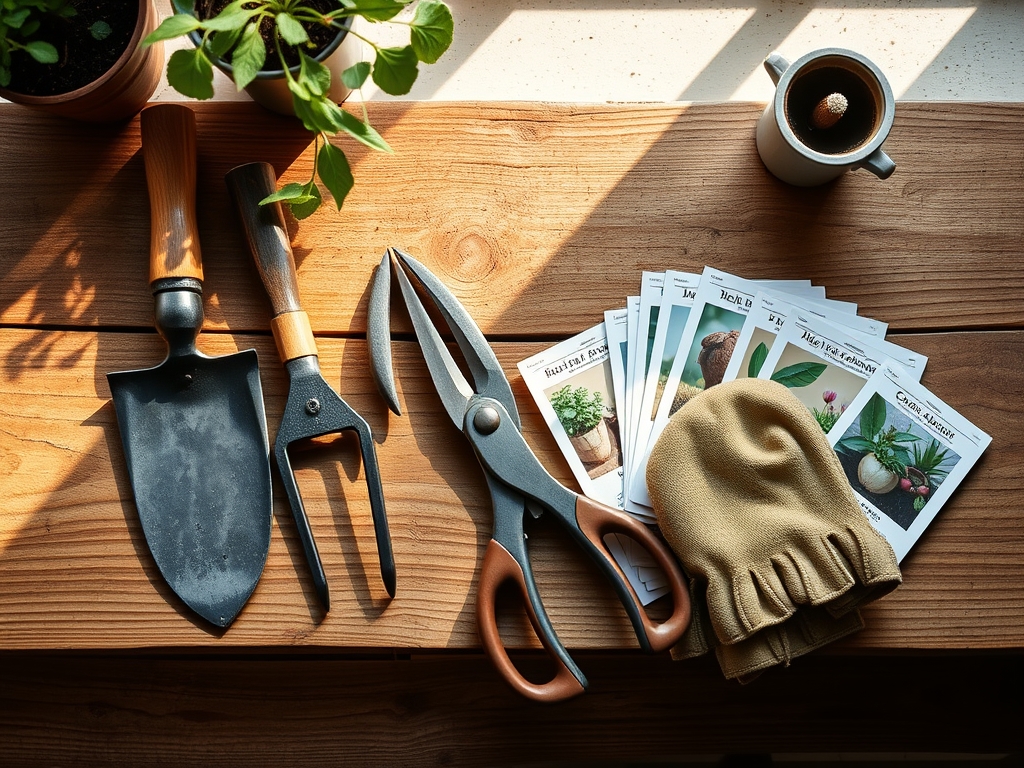
Materials:
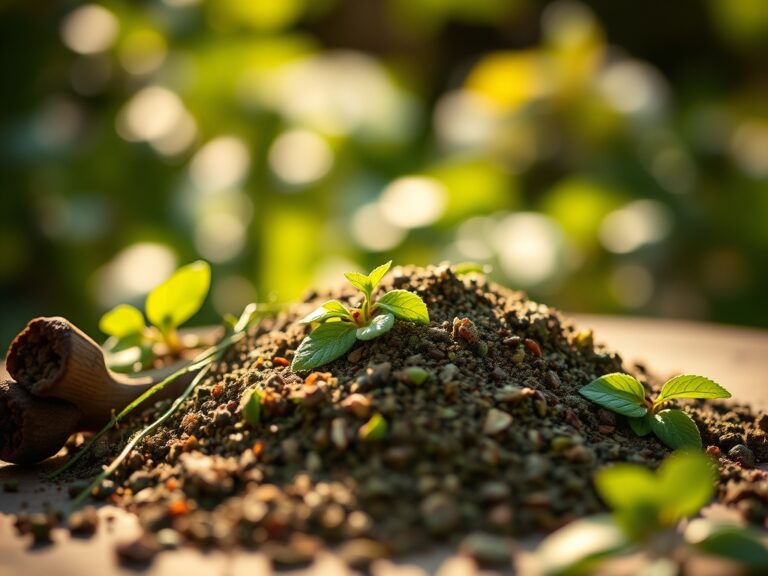
While the light source is electronic, the substrate beneath it dictates the efficiency of nutrient absorption. Use a **friable loam** with a **Cation Exchange Capacity (CEC) of 15 to 25 cmol/kg** to ensure the soil can hold onto essential ions. The ideal growing medium for an LED setup should have a **pH of 6.2 to 6.8**.
For the lighting assembly, procure COB (Chip on Board) LEDs with a color temperature of 3500K to 5000K. You will need an aluminum heat sink, a constant current LED driver, and thermal paste. For the nutritional foundation, prepare a slow-release organic fertilizer with an NPK ratio of 4-4-4 for the vegetative stage, transitioning to a high-phosphorus 5-10-5 ratio once the photoperiod triggers the reproductive phase.
Timing:
In USDA Hardiness Zones 4 through 7, indoor lighting is critical from October to April when natural day length falls below 12 hours. The biological clock of most angiosperms is governed by the length of the dark period. To prevent premature senescence, your DIY light must provide a consistent 14 to 16 hour photoperiod.
Set your timers based on local frost dates; if you intend to transplant outdoors, start your LED system 6 to 8 weeks before the average last frost. This ensures the seedlings have developed a robust rhizosphere and sufficient carbohydrate reserves to survive the transition from a controlled environment to the variable conditions of the field.
Phases:
Sowing
Place seeds in a sterile seed-starting mix at a depth twice the diameter of the seed. Position your DIY LED light exactly 12 inches above the soil surface. Maintain a soil temperature of 70 to 75 degrees Fahrenheit using a heat mat.
Pro-Tip: Maintaining a close proximity between the light and the soil prevents etiolation, which is the elongation of stems in search of light. This is driven by auxin suppression on the illuminated side of the stem; if light is too weak, auxins accumulate, causing the plant to stretch and become structurally weak.
Transplanting
When the second set of true leaves appears, move the seedlings into larger containers. Inspect the roots for a healthy, white appearance. If the roots are circling the pot, gently tease them out using a hori-hori knife.
Pro-Tip: Inoculate the new soil with endomycorrhizal fungi. This creates a mycorrhizal symbiosis that increases the effective root surface area by up to 1,000 percent, significantly improving the uptake of immobile nutrients like phosphorus.
Establishing
As the plant enters the vegetative stage, increase the light intensity. Adjust the DIY light height to maintain a Photosynthetic Photon Flux Density (PPFD) of 400 to 600 micromoles. Monitor the leaves for a deep green color, indicating high chlorophyll density.
Pro-Tip: Direct a small fan toward the plants to create a light breeze. This mechanical stress stimulates the production of lignin in the stems, a process known as thigmomorphogenesis, resulting in a sturdier plant capable of supporting heavy fruit or foliage.
The Clinic:
Physiological disorders often mimic pathogen attacks but are frequently related to light and nutrient imbalances.
- Symptom: Interveinal chlorosis on older leaves (yellowing between green veins).
- Solution: This indicates a Magnesium deficiency. Apply a foliar spray of Epsom salts (1 tablespoon per gallon of water). Magnesium is the central atom in the chlorophyll molecule.
- Symptom: Necrotic (brown) leaf tips and margins.
- Solution: This suggests Potassium deficiency or salt buildup. Flush the substrate with distilled water and adjust the NPK ratio to include more potash.
- Symptom: Abnormally dark green leaves with purple undersides.
- Solution: This is a classic sign of Phosphorus deficiency, often caused by soil temperatures below 60 degrees Fahrenheit which inhibits P-uptake. Increase the ambient temperature.
- Symptom: Bleached white patches on upper leaves.
- Solution: This is photo-oxidation (light burn). Increase the distance between the DIY LED and the canopy by 4 to 6 inches.
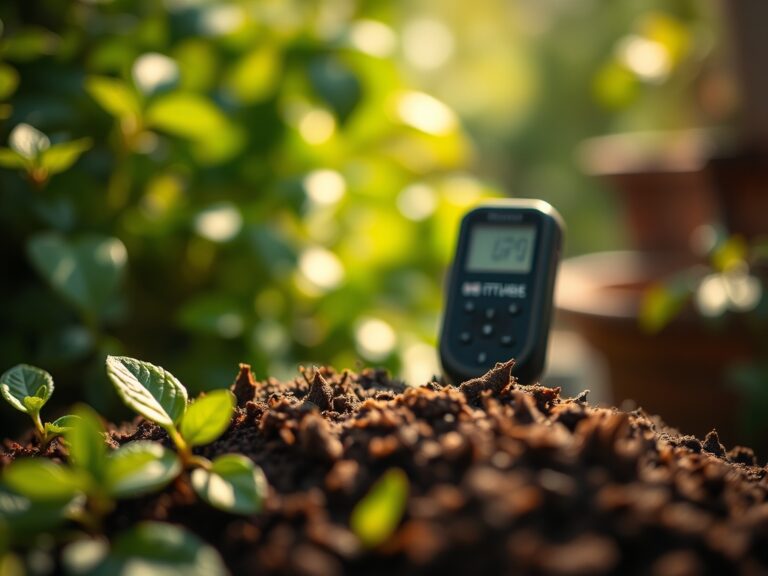
Maintenance:
Consistency is the primary variable in plant health. Use a soil moisture meter daily; do not water until the probe reads "3" or "4" on a 10-point scale. Most indoor plants require approximately 1.5 inches of water per week, delivered directly to the soil to avoid wetting the foliage.
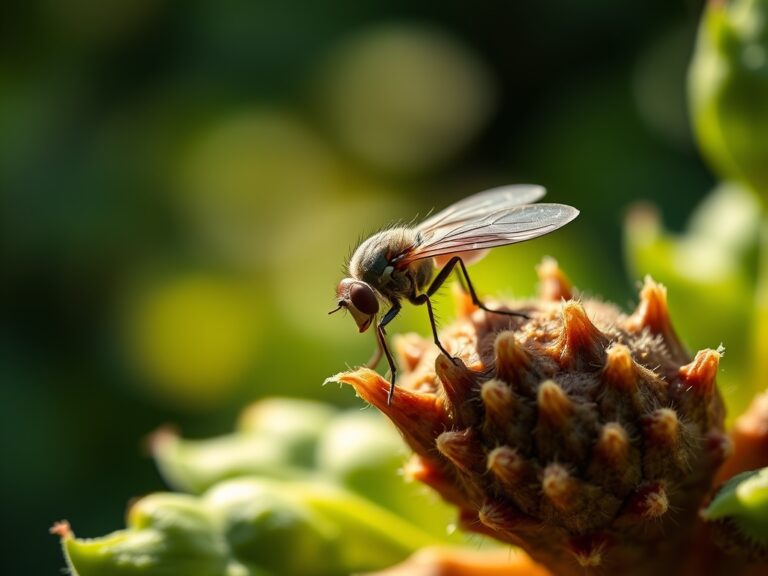
Every 30 days, use bypass pruners to remove any yellowing or dead lower leaves. This improves airflow and prevents the harbor of sap-sucking insects. Clean the LED diodes with a dry microfiber cloth every two weeks to remove dust, as even a thin layer of particulates can reduce light output by 10 to 15 percent.
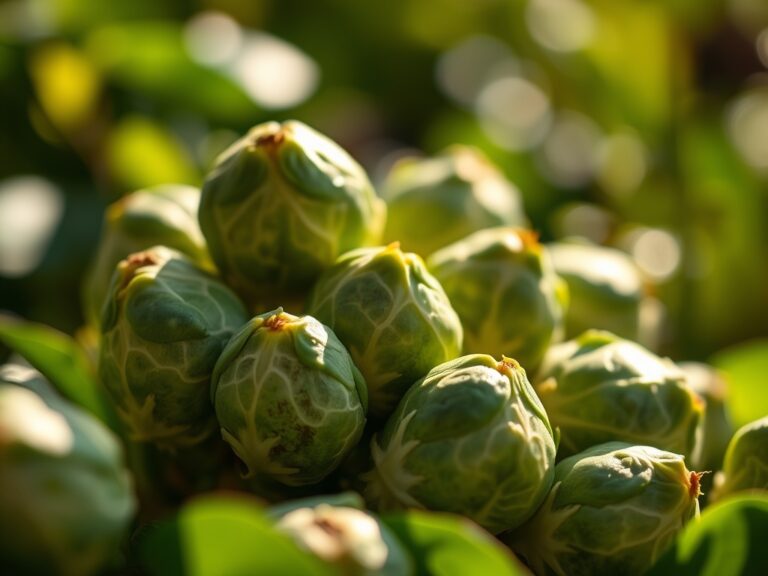
The Yield:
For fruiting plants, harvest when the fruit reaches its varietal color and releases easily from the pedicel. For leafy greens, harvest early in the morning when turgor pressure is at its peak. Use sharp shears to make clean cuts, preventing tissue jaggedness that leads to rapid water loss.
Immediately after harvest, move the produce to a cool environment. This slows down the respiration rate, preserving the sugars and volatile compounds synthesized under your DIY light. For herbs, placing the stems in a glass of water can maintain "day-one" freshness for up to 72 hours.
FAQ:
What is the best LED color for plant growth?
A full-spectrum LED with a heavy concentration in the 450nm (blue) and 660nm (red) wavelengths is ideal. Blue light promotes compact vegetative growth, while red light triggers the flowering and fruiting cycles.
How far should DIY LEDs be from plants?
Maintain a distance of 12 to 18 inches for seedlings and 6 to 12 inches for established vegetative plants. Use a lux meter or PAR meter to ensure the intensity meets the specific requirements of the species.
Can I use a regular LED bulb for plants?
Standard household LEDs lack the necessary photon flux and specific spectral peaks required for efficient photosynthesis. While they may sustain a plant temporarily, they will not support vigorous growth or reproductive stages.
How many hours should my DIY light stay on?
Most vegetables and flowering plants require a 14 to 16 hour photoperiod. Consistent timing is vital; use an automated timer to prevent disrupting the plant's internal circadian rhythm and hormonal balance.