6 Steps to Install a Tiered Garden Fountain
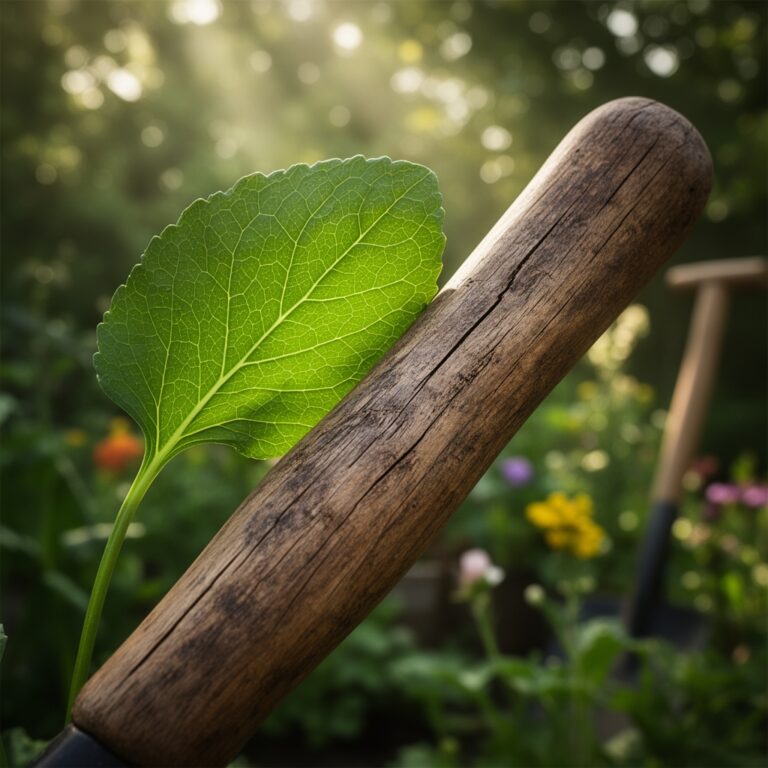
The smell of damp, anaerobic mud gives way to the scent of freshly aerated friable loam as you break ground for a new water feature. A successful installation requires more than aesthetic placement; it demands an understanding of soil compaction and structural load-bearing capacity. Following the correct steps for installing a garden fountain ensures that the heavy stone tiers do not subside into the rhizosphere, which would disrupt local root systems and cause structural failure. Proper site preparation maintains the turgor pressure of surrounding vegetation by preventing soil compaction that limits oxygen availability to the roots.
Materials:

The foundation of any tiered fountain begins with the substrate. You must analyze the soil Cation Exchange Capacity (CEC) and pH before selecting surrounding flora. Aim for a soil pH between 6.0 and 7.0 to ensure nutrient availability for the plants that will benefit from the fountain's microclimate. The ideal substrate is a friable loam consisting of 40% sand, 40% silt, and 20% clay.
For the surrounding plantings, utilize a balanced NPK ratio of 10-10-10 during the initial establishment phase to support both root development and vegetative growth. If you are planting heavy feeders like hydrangeas near the splash zone, shift to a 5-10-10 ratio to prioritize bloom production over excessive foliage. You will also need Level 2 crushed limestone for the base, a submersible pump rated for 300-500 GPH, and UV-stabilized pond liner to prevent water seepage into the surrounding soil profile.
Timing:
Installation should occur during the dormant season or early spring, specifically in Hardiness Zones 4 through 8, to avoid thermal stress on the surrounding landscape. The "Biological Clock" of your garden dictates that heavy construction be completed before the transition from vegetative to reproductive stages in nearby perennials. In most regions, this window opens when soil temperatures consistently reach 45 degrees Fahrenheit but before the local "last frost date" has passed. This timing allows the soil to settle and the microbial community within the rhizosphere to recover before the peak transpiration demands of mid-summer.
Phases:

Sowing the Foundation
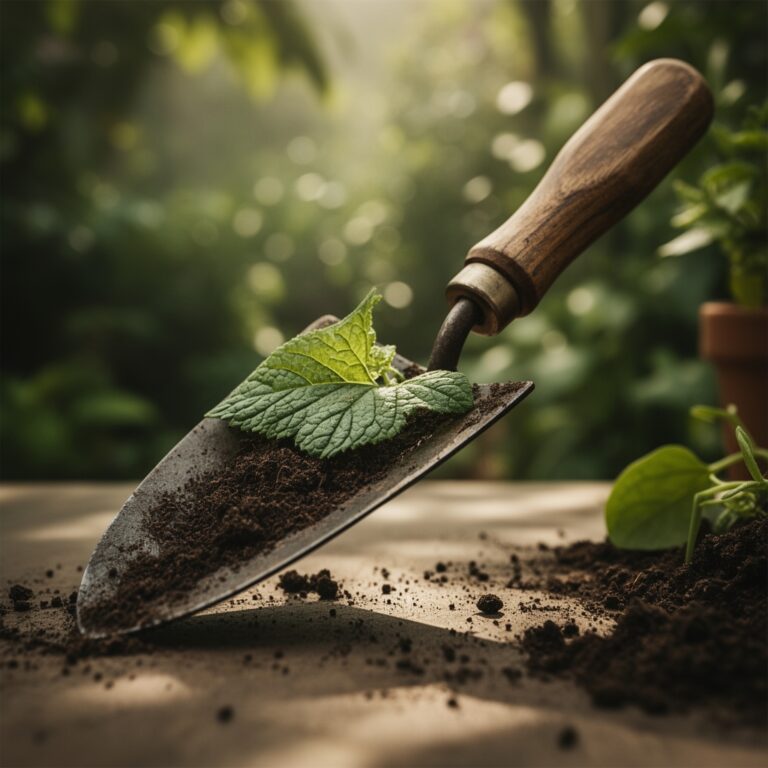
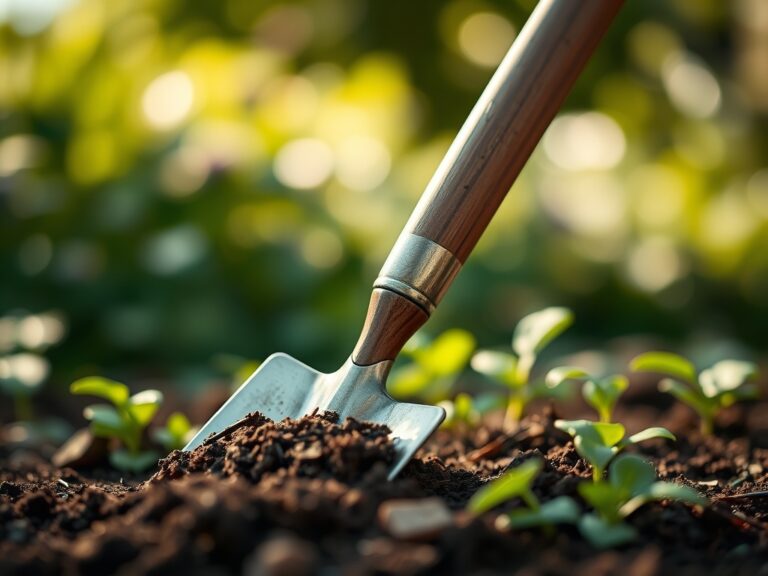
Excavate a pit 6 inches deeper than the fountain base. Fill this with 4 inches of compacted gravel and 2 inches of leveling sand. This prevents the heavy tiers from shifting during freeze-thaw cycles.
Pro-Tip: Compacting the base prevents uneven settling that leads to "dry-running" pumps. Biological Why: Soil compaction reduces macropores, which are essential for gas exchange; by localizing the fountain on a gravel bed, you protect the surrounding soil structure and maintain aerobic conditions for beneficial mycorrhizal fungi.
Transplanting and Plumbing
Position the reservoir and run the electrical conduit through a 1-inch PVC pipe buried at least 12 inches deep. Thread the pump tubing through the central column of the tiers. Ensure all seals are coated with marine-grade silicone.
Pro-Tip: Use a hori-hori knife to clean the edges of the excavation. Biological Why: Clean cuts on nearby roots prevent ragged edges that are susceptible to fungal pathogens like Phytophthora, allowing the plant to seal the wound through the production of callous tissue more efficiently.
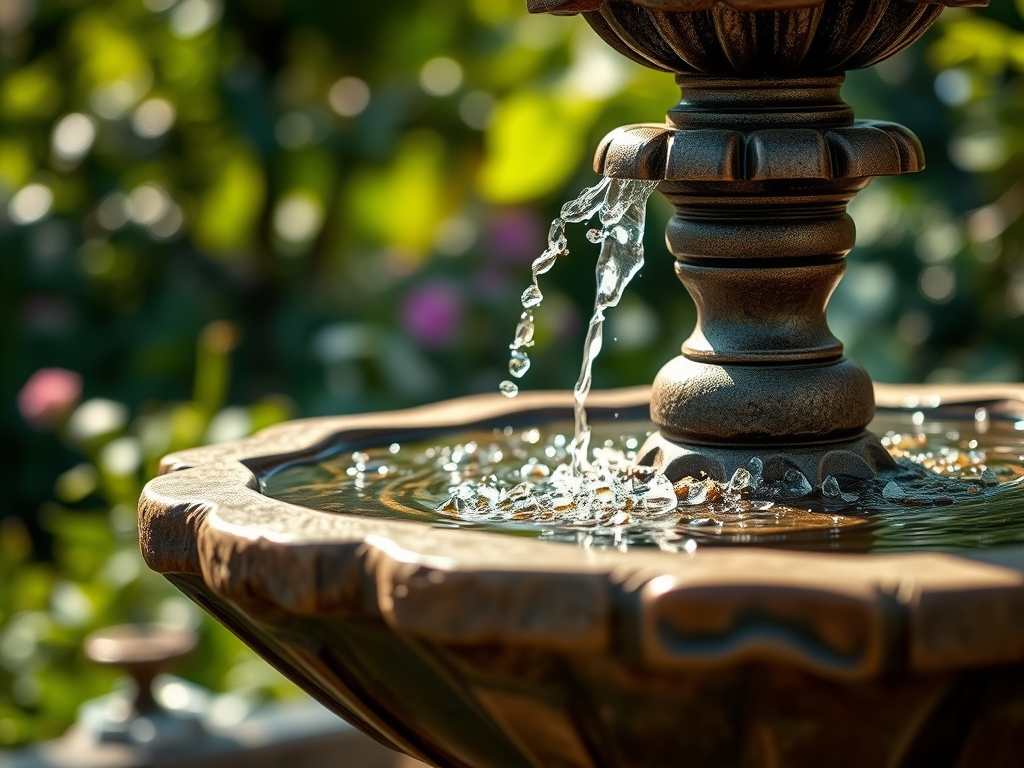
Establishing the Flow
Fill the basin and activate the pump to check for levelness. Adjust the tiers using plastic shims until the water sheet is uniform across the entire circumference. This ensures oxygenation of the water, which benefits the local micro-environment.
Pro-Tip: Maintain a consistent water level to prevent pump cavitation. Biological Why: Constant humidity from the fountain increases the local vapor pressure deficit (VPD), reducing transpirational stress on broad-leafed plants during high-heat periods.
The Clinic:
Physiological disorders in the garden fountain environment often manifest in the surrounding foliage.
Symptom: Interveinal chlorosis (yellowing leaves with green veins) in nearby shrubs.
Solution: This indicates a Manganese or Iron deficiency, often caused by high alkalinity if fountain water splashes into the soil. Apply a chelated iron supplement and monitor soil pH.
Symptom: Algal bloom in the fountain basins.
Solution: High phosphate levels or excessive sunlight. Introduce barley straw extract to naturally inhibit algal cell wall synthesis without harming the local insect population.
Symptom: Marginal leaf burn on surrounding hostas.
Solution: Sodium buildup from treated tap water. Flush the soil with 2 inches of rainwater or distilled water to leach salts from the root zone.
Fix-It for Nitrogen Chlorosis: If the entire leaf turns pale yellow, the plant is scavenging nitrogen for new growth. Apply a high-nitrogen liquid fertilizer (20-10-10) at half-strength to restore chlorophyll production.
Maintenance:
Precision maintenance is the difference between a functional feature and a stagnant eyesore. Use a soil moisture meter to ensure the surrounding earth receives exactly 1.5 inches of water per week at the drip line, accounting for fountain splash-back. Every 30 days, scrub the tiers with a stiff brush to remove mineral deposits that can cause "wicking," where water climbs the stone and leaks outside the reservoir.
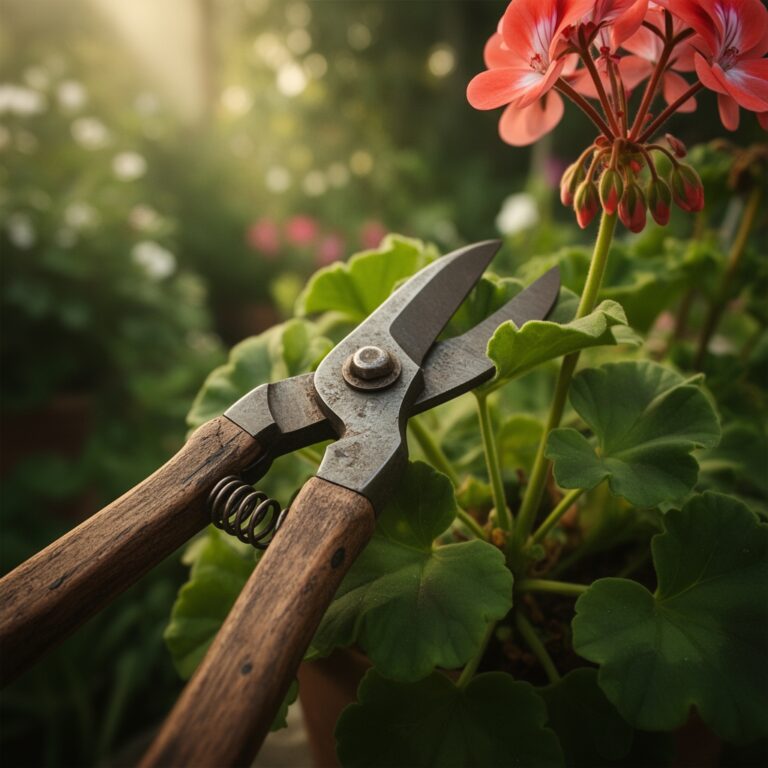
In autumn, as plants enter senescence, use bypass pruners to remove any overhanging deciduous foliage before it falls into the water. Decomposing organic matter increases the biological oxygen demand (BOD), which can lead to foul odors and pump clogging. During winter in zones with a frost line deeper than 2 inches, drain the pump and store it indoors to prevent ice expansion from cracking the volute.
The Yield:
While a fountain does not produce a caloric yield, it produces a "micro-climate yield." The increased humidity allows for the cultivation of delicate mosses and ferns that would otherwise fail in dry heat. Harvest these mosses by "plugging" small sections with a hori-hori knife and pressing them into the damp crevices of the fountain tiers. For "day-one" freshness in a water-side cutting garden, harvest flowers like Astilbe when only one-third of the blooms are open; immediately submerge the stems in 110-degree Fahrenheit water to break air bubbles in the xylem and ensure maximum turgor.
FAQ:
How deep should the fountain foundation be?
The foundation should be at least 6 to 8 inches deep. This includes 4 inches of compacted aggregate and 2 inches of leveling sand to provide a stable, non-shifting base that prevents structural subsidence over time.
Can I use tap water in my garden fountain?
Yes, but monitor the calcium carbonate levels. Hard water leads to scale buildup on the pump. If your tap water has high mineral content, use a de-scaler or distilled water to prevent mechanical failure and leaf burn on nearby plants.
How do I prevent mosquitoes in the water?
Maintain a flow rate of at least 200 GPH. Moving water prevents mosquitoes from laying eggs. For stagnant areas, use BTI (Bacillus thuringiensis israelensis) dunks, which specifically target larvae without impacting the broader rhizosphere or beneficial pollinators.
What is the best NPK ratio for plants near a fountain?
Use a 10-10-10 balanced fertilizer for general establishment. If the fountain water increases soil alkalinity, switch to an acid-forming fertilizer to maintain a pH of 6.5, ensuring essential micronutrients like iron remain bioavailable to the root systems.