6 Steps to Install a Decorative Garden Statue
The weight of stone or cast iron settling into prepared ground transforms an ordinary border into a focal point that guides the eye through successive bloom cycles. Steps for installing a garden statue demand attention to soil compaction, drainage vectors, and structural levering that prevents seasonal frost heave. A 200-pound limestone cherub placed without proper base preparation will tilt 4 to 7 degrees within eighteen months as clay particles expand and contract. The process mirrors transplanting a mature shrub: you engineer the substrate first, then position the mass, then integrate the surrounding plantings to manage water flow and root competition.
Materials
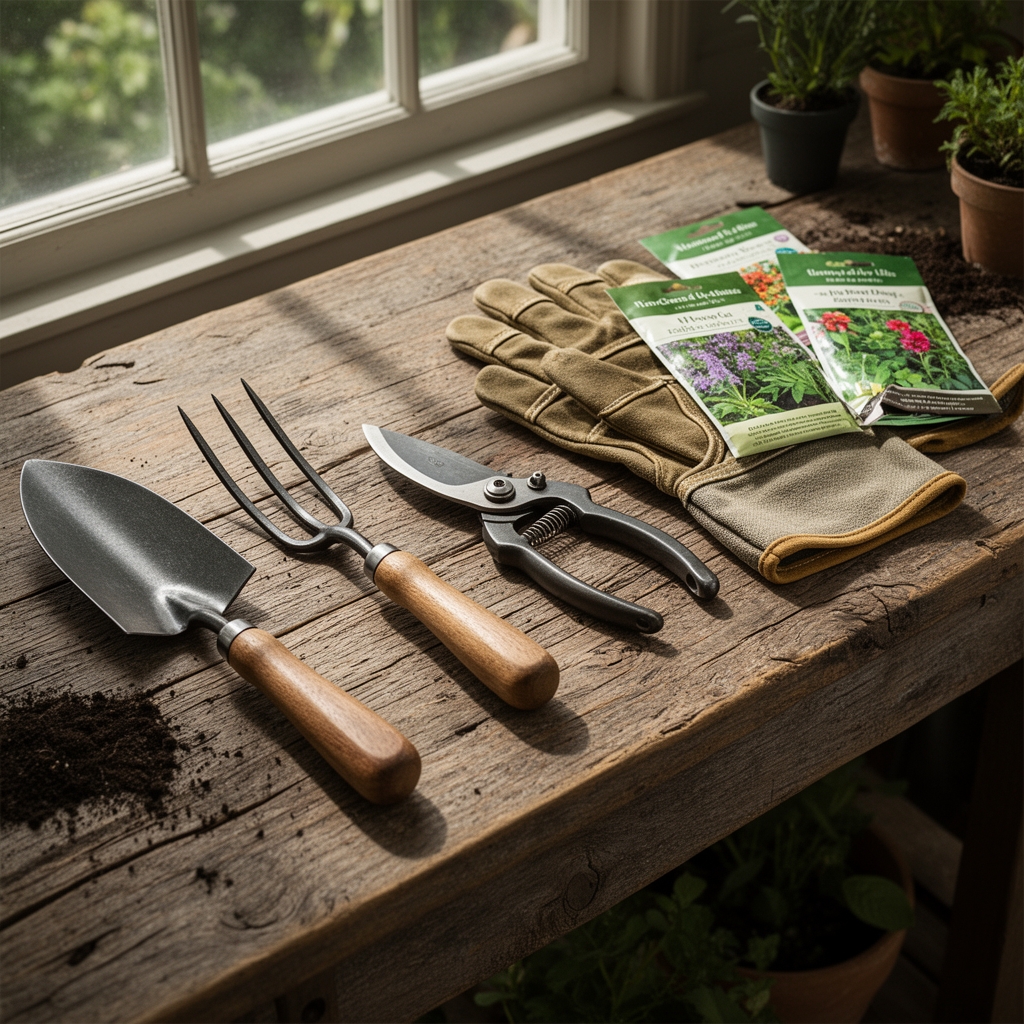
Assemble crushed granite or pea gravel with particle sizes between 0.25 and 0.75 inches for the drainage layer. Select coarse builder's sand (not beach sand, which contains salt residues) with a pH of 6.5 to 7.0. Acquire one 50-pound bag of 4-4-4 organic kelp and bone meal blend if you plan to establish groundcover within 12 inches of the base; this balanced NPK ratio supports root establishment without excessive vegetative growth that might obscure the statue's lower relief. Obtain landscape fabric with a permeability rating above 50 gallons per square foot per minute to prevent weed emergence while allowing water infiltration. Source polymeric sand or non-shrink grout for filling gaps if the statue has a multi-part base. A 48-inch steel pry bar and a 4-foot carpenter's level are non-negotiable tools. Wear leather gloves rated for masonry handling to avoid abrasions from rough-cast surfaces.
Timing
Install statuary between late March and mid-May in Zones 5 through 7, after the final frost date but before soil temperatures exceed 68 degrees Fahrenheit. Cooler soil allows you to work aggregate materials without dust plumes and reduces the risk of compaction from premature drying. In Zones 8 and 9, schedule installation from October through February when afternoon temperatures remain below 75 degrees. Avoid working saturated soil; the cation exchange capacity drops when clay particles are waterlogged, leading to poor compaction and future settling. Wait 48 hours after heavy rain before excavating. In Zone 4 and colder regions, complete installation by September 15 to allow the base to undergo one freeze-thaw cycle before winter locks the ground.
Phases

Excavation Phase
Mark a circle or square 6 inches wider than the statue's base footprint. Dig to a depth of 8 inches in sandy loam, 12 inches in clay soil. Remove all organic matter, including roots thicker than 0.25 inches; decomposing cellulose creates voids that promote settling. Tamp the excavation floor with a hand tamper until your boot heel leaves no visible impression. Spread landscape fabric across the bottom and 4 inches up the sidewalls.
Pro-Tip: Inoculate the perimeter soil with Rhizophagus irregularis spores if you intend to plant shallow-rooted sedums or thyme within 18 inches. Mycorrhizal fungi colonize roots within 21 days and improve drought tolerance by 30 percent.
Base Construction Phase
Pour 4 inches of crushed granite into the excavation. Rake level, then mist lightly to settle dust. Tamp in 1-inch lifts until the surface feels rigid underfoot. Add 2 inches of coarse sand. Use a 4-foot level to check for plane accuracy in two perpendicular directions; adjust sand depth as needed. The base layer must drain at a rate exceeding 2 inches per hour to prevent ice lens formation.
Pro-Tip: Slope the sand layer 0.5 degrees away from the statue's central axis if the piece has a hollow base. This gradient directs condensation outward, reducing efflorescence and freeze damage.
Positioning and Anchoring Phase
Recruit a second person for statues exceeding 80 pounds. Use the pry bar as a lever, not a battering ram. Lower the statue onto the sand base, rotating to align sight lines with primary viewing angles (typically the home's main window or patio seating area). Check plumb in four directions. Drive 8-inch galvanized spikes through pre-drilled base holes if provided. Backfill around the perimeter with native soil amended with 20 percent compost (approximating a 3-2-2 NPK release over 90 days). Water the backfill zone with 2 gallons to eliminate air pockets.
Pro-Tip: Apply a thin bead of silicone caulk at the statue-base junction if the piece is ceramic or lightweight resin. This prevents insect colonization and reduces moisture wicking.
Troubleshooting
Symptom: Statue tilts within six months.
Solution: Re-excavate, increase gravel depth to 6 inches, and verify drainage exceeds 2 inches per hour. Clay soils require amended bases.
Symptom: White salt deposits (efflorescence) on stone surfaces.
Solution: Reduce irrigation frequency within 24 inches of the base. Efflorescence results from dissolved salts migrating through capillary action as water evaporates.
Symptom: Moss or algae growth on north-facing statue surfaces.
Solution: Scrub with a solution of 1 part white vinegar to 3 parts water. Improve air circulation by pruning adjacent shrubs to 18 inches clearance.
Symptom: Freeze-thaw cracking in porous concrete statues.
Solution: Apply penetrating silane-siloxane sealer in late autumn. Reapply every 24 months to reduce water absorption by 80 percent.
Maintenance
Water any surrounding plantings with 1 inch per week, delivered in a single session to encourage deep rooting. Avoid overhead irrigation that splashes soil onto the statue's lower portions; use drip emitters placed 14 inches from the base. Hand-pull weeds within a 12-inch radius every 14 days during the growing season; herbicide drift can stain porous stone. Apply a 2-inch layer of shredded hardwood mulch annually, keeping it 3 inches away from the statue's base to prevent moisture retention and lichen establishment. Inspect mounting hardware each spring for rust or movement; tighten bolts to manufacturer specifications if provided.
FAQ
How deep should the gravel base be for a 150-pound statue?
Four inches in well-drained loam, six inches in clay. Add one additional inch for every 50 pounds above 150.
Can I install a statue directly on lawn?
No. Turf roots decompose, creating voids. Always excavate and construct a gravel base.
What is the ideal distance from established tree roots?
Maintain 24 inches clearance from roots exceeding 2 inches diameter to prevent future heaving and competition for moisture.
Should I seal natural stone statues?
Seal porous limestone and sandstone. Avoid sealers on dense granite or marble, which already resist water infiltration.
How do I prevent algae without damaging nearby plants?
Use hydrogen peroxide at 3 percent concentration. Spray, wait ten minutes, then rinse with clear water.