6 Steps to Build a Decorative Dry Creek Bridge
The scent of disturbed clay and wet stone rises as you set the first timber across a dry creek bed. Your hands register the heft of pressure-treated lumber, the grain polished smooth by repeated grading. Steps for building a garden bridge demand precision in both carpentry and site hydrology, bridging the functional and ornamental in a single structure that must withstand spring runoff while anchoring a visual corridor through your landscape.
Materials
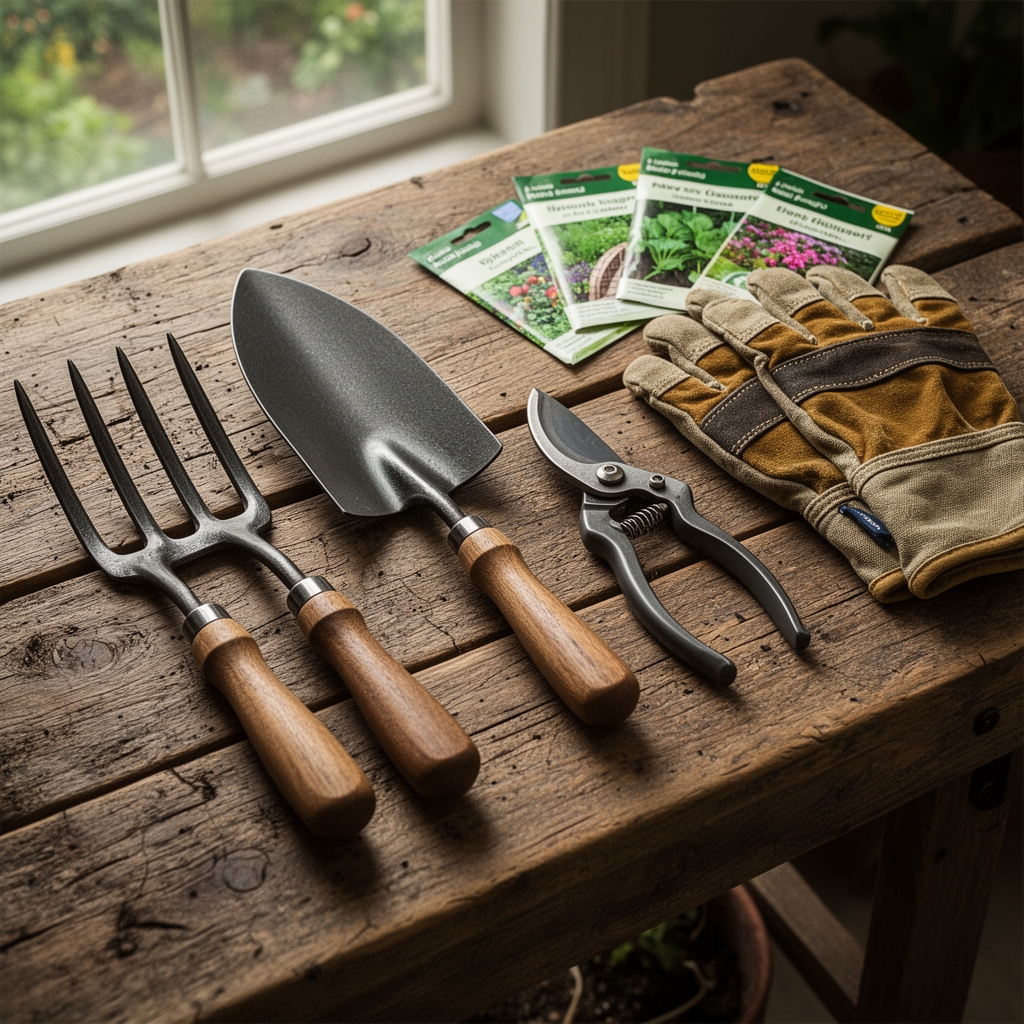
Pressure-treated lumber rated for ground contact forms the skeleton: 4×6 stringers spanning the creek width, 2×6 decking perpendicular across the stringers, and 4×4 posts for railings. Select lumber with a moisture content below 19 percent to minimize warping. Galvanized or stainless steel hardware resists oxidation in moist environments; use 3/8-inch carriage bolts for structural joints and 3-inch deck screws for decking attachment.
For foundation, use crushed limestone base (6-8 inches deep) beneath concrete footings. The limestone raises pH to 7.2-7.8, stabilizing the soil matrix and improving drainage. Where soil is acidic (pH 5.5-6.0), incorporate dolomitic lime at 5 pounds per square yard around footings. This adjusts cation exchange capacity and prevents concrete spalling.
Adjacent plantings benefit from a 4-4-4 organic fertilizer blend applied 18 inches from bridge abutments. The balanced NPK ratio supports fibrous root systems of ornamental grasses and sedges without promoting excessive vegetative growth that obscures sightlines.
Timing
Construct between late spring (after final frost) and early autumn in Zones 5-8. Soil temperatures above 55°F allow proper concrete curing without frost heaving. In Zone 5, this window opens May 10-25; in Zone 7, April 5-20. Avoid summer peaks when soil moisture drops below 25 percent, complicating excavation and compaction.
For northern zones (3-4), wait until soil thaws to 12 inches depth. Drive a soil probe to confirm; frozen sublayers crack footings during freeze-thaw cycles. Southern zones (9-10) permit year-round construction but schedule during dry seasons to prevent washout during flash floods.
Phases

Step 1: Site Assessment and Grading
Measure creek width at three points across the proposed span. Select the narrowest stable section, ideally where bedrock or compacted clay sits within 24 inches of surface. Mark abutment locations 6 inches back from the high-water line, evidenced by silt deposits or bent vegetation.
Pro-Tip: Inoculate disturbed soil zones with Rhizophagus irregularis mycorrhizal fungi at 1 ounce per cubic foot. This rebuilds symbiotic networks severed during excavation, accelerating revegetation on exposed banks.
Step 2: Foundation Excavation
Dig footing pits 18 inches deep and 16 inches square at each abutment. Line bottoms with 4 inches of crushed limestone, compacting with a hand tamper to 95 percent density. Pour 12 inches of 3000-psi concrete, embedding galvanized post anchors flush with the top surface.
Pro-Tip: Slope concrete footings 2 degrees toward the creek to shed water and prevent pooling beneath stringers, which accelerates fungal colonization.
Step 3: Stringer Installation
Bolt 4×6 stringers to post anchors using 3/8-inch x 6-inch carriage bolts. Stringers must rest level; shim with treated lumber scraps if abutments differ in height by more than 1/4 inch. Space stringers 16 inches on center for spans up to 8 feet, 12 inches for spans 8-12 feet.
Pro-Tip: Apply copper naphthenate wood preservative to all cut ends before assembly. This penetrates 1/8 inch into end grain, blocking moisture uptake and delaying decay by 8-10 years.
Step 4: Decking Application
Lay 2×6 deck boards perpendicular to stringers, maintaining 1/8-inch gaps for drainage. Pre-drill holes 1/16 inch smaller than screw diameter to prevent splitting. Stagger butt joints across adjacent boards to distribute load.
Step 5: Railing Construction
Install 4×4 posts at 4-foot intervals, bolting through stringers with two 3/8-inch bolts per post. Attach 2×4 top and bottom rails, positioning the top rail 36 inches above deck surface to meet residential safety codes.
Step 6: Finishing and Integration
Sand sharp edges to 1/8-inch radius. Apply clear wood sealant with UV inhibitors at 250 square feet per gallon coverage. Mulch approaches with 3 inches of shredded hardwood bark to define pathways and suppress weeds.
Pro-Tip: Plant Carex elata 'Aurea' (Bowles' golden sedge) 12 inches from abutments. Its fibrous roots stabilize banks while tolerating periodic inundation, and auxin distribution in its rhizomes responds to hydrostatic pressure, anchoring the root mass against erosion.
Troubleshooting
Symptom: Deck boards cupping within one season.
Solution: Boards were installed bark-side down. Reinstall with growth rings arching upward to shed water.
Symptom: Stringers sag 1-2 inches at midspan.
Solution: Insufficient lumber grade or excessive span. Install a center pier or upgrade to 4×8 stringers.
Symptom: White fungal mycelium on underside of decking.
Solution: Serpula lacrymans (dry rot). Remove affected boards, treat adjacent wood with borate solution (10 percent concentration), improve ventilation.
Symptom: Railings loosen after winter.
Solution: Freeze-thaw cycling withdrew bolts. Replace with 1/2-inch through-bolts and apply thread-locking compound.
Maintenance
Reapply water sealant every 18-24 months at 200-250 square feet per gallon. Inspect hardware annually, tightening bolts to 45 foot-pounds torque. Remove leaf litter monthly during autumn to prevent moisture accumulation and tannin staining. Pressure-wash decking at 1200 psi annually in early spring, holding the nozzle 12 inches from the surface at a 45-degree angle.
Prune overhanging branches to maintain 6 feet vertical clearance, reducing organic debris and promoting air circulation that keeps decking dry.
FAQ
How wide should the bridge be?
Minimum 36 inches for foot traffic, 48 inches for wheelchair access or garden carts.
Can I use untreated lumber?
Only rot-resistant species like black locust, white oak, or redwood heartwood. Expect 15-20 year lifespan versus 25-30 for treated pine.
Do I need a building permit?
Structures over 30 inches high or spanning more than 10 feet typically require permits. Verify local codes.
What spacing for deck screws?
Install screws every 12 inches along each stringer contact point, 1 inch from board edges.
How do I prevent algae growth?
Apply zinc sulfate solution (2 tablespoons per gallon water) biannually. Zinc ions inhibit photosynthetic pathways in algae and moss without harming adjacent plants.