6 Steps for Installing an Outdoor Garden Tap for Efficient Vegetable Watering
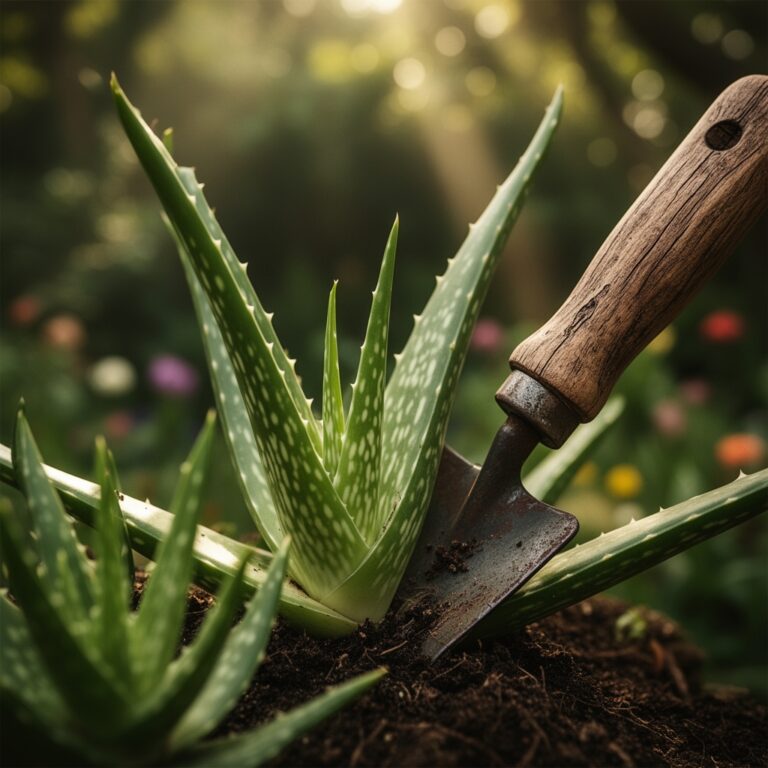
Water dripping from a garden hose coiled in the dirt releases that earthy petrichor scent while your tomatoes wilt three rows away. The disconnect between water source and thirsty vegetables creates inefficiency that costs you time, money, and yield. Learning the steps for installing a garden tap for vegetable watering transforms your growing operation from a daily hose-dragging marathon into a streamlined irrigation system that delivers moisture exactly where your crops need it.
Materials & Supplies
Plumbing Components:
- Brass garden tap (freeze-resistant model for zones 3-7)
- 3/4-inch PVC or copper pipe (depending on local code requirements)
- Compression fittings or solder joints
- Pipe thread tape (PTFE)
- Shut-off valve with drainage point
- Pipe insulation (R-value 3.0 minimum)
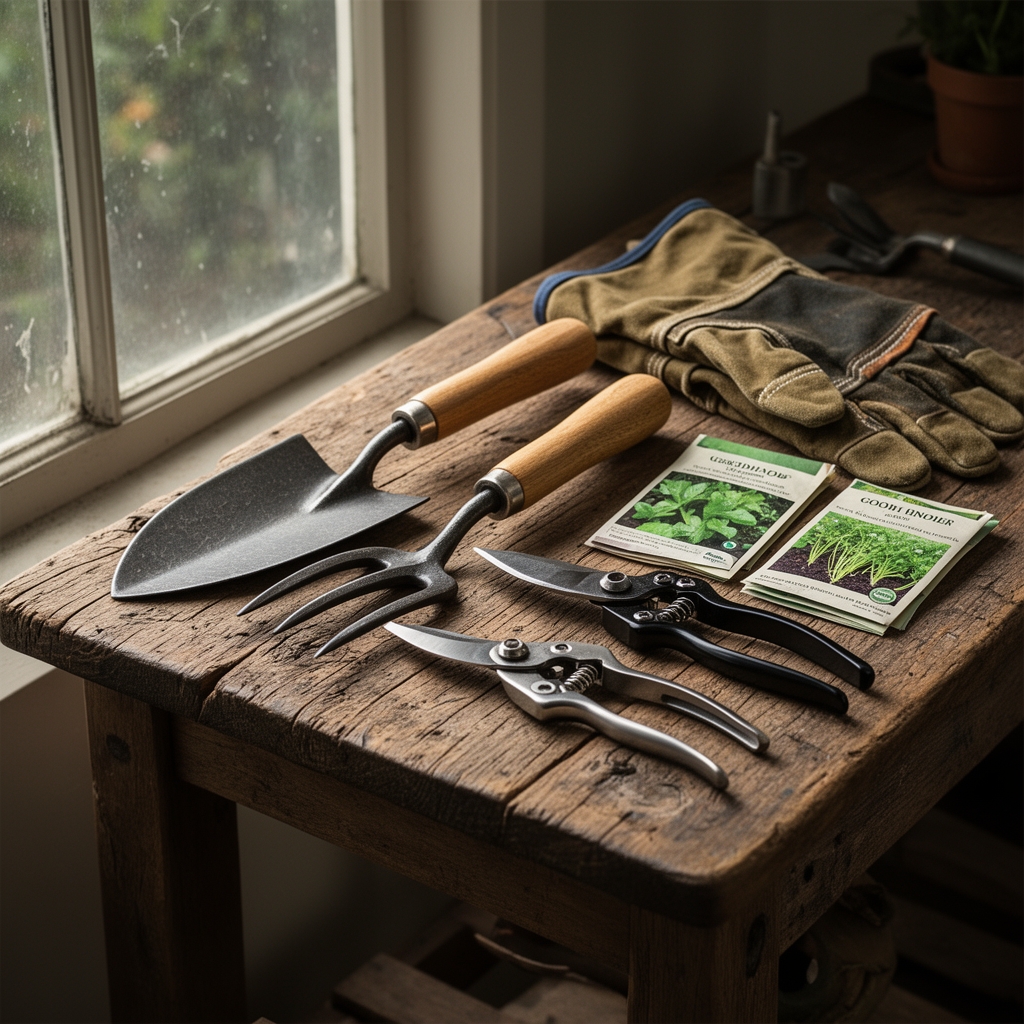
Installation Tools:
- Pipe cutter or hacksaw
- Adjustable wrench (10-inch minimum)
- Pipe threaded die or compression wrench
- Post hole digger
- Gravel (1/2-inch drainage grade)
- Concrete mix (optional for post stability)
Site Assessment Tools:
- Soil pH meter (target 6.0-7.0 for most vegetables)
- Tape measure
- Marking flags
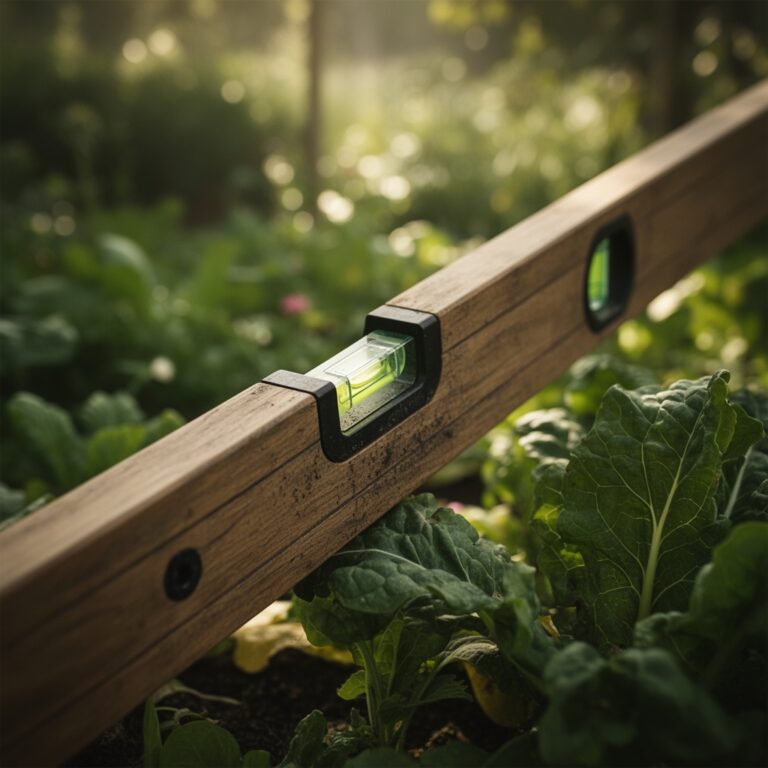
- Level
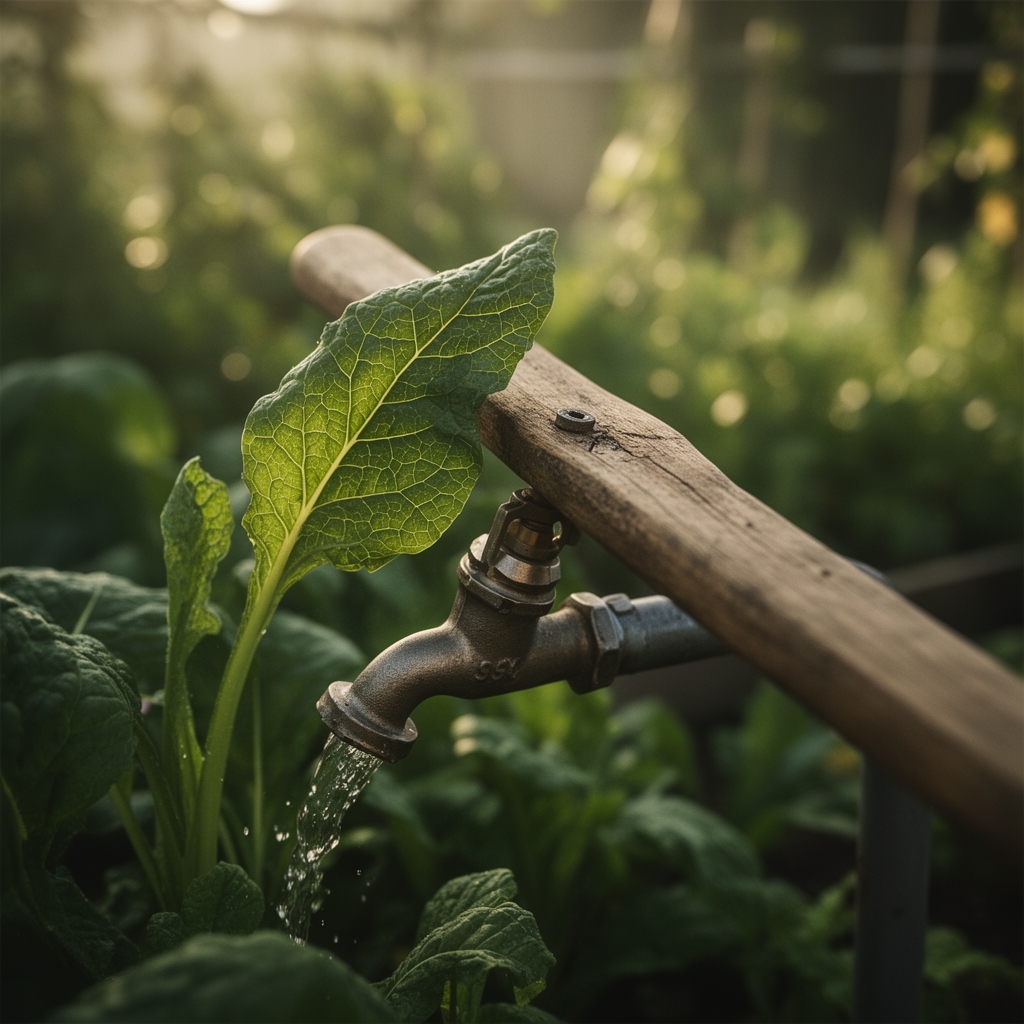
Position your tap installation where it minimizes run distance to vegetable rows while maintaining access to your main water line. The ideal location sits 12-18 inches above ground level to prevent soil splash and allows bucket placement underneath.
Timing and Site Preparation
Install garden taps during periods when ground temperatures stay above 40°F, typically April through October in zones 5-8. Frozen ground complicates trenching and prevents proper settling of support posts.
Installation Window by Zone:
- Zones 3-4: May 15 through September 15
- Zones 5-6: April 15 through October 15
- Zones 7-8: March 15 through November 15
- Zones 9-10: Year-round installation possible
Complete installation at least 30 days before first expected frost to allow proper testing and winterization procedures. This timeline prevents emergency repairs during the growing season when your tomatoes, peppers, and cucurbits demand consistent moisture.
Step-by-Step Installation Instructions
Step 1: Locate Your Main Water Line
Mark the route from your main water supply to the planned tap location. Check local regulations; most municipalities require permits for outdoor plumbing additions. Dial 811 at least three business days before digging to mark underground utilities.
Pro-Tip: Run your line along existing fence lines or garden bed edges where future digging is unlikely. This prevents accidental pipe damage during spring soil amendments.
Step 2: Trench and Lay Supply Line
Dig a trench 12-18 inches deep (below frost line in zones 3-6, minimum 8 inches in zones 7-10). Slope the trench 1/4 inch per foot back toward the main line to allow complete drainage during winterization.
Lay a 2-inch gravel base before positioning pipe. This drainage layer prevents freeze damage and allows moisture to dissipate from the pipe exterior.
Pro-Tip: Insert a tracer wire alongside PVC pipe and attach to a surface-level marker post. This 14-gauge wire helps locate buried lines years later without excavation guesswork.
Step 3: Install the Tap Support Post
Set a 4×4 treated post 24 inches deep, packed with tamped soil or quick-setting concrete. The post must extend 36-42 inches above ground to position the tap at comfortable working height.
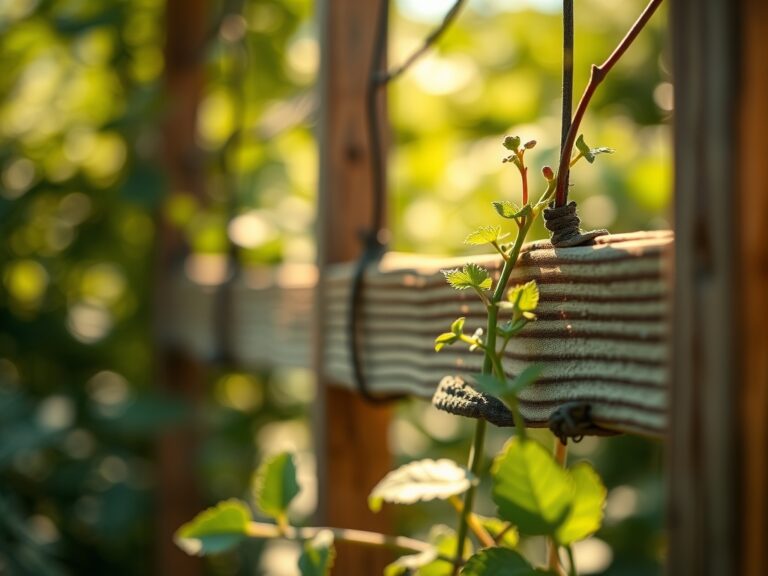
Attach a wooden brace board perpendicular to the post at tap height. This horizontal support prevents torque damage when connecting hoses under pressure.
Pro-Tip: Orient the tap spout downward at a 15-degree angle. This angle promotes complete drainage after use and extends valve seat life by three to four seasons.
Step 4: Connect to Main Supply
Shut off main water supply. Cut into the existing line using a pipe cutter for clean edges. Install a T-fitting with shut-off valve at the junction point.
Apply pipe thread tape clockwise on all threaded connections (three wraps minimum). Hand-tighten, then use a wrench for 1.5 additional turns. Over-tightening cracks brass fittings.
Pro-Tip: Install the shut-off valve with drainage port at the lowest point in your new line. This single feature prevents 90% of winter freeze damage by allowing complete water evacuation.
Step 5: Pressure Test the System
Turn on the main supply gradually. Check all connections for leaks. Tighten compression fittings in quarter-turn increments if moisture appears.
Run water through the tap for five minutes to flush debris from new pipes. Sediment and cutting oils contaminate drip irrigation systems and clog emitter ports in precision watering equipment.
Pro-Tip: Test flow rate by timing how long it takes to fill a five-gallon bucket. Optimal vegetable garden taps deliver 5-8 gallons per minute at standard household pressure (40-60 PSI).
Step 6: Backfill and Insulate
Replace soil in 6-inch layers, tamping each layer to prevent settling. Leave the final 2 inches loose for mulch application.
Wrap exposed pipe and tap body with foam insulation rated for outdoor use. Secure with UV-resistant cable ties every 8 inches. This step extends the usable season in shoulder months when nighttime temperatures drop below freezing but daytime watering remains necessary.
Pro-Tip: Create a small drainage swale around the post base that directs water away from the installation. Standing water near the tap creates a mud pit during heavy irrigation days and promotes fungal pathogen buildup in surrounding soil.
Nutritional and Environmental Benefits
A properly installed garden tap reduces water waste by 30-40% compared to dragging hoses across beds. This efficiency preserves soil structure and protects beneficial organisms like earthworms and mycorrhizal fungi that form symbiotic relationships with vegetable root systems.
Consistent moisture delivery through strategically placed taps allows precise irrigation scheduling. Tomatoes receiving 1-1.5 inches of water weekly produce fruits with 15-20% higher lycopene content compared to erratically watered plants. Leafy greens maintain superior texture and nutrient density when soil moisture stays within the 60-70% field capacity range.
Fixed tap installations eliminate the compaction caused by repeatedly walking through growing areas with hoses. Uncompacted soil supports populations of nitrogen-fixing bacteria in legume root nodules, naturally enriching your beds with this essential macronutrient without synthetic fertilizers.
Garden taps positioned near pollinator plantings create convenient water sources for Mason bees, native butterflies, and beneficial wasps. A shallow dish filled from your tap provides these insects hydration during hot periods when they actively pollinate your squash, cucumber, and melon flowers.
Advanced Installation Methods
For Small Spaces:
Install a compact wall-mounted tap on raised bed frames using flexible PEX tubing. This approach requires only 6 inches of clearance behind the mounting surface and eliminates the need for post installation. Run the supply line through existing fence post cavities to hide plumbing while maintaining full functionality.
Permaculture Integration:
Position taps at high points in your garden's elevation to allow gravity-fed drip systems. Connect rain barrels to tap locations using simple valve assemblies. This passive irrigation system operates without electricity and stores approximately 55 gallons per barrel for use during dry spells.
Add a biochar filter sock at the tap outlet if using harvested rainwater. This filtration removes particulates that clog drip emitters while introducing beneficial microbes to irrigation water.
Season Extension Applications:
Install heated tap boxes for year-round access in zones 3-6. These insulated enclosures with low-wattage heat cables prevent freeze-ups during winter greenhouse watering. The boxes cost $40-60 to construct and reduce heating expenses by allowing precise irrigation without warming entire growing spaces.
Run a secondary line from your tap to a cold frame or hoop house. Early spring greens and late fall crops demand consistent moisture but suffer when you track mud and cold air into protected environments during manual watering sessions.
Troubleshooting Common Installation Problems
Symptom: Water leaks at threaded connections
Solution: Disassemble the joint, clean all threads with a wire brush, apply fresh PTFE tape, and reassemble with proper torque. Most leaks result from debris or insufficient tape coverage rather than defective fittings.
Symptom: Low water pressure at tap outlet
Solution: Check for kinked supply lines or partially closed valves in the feed system. Remove the tap aerator and flush debris. If pressure remains low, your supply line diameter may be undersized; 3/4-inch pipe is minimum for vegetable garden applications exceeding 50 feet from the main.
Symptom: Tap drips continuously after shutting off
Solution: Replace the valve washer inside the tap body. Constant pressure causes rubber washers to compress and lose sealing ability after 2-3 seasons. Keep replacement washers (10-cent parts) in your tool storage for quick fixes.
Symptom: Post wobbles or leans after several months
Solution: Excavate around the post base to 16 inches deep. Add gravel for drainage and reset the post plumb. Pour a concrete collar around the buried section, extending 4 inches above grade to prevent frost heaving.
Symptom: Frozen tap in early spring or late fall
Solution: Pour warm (not boiling) water over the tap body and supply pipe. Open the drain valve at the shut-off point to release pressure. Install heat tape on exposed sections for future freeze protection in zones experiencing unexpected cold snaps.
Maintenance and Winterization
Growing Season Care:
Inspect all connections monthly during peak use (June through September). Tighten compression fittings if minor weeping occurs. Replace washers at first sign of constant dripping to prevent water waste that exceeds 200 gallons monthly from a single leaky tap.
Remove mineral deposits from tap threads using white vinegar and a brass brush. Hard water leaves calcium and magnesium buildup that prevents hose connections from seating properly.
Lubricate the valve stem annually with food-grade silicone grease. This maintenance takes 90 seconds and extends tap lifespan from 7-10 years to 15-20 years.
Winter Preparation (Zones 3-8):
Complete winterization before the first hard freeze (temperatures below 28°F for four consecutive hours):
- Shut off the isolation valve at the main supply junction
- Open the tap fully and the drain valve at the low point
- Allow 30 minutes for complete drainage
- Leave the tap open throughout winter to prevent pressure buildup from any residual moisture
- Remove attached hoses and store indoors to prevent connector damage
Wrap the tap body with insulating foam covers designed for outdoor faucets. These $8-12 covers prevent the final freeze damage that occurs when wind chill affects already-drained fixtures.
Spring Startup:
Inspect all visible pipe sections for cracks or damage before restoring water pressure. Close the drain valve and tap before slowly opening the main supply valve. Run water for three minutes to flush the system before connecting irrigation equipment.
Success Blueprint
Installing a garden tap transforms vegetable growing from a labor-intensive chore into a precision operation where water reaches crops efficiently without soil compaction or wasted resources. This permanent infrastructure investment pays returns through increased yields, reduced water bills, and protected soil biology for decades. The six steps outlined here give you the framework to create a professional irrigation access point that serves everything from salad greens to sprawling winter squash vines.
Share your garden tap installation photos and water savings calculations with your local garden club or cooperative extension office. Your experience helps neighbors improve their growing systems while building community resilience around efficient resource use. Document flow rates and irrigation time reductions to inspire others toward better garden infrastructure.
Expert FAQs
How deep should I bury garden tap supply lines in zone 5?
Bury supply lines 18 inches deep in zone 5 to position pipes below the average frost line of 16 inches. Add a 2-inch gravel base and slope lines 1/4 inch per foot back toward the main supply for complete drainage during winterization.
Can I install a garden tap on my existing drip irrigation manifold?
Yes, add a tap to drip manifolds using a brass T-fitting with 3/4-inch female threads. This configuration allows you to run both automated drip zones and fill watering cans or buckets from the same supply line. Install the tap downstream from your pressure regulator (25-30 PSI for vegetables) to prevent emitter damage.
What type of tap works best for organic vegetable gardens?
Choose brass taps without internal plastic components for organic operations. Brass contains natural antimicrobial properties and avoids the BPA and phthalates found in composite faucets. Look for NSF-61 certified products that meet drinking water safety standards.
How far can I run supply lines from my main water source?
Maintain adequate pressure by limiting runs to 100 feet using 3/4-inch pipe or 150 feet with 1-inch pipe. Pressure drops approximately 5 PSI per 100 feet of horizontal distance. Install a pressure gauge at your tap to verify you maintain 40-50 PSI for efficient vegetable watering.
Should I install multiple taps in a large vegetable garden?
Add one tap per 800-1000 square feet of growing area to eliminate hose dragging. Multiple access points reduce irrigation time by 60% in gardens exceeding 2000 square feet. Connect taps to a manifold system with individual shut-off valves for zone control and leak isolation.