6 Simple Steps to Plant Cauliflower Seeds
Damp earth releases a sharp, metallic scent of geosmin as the spade turns the topsoil. A healthy cauliflower leaf exhibits high turgor pressure; it is stiff, cool to the touch, and snaps cleanly under tension. Success begins with the precise execution of the steps to plant cauliflower seeds. This crop is a heavy feeder that demands strict adherence to thermal windows and nutrient availability. Without a systematic approach to soil chemistry and moisture management, the plant will fail to produce a dense, marketable curd.
Cauliflower (Brassica oleracea var. botrytis) is more sensitive to environmental fluctuations than its relatives, broccoli or kale. It requires a stable transition from the nursery tray to the field. Mastering the steps to plant cauliflower seeds involves controlling the rhizosphere from the moment of germination. You must monitor soil temperature and nitrogen levels with clinical precision to prevent premature heading, known as buttoning. This guide provides the technical framework required to manage the biological demands of this demanding cool-season biennial.
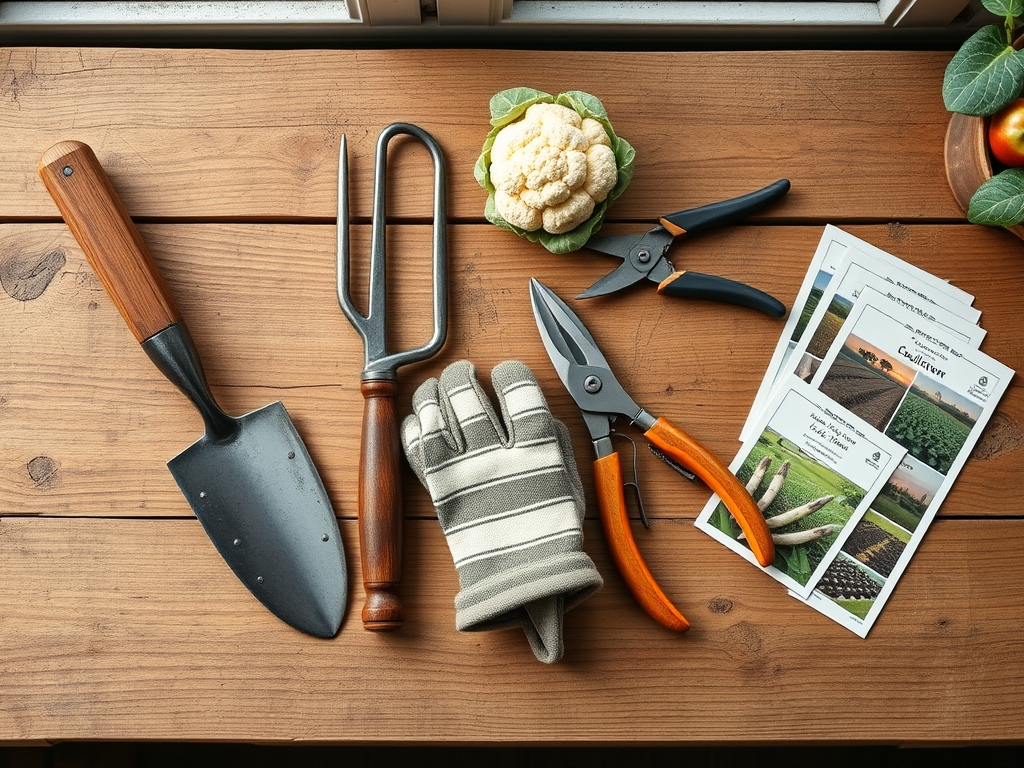
Materials:
The substrate must be a friable loam with a high Cation Exchange Capacity (CEC). This ensures the soil can retain and exchange positively charged nutrients like calcium and magnesium. Aim for a soil pH between 6.5 and 7.0. If the pH drops below 6.0, the availability of molybdenum decreases, leading to "whiptail" deformity in the foliage.
For the initial growth phase, use a seed-starting mix with an NPK ratio of 1-1-1 to provide balanced nutrition without inducing salt stress on delicate radicles. Once transplanted, the crop requires a shift to a 5-10-10 or 10-10-10 ratio. High phosphorus (the middle number) supports robust root architecture, while potassium regulates the opening and closing of stomata. Ensure the organic matter content is at least 5 percent to maintain moisture retention and support microbial activity within the rhizosphere.
Timing:
Cauliflower thrives in USDA Hardiness Zones 3 through 10, but the planting window is narrow. The biological clock of the plant is triggered by temperature and photoperiod. For a spring crop, sow seeds indoors 4 to 6 weeks before the last frost date. For a fall harvest, which often yields superior curds due to declining temperatures, sow in mid-summer.
The "Biological Clock" dictates that cauliflower must reach a specific vegetative mass before the onset of consistent temperatures above 80 degrees Fahrenheit. If the plant experiences heat stress during the juvenile stage, it may skip the vegetative expansion phase and attempt to flower prematurely. Conversely, exposing young transplants to temperatures below 50 degrees Fahrenheit for several consecutive days can induce "buttoning," where the plant produces a tiny, useless curd.
Phases:

Sowing
Deposit seeds at a depth of 0.25 to 0.5 inches in sterile cell trays. Maintain a consistent substrate temperature of 70 degrees Fahrenheit using a propagation mat. Germination typically occurs within 5 to 10 days. Once the hypocotyl emerges, provide 14 to 16 hours of high-intensity light to prevent elongation.
Pro-Tip: Monitor for phototropism. Seedlings leaning toward a light source indicate insufficient Lumens, which triggers auxin accumulation on the shaded side of the stem. This causes cell elongation and weak, leggy starts that will collapse upon transplanting.
Transplanting
Hardening off is mandatory. Gradually expose seedlings to outdoor conditions over 7 to 10 days. Space plants 18 to 24 inches apart in rows separated by 30 inches. Set the transplants slightly deeper than they were in the tray to stabilize the stem.
Pro-Tip: Apply a seaweed-based starter solution to stimulate mycorrhizal symbiosis. These beneficial fungi extend the root reach, increasing the surface area for water and phosphorus absorption during the critical first 14 days in the ground.
Establishing
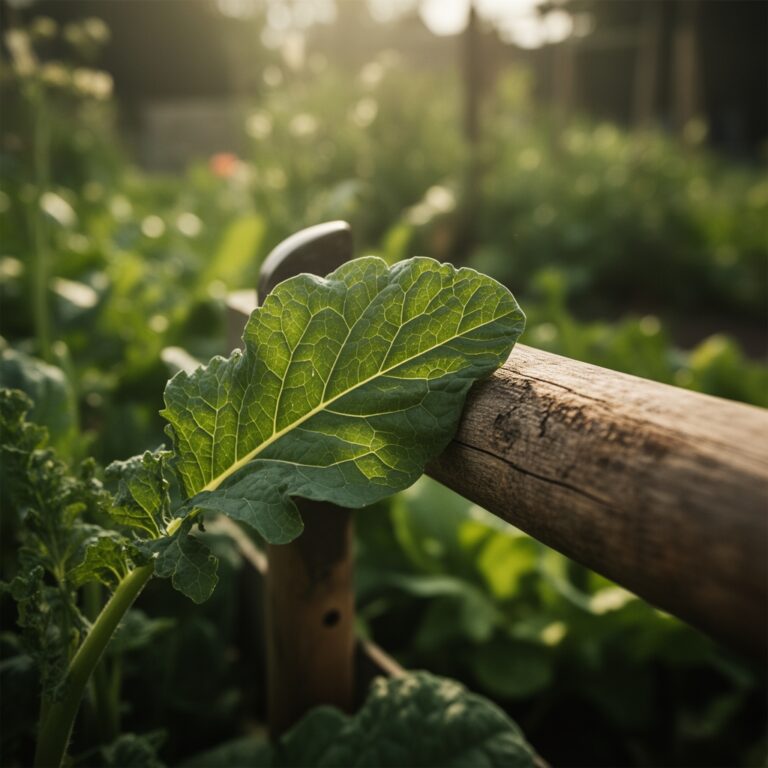
As the plant grows, ensure the "wrapper leaves" remain upright and turgid. This stage focuses on nitrogen uptake to build the photosynthetic factory required to synthesize the sugars for the curd. Maintain a consistent moisture profile to prevent the plant from entering a defensive, dormant state.
Pro-Tip: Avoid excessive disturbance of the top 2 inches of soil. Cauliflower roots are relatively shallow; mechanical weeding can cause root pruning, which disrupts auxin suppression and can lead to stunted curd development.
The Clinic:
Symptom: Whiptail (Narrow, twisted leaves)
Solution: This indicates a Molybdenum deficiency, often caused by acidic soil. Apply a foliar spray of sodium molybdate and adjust the soil pH to 6.5 using calcitic lime.
Symptom: Hollow Stem
Solution: This is a sign of Boron deficiency or excessive nitrogen. Ensure even irrigation and apply a dilute Borax solution (1 tablespoon per 100 square feet) if soil tests confirm low boron levels.
Symptom: Buttoning (Small, premature curds)
Solution: This results from environmental stress, such as cold shocks or root restriction. Once it occurs, it cannot be reversed. Ensure transplants are no older than 5 weeks when moved to the field.
Fix-It: Nitrogen Chlorosis
If older leaves turn yellow while veins remain pale, the plant is scavenging nitrogen for new growth. Side-dress with blood meal or calcium nitrate at a rate of 0.5 pounds per 100 square feet.
Maintenance:
Precision irrigation is the backbone of cauliflower production. The crop requires 1.5 inches of water per week delivered at the drip line. Use a soil moisture meter to ensure the root zone remains at 60 to 70 percent field capacity. Fluctuations in moisture cause "ricey" curds, where the flower buds begin to separate.
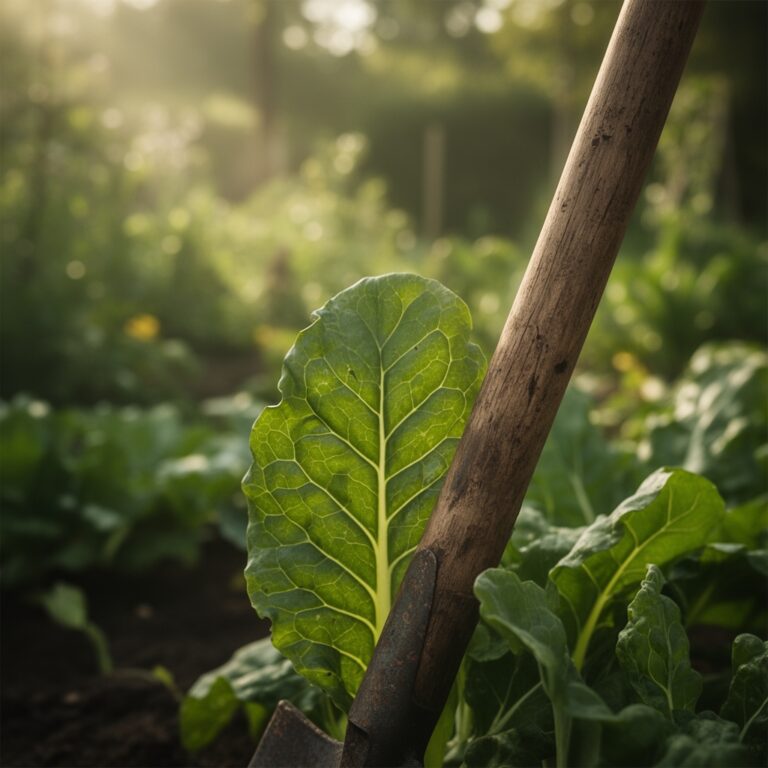
Utilize a hori-hori knife for deep-root weeding to minimize competition for nutrients. When the curd reaches the size of a tennis ball, perform "blanching" for white varieties. Pull the outer wrapper leaves over the head and secure them with a soft tie. This prevents photosynthesis in the curd, maintaining its white color and delicate flavor. Monitor for pests using bypass pruners to remove any heavily infested lower senescence leaves that may harbor pathogens.
The Yield:
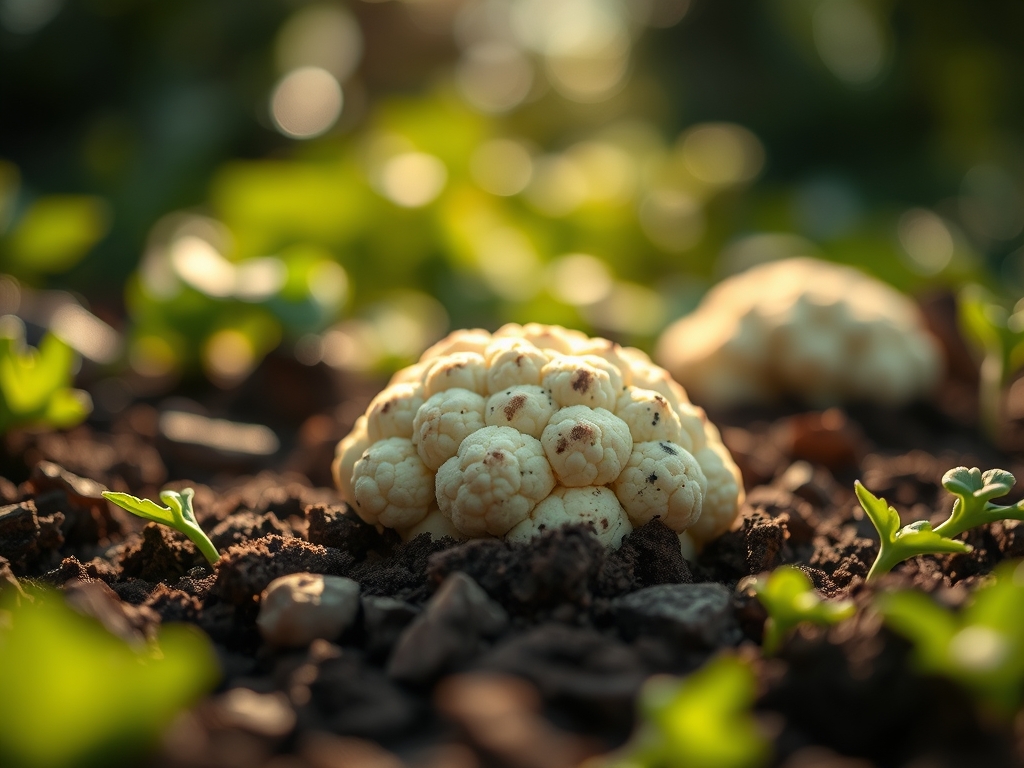
Harvesting occurs when the head is 6 to 8 inches in diameter but still compact and "tight." If the buds begin to open, the quality declines rapidly. Use a sharp knife to cut the main stem, leaving at least two sets of wrapper leaves attached to protect the curd from bruising.
To maintain "day-one" freshness, cauliflower must be hydro-cooled immediately. Submerge the base of the stem in cold water or place the head in a high-humidity environment at 32 to 40 degrees Fahrenheit. Under these conditions, the plant maintains its cellular integrity and peak sugar content for up to three weeks.
FAQ:
Why is my cauliflower turning purple?
Purple tinting is often a genetic trait or a reaction to high sun exposure. It can also indicate phosphorus deficiency triggered by cold soil temperatures, which limits nutrient uptake in the rhizosphere.
How deep should I plant cauliflower seeds?
Sow seeds at a depth of 0.25 to 0.5 inches. This ensures adequate soil contact for moisture absorption while allowing the emerging cotyledons to reach the surface before exhausting their stored energy reserves.
What is the best fertilizer for cauliflower?
Use a balanced 10-10-10 NPK fertilizer at planting. Switch to a high-nitrogen side-dressing three weeks later to support vegetative growth. Ensure the mix includes micronutrients like boron and molybdenum to prevent physiological disorders.
How long does it take cauliflower to grow?
Most varieties require 50 to 80 days from transplanting to reach maturity. This duration depends on the specific cultivar, soil temperature, and the consistency of the photoperiod during the heading stage.