6 High-Potency Steps to Prepare a DIY Leaf Growth Fertilizer
The smell of damp earth and the sharp, metallic scent of decomposing organic matter signal the start of a successful growing season. High turgor pressure in a leaf is the ultimate indicator of cellular health; it shows that the plant is effectively managing osmotic potential and nutrient uptake. To achieve this level of physiological vigor, you must master the chemistry of the rhizosphere. Learning how to prepare a DIY plant fertilizer allows for precise control over the nitrogen, phosphorus, and potassium (NPK) ratios that fuel vegetative expansion. Most commercial options are generic; however, a custom-blended solution targets the specific metabolic needs of your soil. By focusing on high-potency nitrogen sources, you can trigger rapid chlorophyll production and ensure that your foliage remains thick and resilient against environmental stressors. This process requires a shift from casual gardening to rigorous soil science. You are not just feeding a plant; you are managing a complex biochemical engine that requires specific inputs at exact intervals to prevent stunted growth or premature senescence.
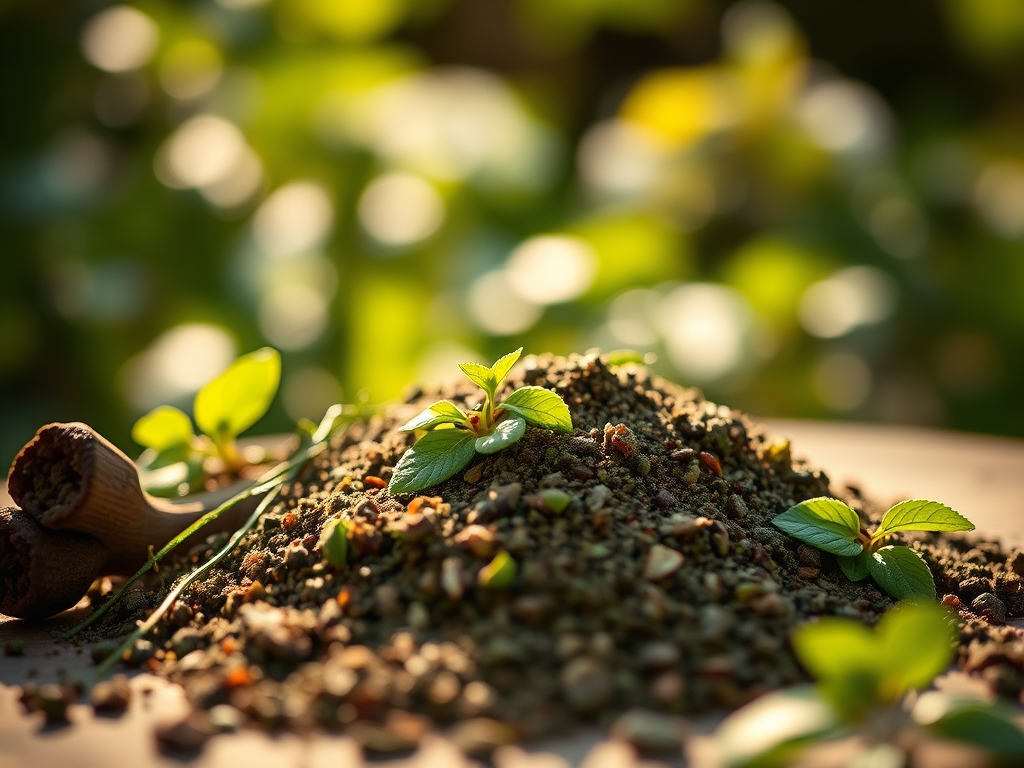
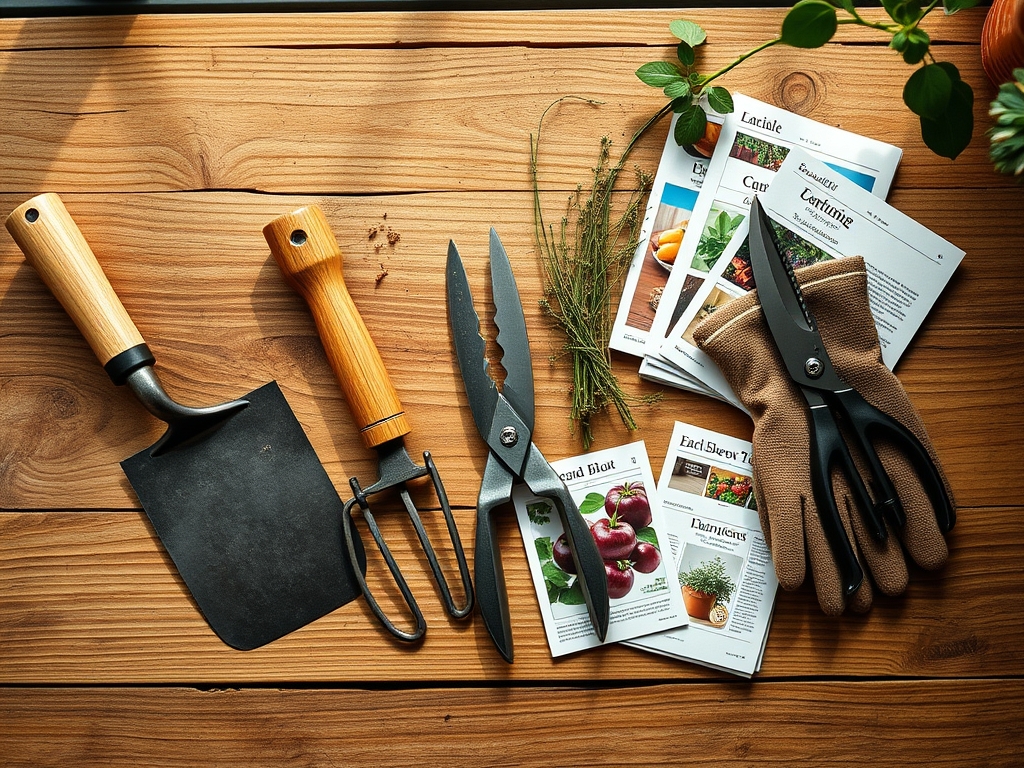
Materials:
To maximize leaf growth, you must target a high nitrogen ratio, typically aiming for an **NPK of 10-5-5** or similar. The ideal substrate for application is a **friable loam** with a **Cation Exchange Capacity (CEC) of 15 to 25 meq/100g**. This ensures the soil can hold onto the positively charged ions like ammonium and potassium.
- Nitrogen Source: Use blood meal (12-0-0) or a concentrated stinging nettle tea. Nettle tea provides a rapid infusion of soluble nitrogen and iron.
- Phosphorus Source: Finely ground bone meal (3-15-0) or soft rock phosphate. This supports ATP production and cellular energy transfer.
- Potassium Source: Kelp meal or wood ash. Wood ash has a high calcium carbonate equivalent and will raise soil pH; use it only if your soil tests below 6.0 pH.
- Buffering Agent: Finished compost with a C:N ratio of 30:1. This provides the microbial life necessary to mineralize organic nutrients.
- Solvent: Non-chlorinated water. Chlorine inhibits the beneficial bacteria required for nutrient cycling.
Timing:
In Hardiness Zones 5 through 7, the window for high-nitrogen fertilization begins two weeks after the last spring frost. For Zones 8 through 10, this window opens as early as February. You must synchronize application with the "Biological Clock" of the plant. This is the vegetative stage where the plant prioritizes leaf and stem elongation over reproductive development. Once the photoperiod exceeds 12 hours, the plant enters a high-demand phase for nitrogen. Stop applying high-potency leaf fertilizers once you see the first signs of flower bud initiation to prevent nitrogen toxicity, which can lead to weak, succulent growth and delayed fruiting.
Phases:
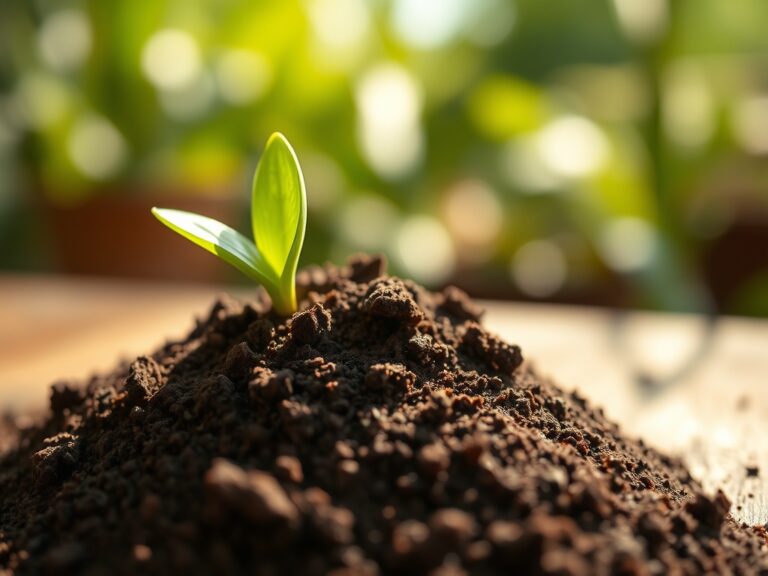
Sowing and Initial Amendment
Before seeds hit the soil, incorporate your dry DIY mix into the top 4 inches of the bed. This creates a nutrient-dense environment for the emerging radicle. Ensure the soil temperature is at least 55 degrees Fahrenheit to allow for microbial activity.
Pro-Tip: Mycorrhizal symbiosis is critical at this stage. By adding a fungal inoculant, you increase the surface area of the root system by up to 1,000 percent, allowing for superior phosphorus uptake that a standard root system cannot achieve alone.
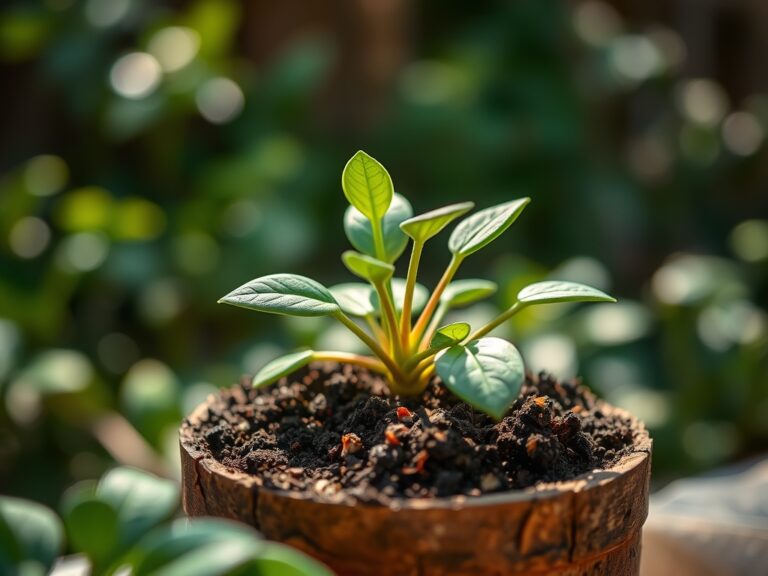
Transplanting and Root Establishment
When moving seedlings, use a liquid version of your DIY fertilizer as a root drench. Dilute the concentrate to 25 percent strength to avoid osmotic shock. The goal is to minimize transplant shock and maintain turgor pressure.
Pro-Tip: Auxin suppression occurs if the central leader is damaged during transplanting. Handle plants by the root ball, never the stem, to preserve the apical meristem and ensure the plant maintains its natural growth architecture.
Establishing the Canopy
Once the plant has three sets of true leaves, increase the fertilizer concentration to full strength. Apply every 14 days. This is the peak vegetative phase where the plant requires maximum nitrogen for Rubisco enzyme production, which is the primary driver of photosynthesis.
Pro-Tip: Phototropism causes plants to lean toward light sources. If you notice uneven growth, use a hori-hori knife to gently aerate the soil on the shaded side, encouraging deeper root penetration and better structural stability.
The Clinic:
Physiological disorders often mimic disease but are usually rooted in nutrient imbalances.
- Nitrogen Chlorosis: Older leaves turn pale yellow while veins remain green.
Fix-It: Apply a foliar spray of diluted liquid seaweed or blood meal tea for immediate nitrogen uptake through the stomata. - Interveinal Chlorosis (Magnesium Deficiency): Yellowing between leaf veins on older growth.
Fix-It: Incorporate 1 tablespoon of Epsom salts per gallon of water to provide magnesium, the central atom in the chlorophyll molecule. - Leaf Tip Burn: Often caused by salt accumulation or erratic watering.
Fix-It: Flush the soil with 2 gallons of water per square foot to leach excess salts and stabilize the osmotic gradient. - Stunted Growth (Phosphorus Deficiency): Leaves take on a purple or dark blue-green hue.
Fix-It: Apply liquid bone meal or fish emulsion to provide readily available phosphates.
Maintenance:
Precision is the difference between a garden and a laboratory. Use a soil moisture meter daily to ensure the root zone remains between 60 and 80 percent field capacity. Most leafy crops require 1.5 inches of water per week applied directly at the drip line to avoid wetting the foliage, which can invite fungal pathogens. Use bypass pruners to remove any yellowing or senescing leaves at the base of the plant. This redirects metabolic energy to the younger, more productive upper canopy. Monitor the soil pH monthly; if it drifts outside the 6.2 to 6.8 range, the availability of micronutrients like manganese and zinc will drop sharply.
The Yield:
Harvesting for maximum potency requires timing the plant's sugar concentrations. For leafy greens and herbs, harvest in the early morning when turgor pressure is at its peak and the plant is fully hydrated. Use a sharp blade to make clean cuts; ragged edges increase the rate of transpiration and lead to rapid wilting. For post-harvest longevity, immediately submerge the stems in 40-degree Fahrenheit water. This "cold-shock" slows down the cellular respiration rate and preserves the structural integrity of the cell walls, ensuring the harvest remains crisp for several days.
FAQ:
How do I test my DIY fertilizer strength?
Use an Electrical Conductivity (EC) meter. A reading between 1.2 and 2.0 mS/cm is ideal for most vegetative plants. Anything higher can cause root burn; anything lower indicates a nutrient deficiency that will slow growth.
Can I use coffee grounds in my DIY mix?
Yes, but use them sparingly. Coffee grounds are roughly 2 percent nitrogen by volume. They are acidic, so monitor your soil pH to ensure it does not drop below 6.0, which locks out essential nutrients like calcium.
How long does it take for DIY fertilizer to work?
Liquid teas provide results within 3 to 5 days via foliar or root uptake. Dry organic amendments take 2 to 4 weeks to mineralize into plant-available forms through microbial action in the rhizosphere.
Why are my plant leaves turning brown at the edges?
This is typically "fertilizer burn" caused by high salt concentrations. It disrupts the plant's ability to absorb water through osmosis. Flush the soil immediately with heavy irrigation to dilute the concentrated nutrients and restore balance.